How to Improve Elementor Performance for the JetElements Widgets
In this tutorial, you will find out how to change the load level of style settings for the JetElements widget. This way you can use only the style settings you need and optimize the work of the editor.
Elementor page builder makes website creation a piece of cake, but it also affects the performance of the website. All the Style settings enabled could harm the page loading speed. To deal with that problem, the JetElements plugin allows you to choose the load level of style settings.
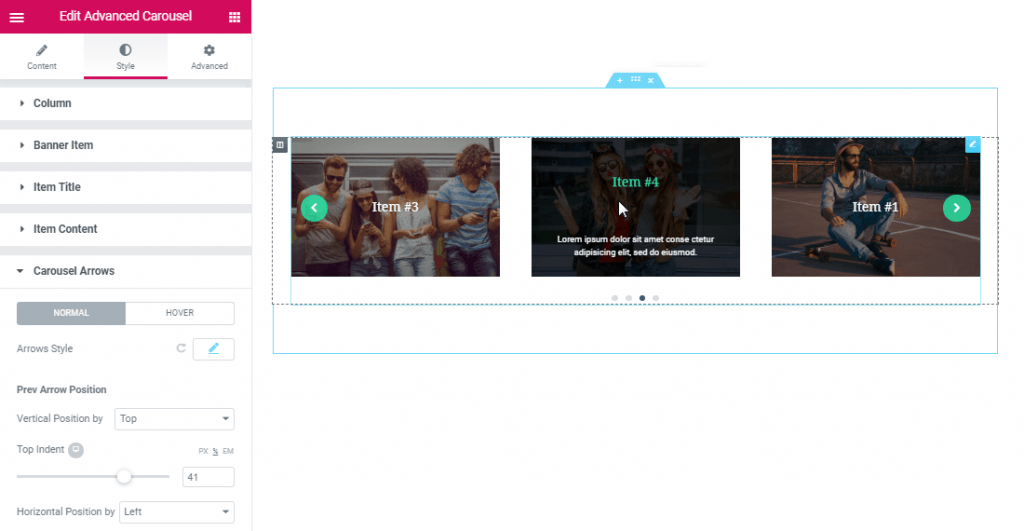
Automatically, after the installation of the JetElements plugin, the “Full” level will be selected, and you will have the full range of settings in the widget’s Style tab. And if you want to optimize the Elementor editor work, you can choose the lower load level. From this tutorial, you will learn how to change the load level and what style settings will be available to you in each mode.
The Load Levels of Style Settings
For your work, you might need several levels of style settings. We have 5 levels that will suit any requirements. Let’s dive deeply into them:
- None;
- Low;
- Medium;
- Advanced;
- Full.
Each level allows you to use a definite range of settings. At the end of this guide, you will find a table where the settings available for each load level are listed.
It’s important to remember that the lower the selected level, the fewer opportunities are available for you while editing. For instance, if you have chosen the None level, you will not have an opportunity to make some changes in the Style tab. Only the basic options will be allowed, such as the Text and Background color. The Full level will provide you with a full range of opportunities to customize the box with a shadow, border radius, Z-index settings, etc.
How to Change the Load Level of Style Settings
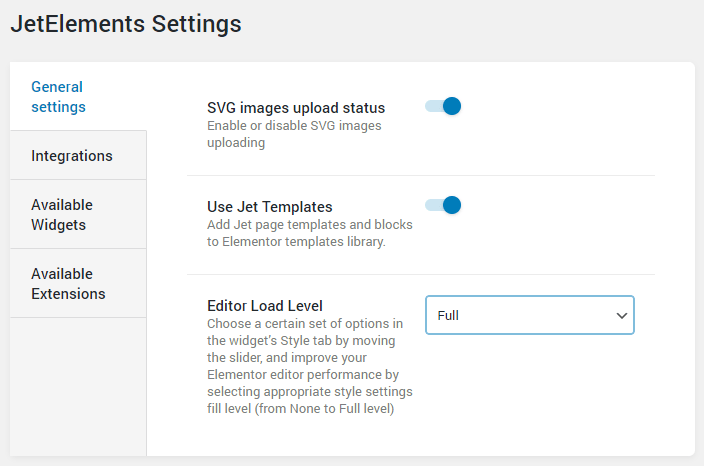
In the WordPress Dashboard proceed to JetPlugins > JetElements Settings menu tab. Open the General Settings tab and choose one of the options in the Load Level Editor dropdown menu. The changes will be saved automatically, and you will see the “Settings have been saved” notification message.
Then, open the needed page in the Elementor editor and reload it to apply the changes.

How to deal with the load levels of style setting
While working, you might need to require your needs at one of the midline levels. If you want to add a slight change, you may switch to a higher level. As well, if you don’t need the other settings from the higher level, you can add the needed option by just adding an appropriate CSS code. In this way, you will fulfill your ideas and keep optimizing Elementor’s work.

There are midline levels, such as Low, Medium, and Advanced which contain settings to appear progressively depending on the level that has been selected.

Now, it’s pretty easy to work with Elementor editor and put in work the settings you need to apply only.