Lottie Widget Overview
This overview reveals all the details of Lottie widget applications. You will learn how to enable it, upload the animation file, and fit it into your website design.
Lottie is a file format created especially for animation files. It is JSON-based and was meant to ease the process of applying animations to different platforms. Lottie file is smaller than the files of other formats, so it doesn’t harm the page loading speed. Besides that, it is easily scalable without losing the picture quality. The Lottie widget within JetElements plugin allows you to insert Lottie files to your page in the Elementor page builder quickly and easily. Let’s take a closer look at its settings.
How to Enable the Lottie widget
Check if you have the latest version of the JetElements plugin. If not, update it. Go to JetPlugins > JetElements Settings and open the Available Widgets menu tab. Search through the widgets list, find Lottie, and turn the toggle on.
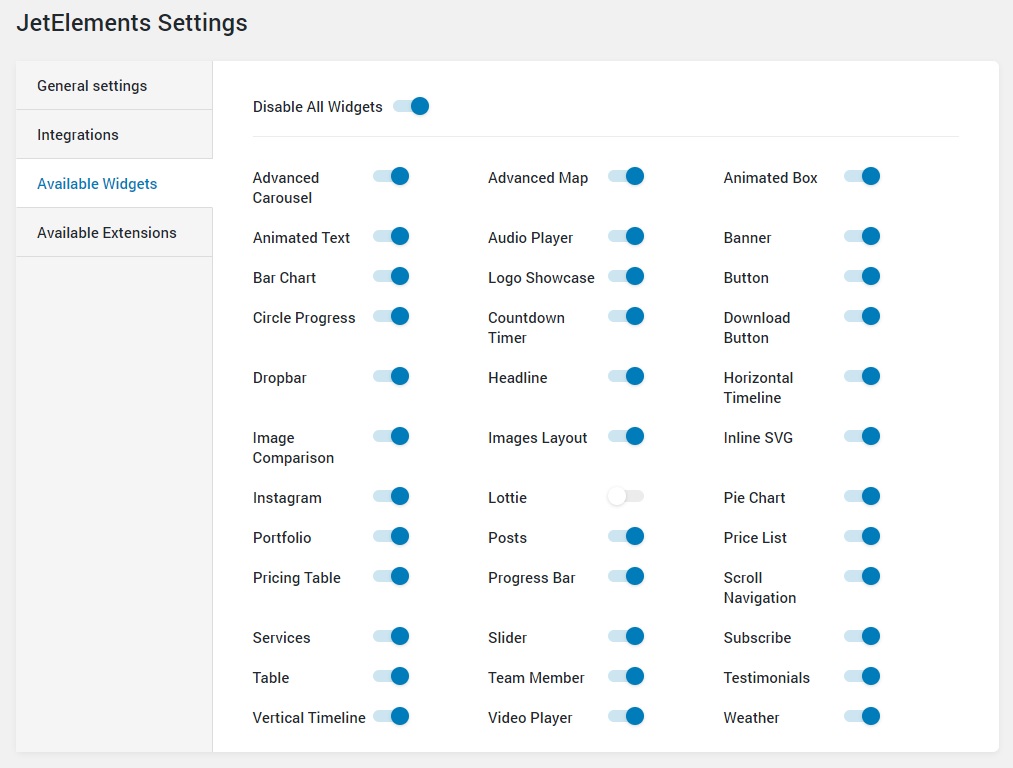
Lottie Widget Settings Overview
Open the page or post where you would like to add the animation file in the Elementor page builder. Search for the Lottie widget and drag it to the page.
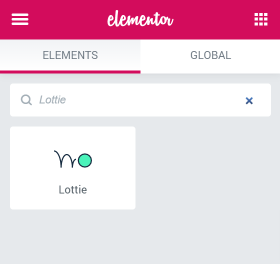
The default animation is the one with the Crocoblock logo but you can change it to any other you like. Let’s go through the settings.
Content settings block
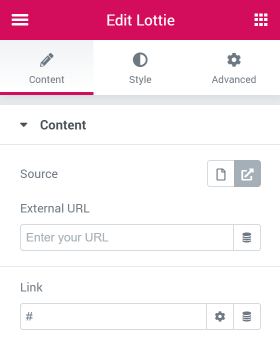
Source
You can either upload a JSON File stored on your computer or add an External URL. In the first case, you will be offered to select the file by clicking on the JSON File bar and picking it from the media library. The high-quality animation files could be found on the web (for example, on LottieFiles). If you choose the “External URL” option, you can type the link into the External URL bar. It is possible to use dynamic tags here.
Link
Clicking on the animation file can lead the user to some other page. In this field, you can define what page will open after clicking on the Lottie item. If you click on the “Link Options” button, you will see additional settings. It is possible to make the link open in a new window (which is very convenient for users) and add a “nofollow” tag to it. Besides that, you can add some Custom Attributes.
Settings block
Renderer
In this drop-down menu, you can choose how the animation file will be rendered – as an SVG or a Canvas. If you choose the SVG, the animation element will be built with HTML and animated with JavaScript. It suits better for small animated icons and buttons. And if you choose Canvas, both the element creation and animation will be performed by JavaScript. Choose it in case you want to add a big complex animation.
Play Action
There are five different ways of playing the animation, and each of them has some additional settings.
Autoplay
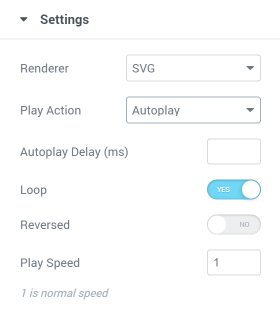
If you choose this option, the animation will be played automatically without any custom actions. In the Autoplay Delay bar, you can set the gap. The animation will start playing with a delay equal to the number of milliseconds you type in there.
On Hover
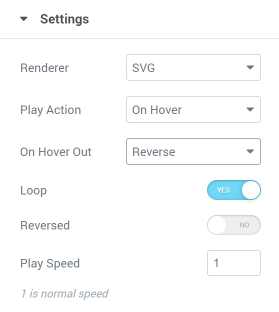
If you want the animation to be played when the user hovers the pointer over it, choose this option. In On Hover Out drop-down menu, you can set the behavior of animation once it is moused over:
- No Action. In this case, the animation will just finish playing and stops;
- Pause. When the user moves the pointer out of the animation area, it will stop at the moment he/she leaves it. And when he/she moves the pointer back to it, it will start playing from the paused moment;
- Stop. The animation will completely stop playing and turns back to its starting point;
- Reverse. The animation will be played backward when the user moves the pointer out of it.
On Click
In this case, the animation will be played only after the user clicks on it. If you also added a link to it, you can set the Redirect Timeout, which is a delay between the user clicking and opening the link. It will be useful if you want the user to watch the animation till the end and redirect him/her to another page only after that. For example, in case you have a nice animated button.
Scroll
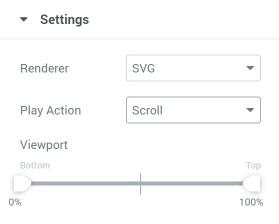
When you choose this option, the animation will be played while the user is scrolling the page. The playing speed will be similar to the speed of page scrolling. Moving the Viewport slider, you can choose at what moment the animation will start playing. This slider defines what part of the screen the animation has to fill before it starts or stops moving.
Viewport
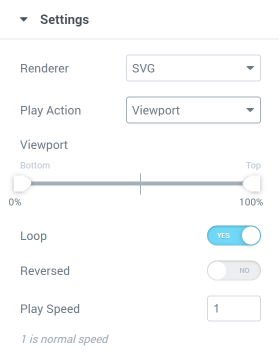
If you choose this one, the animation will be played only while it is visible on the screen. When the user moves lower or higher through the page, it stops. With the help of the Viewport slider, you can define what part of the animation still has to be visible before it stops playing.
Loop
This toggle enables animation looping, which can create an impression of infinite movement.
Reversed
If you turn this toggle on, the animation you uploaded will be played backward.
Play Speed
If you need to make your animation move faster or slower, you can do that in this bar. On “1” the animation will move at its original speed.
That’s all! You now know how to add a Lottie animation file to your website and customize it according to your needs.