How to Use Weather Widget
Learn how to provide integration with the WeatherBit.io and OpenWeatherMap free plans to show weather and forecast information on your website using the JetElements Weather widget.
Before you start, check the tutorial requirements:
- Elementor (Free version)
- JetElements plugin installed and activated
Obtain an API Key
In this section, we explain how to obtain the WeatherBit.io and OpenWeatherMap API Keys.
Receive a WeatherBit.io API Key
Go to WeatherBit.io and complete the registration — type in your email, username, and password. Click the “Create Account” button.

Next, you will be asked to provide more information. You don’t need to fill in every field; focus on the required ones (marked with *) and then tap the “Proceed to Dashboard” button.
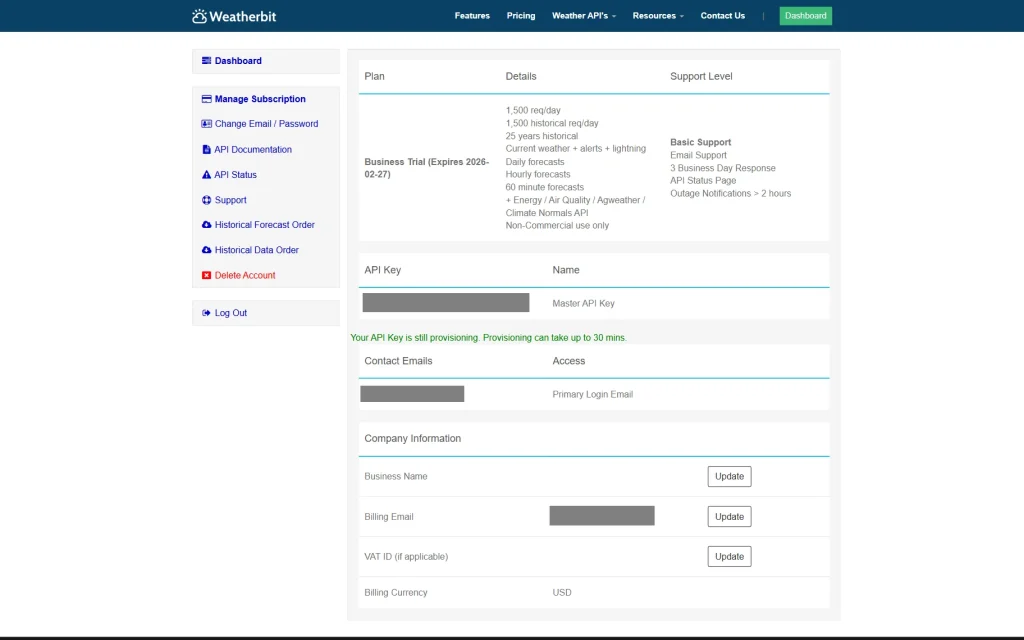
Then, you will be redirected to the dashboard.
Here, your Weather API is generated. Go to the API Key section and copy it.
Receive an OpenWeatherMap API Key
Navigate to the OpenWeatherMap site.
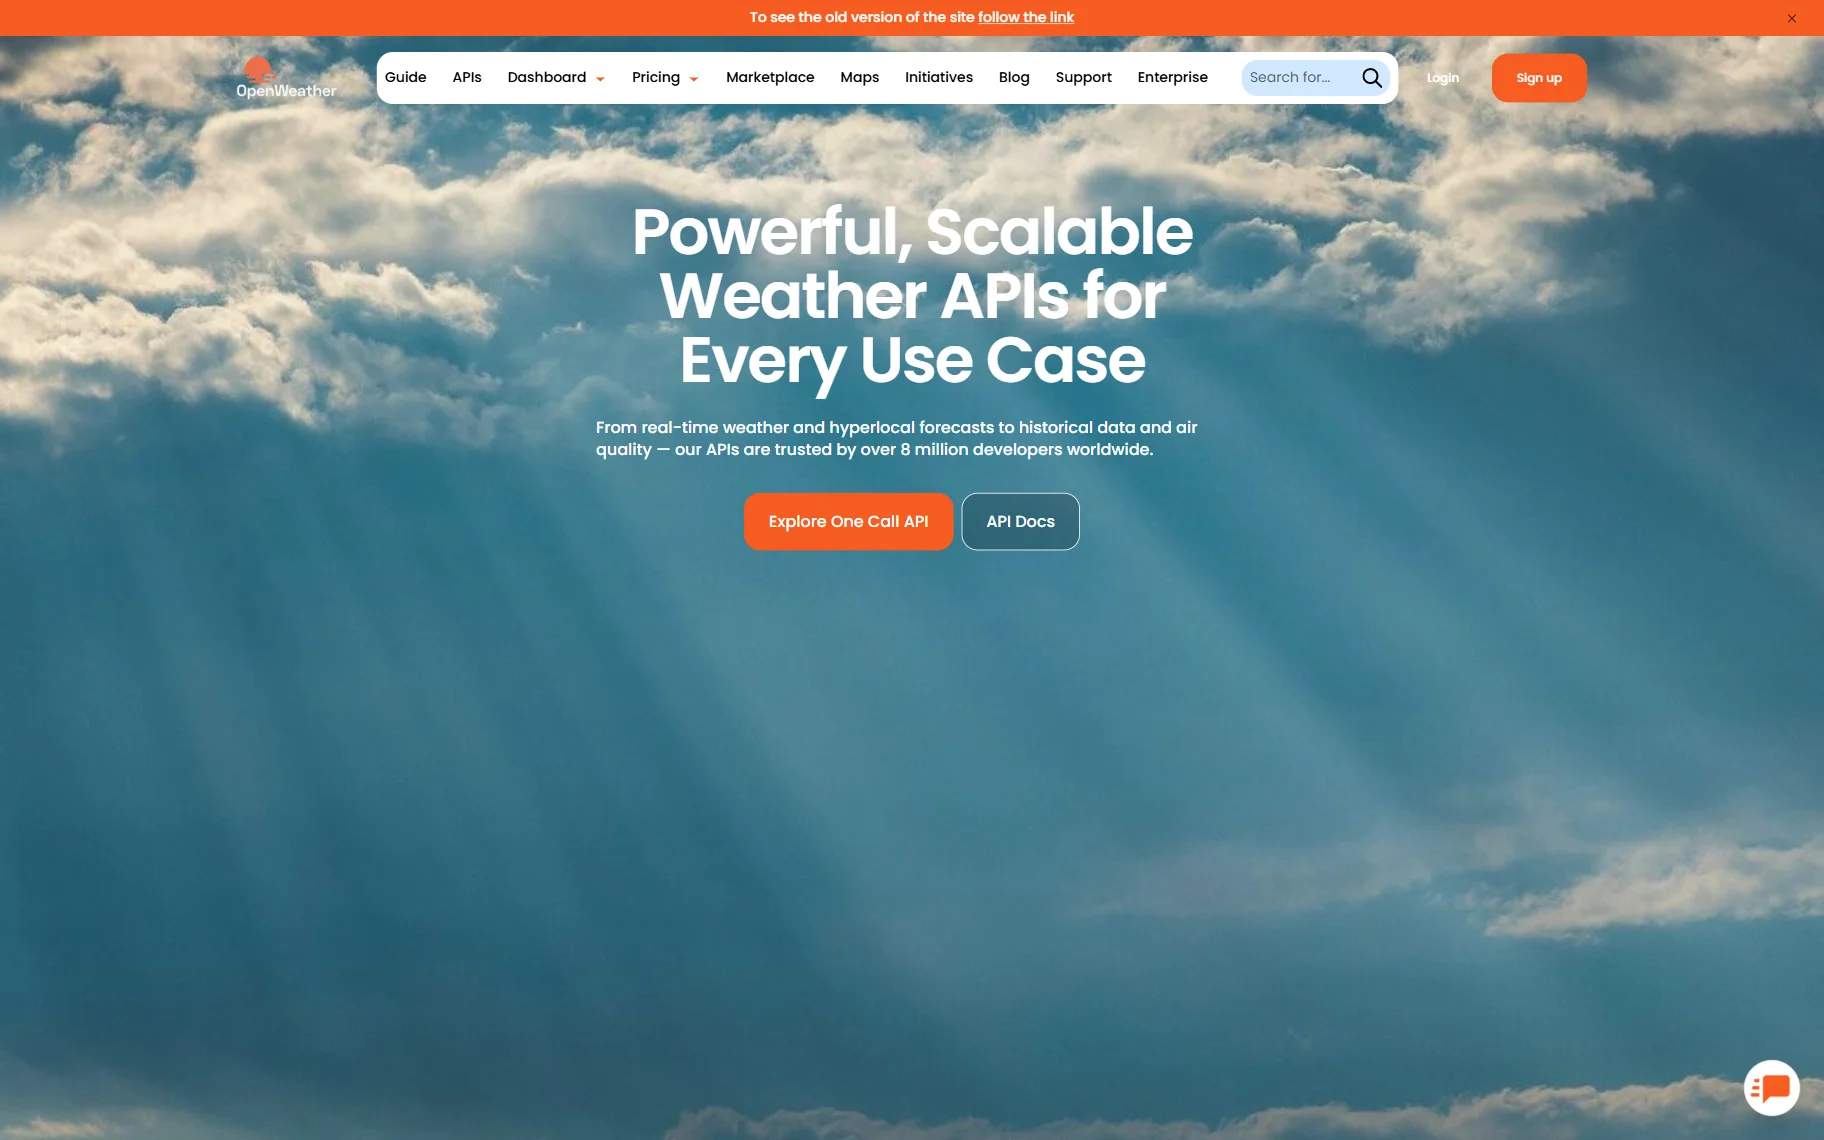
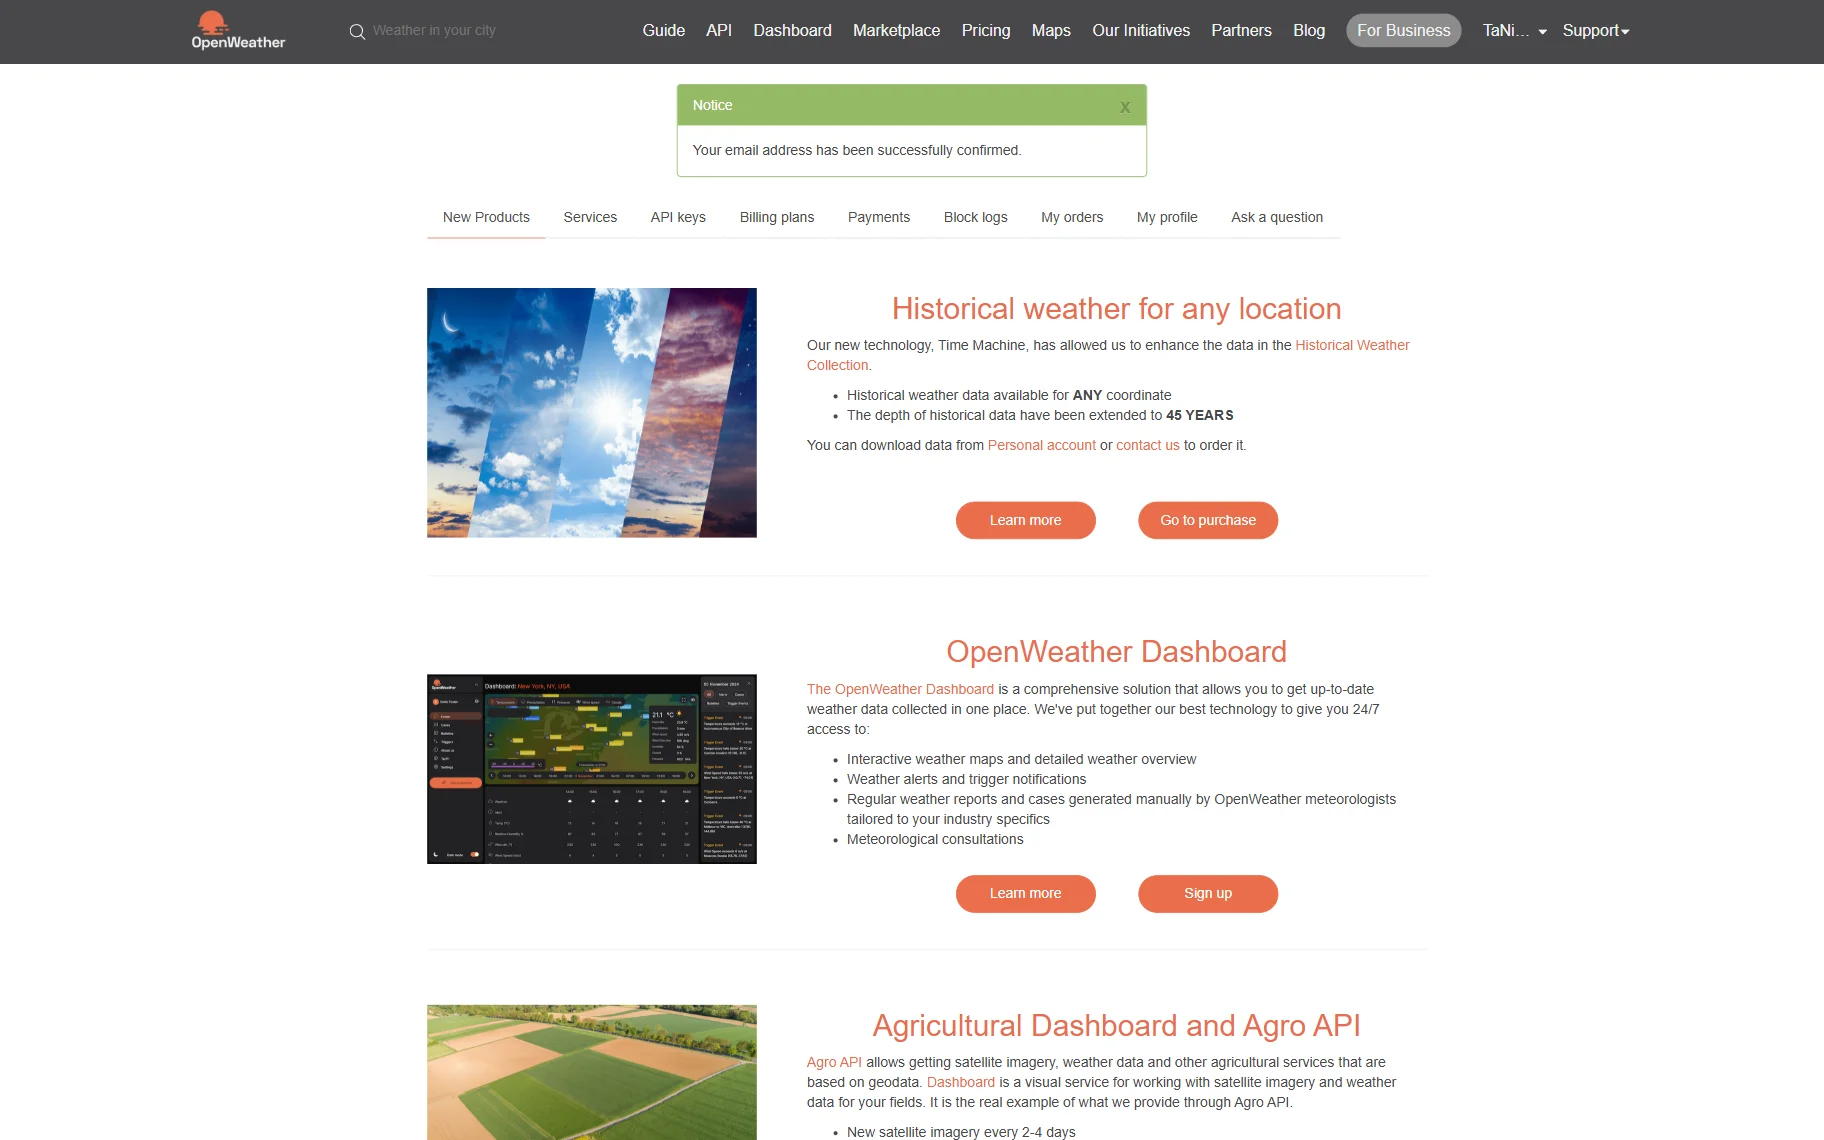
Log in to your account or create a new one: enter your username, email, and password. Then verify your account by pressing a link you’ll receive in your mailbox. After that, you can use your account.
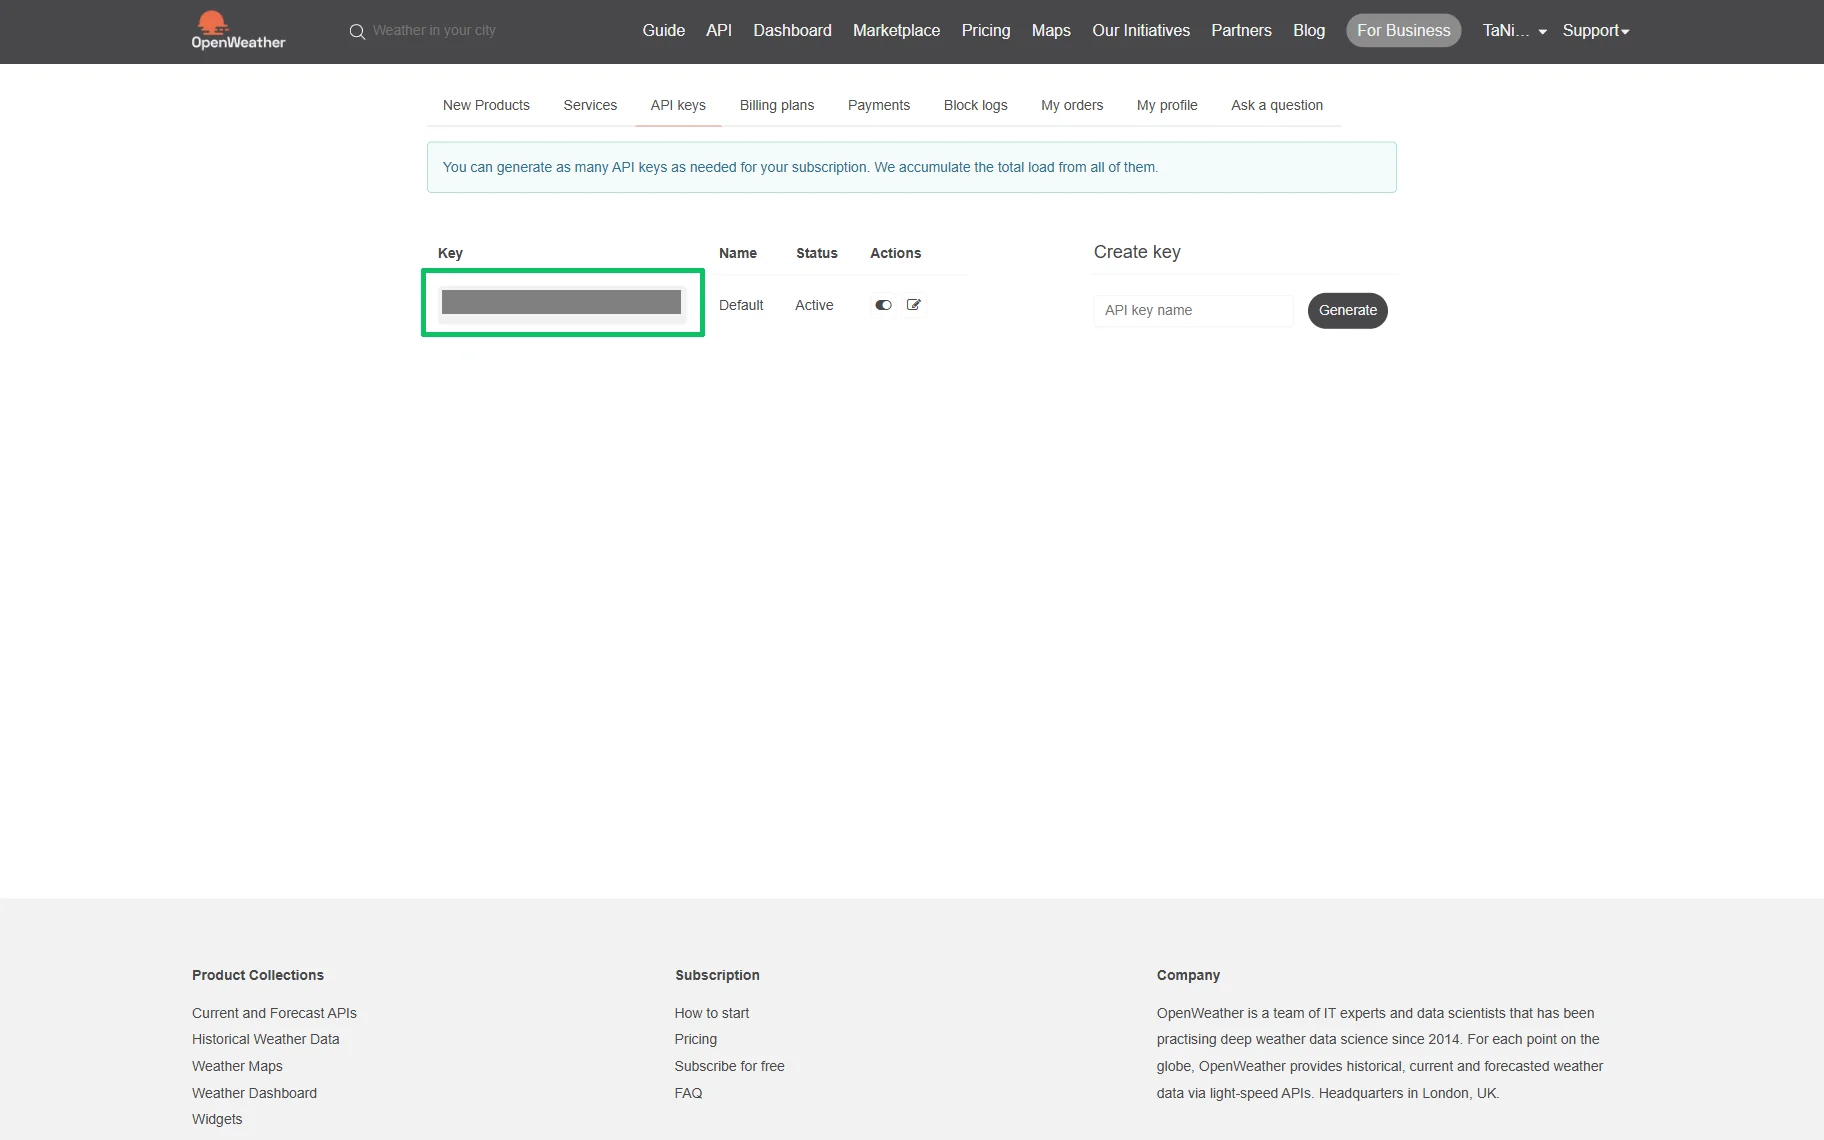
In the next step, move to the API tab, unroll it, and copy the generated default Key or press the “Generate” button to create a new one.
Add the API Key
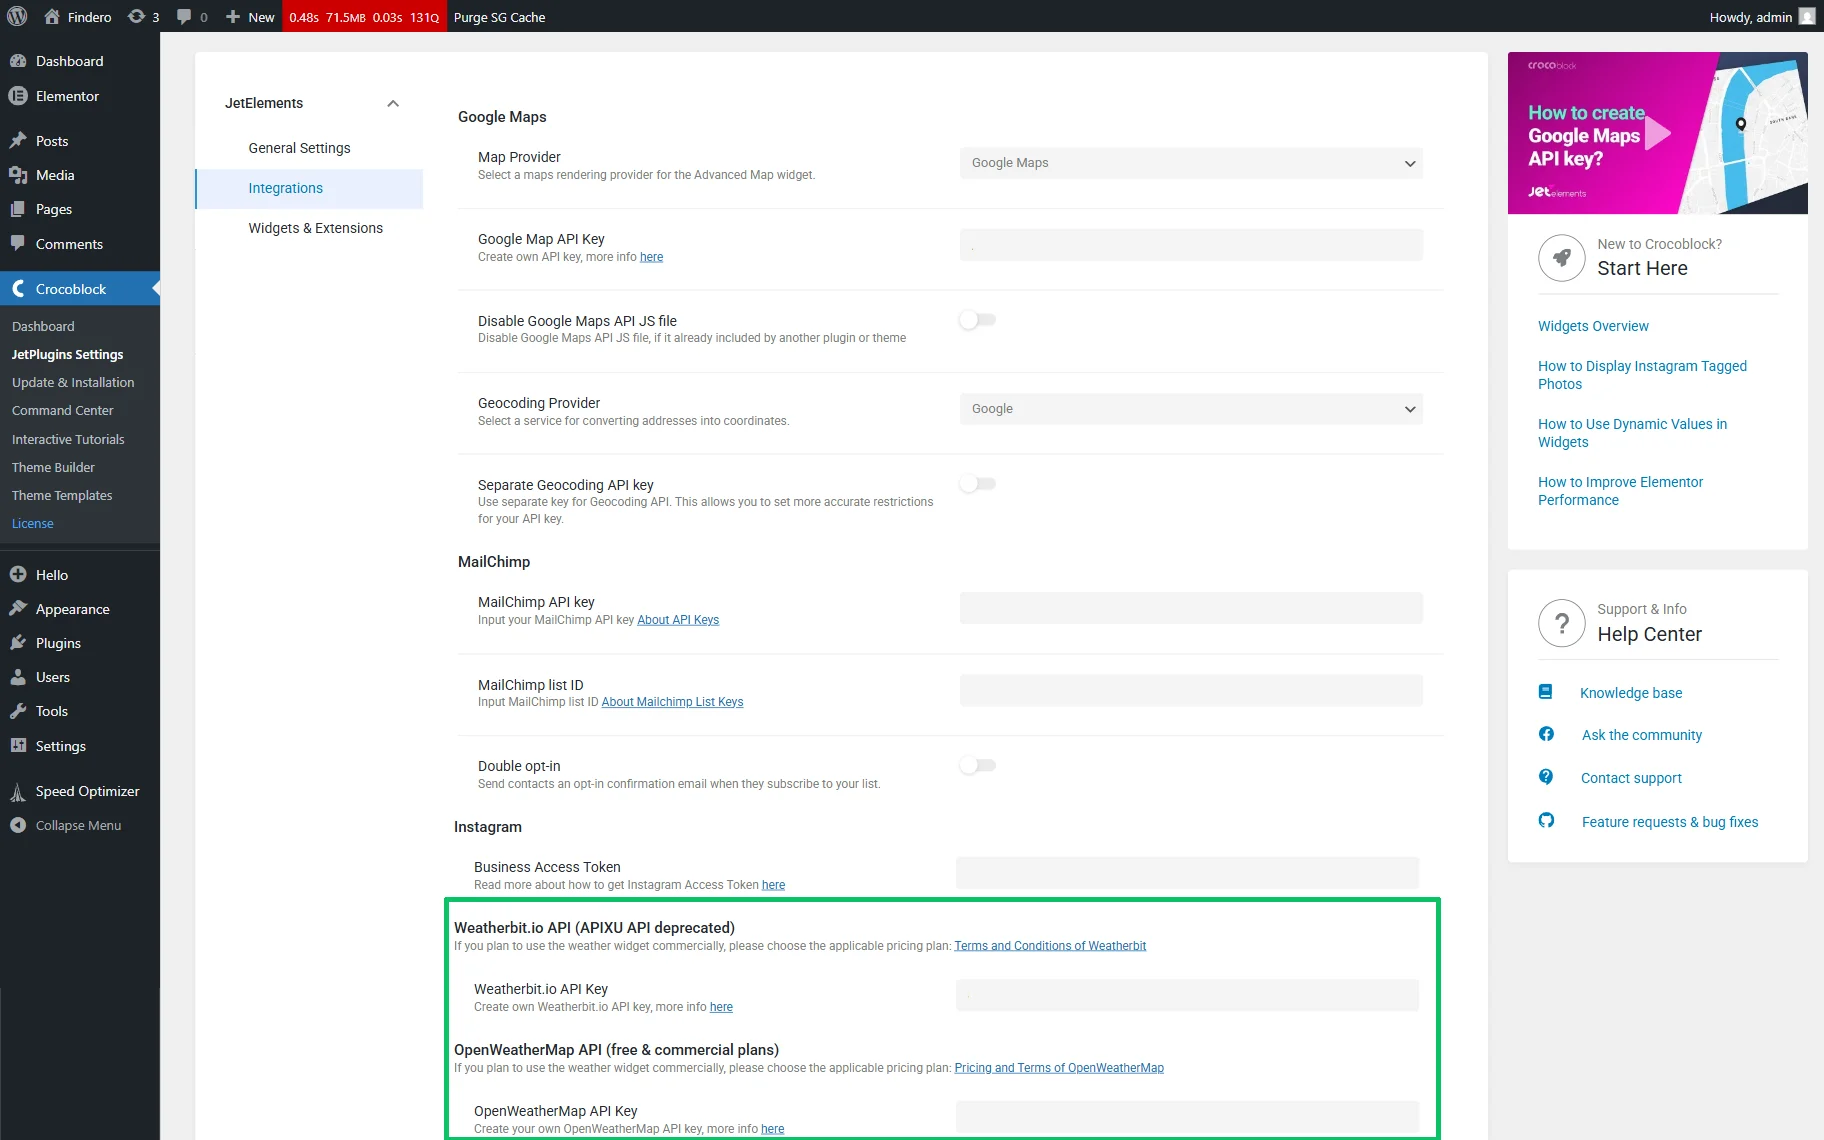
Proceed to WordPress Dashboard > Crocoblock > JetPlugins Settings > JetElements Settings > Integrations.
Here, paste the copied API Key into the corresponding field: the Weatherbit.io API Key into the Weatherbit.io API (APIXU API deprecated) field and the OpenWeatherMap API Key into the OpenWeatherMap API (free & commercial plans) field.
Activate the Weather Widget
Navigate to the Crocoblock > JetPlugins Settings > JetElements Settings > Widgets & Extensions and move the Weather toggle to activate it.
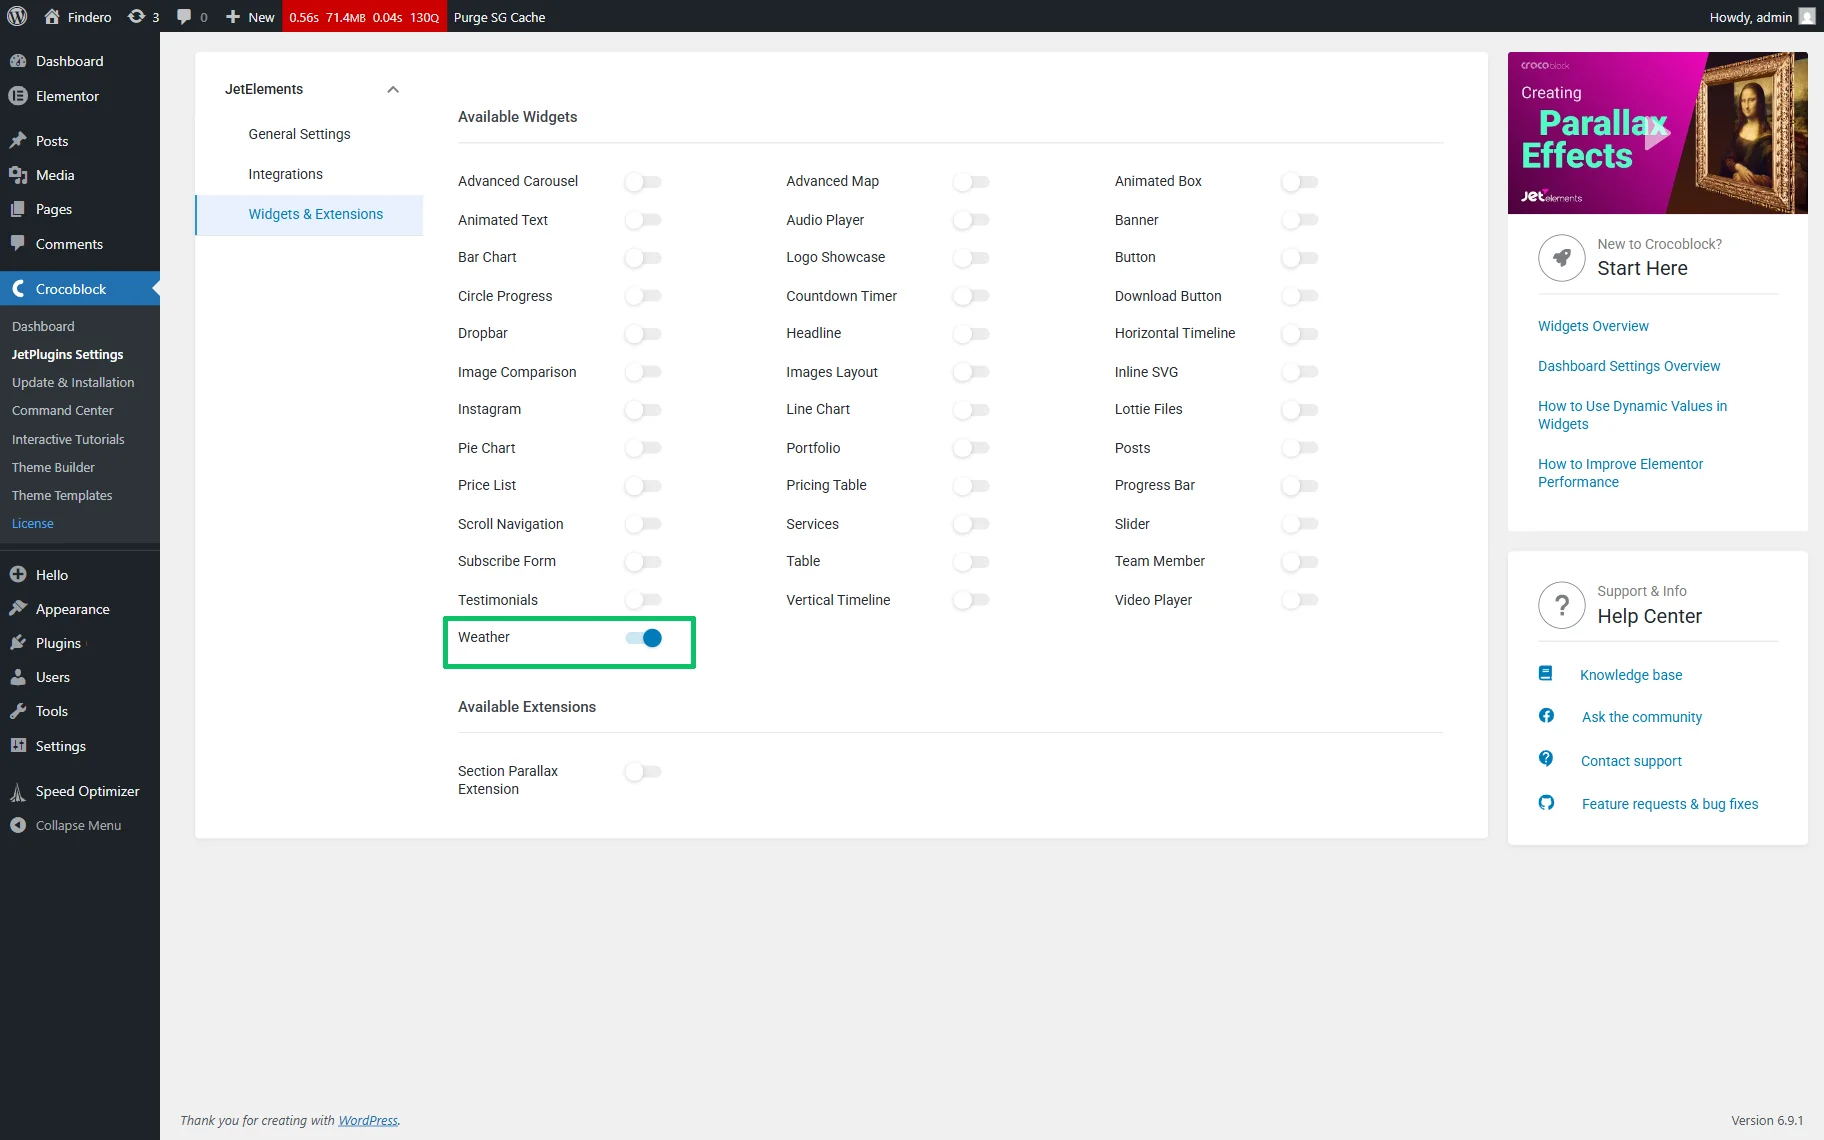
Changes will be saved automatically.
Add the Widget to a Page
Open the page where you want to place the weather forecast block in the Elementor page builder. Find the Weather widget and drag and drop it to an appropriate section on the page.
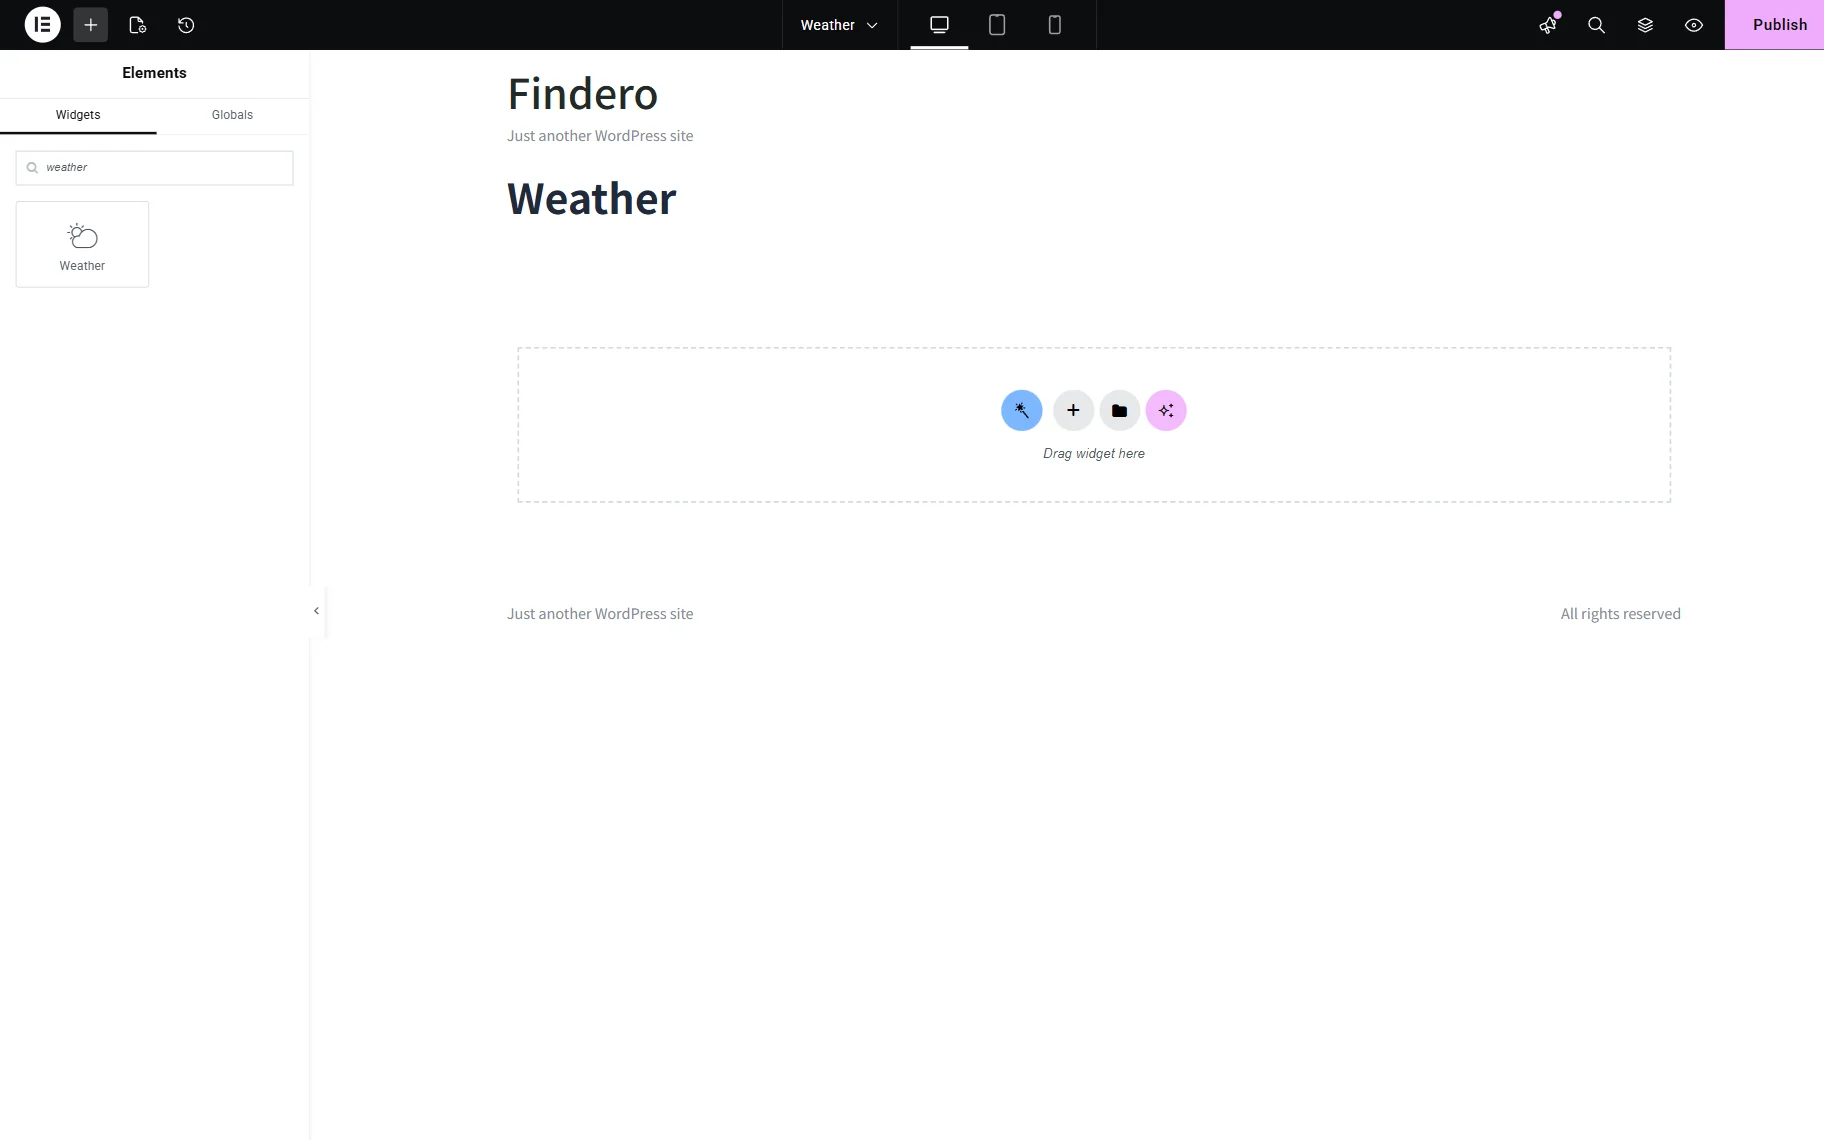
Once added, the widget will automatically display data.
Configure the Settings
The Weather widget has two Content settings tabs: Weather and Settings. The Weather settings include:
- Weather API Provider 一 a drop-down to select the needed provider;
- Weatherbit (default) 一 an option intended to display data using the Weatherbit.io API Key,
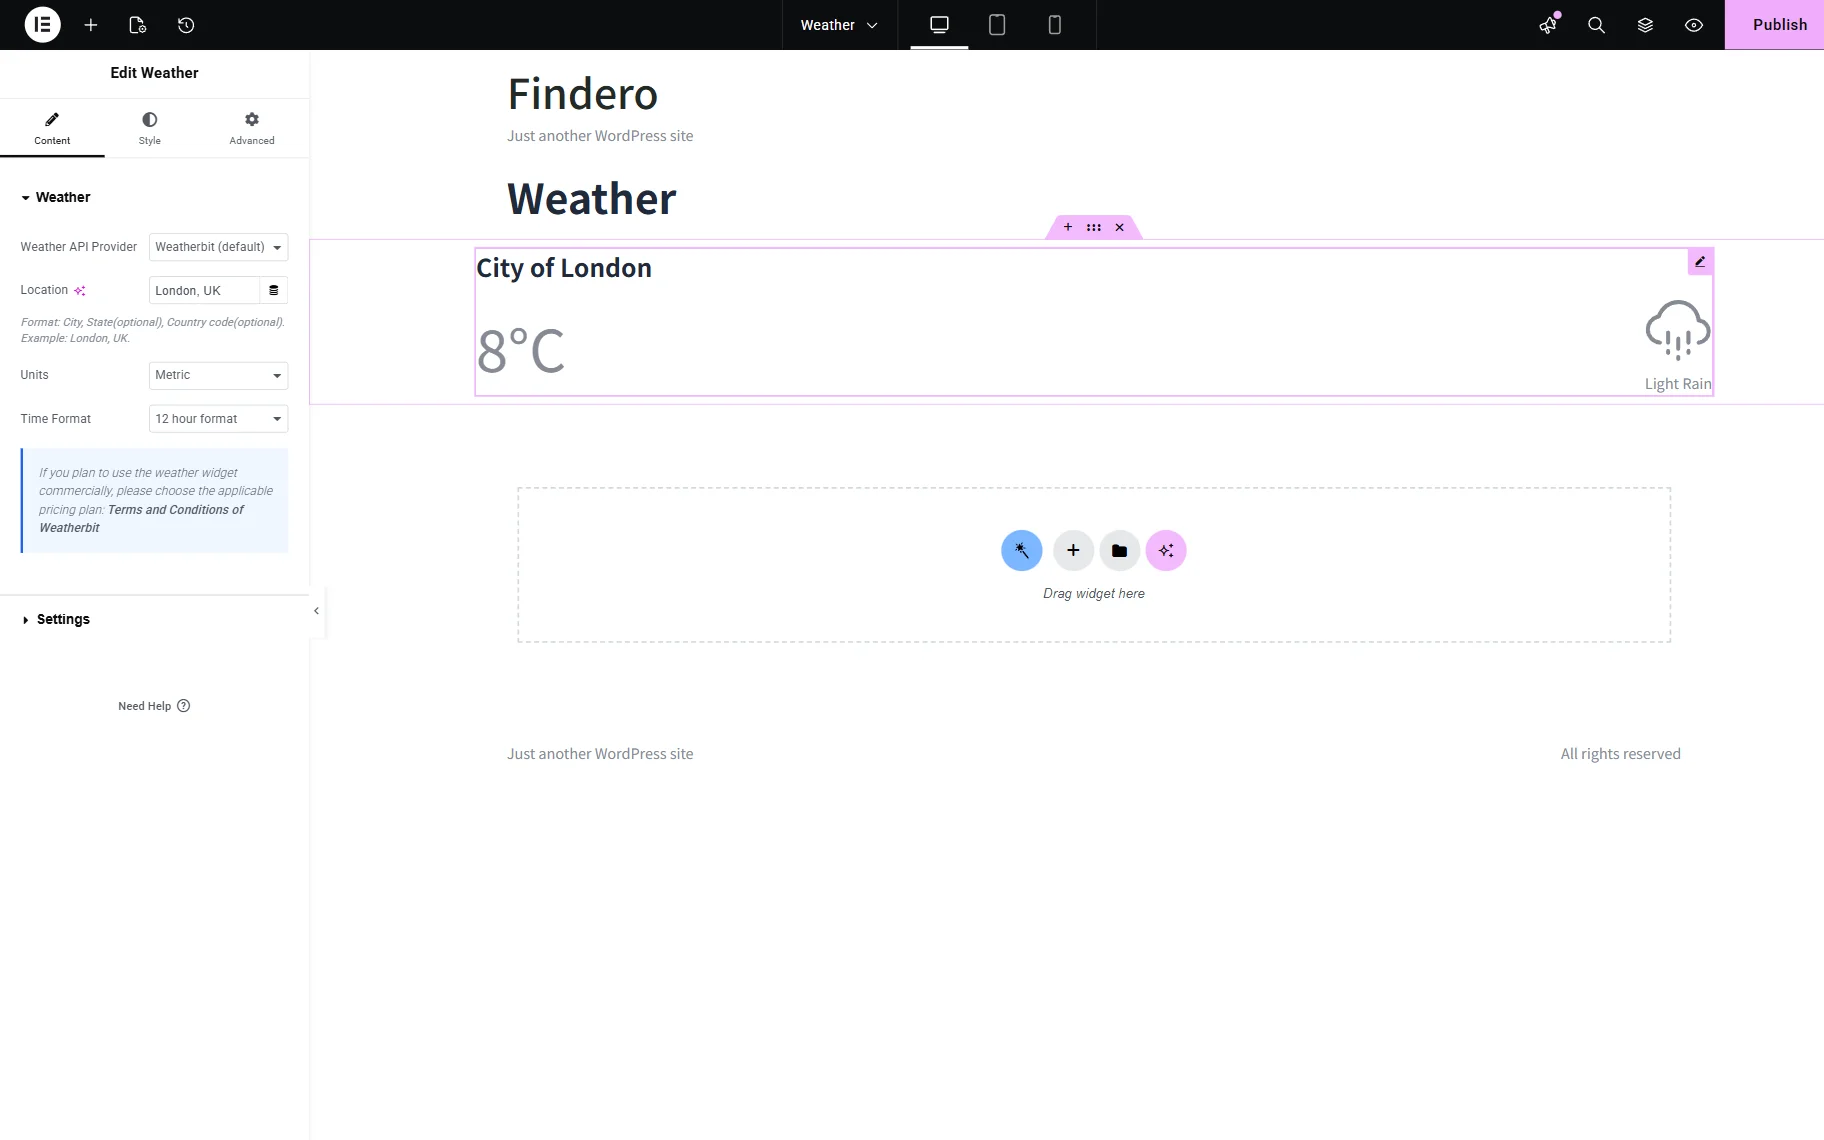
- OpenWeatherMap (free) 一 an option intended to display data using the OpenWeatherMap API Key;
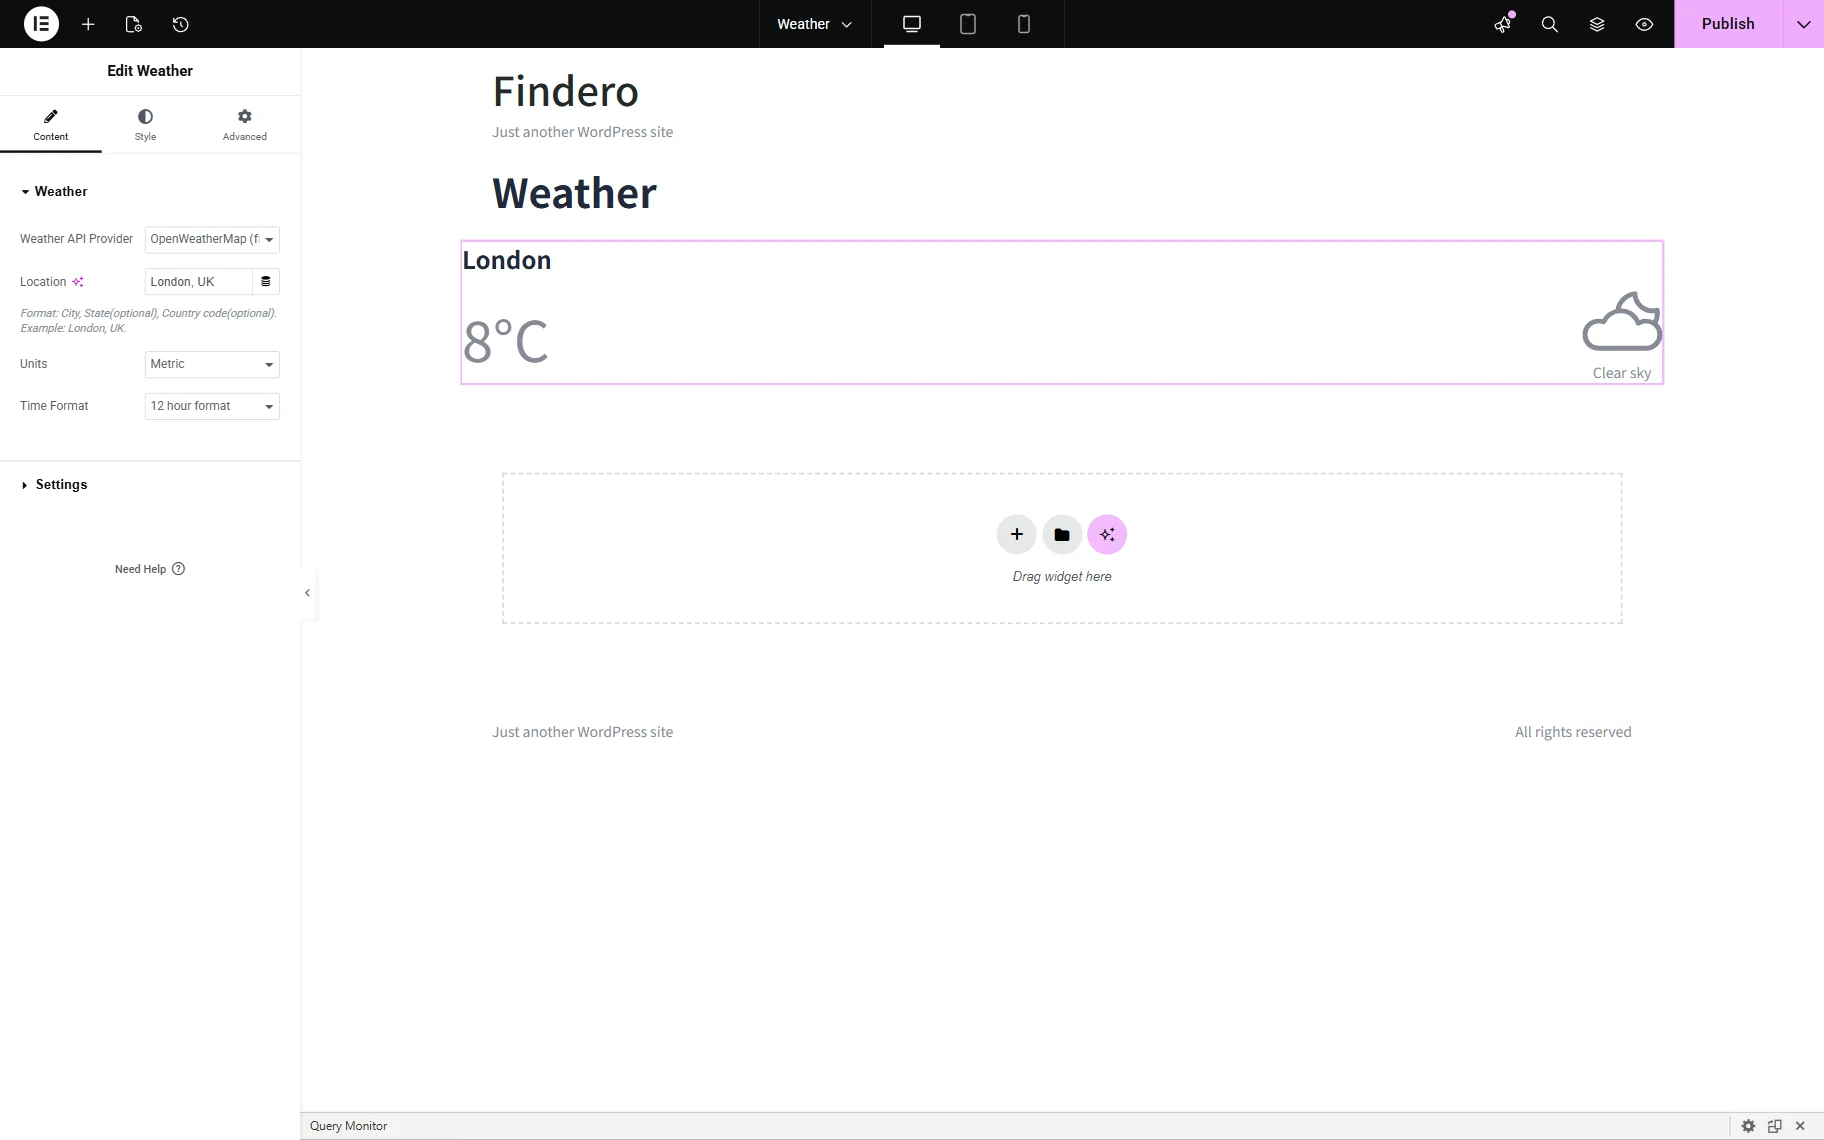
- Location 一 a text field for typing the city, state, and country for the weather forecast. If necessary, the “Dynamic tag” icon should be pressed to select this data from other fields;
- Units 一 a drop-down menu to select the “Metric” or “Imperial” option to display the temperature in the appropriate units (i.e., the temperature will be shown in degrees Celsius or Fahrenheit);
- Time Format 一 a drop-down menu to choose the 12-hour or 24-hour time format.
The Settings tab includes:
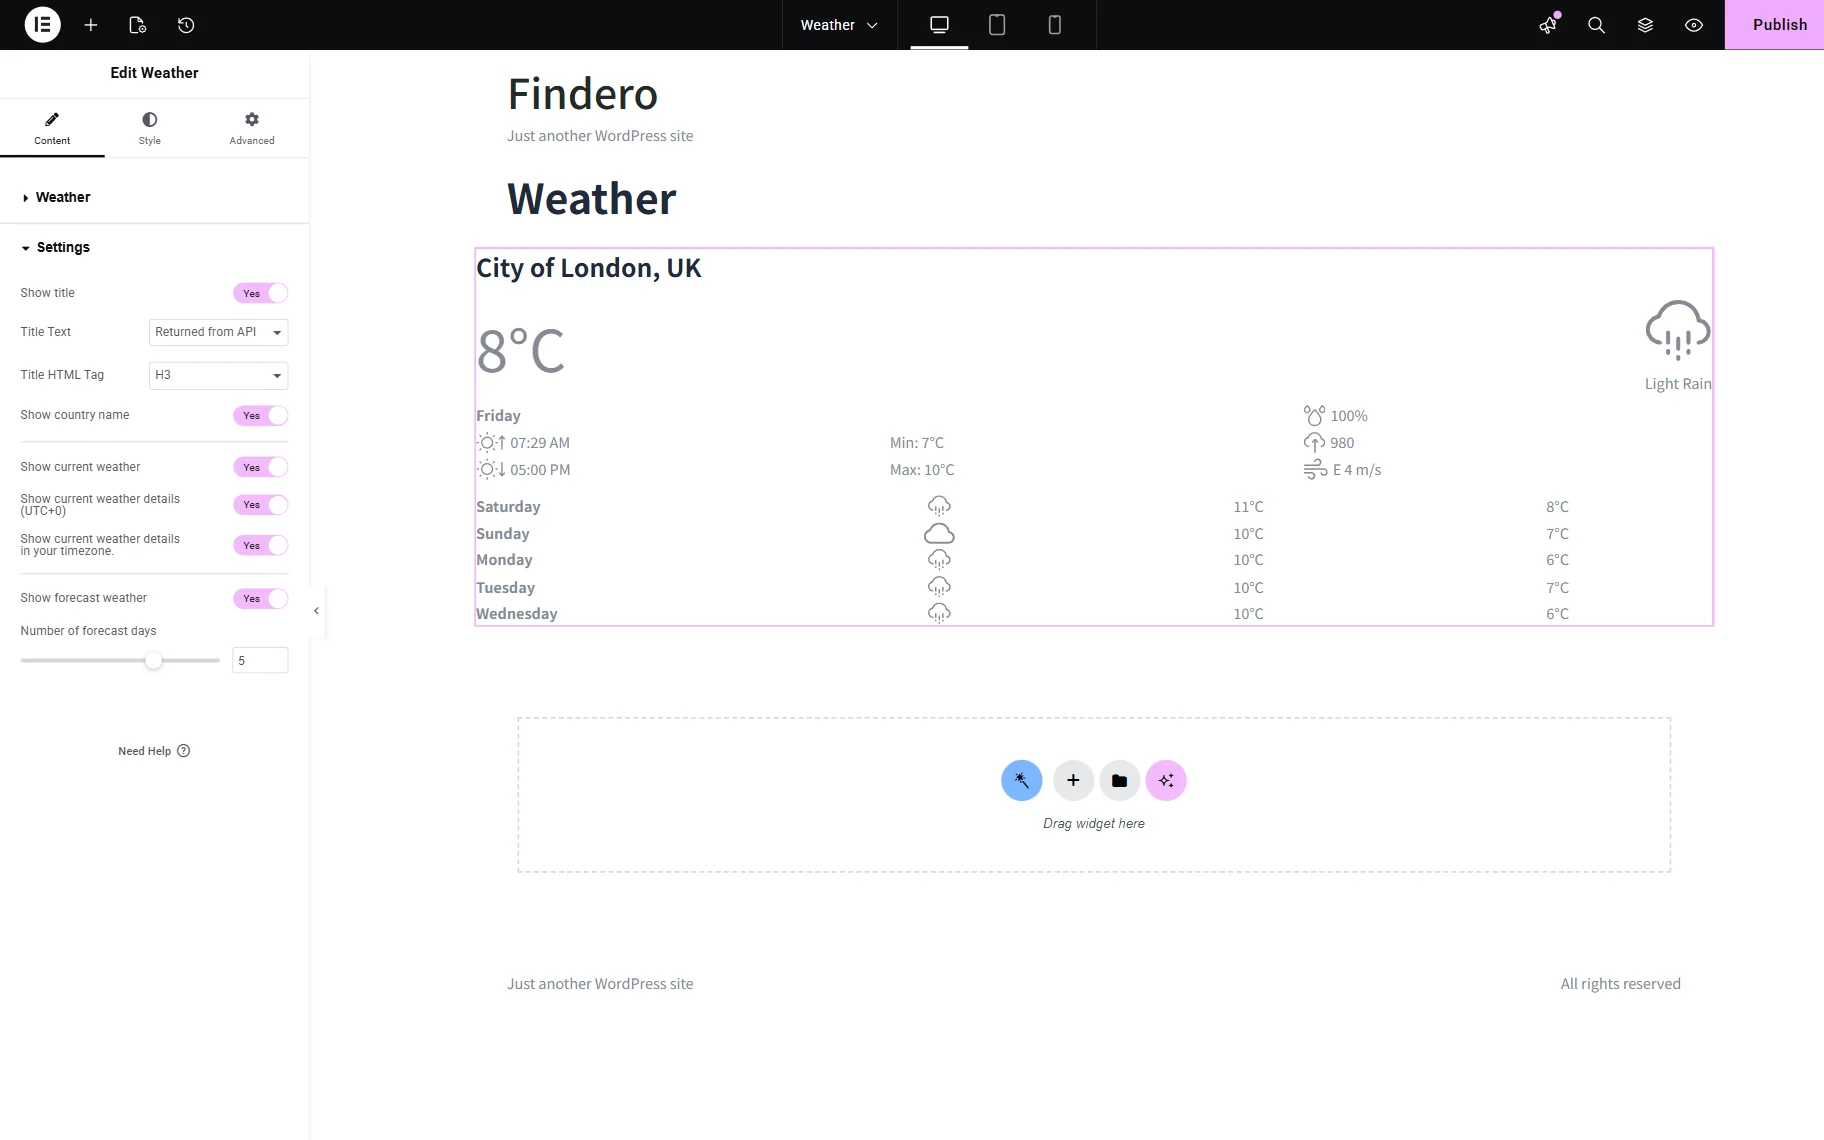
- Show title 一 a toggle that, if enabled, shows the city title to users. If activated, the toggle displays the Title Text and Title HTML Tag drop-downs to set the corresponding options;
- Title Text 一 a drop-down menu to select the “Required from API,” “From Location,” or “Custom” location;
- Title HTML Tag 一 a drop-down menu to select the heading level for the title (from H1 to H6 and more);
- Show country name 一 a toggle that, if enabled, shows the country on the page;
- Show current weather 一 a toggle that, if enabled, shows current weather to users;
- Show current weather details 一 a toggle that, if enabled, shows humidity, wind speed, max, min temperature, and more;
- Show forecast weather 一 a toggle, if enabled, turns on the Number of forecast days drop-down menu to select a weather forecast for a few days (from “1” to “7”).
When you have completed the settings, go to the Style tab. There, you can determine how the Title, Current Weather, Details Weather, and Forecast Weather will look. Partially, they cover Color, Typography, Alignment, Margins, Padding, Shadow, and more options.
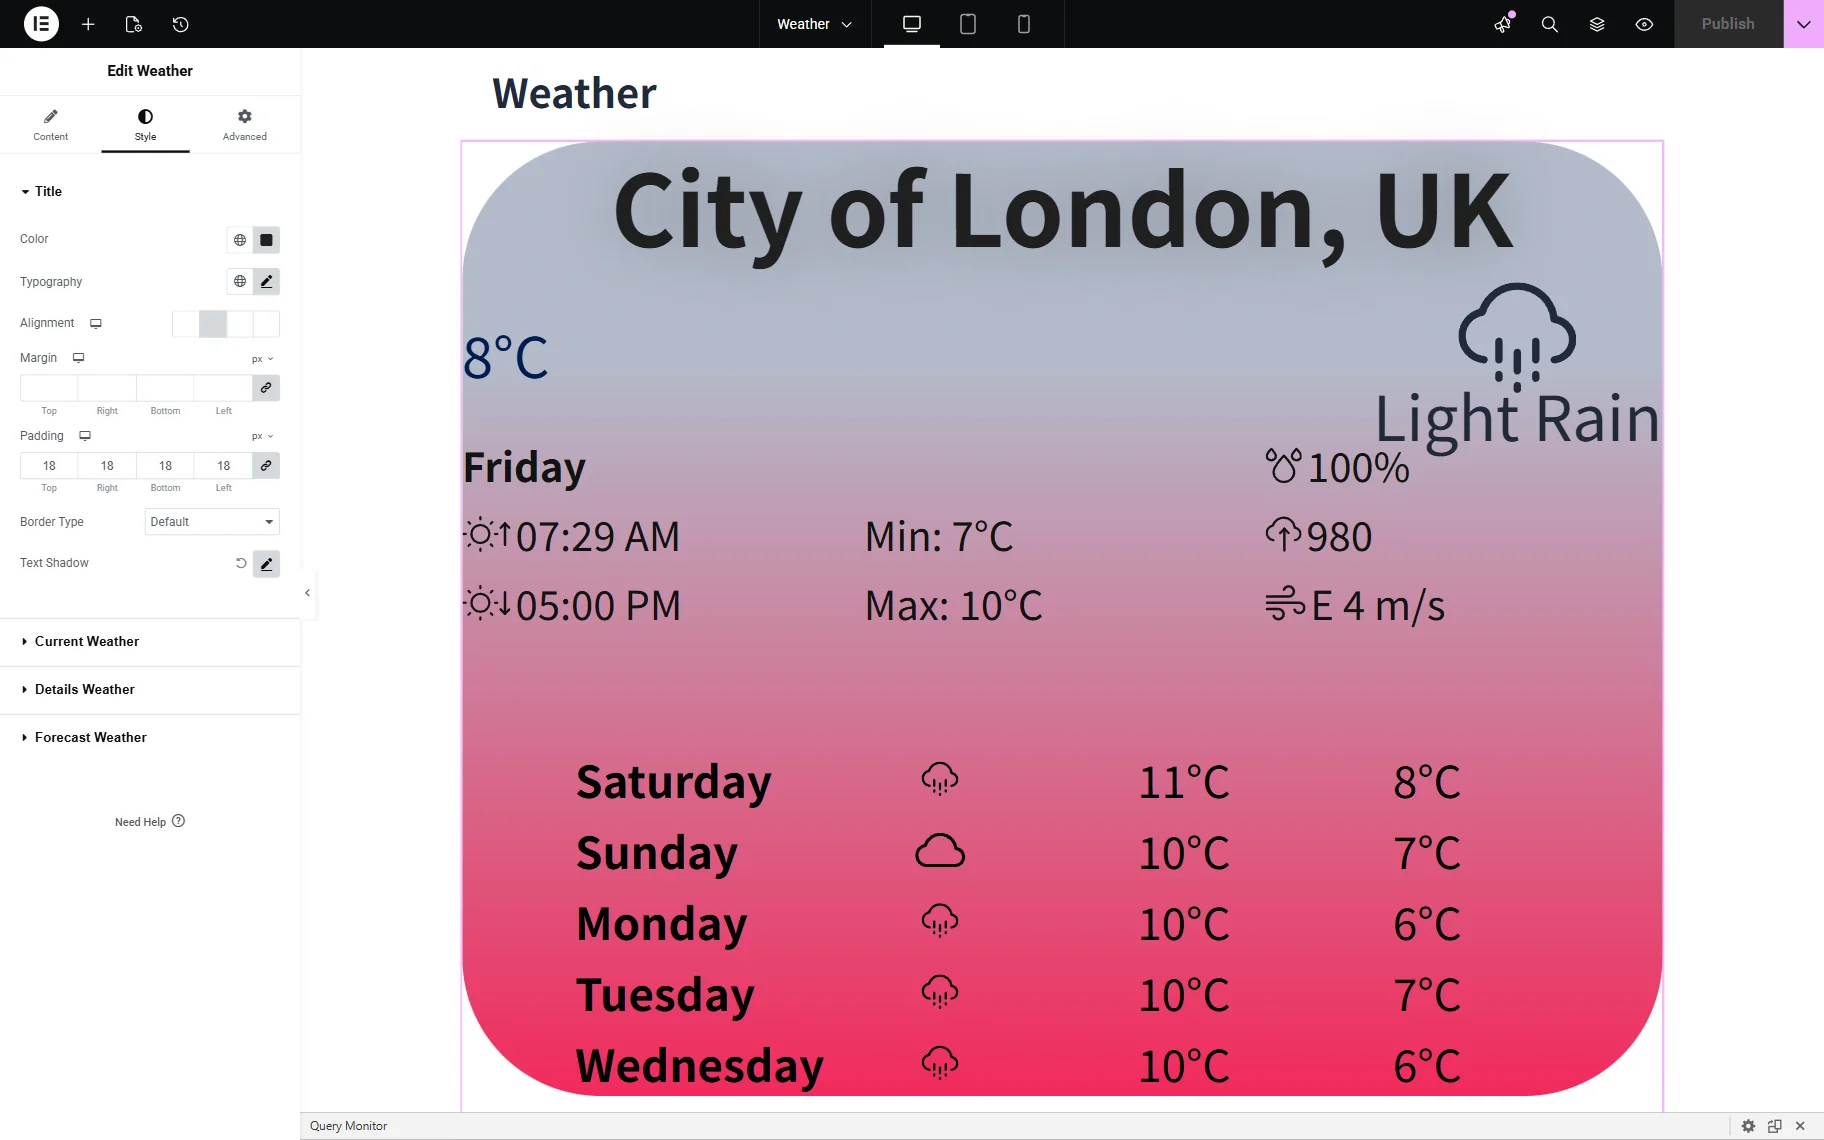
Also, the Advanced settings include the Layout, Dynamic Visibility, Border, and more.
That’s it. Now you know how to provide integration with the WeatherBit.io and OpenWeatherMap free plans to show weather and forecast information on your website using the Weather widget of the JetElements plugin for WordPress.