How to Create Terms Query and Display Related Tags on the Public User Page
Learn how to build Terms Query with JetEngine Query Builder and display the related tags on the WordPress public user page.
Before you start, check the tutorial requirements:
- Elementor (Free version) or Block editor (Gutenberg)
- JetEngine plugin installed and activated with the with the Profile Builder module enabled and Taxonomy created.
- JetThemeCore plugin installed and activated with a User Profile Page built.
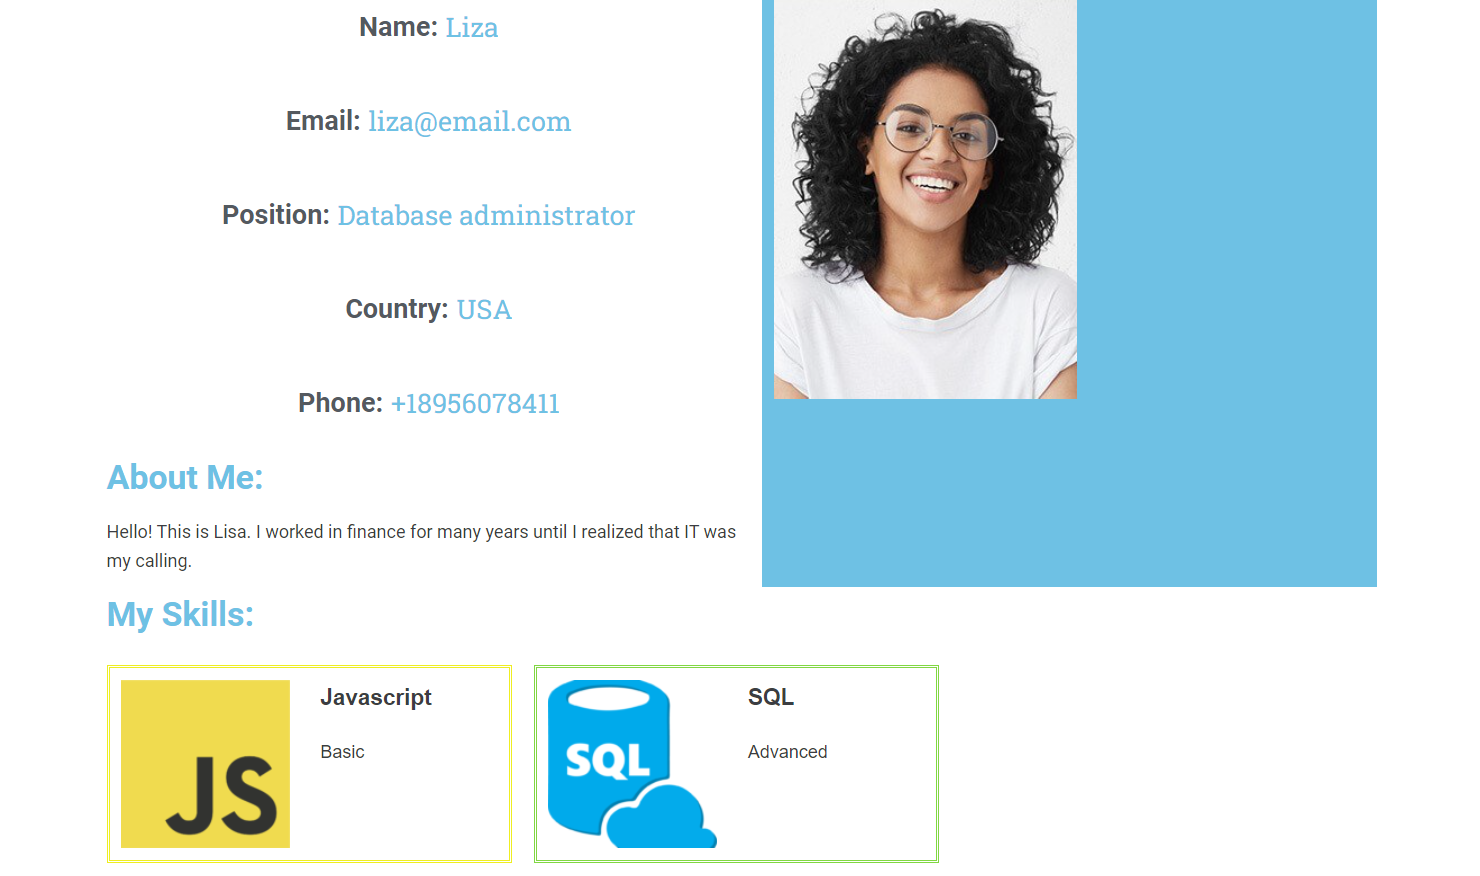
By following this tutorial, you can display the terms attached to the user. As an example, we will show the skills and their level attached to the specific user.
As the starting point, we will check the result to understand what we will get. At the end of this tutorial, you will know how to display the info about the user with their skills picked on the WordPress Dashboard.

Let’s now move on to the steps you should take.
Build a Listing
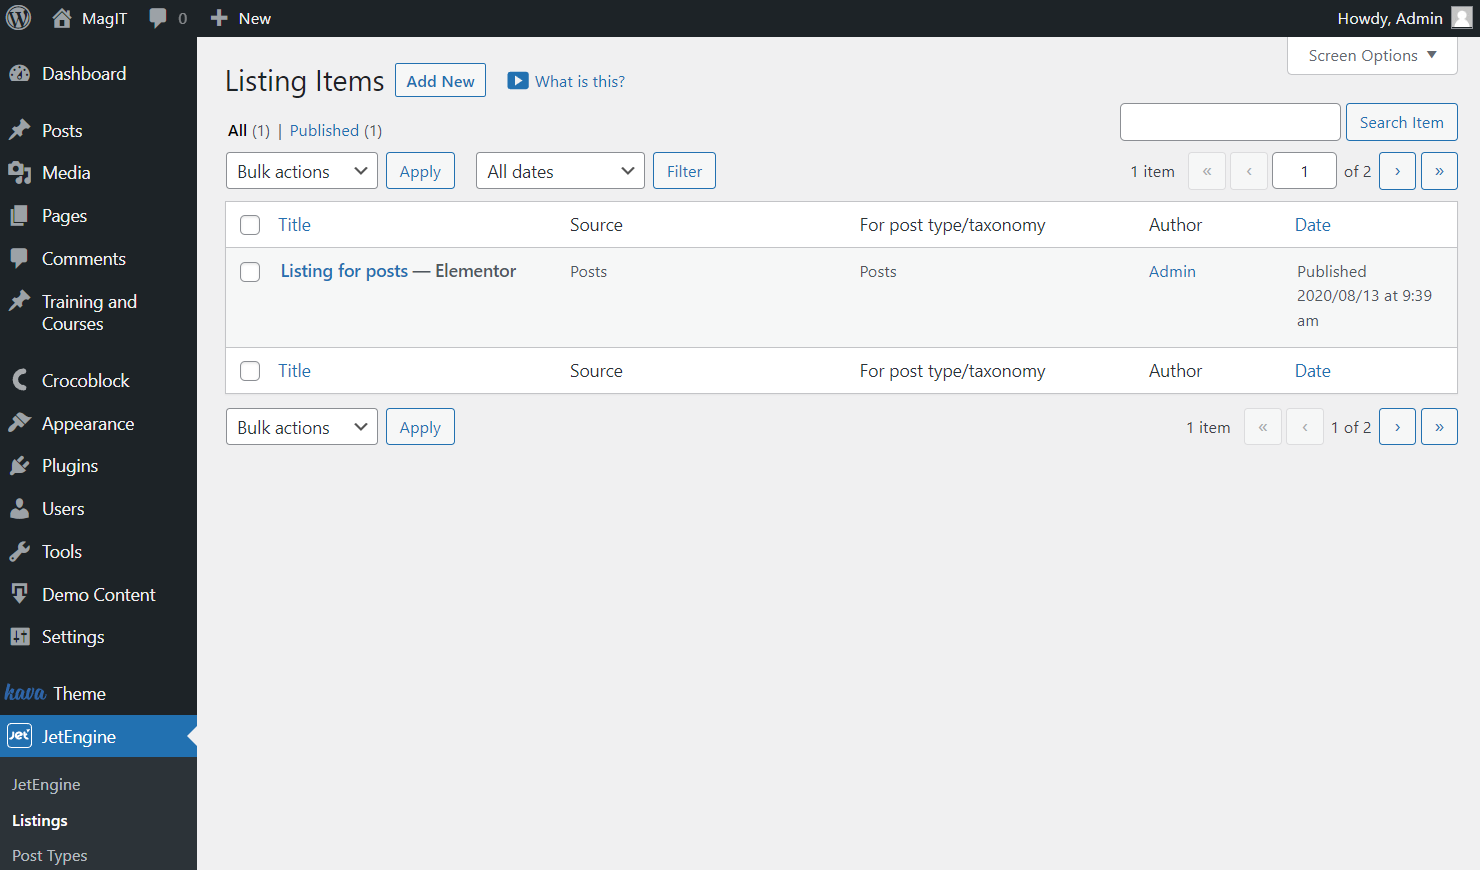
Firstly, proceed to the WordPress Dashboard > JetEngine > Listings. Press the “Add New” button to build a new listing.
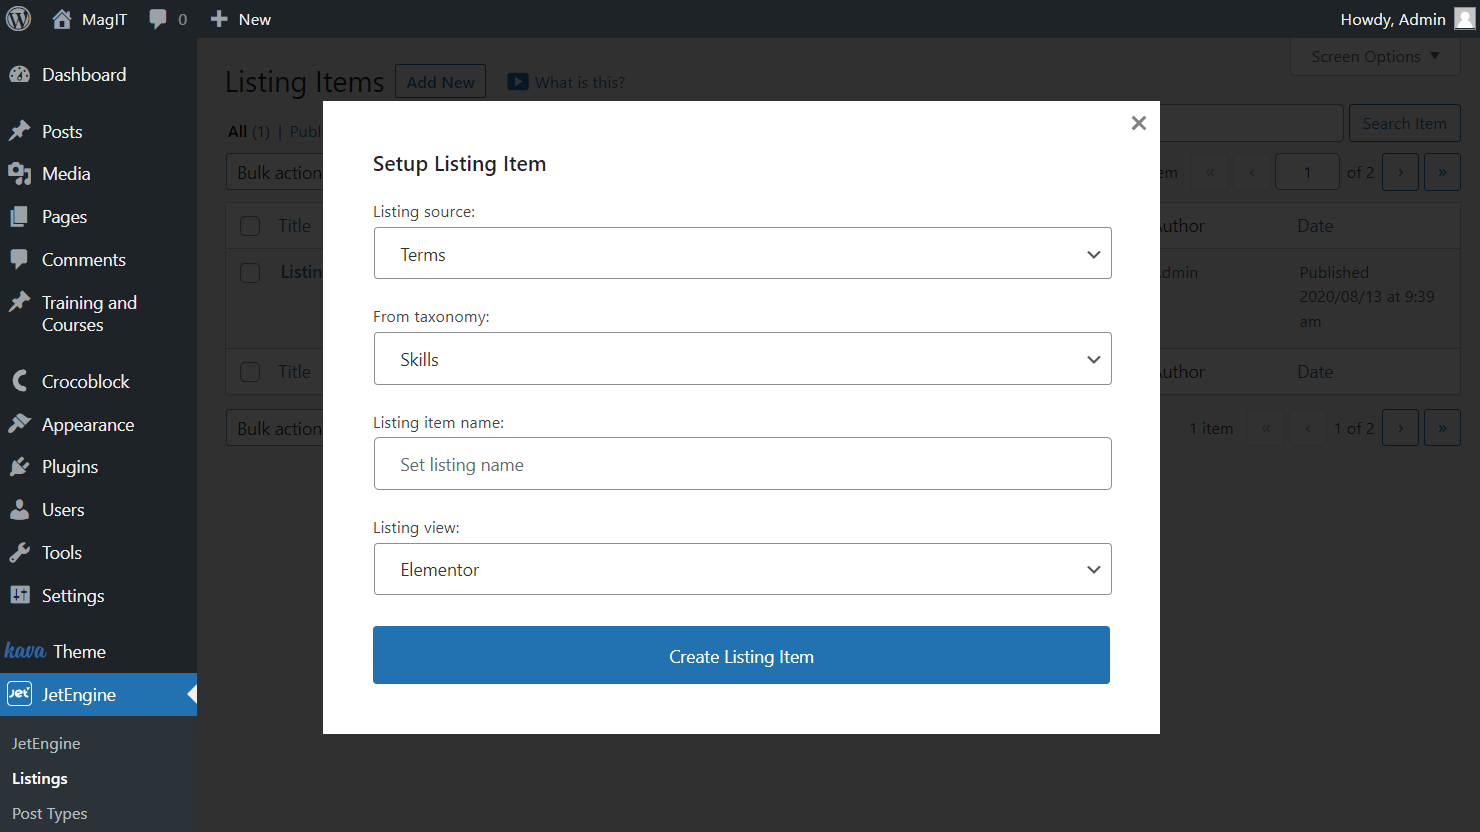
In the pop-up, select the “Terms” option as the Listing source, and find the needed item in the From Taxonomy list.
Also, mind completing the Listing item name and selecting Listing view. We will check both Elementor and Block Editor.
Now you can push the “Create Listing Item” button.
Adjust Listing in Elementor
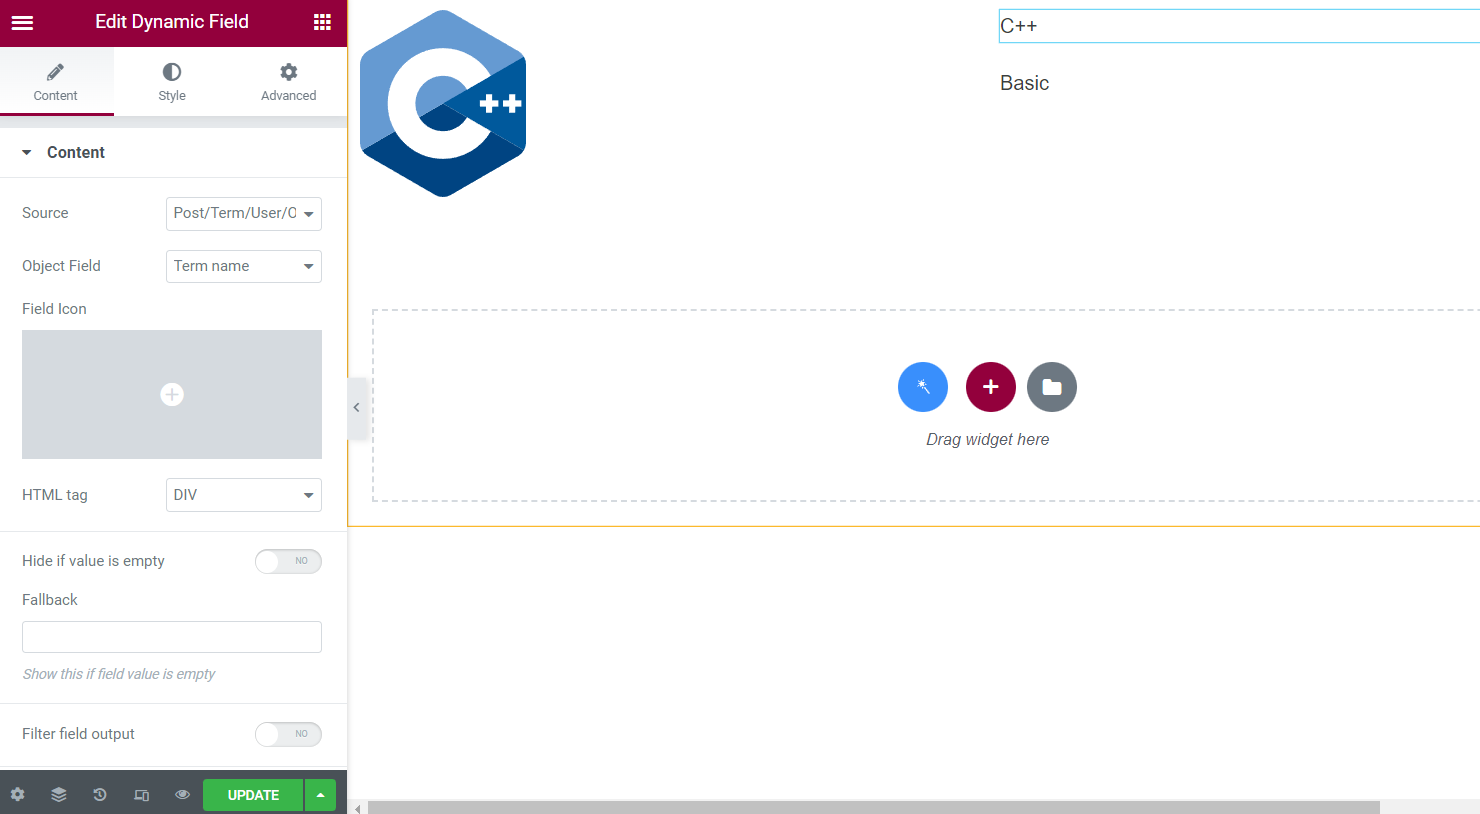
Add desired widgets to display dynamic data about the taxonomy terms. For instance, we add a Dynamic Image to show the picture attached to the term and two Dynamic Fields.
Look at the first Dynamic Field; it shows the term name. To get the same, pick the “Post/Term/User/Object” Source and “Term Name” Object Field.
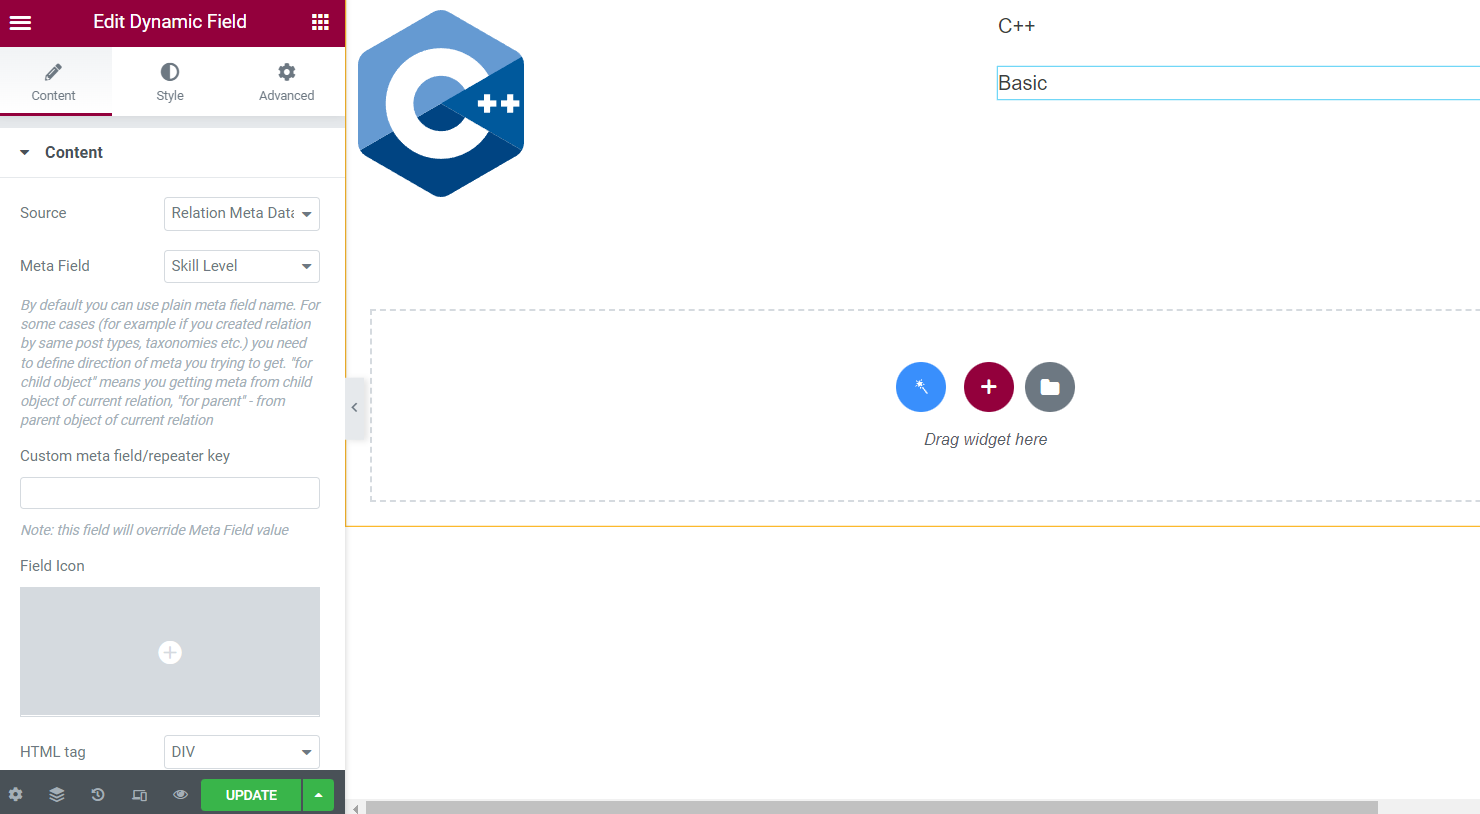
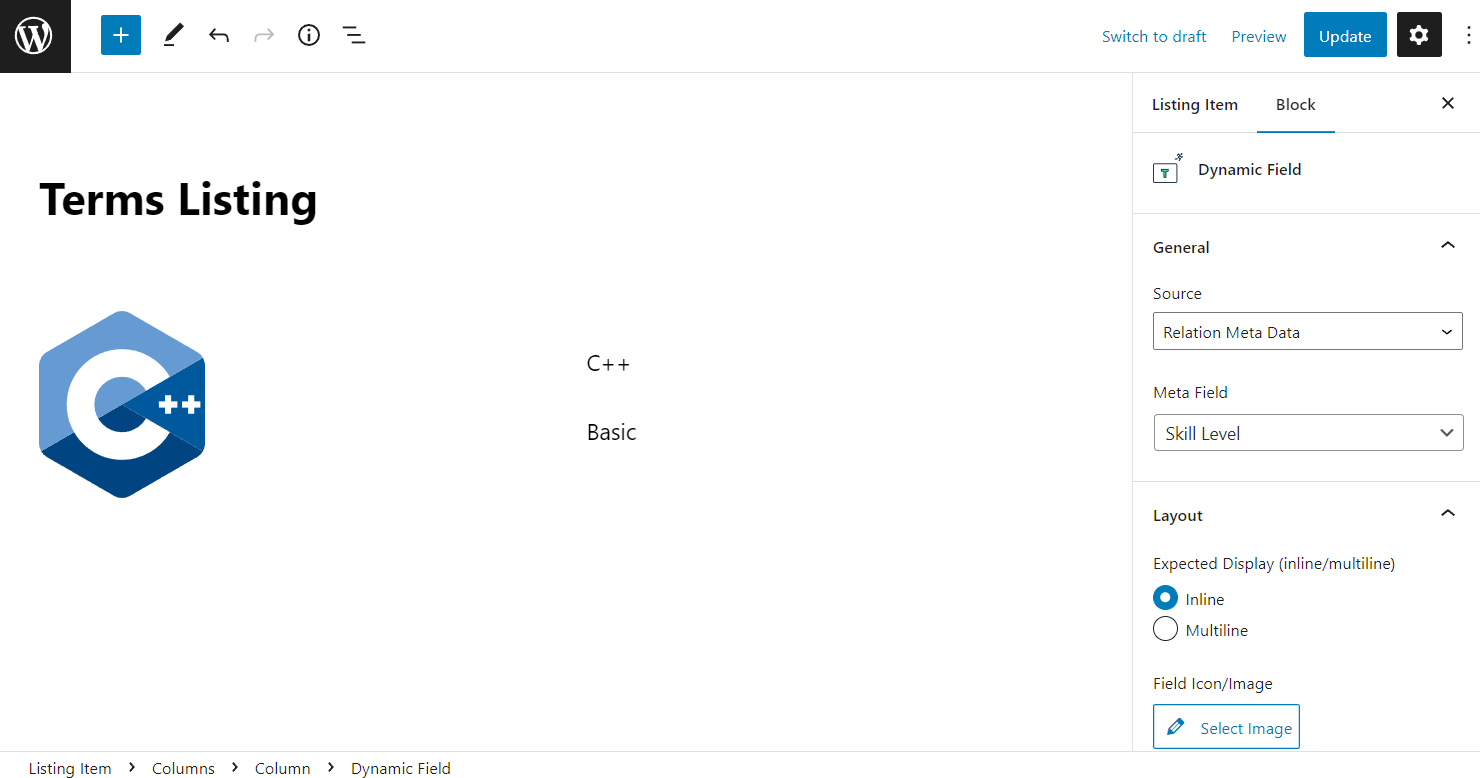
We show the skill level (relation meta field data) as well. Don’t forget that here we select “Relation Meta Data” Source and “Skill Level” Meta Field.
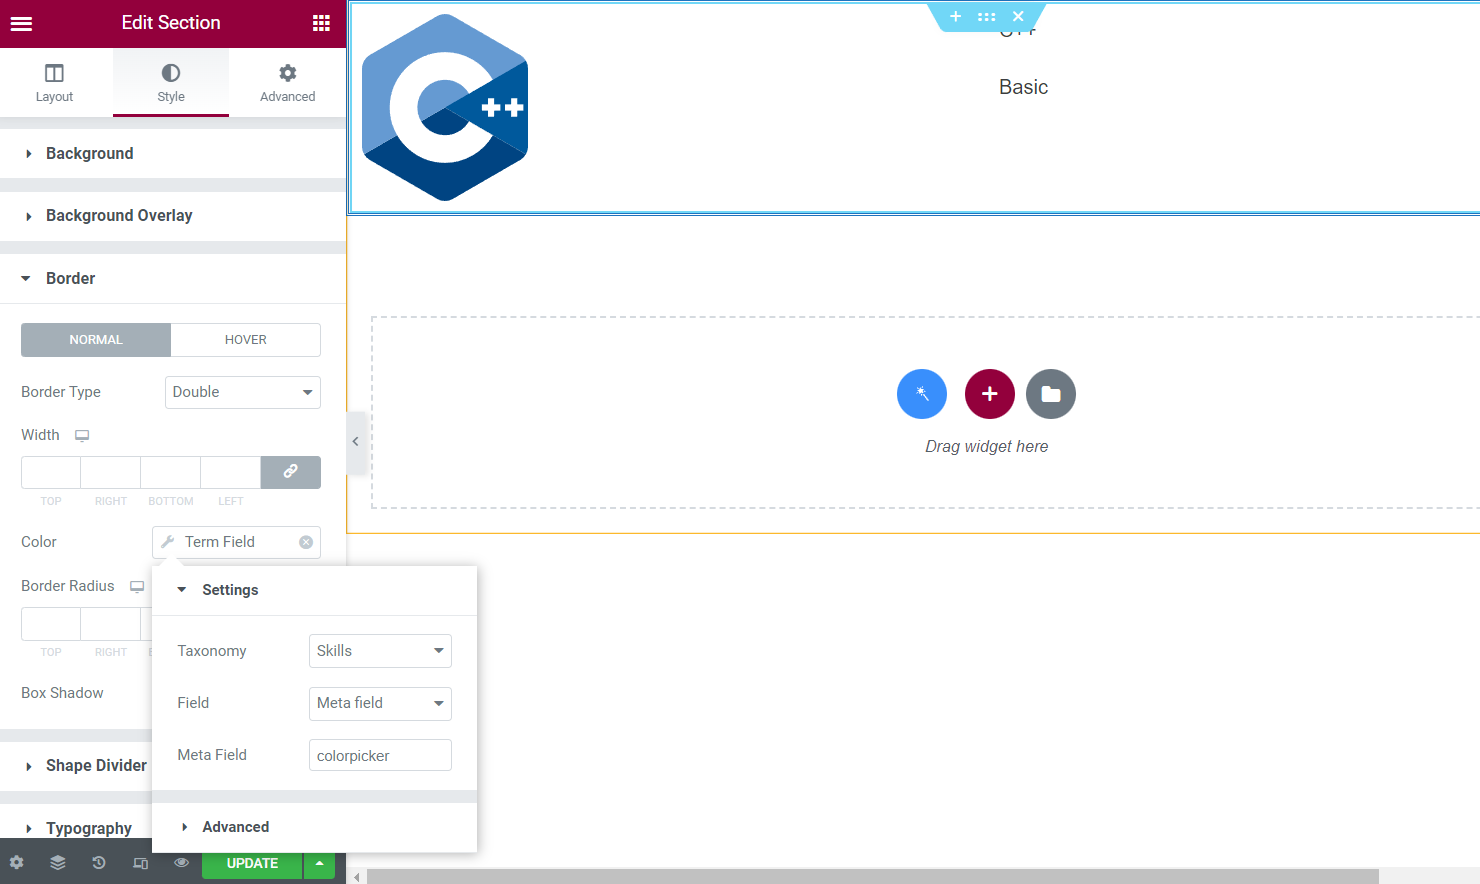
Optionally, you can style up the listing. For example, we will add a border to the section to show the colors we have picked for each term in the Colorpicker meta field.
Select Section, head to the Style section, and open the Border tab. Pick the needed Border Type and move to the Color field.
Click the Dynamic Tags button and choose the “Term Field” macro. Then define the needed Taxonomy, and pick the “Meta field” option. Specify the Meta Field; now, we type in the “colorpicker” value that stands for the colorpicker meta field name attached to the taxonomy.
Add Listing in Block Editor
You can repeat the same steps in the Gutenberg Editor; all the blocks and their settings are also available here.
Press the “Publish/Update” button once you are ready to publish.
Create a Terms Query
Now we need to build a query that will display only the items related to the particular user.
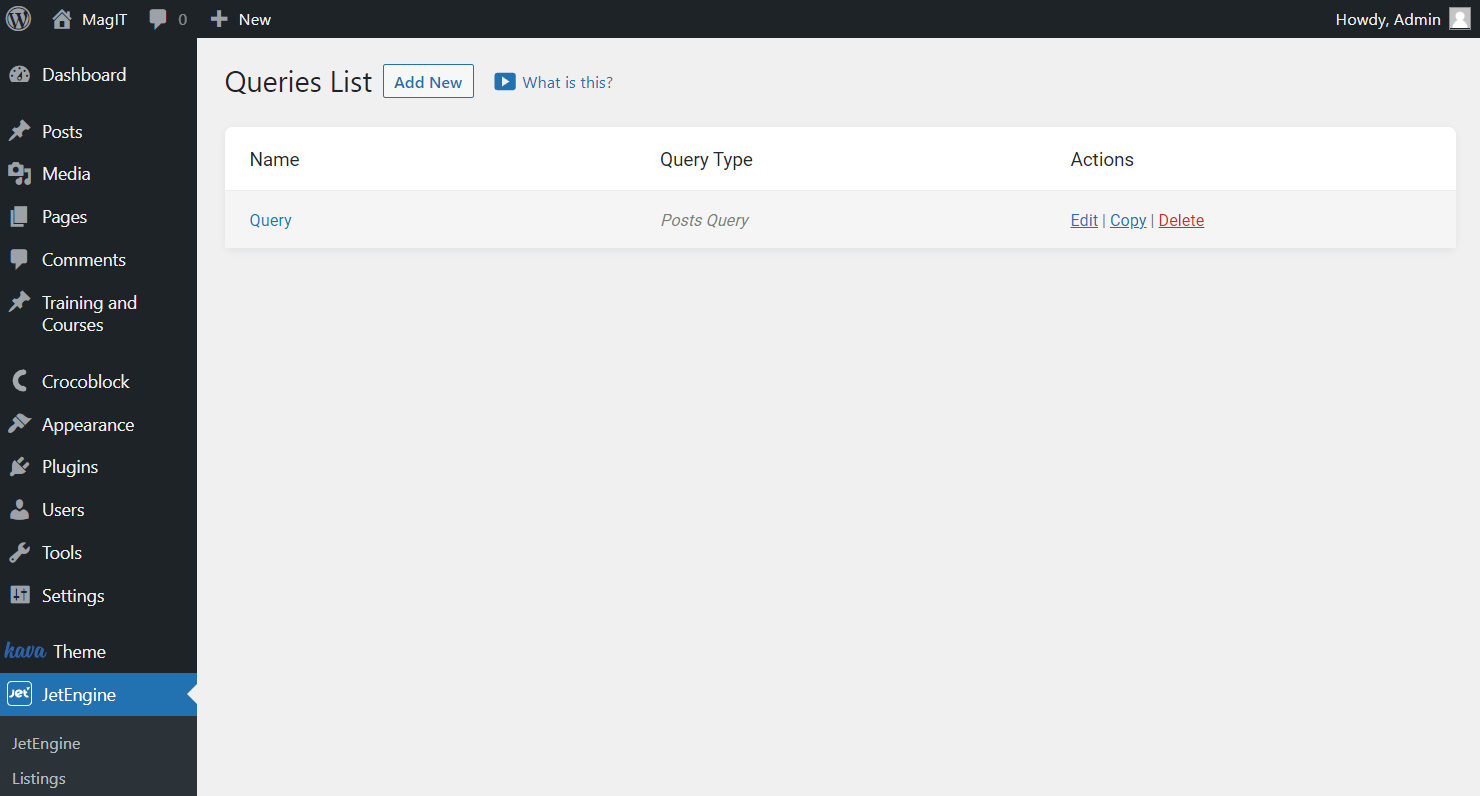
Navigate to WordPress Dashboard > JetEngine > Query Builder. Click the “Add New” button to build a query.
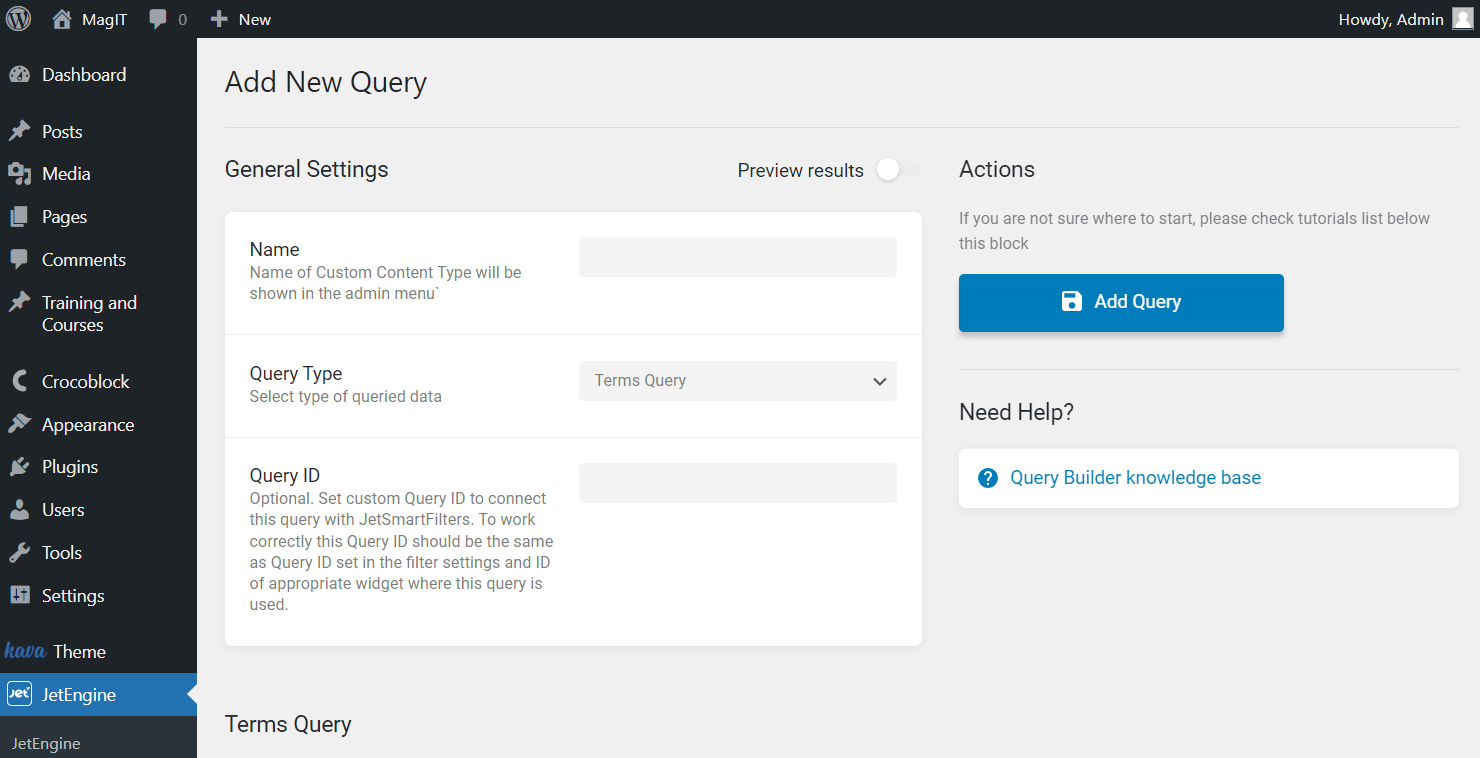
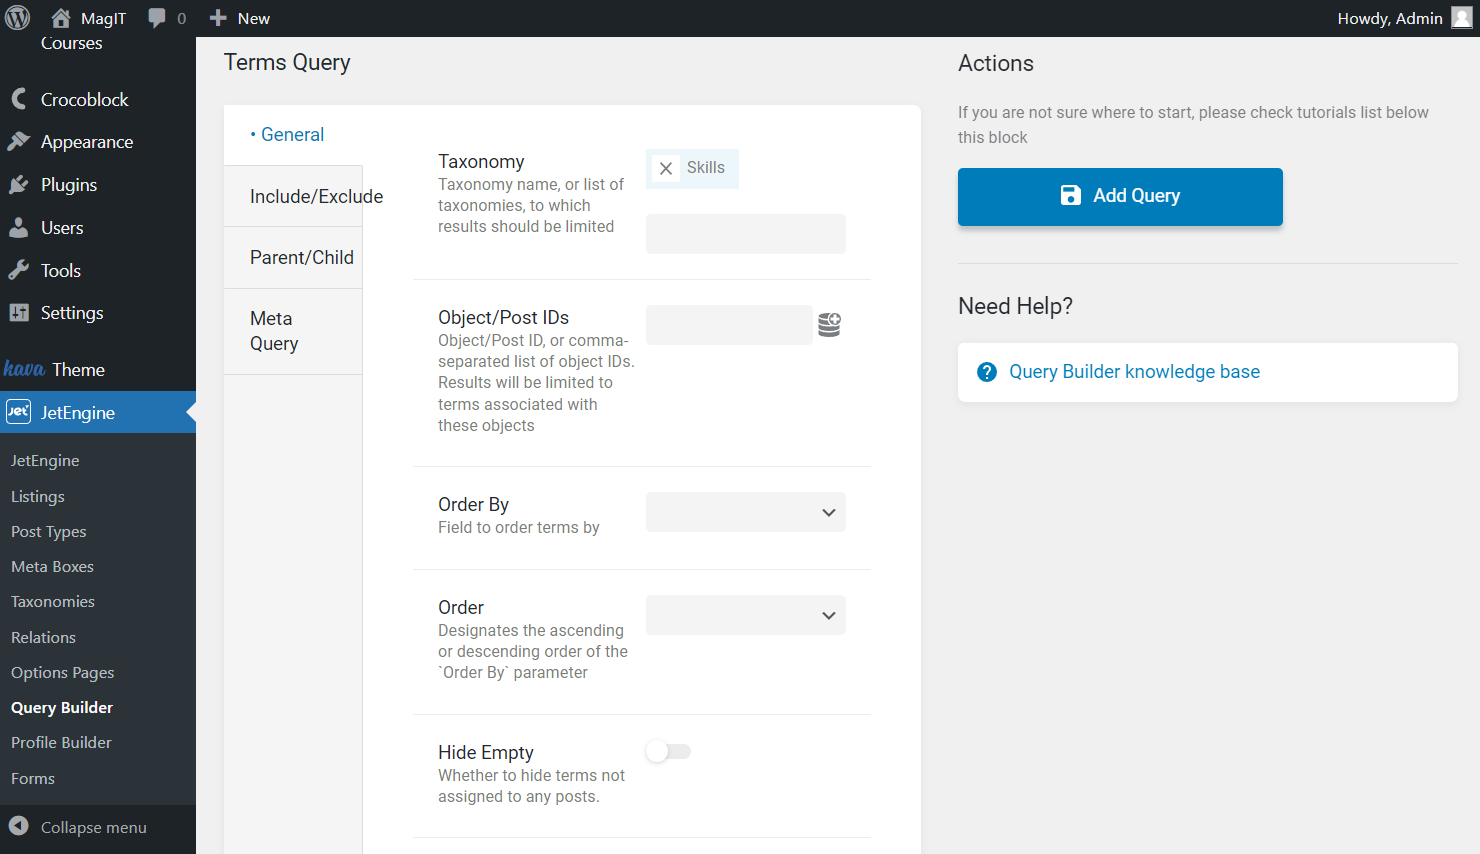
Begin with General Settings. Give a Name to the query, select “Terms Query” as Query Type, and set Query ID if you plan to use the query for filters.
In the General tab, choose the Taxonomy you use.
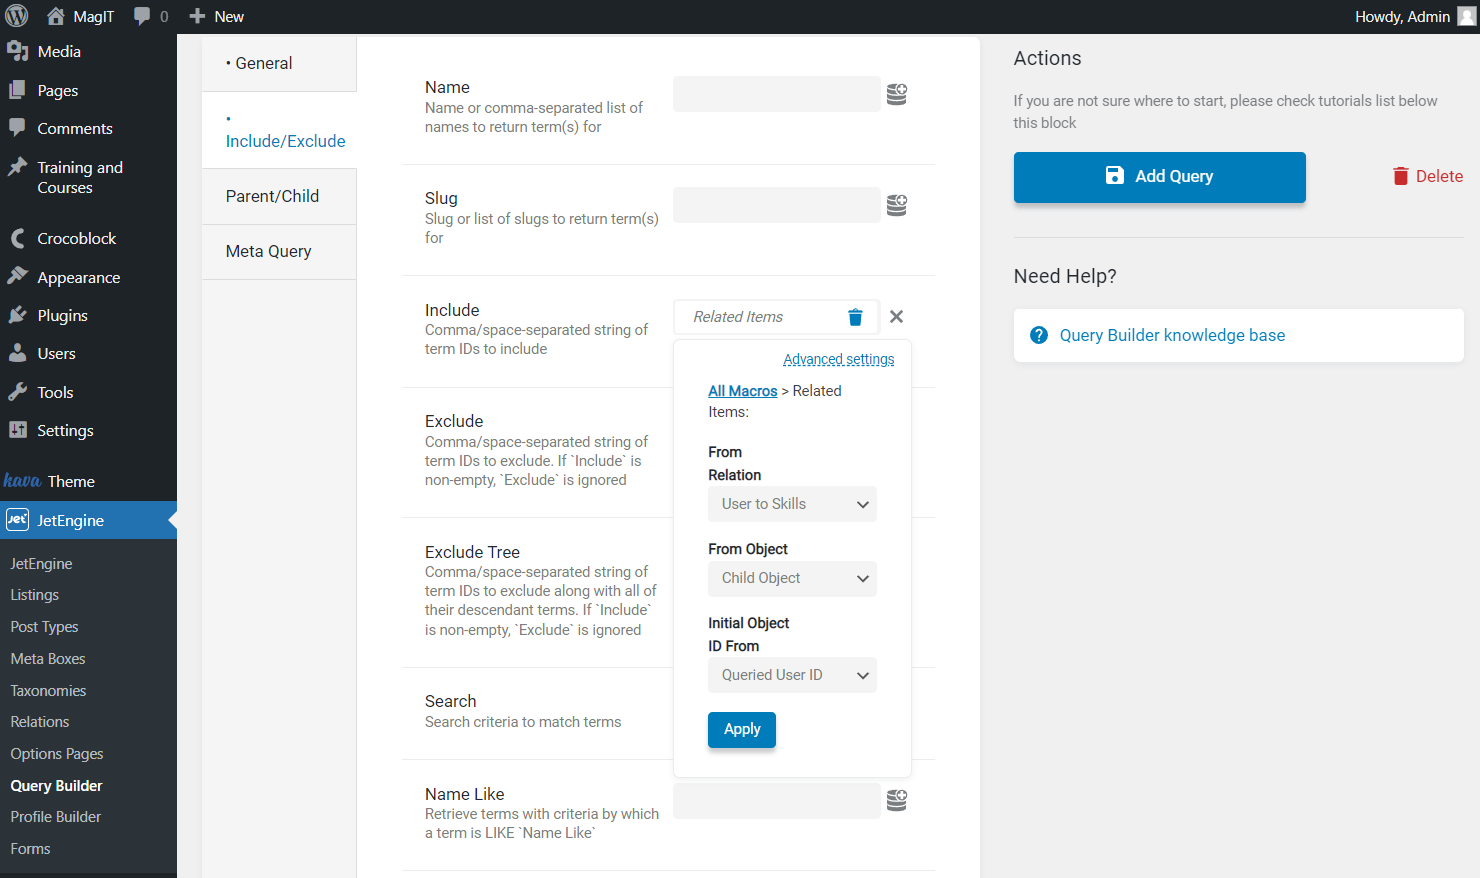
Head to the Include/Exclude tab. Click the Dynamic Tags button next to the Include field.
Select the “Related Items” macro.
Then specify the built relation in the From Relation field, select the “Child Object” as From Object option, and the “Current Object ID” as the Initial Object ID From item.
Don’t forget to press the “Apply” button.
That’s it; now press the “Add Query” button and go to the public user page you have built beforehand.
Customize the Public User Page
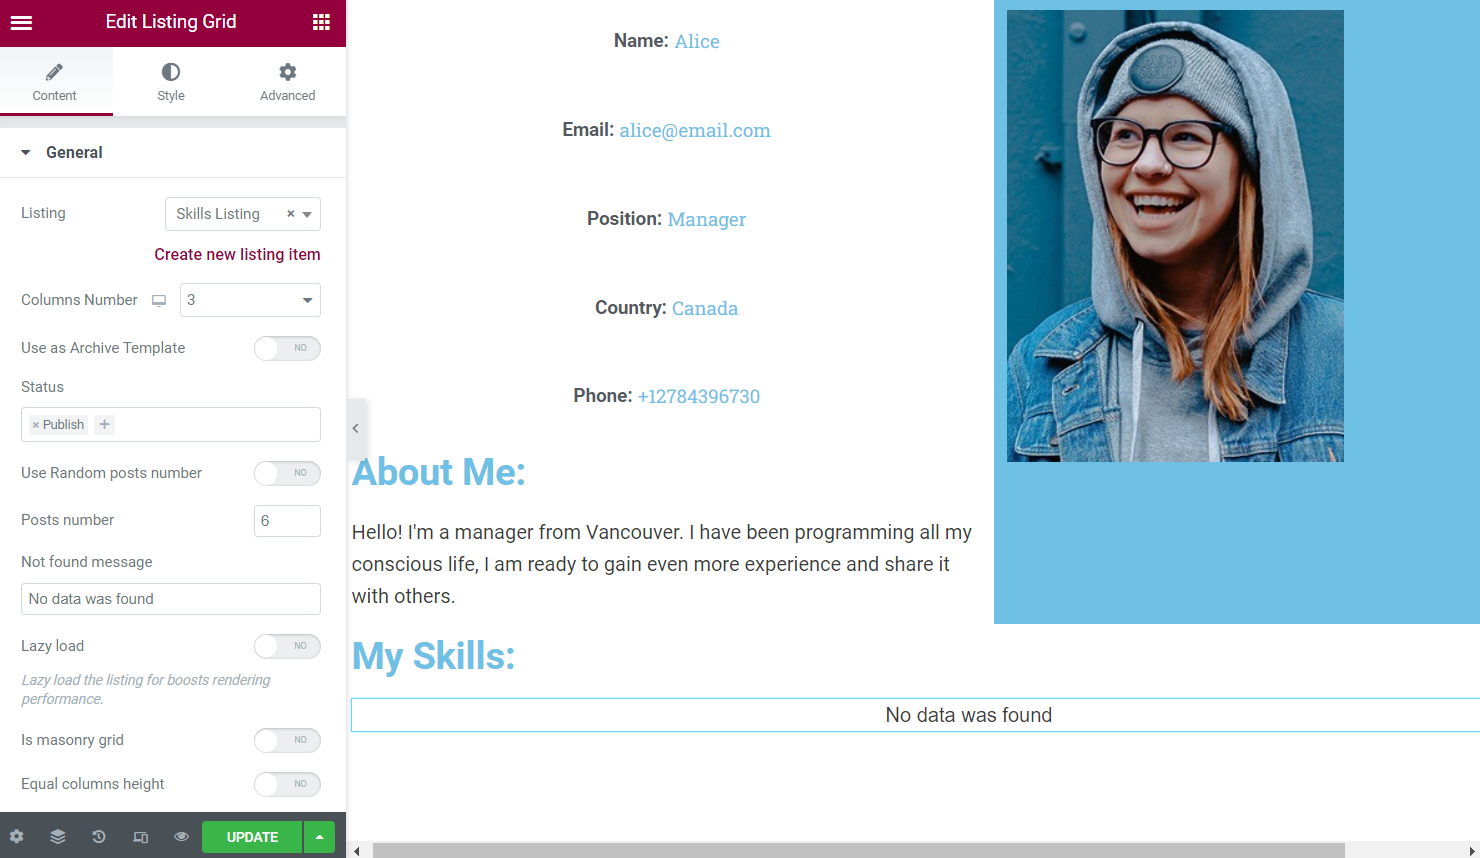
Find the Listing Grid widget and select the needed Listing in the drop-down menu.
It will not be displayed immediately. Move to the Custom Query tab.
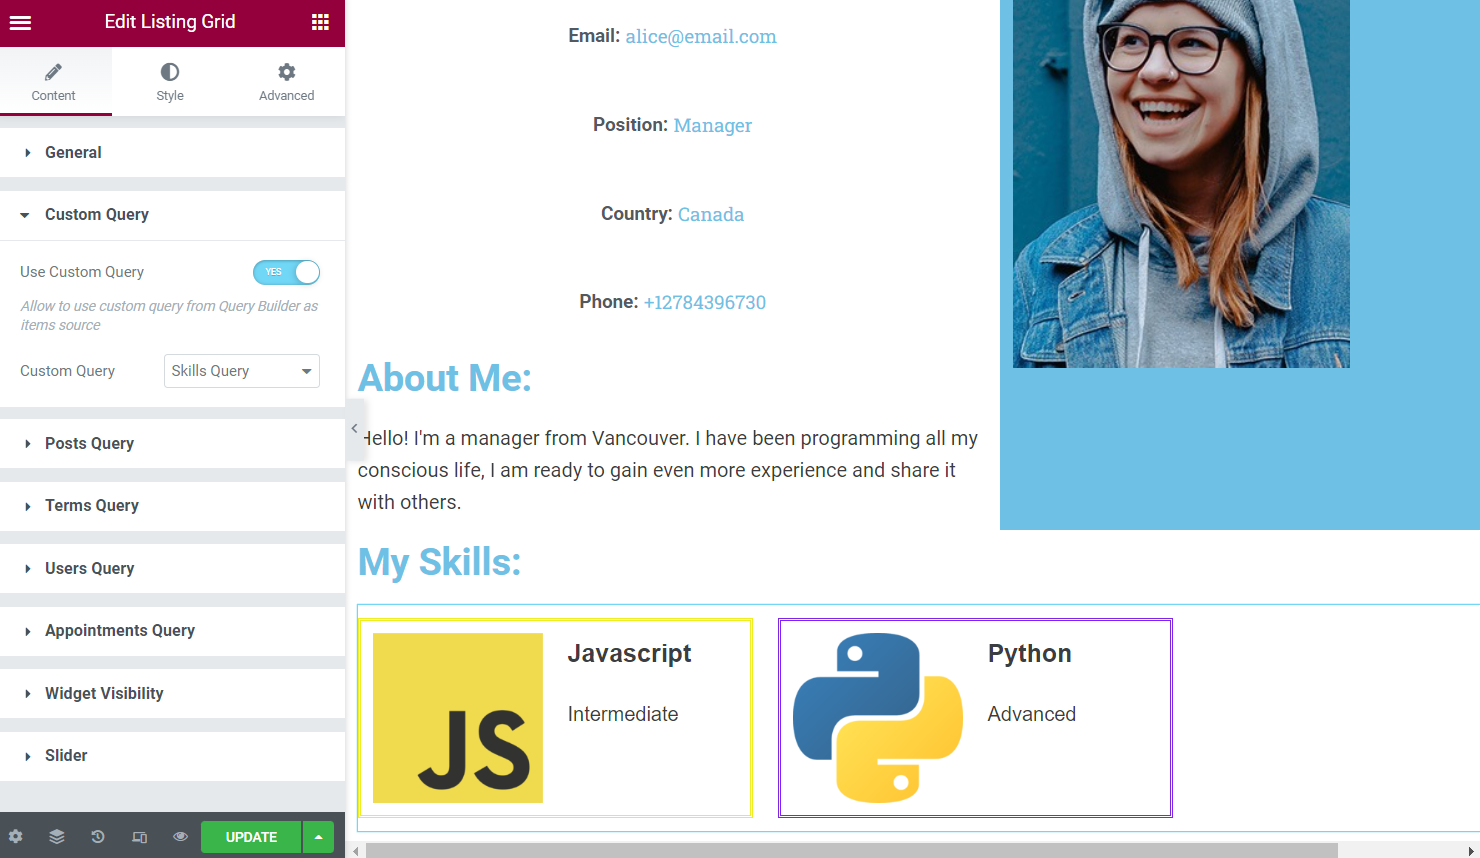
You should activate the Use Custom Query toggle and select the newly built query.
Now you can hit the “Update” button and head to the user page to see if the result is displayed depending on the attached skills.
Check the Result
We can see the user page with the skills and its level attached.
Now you know how to display related WordPress tags on the public user page with the help of JetEngine Query Builder and its functionality.