How to Display Sale End Date with the Dynamic Tag
This tutorial explains how to display the sale end date for WooCommerce products using dynamic tags and JetEngine tools to get WooCommerce data. It describes adding the Countdown Timer widget to the WooCommerce listings and hiding the timer for products not on sale using the dynamic tags.
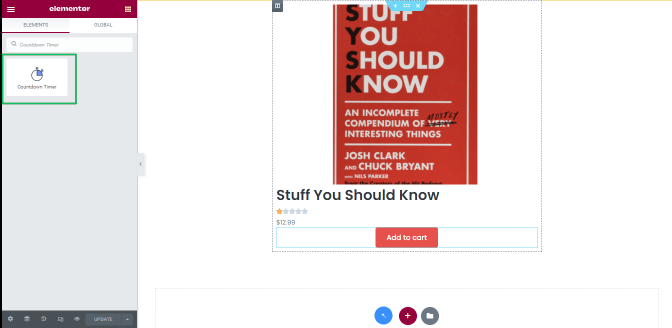
Adding the Countdown Timer Widget
Navigate to the JetEngine > Listings tab and open the listing template with applied dynamic tags (here, Products_listing_items). Open the listing template and drag and drop the Countdown Timer widget where needed.
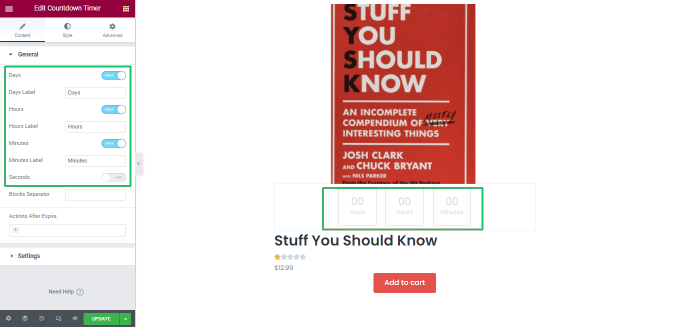
Navigate to the General settings and turn on/off the appropriate toggles for the timer format displaying.
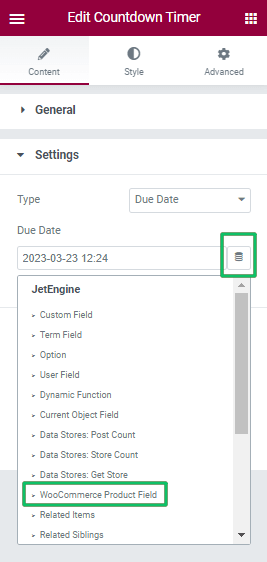
Countdown Timer Widget Settings
Navigate to the Settings tab of the Countdown Timer widget. Press the “Dynamic Tag” button and select the WooCommerce Product Field option from the drop-down menu.
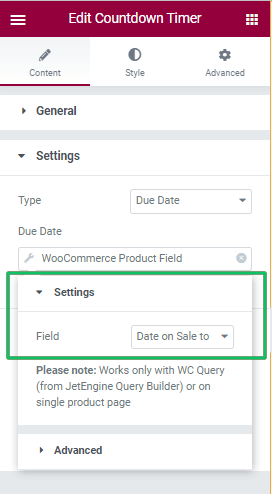
Select the Date on Sale to option in the appeared Settings field. This field allows setting the terms of the promotion.
If necessary, customize the widget appearance.
Press the “Update” button to save changes.
Adding the Heading Widget
Find the Heading widget and drag and drop it to the listing item. Add the text (here, Sales ends in) and style it if necessary.
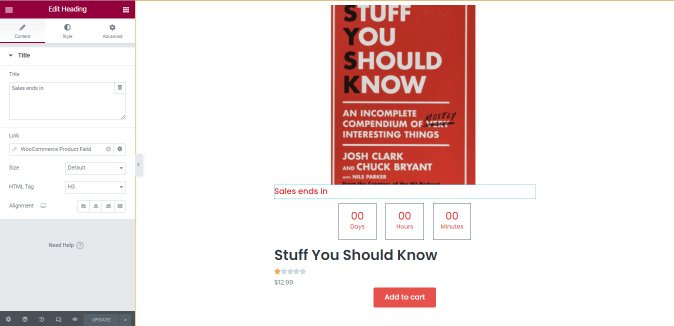
Press the “Update” button to save changes.
Open the page with the Listing Grid widget with the Listing Item applied as a source (Products_listing_items).
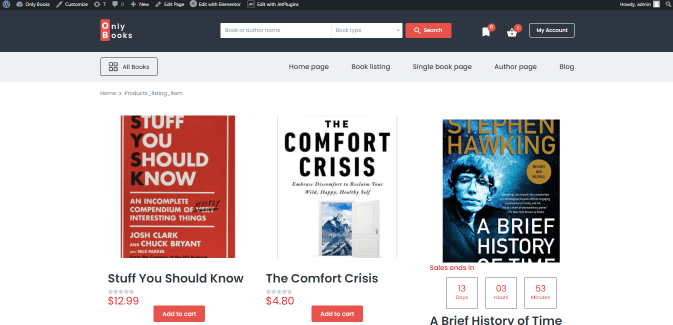
The front-end view of the page is as follows:
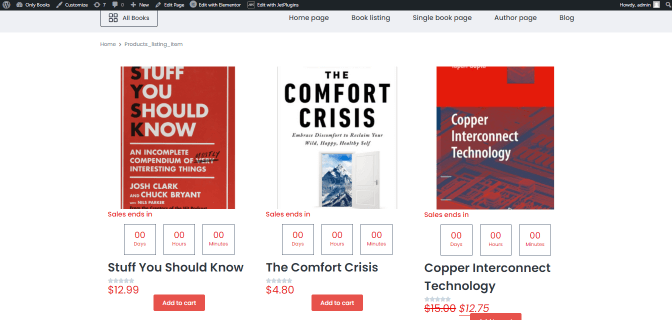
The main issues here are:
- the countdown timer is displayed for all products;
- the countdown timer shows zeros for all products regardless of the specified or not sale end date.
Sale Time Scheduling
Navigate to the front end of the Listing Grid widget with the Listing Item applied as a source (Products_listing_items). Click on any book with the sale price. Open this book in a new tab.
Press the “Edit” button.

Scroll down and find the Settings tab.
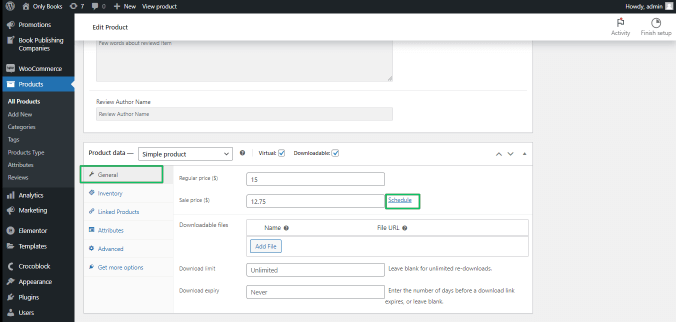
Press the “Schedule” link.
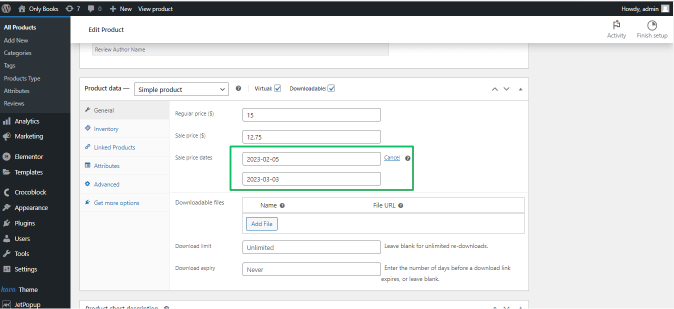
These charges refer to the current product only. Therefore you need to edit other products and add the sale end date.

Scroll the product page up and press the “Update” button. Update the front-end view of the listing grid.
Edit all products and schedule their sales end date.

Settings to Hide the Counter
Here the Dynamic visibility conditions were applied to hide the counters for products not on sale.
Open the listing template with applied dynamic tags (here, Products_listing_items).
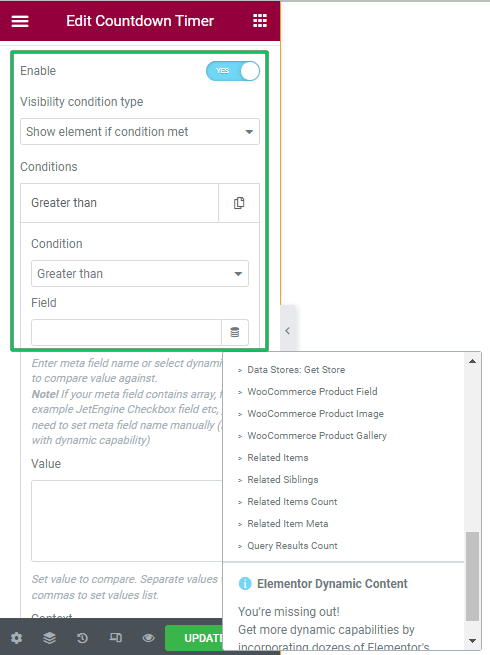
Click the Timedown Counter widget settings and unroll the Dynamic Visibility settings of the Advanced tab.
Move the Enable toggle. Select the Show element if condition met option from the Visibility condition type drop-down menu.
Choose the Greater than condition from the Conditions menu. This condition checks that the promotion end date exceeds the current time.
Press the Dynamic Tag and select the WooCommerce Product Image option from the drop-down menu.
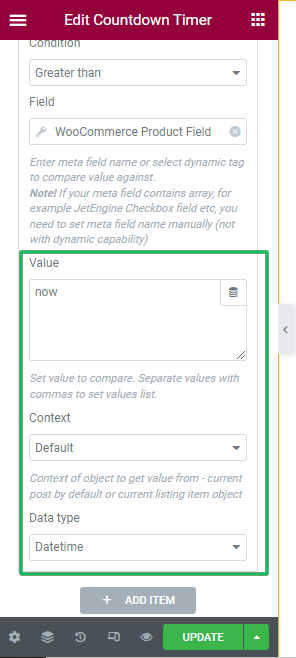
Type now in the Value text field. Select the Default option from the Context drop-down menu and the Datetime option from the Data type drop-down menu.
Apply the same Dynamic Visibility conditions to the Heading widget to hide its text (here, Sales ends in).
Press the “Update” button and refresh the page with the listing grid.
That’s about displaying WooCommerce products’ sale end date with dynamic tags.