Profile Menu Element Overview for Bricks
This tutorial will describe how the Profile Menu element works and how to customize it to display different content on the WordPress Account and User page with the Bricks builder.
Account Page
Proceed to the JetEngine > Profile Builder tab.
If you changed some settings, hit the “Save” button.
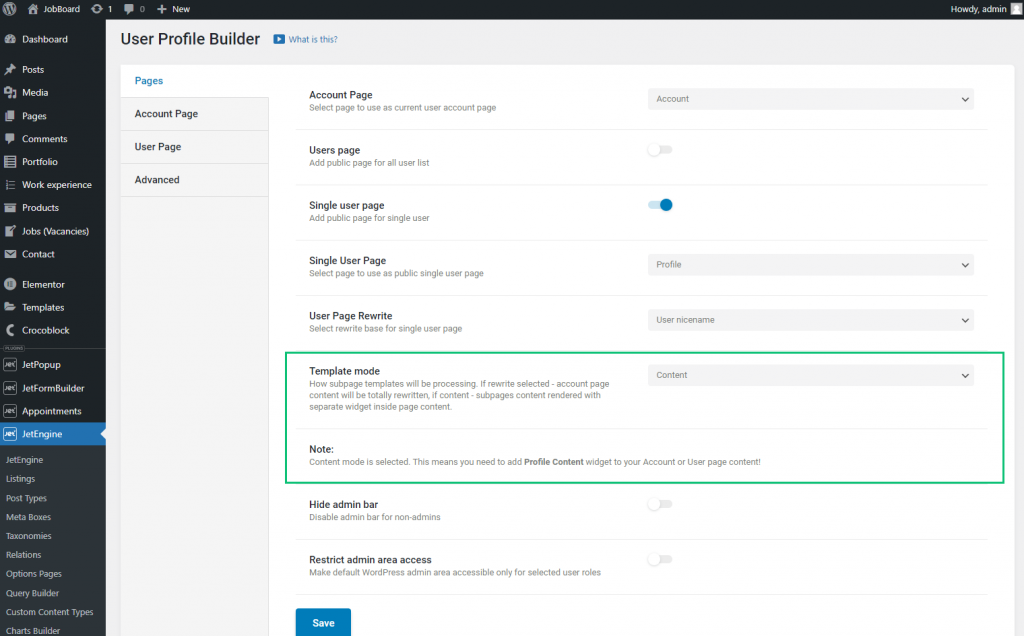
Open the Account Page tab and make certain you have added several subpages. You can create the subpage templates with the JetEngine Listing feature. Note that the Profile Menu element will show the subpages’ titles.
After the subpages creating, click the “Save” button.
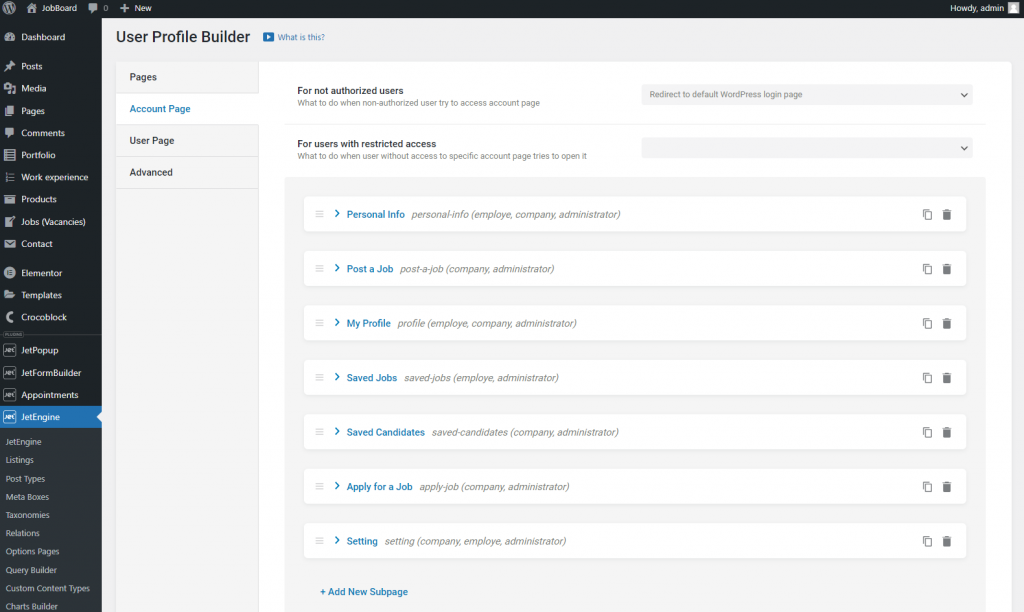
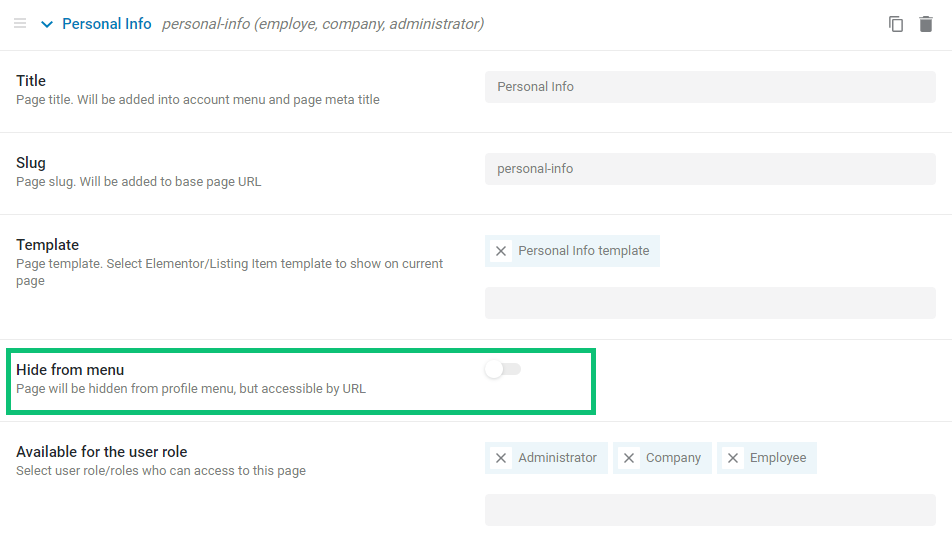
Before you move further, follow the Bricks > Settings tab and ensure that you enable the Pages toggle to be able to edit the Account page and Listing Items so you can edit the Listing templates.
Proceed to the Account page or one of the subpage templates.
Add a new section to the Bricks editing page.
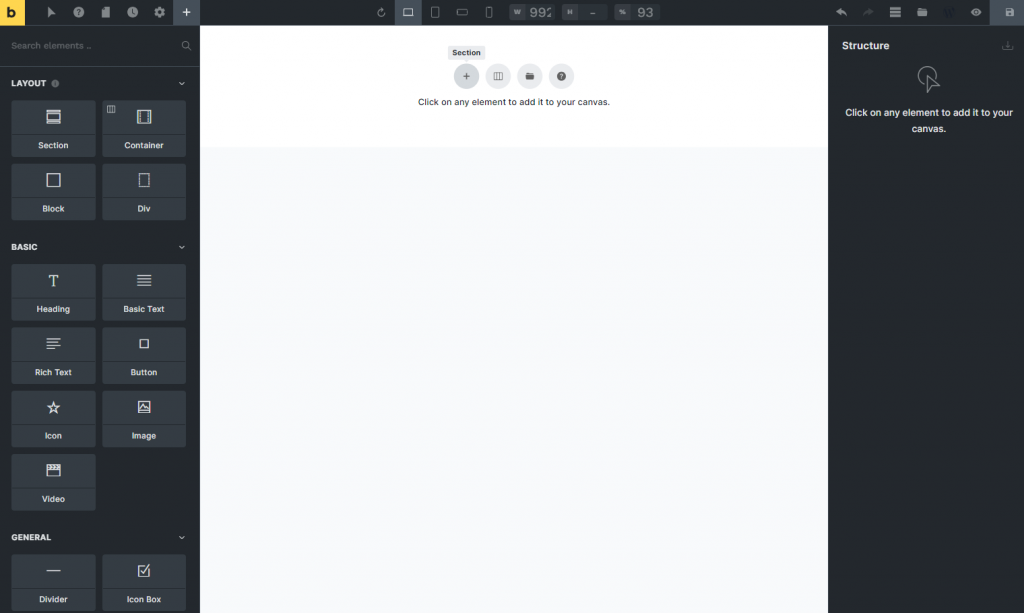
Drag-n-drop the Profile Menu element.
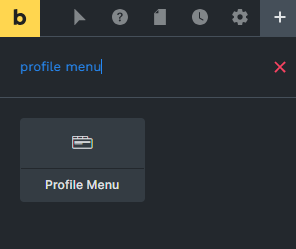
This element has such options if you unfold the General settings tab in the Content section:
- Context. Here you can define if menu items will be shown from the Account Page or User Page tab from the Profile Builder dashboard. For now, select the “Account” option;
- Show menu for the role. Here you can select user roles for which the menu will be visible;
- Add subpage slug to the first page URL. The subpage slug is not included in the URL of the first page on the menu unless you specifically enable this option. If you enable it, the subpage slug will be added to all URLs on the menu, including the first page.
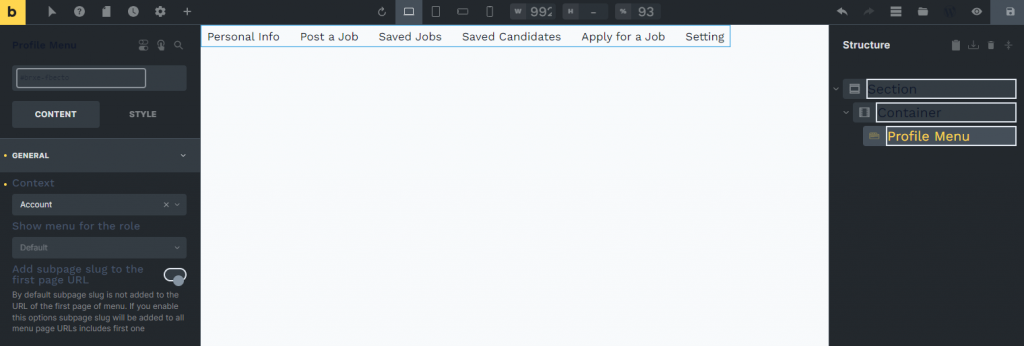
You can set the Style settings as well.
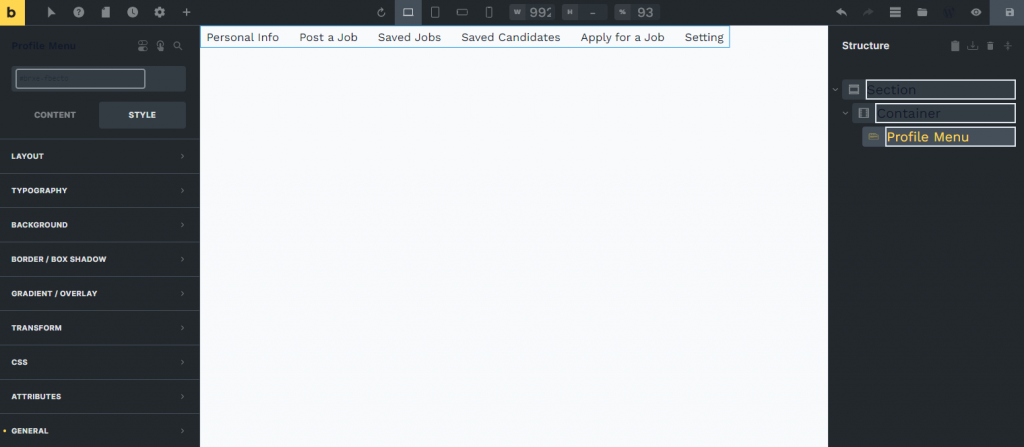
After customizing the Profile Menu settings, drag-n-drop the Profile Subpage Content element.
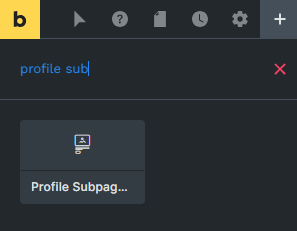
This element will show the content of every subpage when users will click on the corresponding menu item on the front end.

Hit the “Update” button.
If you set the “Rewrite” Template Mode, add the Profile Menu element to every subpage template where required.
Finally, proceed to the Account page on the front end.
Now, users can click on the menu items in the Profile Menu, and the Profile Subpage Content shows the corresponding subpage content.
User Page
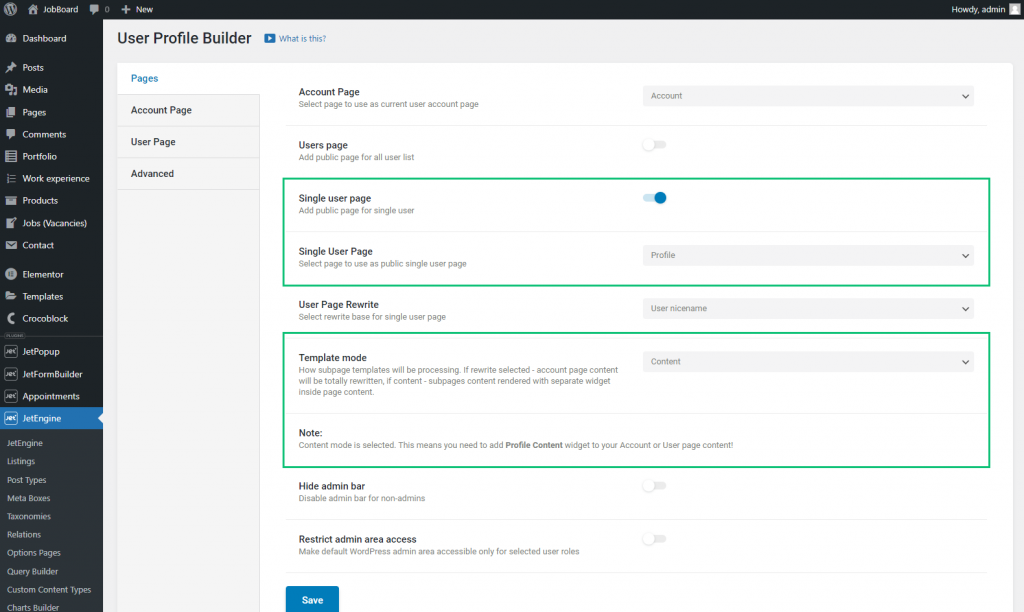
Proceed to the JetEngine > Profile Builder tab.
Ensure you enable the Single user page option and set the previously created page as the Single User Page (in my case, that’s the “Profile” page).
If you changed some settings, hit the “Save” button.
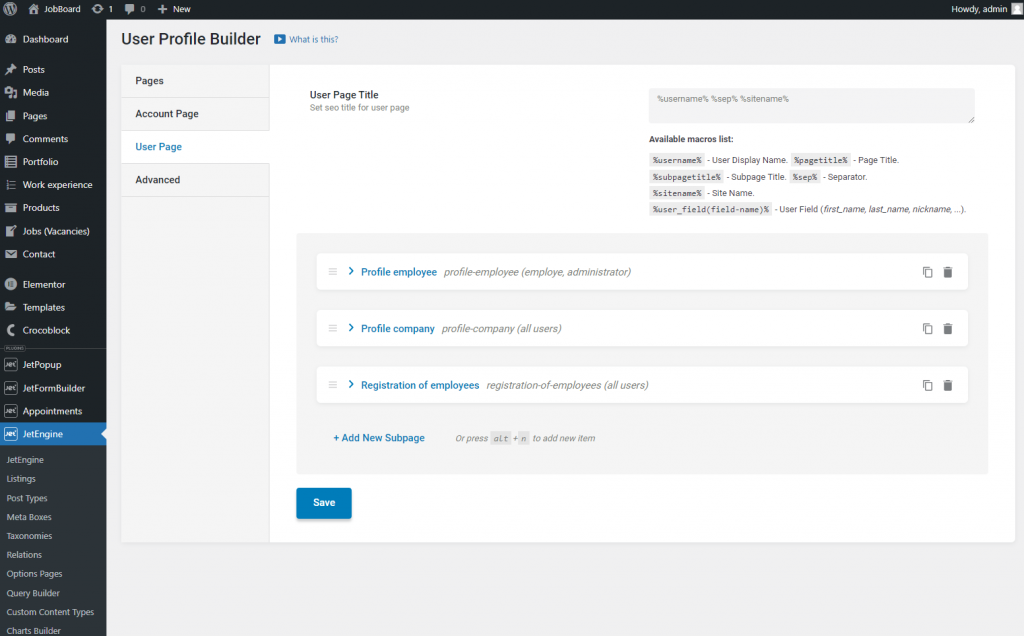
Open the User Page tab and ensure you have added several subpages. Note that the Profile Menu will show the subpages’ titles.
After the subpages creating, click the “Save” button.
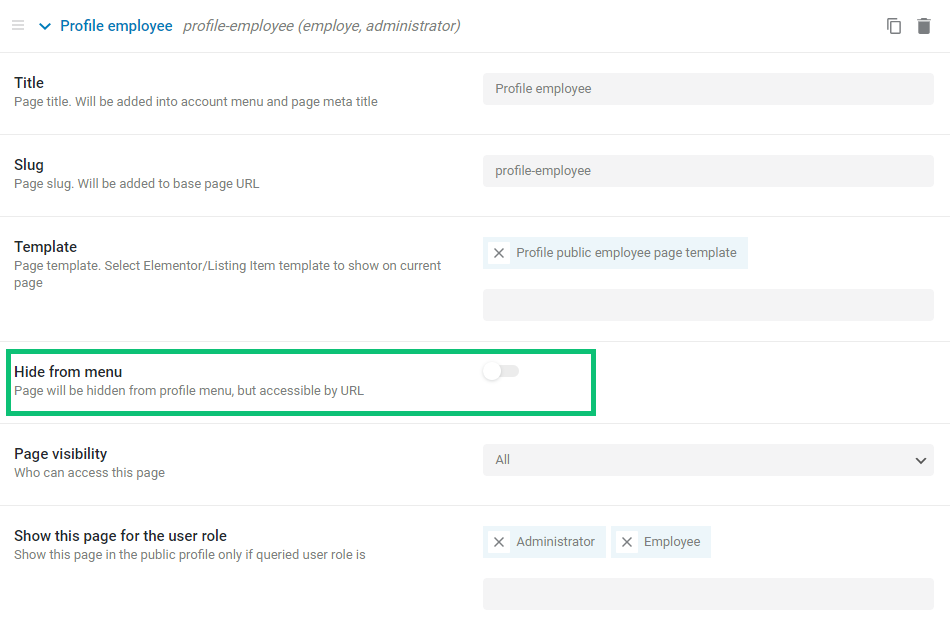
Navigate to the User (Profile) page or one of the subpage templates.
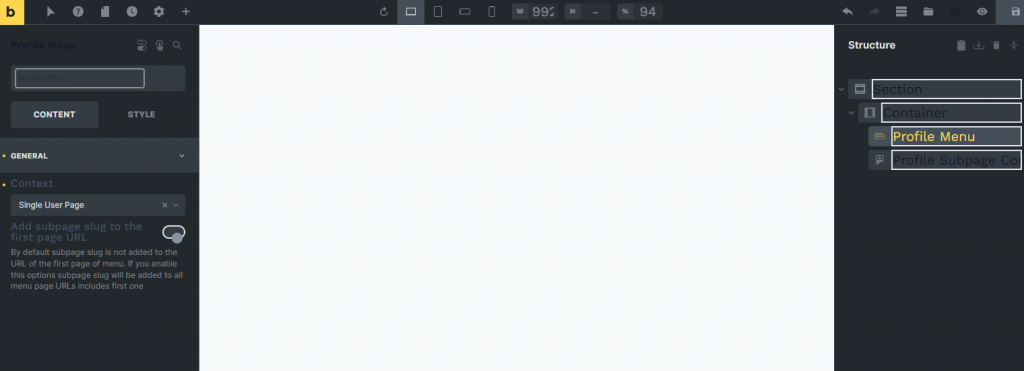
Drag-n-drop the Profile Menu element to the Bricks editing page.
Set the “Single User Page” Context and customize the element according to your needs.
Then, drag-n-drop the Profile Subpage Content element to display the content of every subpage when users click on the menu item.
Note the Profile Menu element won’t be visible on the Bricks editing page because it needs context. You will see the result on the front end when you open any user’s Profile page.
Hit the “Update” button.
If you set the “Rewrite” Template Mode, add the Profile Menu element to every subpage template where required.
Finally, proceed to the front end and open any user’s Profile page.
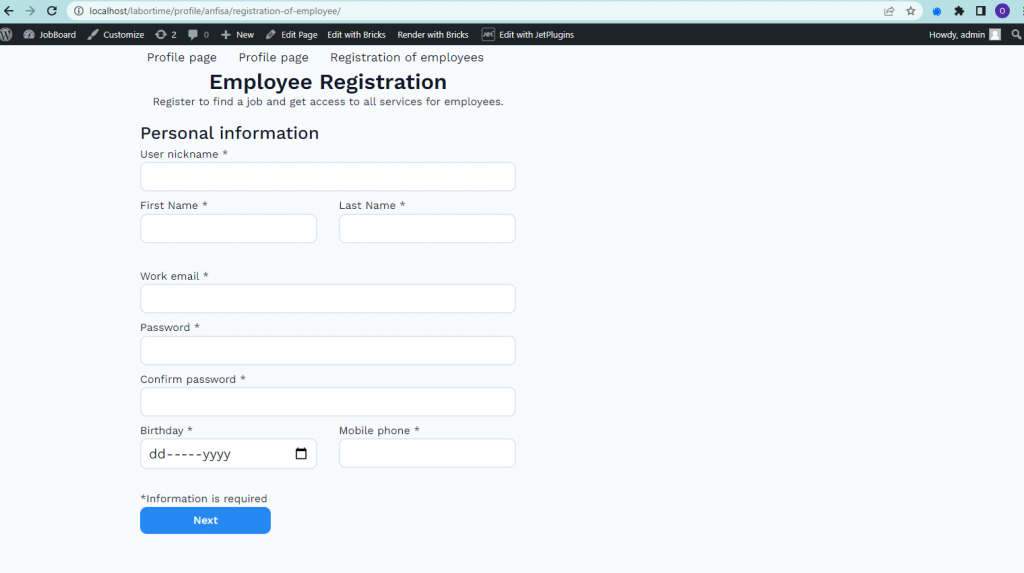
That’s all. Now you know how to display the submenu templates on the Account and User pages using the Profile Menu element.