Posts Grid Builder Widget Overview
This detailed overview describes all the settings of two JetGridBuilder plugin widgets – Posts Grid Builder and Terms Grid builder.
JetGridBuilder plugin allows users to create impressive posts and terms grids in the Elementor page builder. With its help, you can manually change the size, positions, and appearance of every post in the grid. JetGridBuilder is highly flexible and allows you to customize the grid any way you like. Let’s take a closer look at the features that give you such a wide range of tools.
How to add the grid to the page
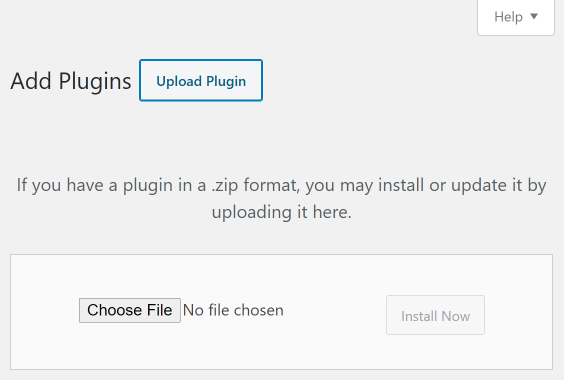
After downloading the JetGridBuilder plugin, go to your website’s WP Dashboard and open Plugins > Add New. Click the “Upload Plugin” and “Choose File” buttons, select the downloaded ZIP archive with the plugin, and then hit “Install Now.”
When the installation is over, press the “Activate Plugin” button. Now JetGritBuilder is ready for work. Go to the Pages menu tab and select the page where you would like to place the grid. Click the “Edit with Elementor” button. In the left-side widget menu, find the Posts Grid Builder and Terms Grid Builder widgets.
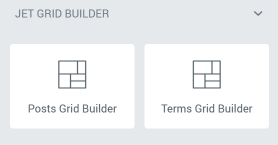
Their settings menus are almost the same but the Posts Grid Builder has more features, so let’s take it as an example. Drag-and-drop it to the page. Before you add some posts, the block will be empty.

Hit the “Add Posts” button. In the appeared window, you will see the list of all posts and post types that you created if you have the JetEngine plugin. Select the posts you want to show and press the “Select” button. The size of every tile and the height of the grid could be easily changed manually.
Now you can see the grid, so it is time to go through the settings.
Grid settings section
There are three submenus in the Content tab. The first of them is the Grid submenu. When you open it, the first option will be the Posts feature that allows you to add new posts to the grid any time you need it. Let’s take a look at the other settings.
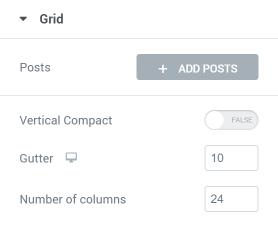
- Vertical Compact. When this toggle is not enabled, you can place the post tiles anywhere on the grid. And if you turn it on, the posts will be automatically aligned to the top;
- Gutter. In this field you can choose the width of the gap between grid cells;
- Number of columns. The min number of columns in the grid is 3 and the max is 50. Between those values, you are free to choose;
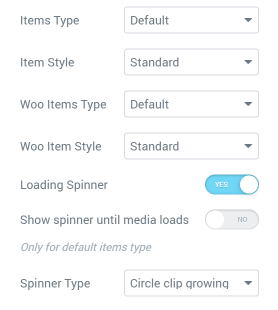
- Items Type. This drop-down menu allows you to choose the general look of the post tiles. If you select the “Post Content” option, the content of the post will be shown right on the tile. The “JetEngine Listing” option gives you an opportunity to choose one of the previously made listings and use its design for the tiles in a grid;
- Items Style. Here you can define some additional appearance options of the post tiles. In the “Standard” view, the thumbnail will be placed over the text info, and in “Content Overlay” mode, the text will be shown over the picture;
- Woo Item Type. This and the next feature will be handy if you put the WooCommerce products to the grid. Here you can select to show the items in the way you set using the JetWooBuilder plugin;
- Woo Item Style. Here again, you can choose the tiles appearance type – the one where the thumbnail is shown over the text or the one where information overlays the picture;
- Loading Spinner. If you want to show a specific animated icon when the posts are loading, turn this toggle on. You will also be able to choose whether you want to show the spinner only during the loading process. Besides that, you can also select the type of animated icon for it.
Post Item settings section
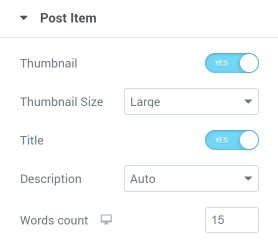
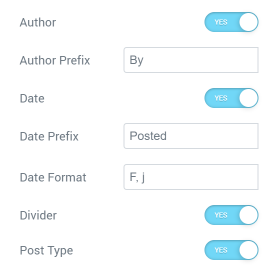
All the toggles you see in this settings section can show or hide the parts of the post tile and change its layout. For example, if you turn the Thumbnail toggle off, the featured picture won’t be shown in the tile. And if you enable it, you will also have an opportunity to select its size. That works for each of the post tile parts – title, description, author, date, etc. Play a little with the switches to decide what layout looks best on your website.
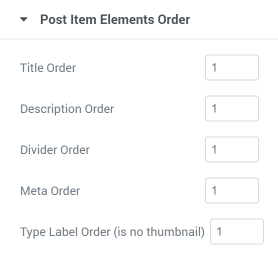
You can also change the order of the tile elements in the Style > Post Item Elements Order submenu.
WooCommerce Product settings section
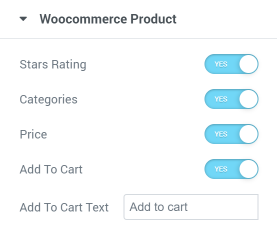
If you want to create a product grid and use the WooCommerce plugin for your website, this submenu is meant to help you decide on the elements of the tile to be shown. Each toggle can show or hide some parts of the information. For example, if you choose not to show the rating of the product, just turn the Star Rating toggle off. The order of the elements can be changed in the Style > Post Item Elements Order submenu.
When you are done with the settings, proceed to the Style tab, and create a design that will match your taste and needs. For example, something like that:
So, that’s all about JetGridBuilder settings. Terms Grid Builder happens to have almost the same list of settings, and the description of those features will match the ones you already read.