How to Add Lіstings to a Mega Menu
Learn how to insert a category-based listing into a mega menu and display the associated CPT posts redirected to another page.
Before you start, check the tutorial requirements:
- Elementor (Free version)
- JetMenu plugin installed and activated
- JetEngine plugin installed and activated with a Custom Post Type (CPT) created and a taxonomy assigned
Create a Listing Item
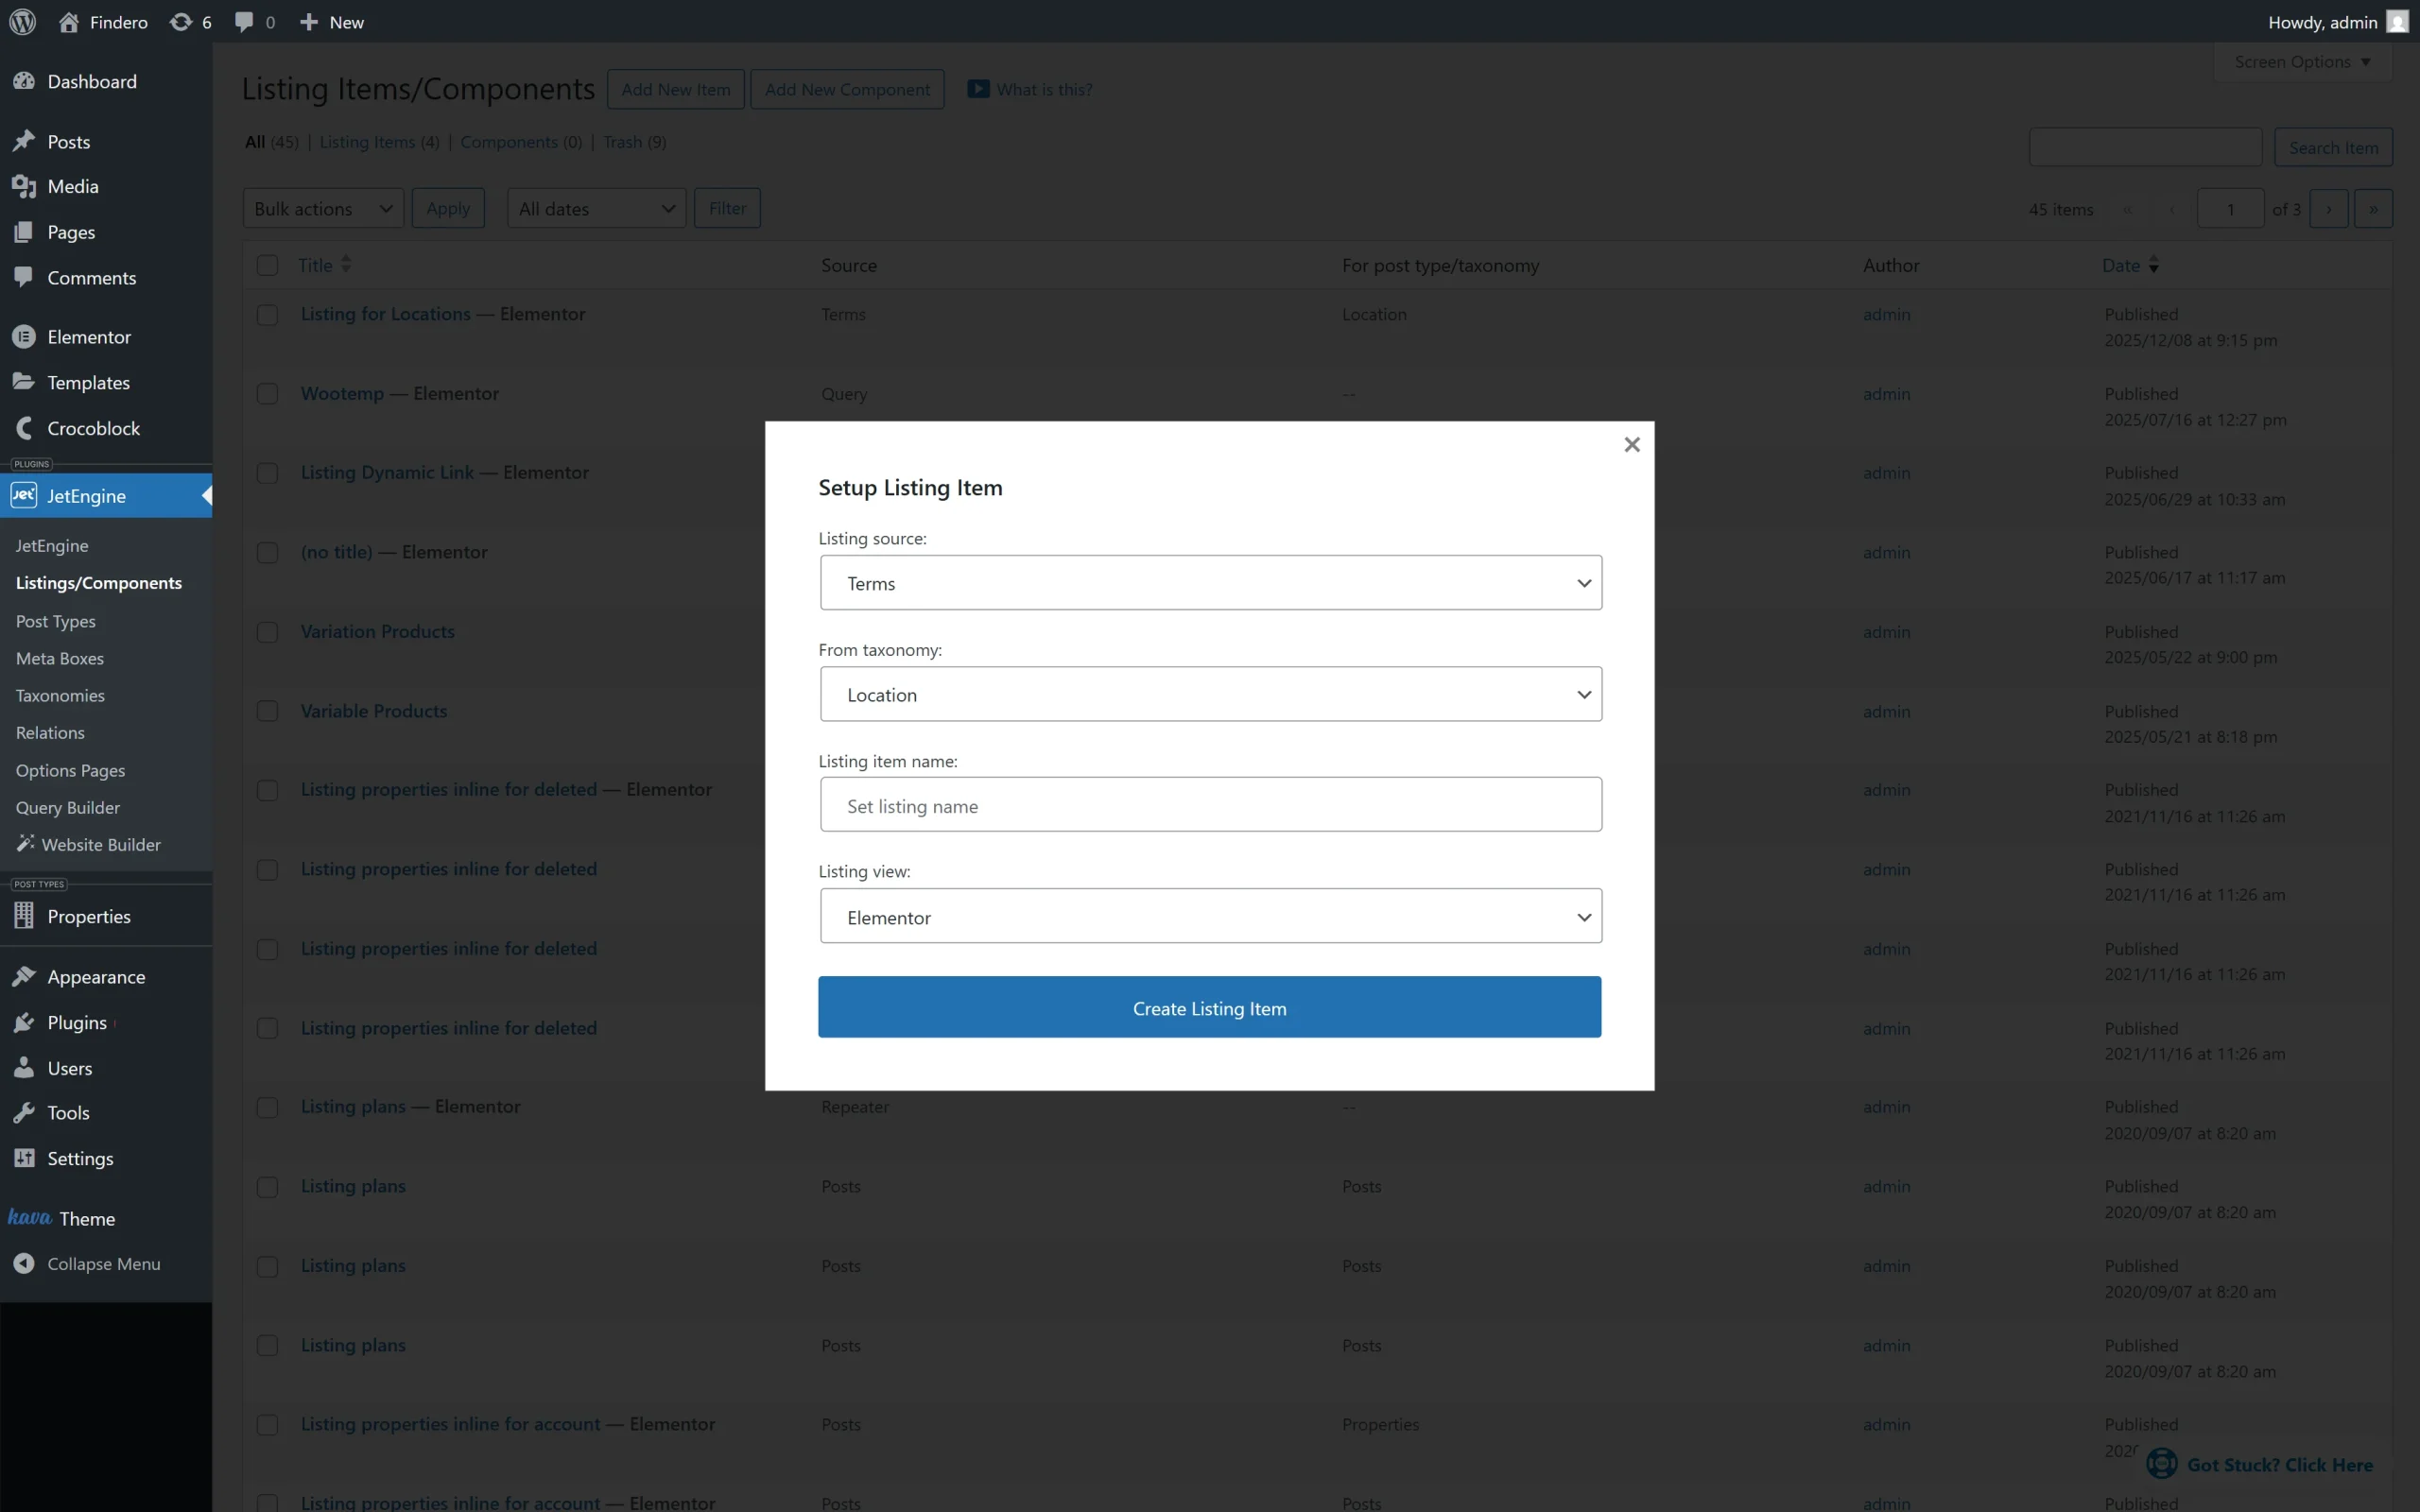
Since we intend to structure the content and divide the CPT posts (“Properties” CPT, in this case) into groups based on the taxonomies (“Locations”, in this tutorial), we create a corresponding Listing Item with the “Terms” Listing Source.
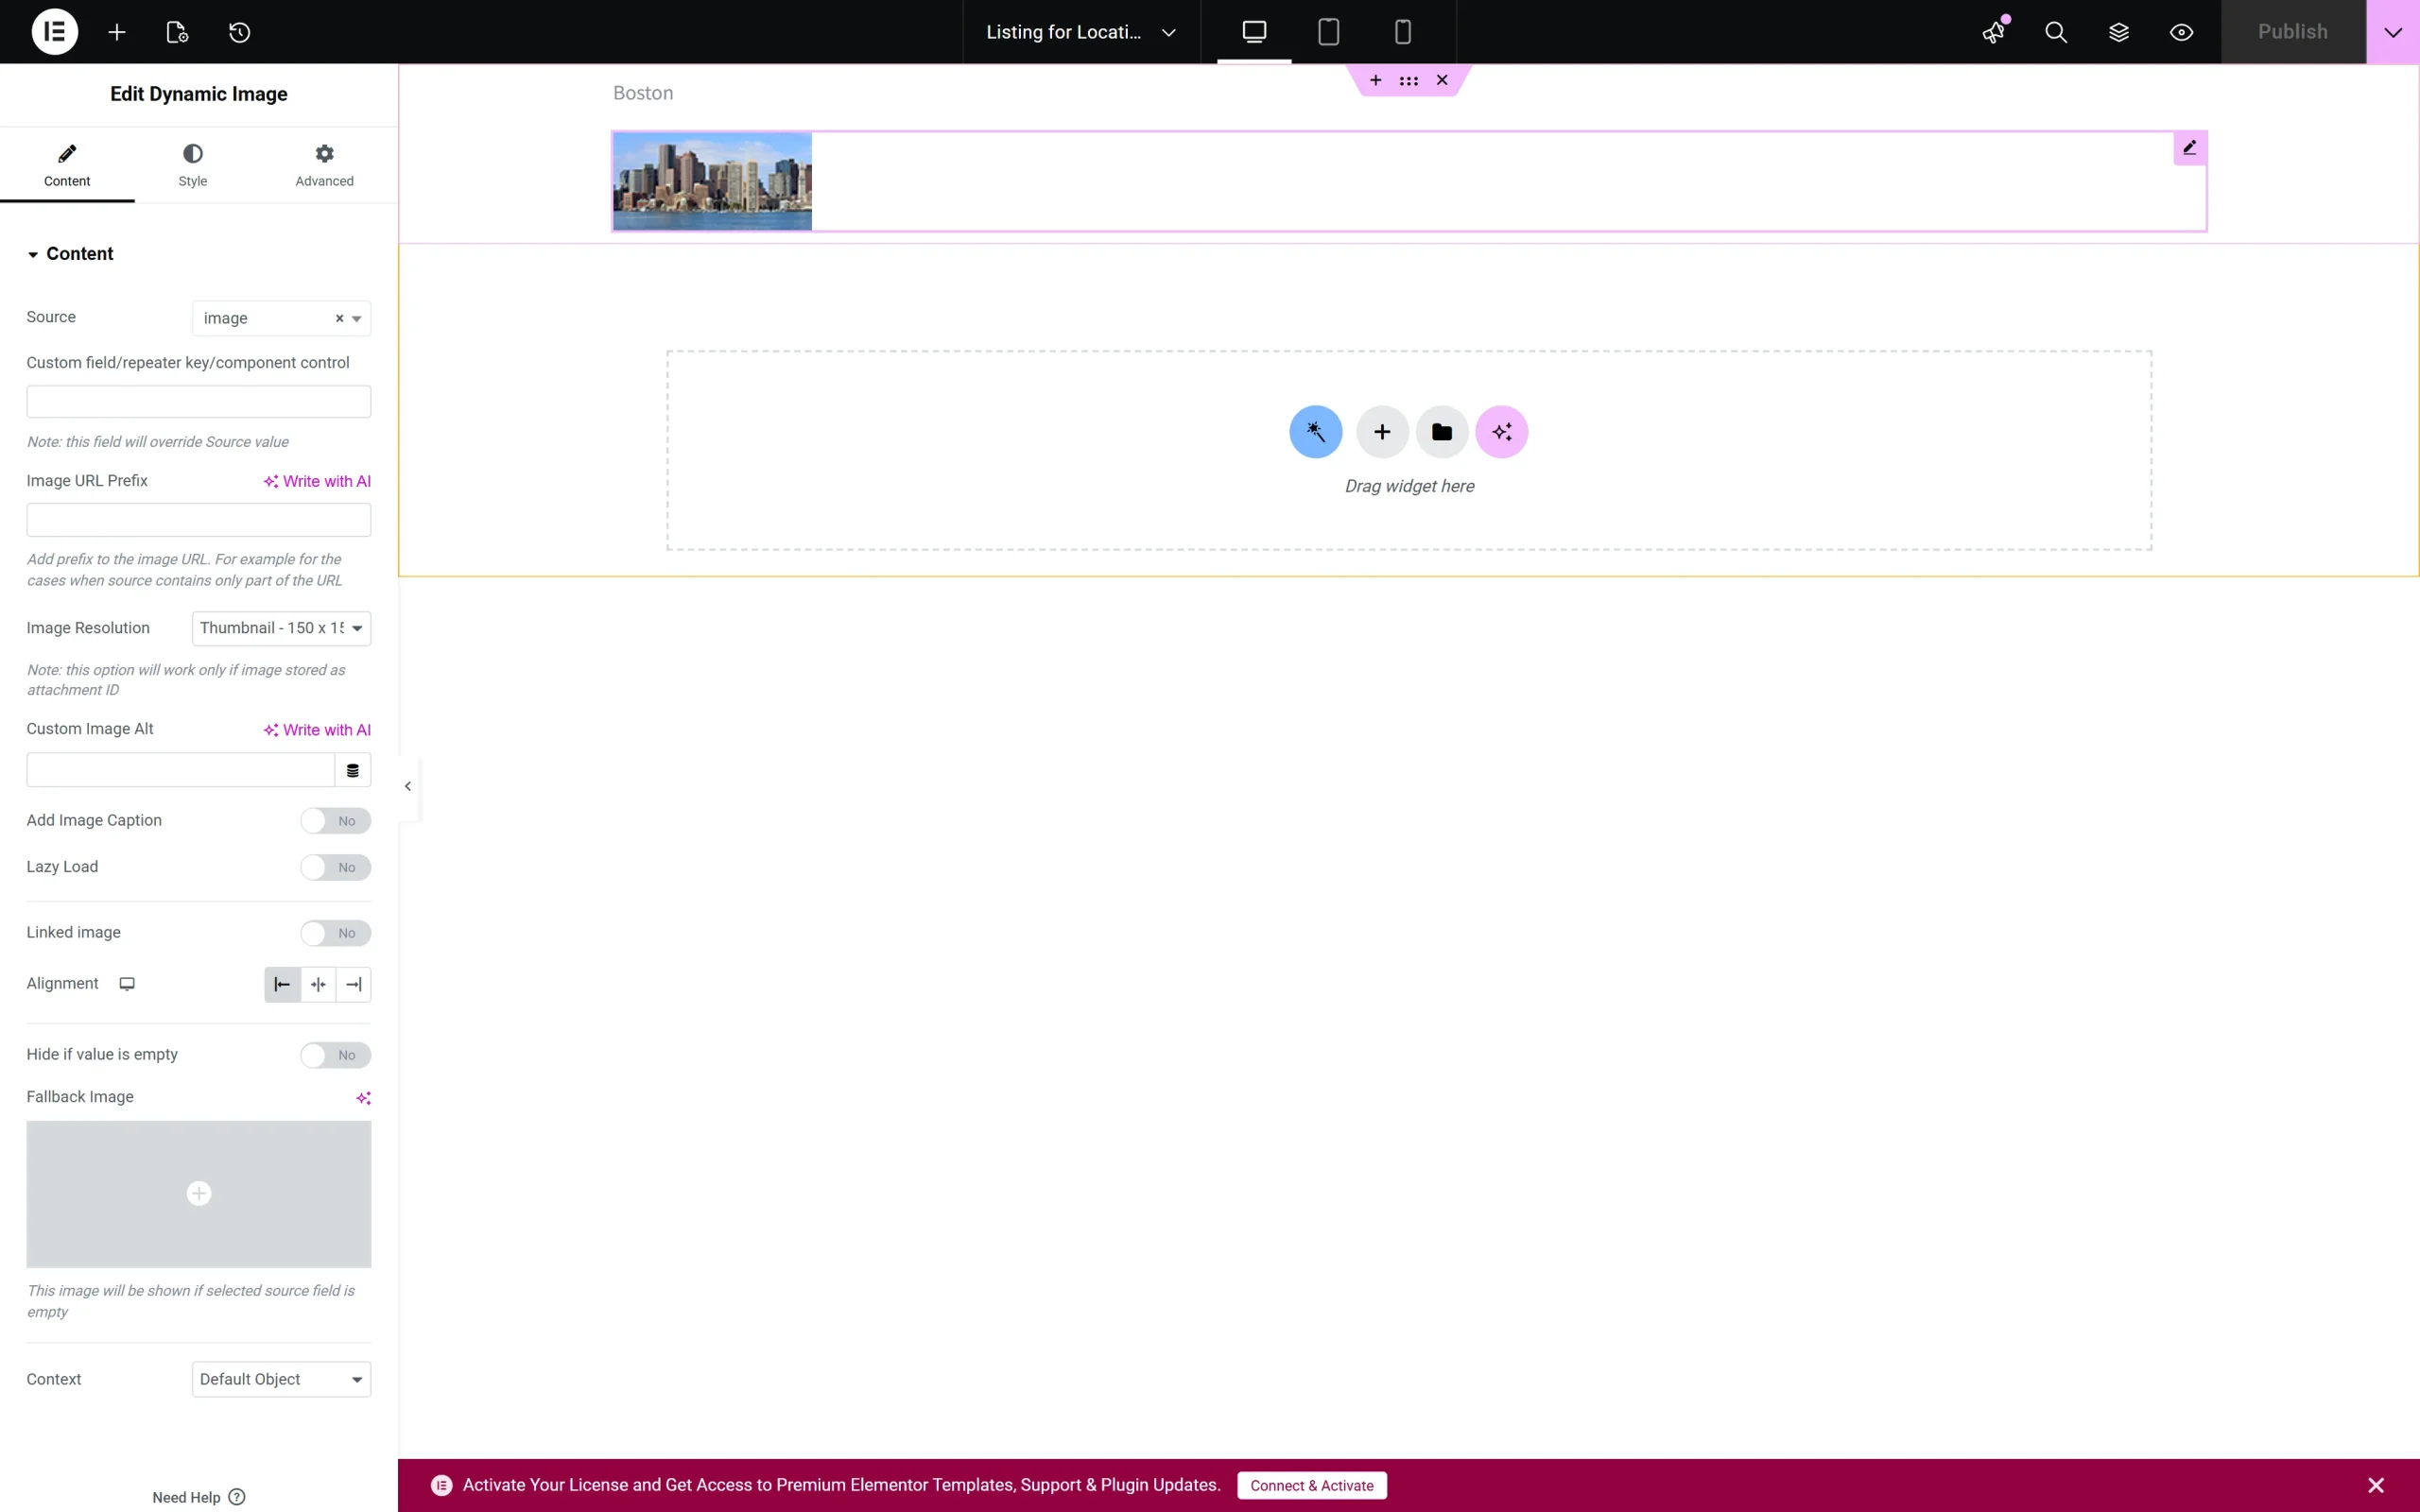
For the listing item, we added the Dynamic Field to display the taxonomy name (pick the “Post/Term/User/Object Data” Source and “Title” Object Field) and the Dynamic Image to display images added via the meta fields.
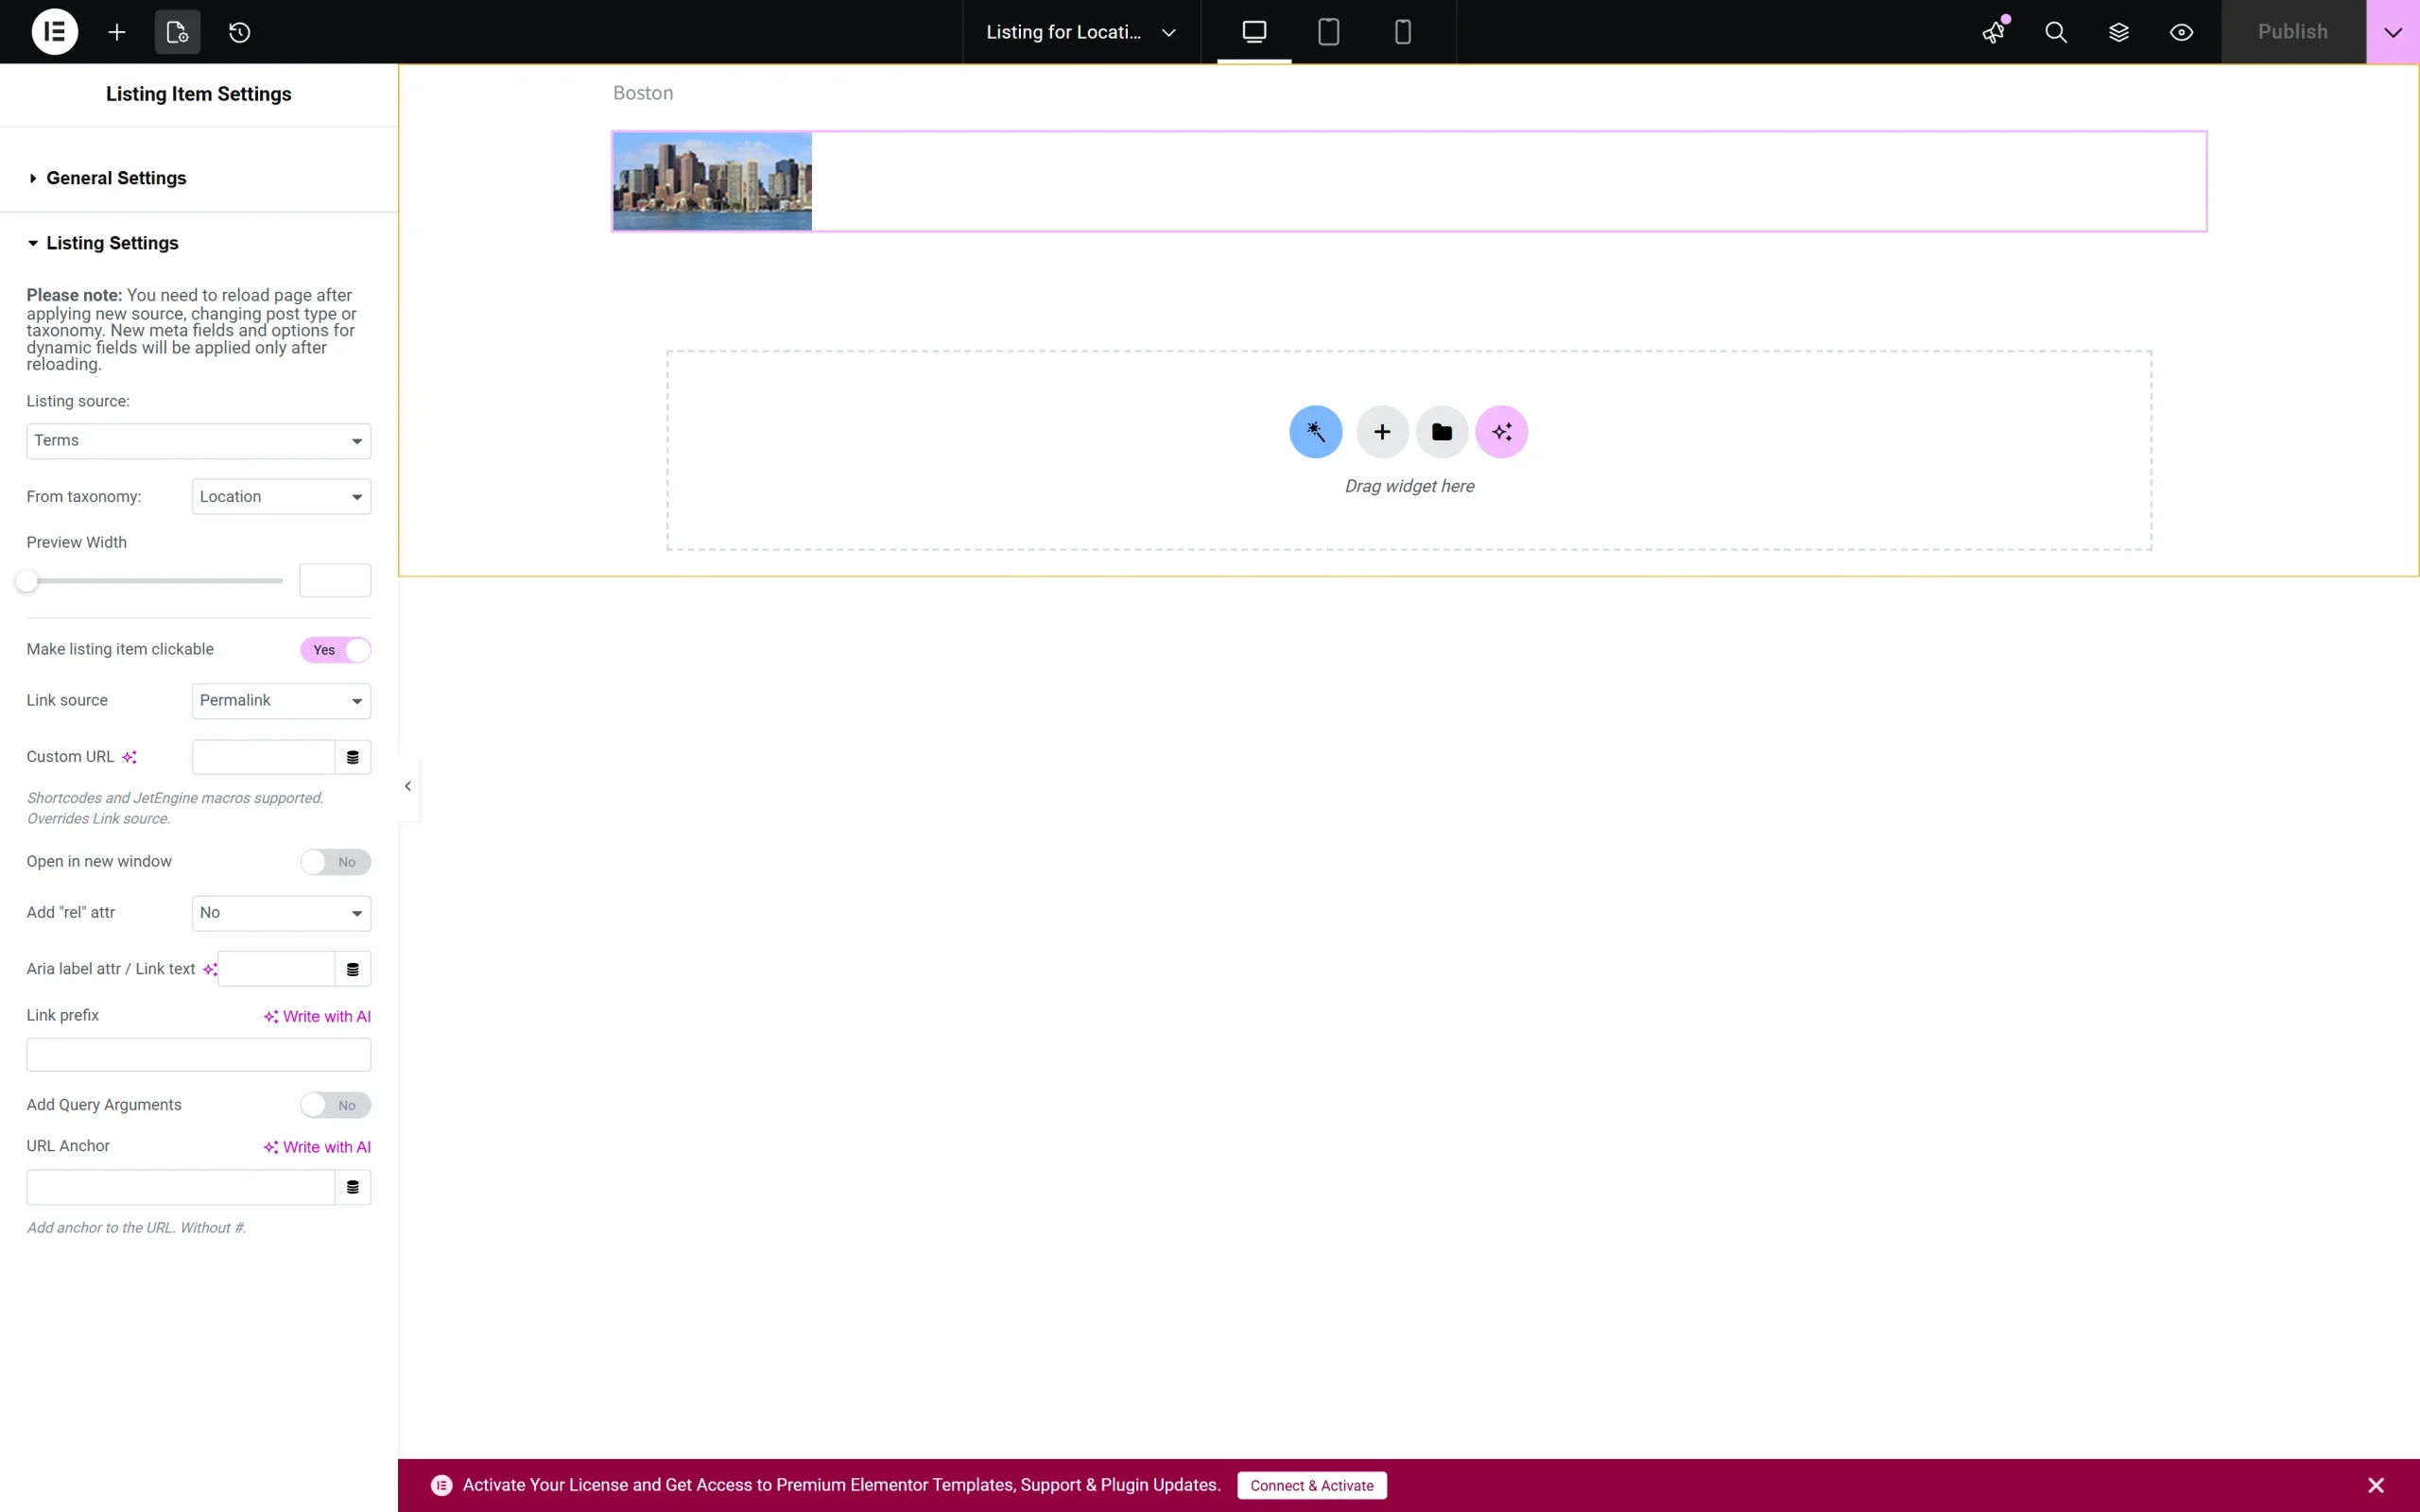
In the last step, set the Listing Item to be clickable so the needed post is accessible when clicked. To do that, unfold the Listing Settings tab and enable the Make listing item clickable toggle.
Once completed, save the listing item.
Build a Query
This query automatically retrieves a list of product categories and adds each category as a separate tab.
Navigate to the WordPress Dashboard > JetEngine > Query Builder tab. Here, press the “Add New” button at the top of the page and create a “Terms Type” Query for the needed Taxonomy (the “Locations” taxonomy, in this case).
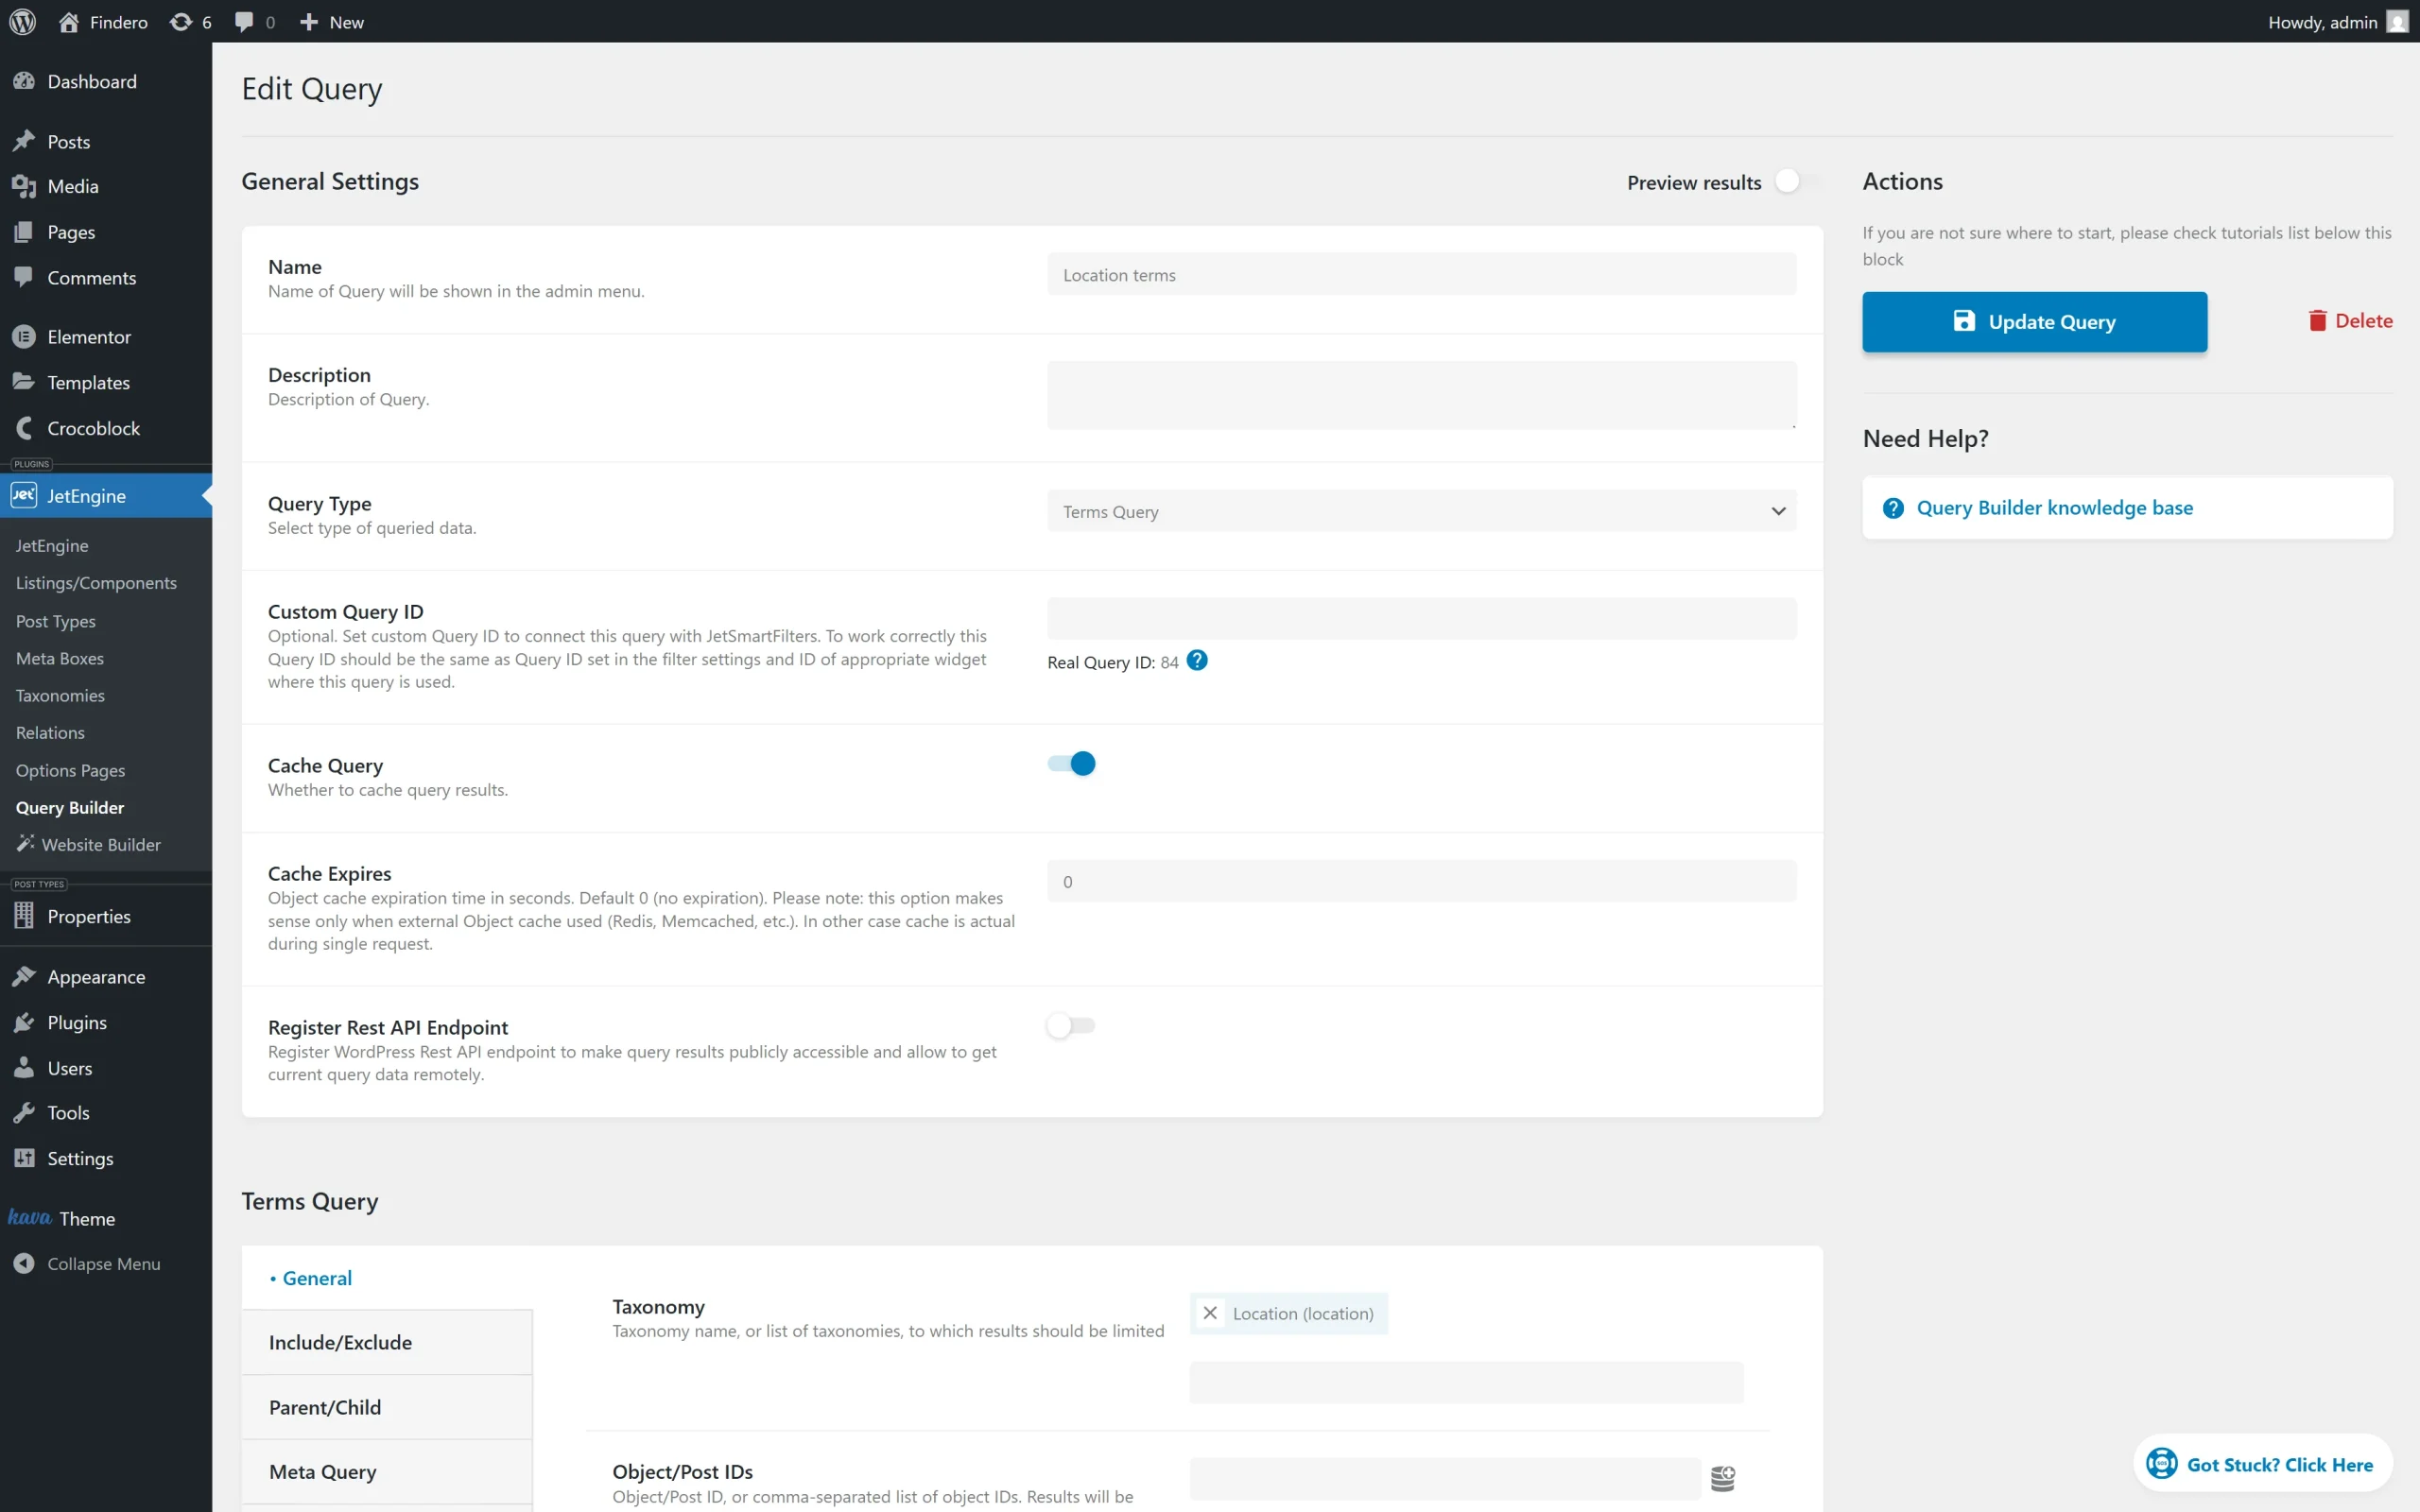
Alt text: the term-type query settings
Once completed, save the query.
Configure a Mega Menu
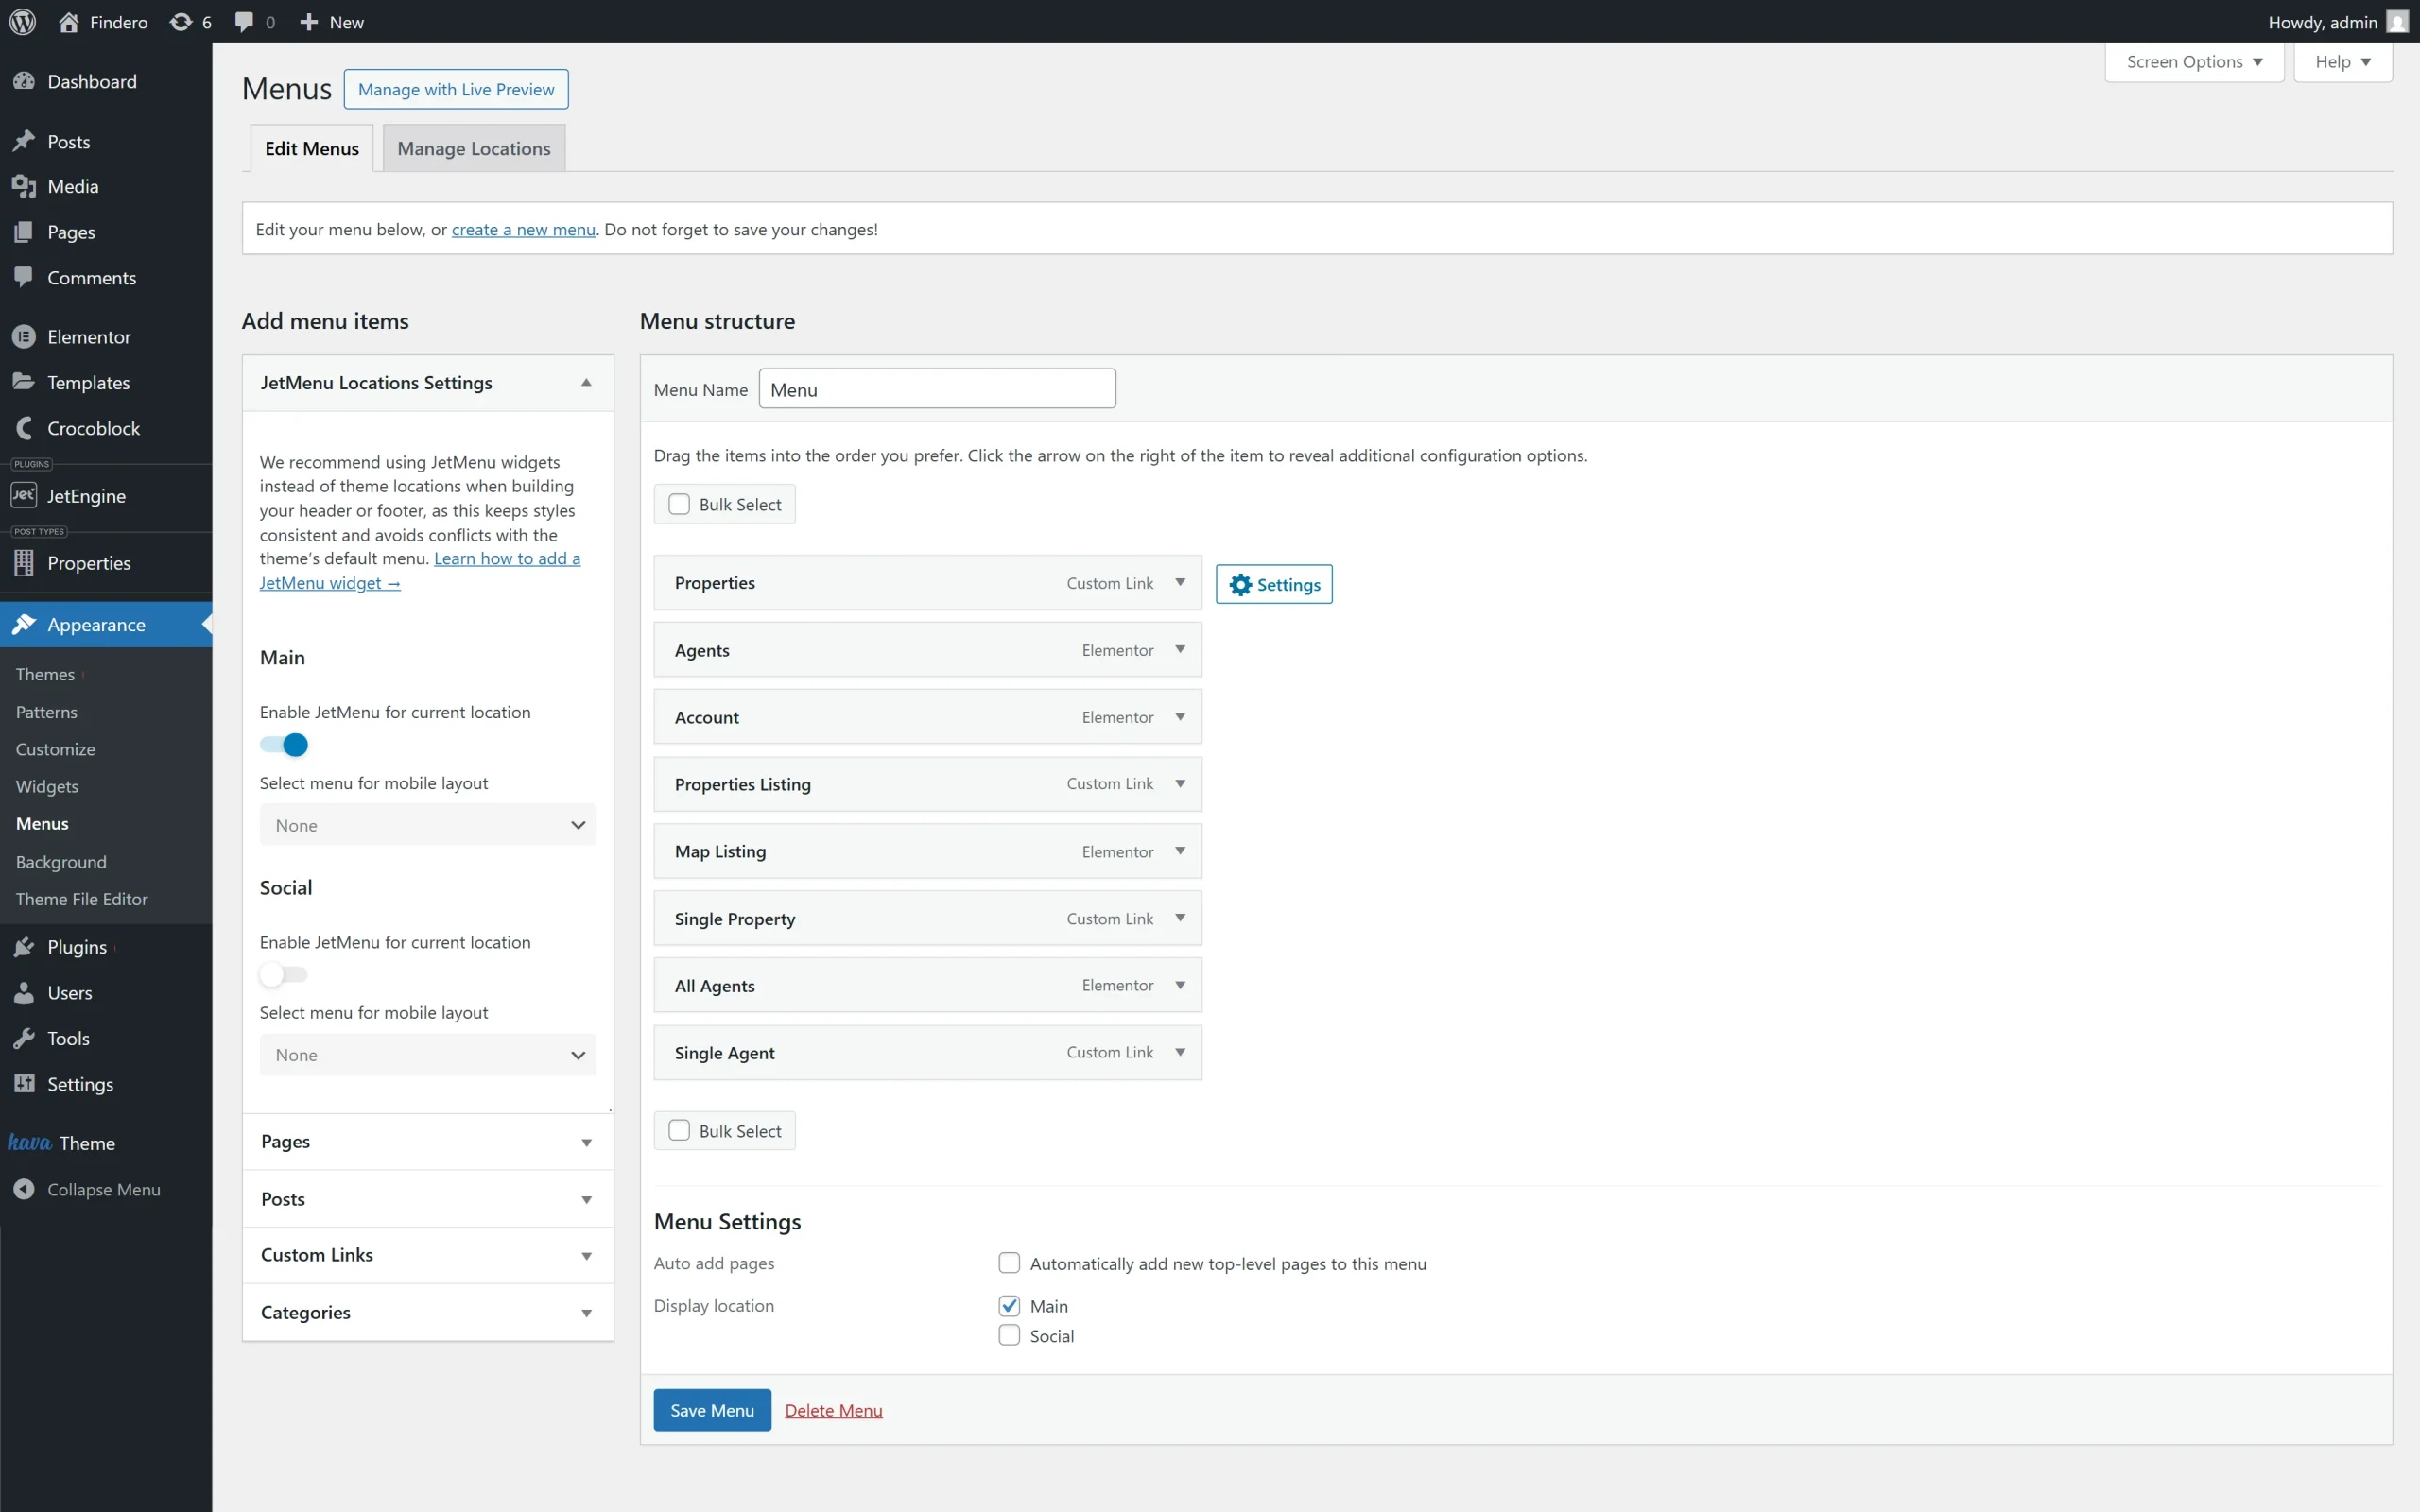
Proceed to the WordPress Dashboard > Appearance > Menu tab. Here, create a new menu or add the required page to the previously built one. In this tutorial, we add the listing to the “Properties” page. To add a mega menu to a menu item, click the “Settings” button next to the menu item.
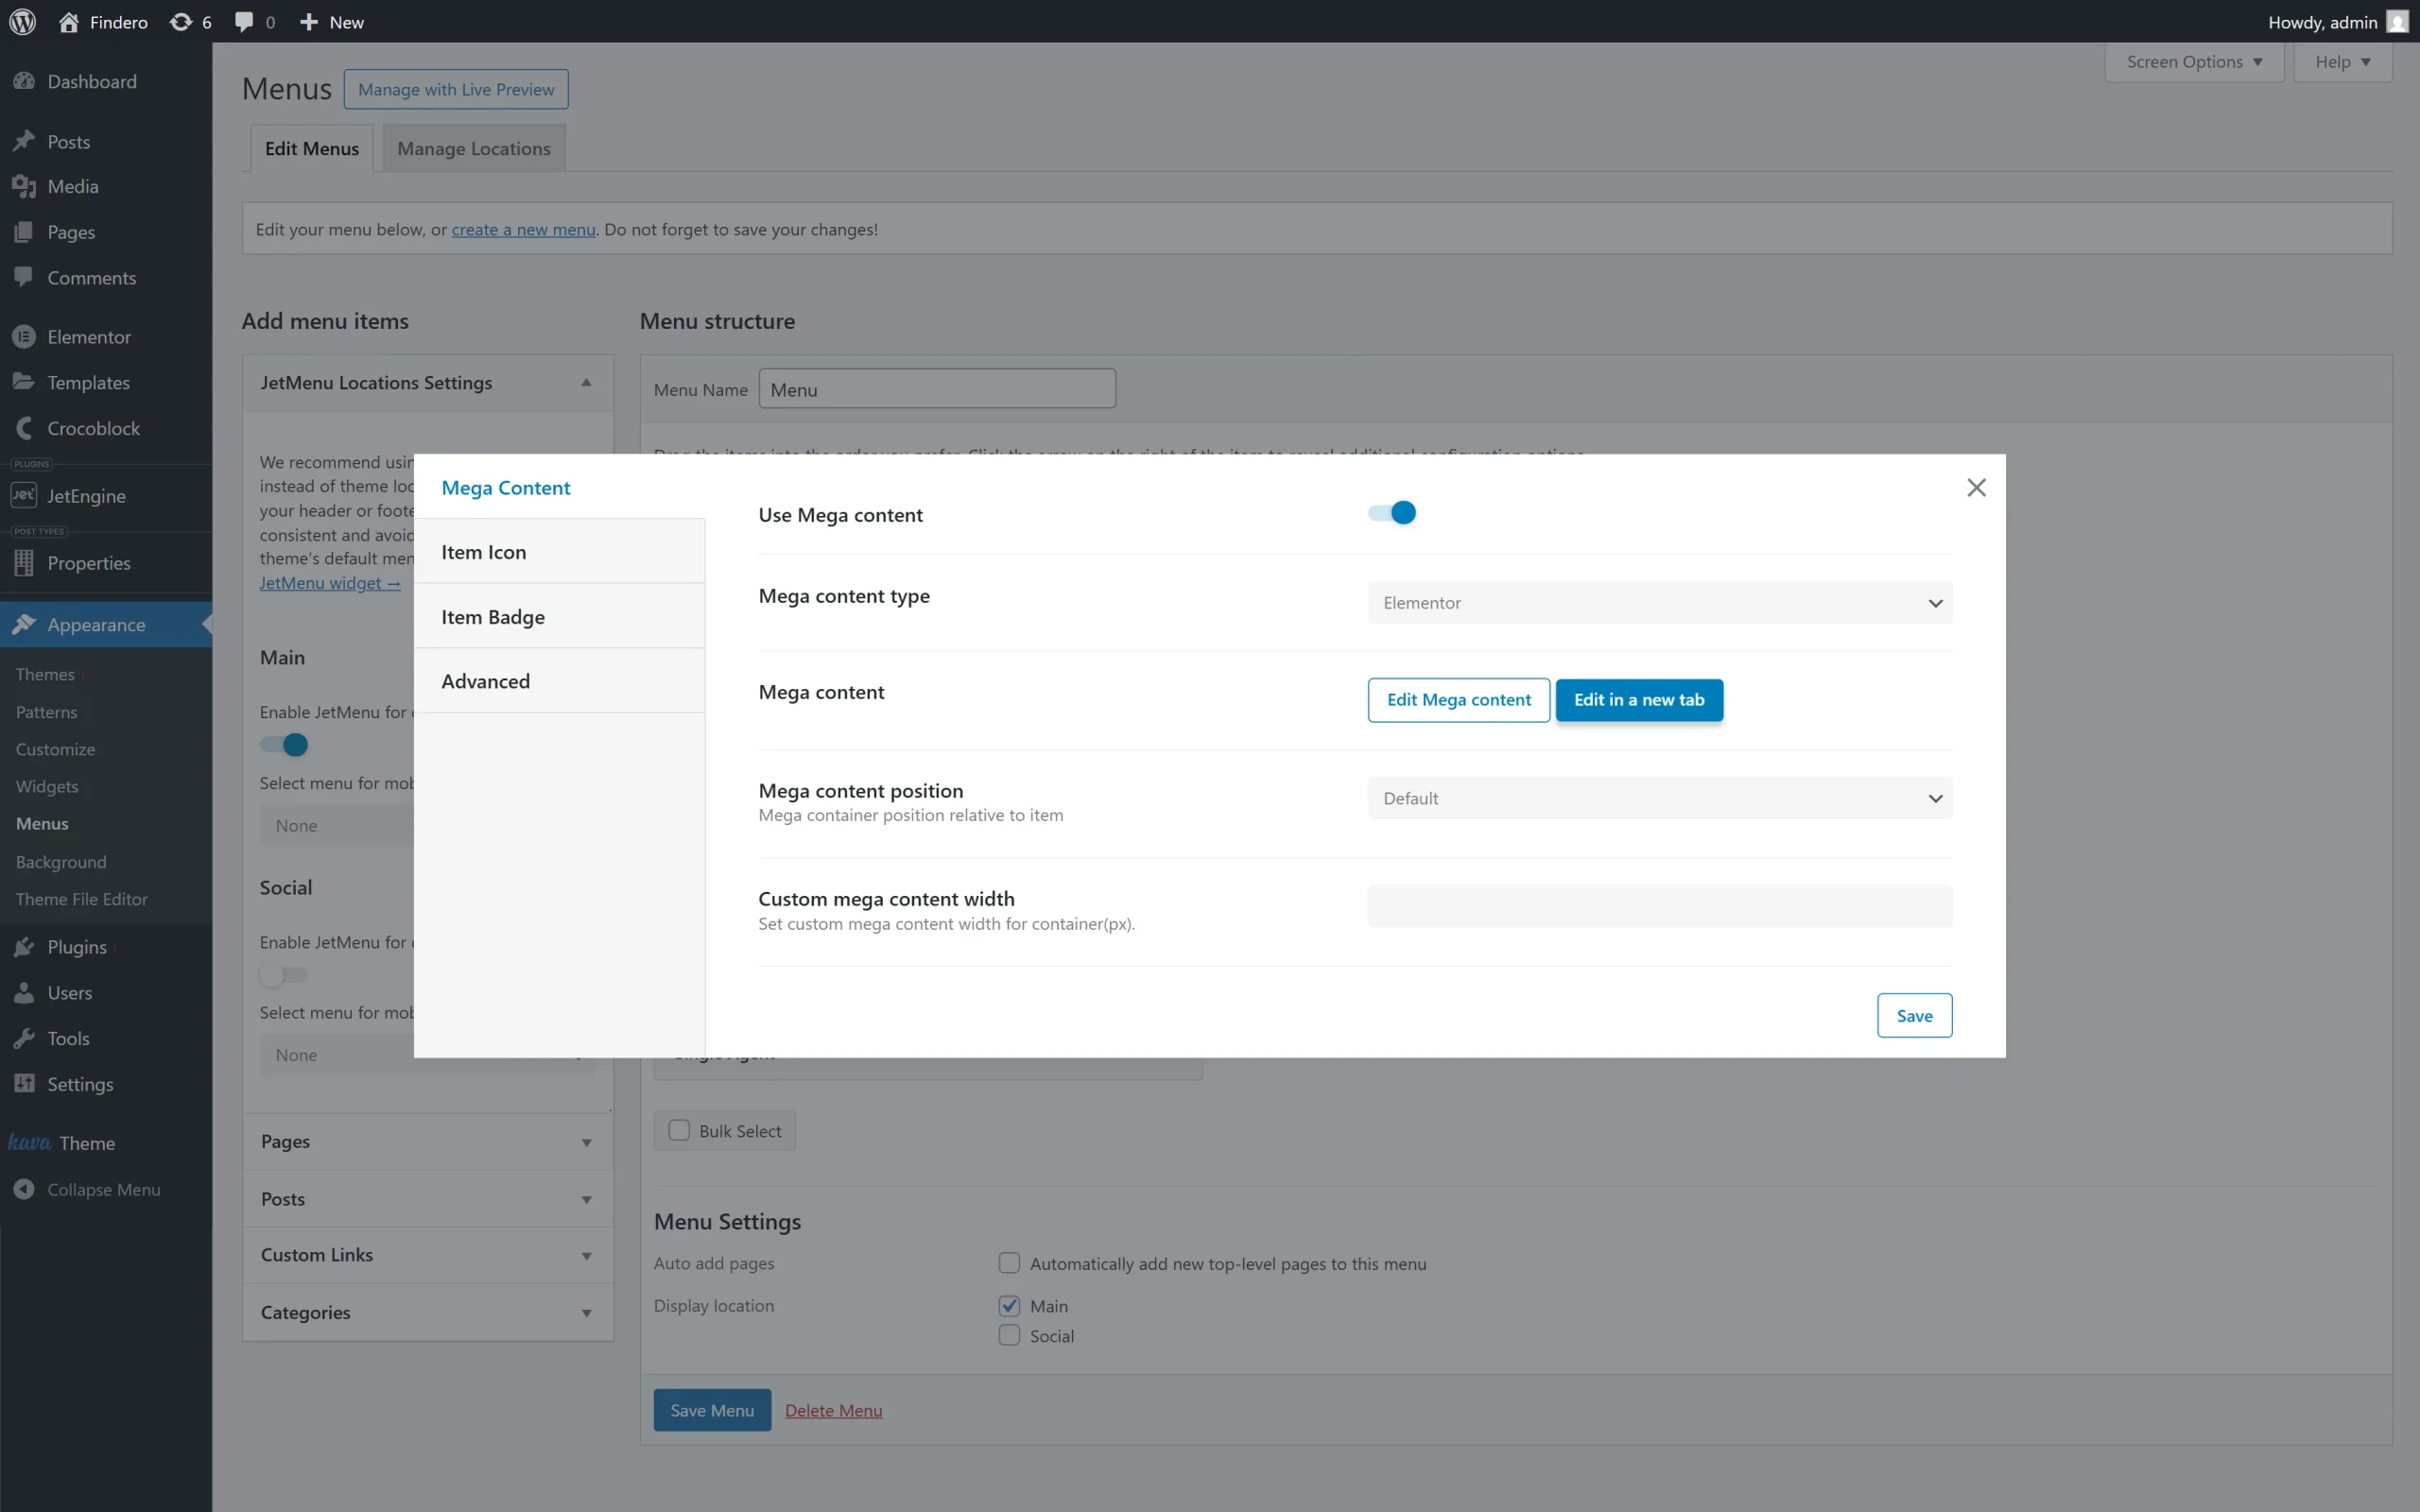
Then enable the Use Mega content toggle in the newly appeared pop-up. Pick the suitable editor (“Block editor” or “Elementor”), and click the “Edit Mega content” button.
Drag and drop the Listing Grid widget to the mega menu. Add the created listing item for taxonomies to the mega menu.
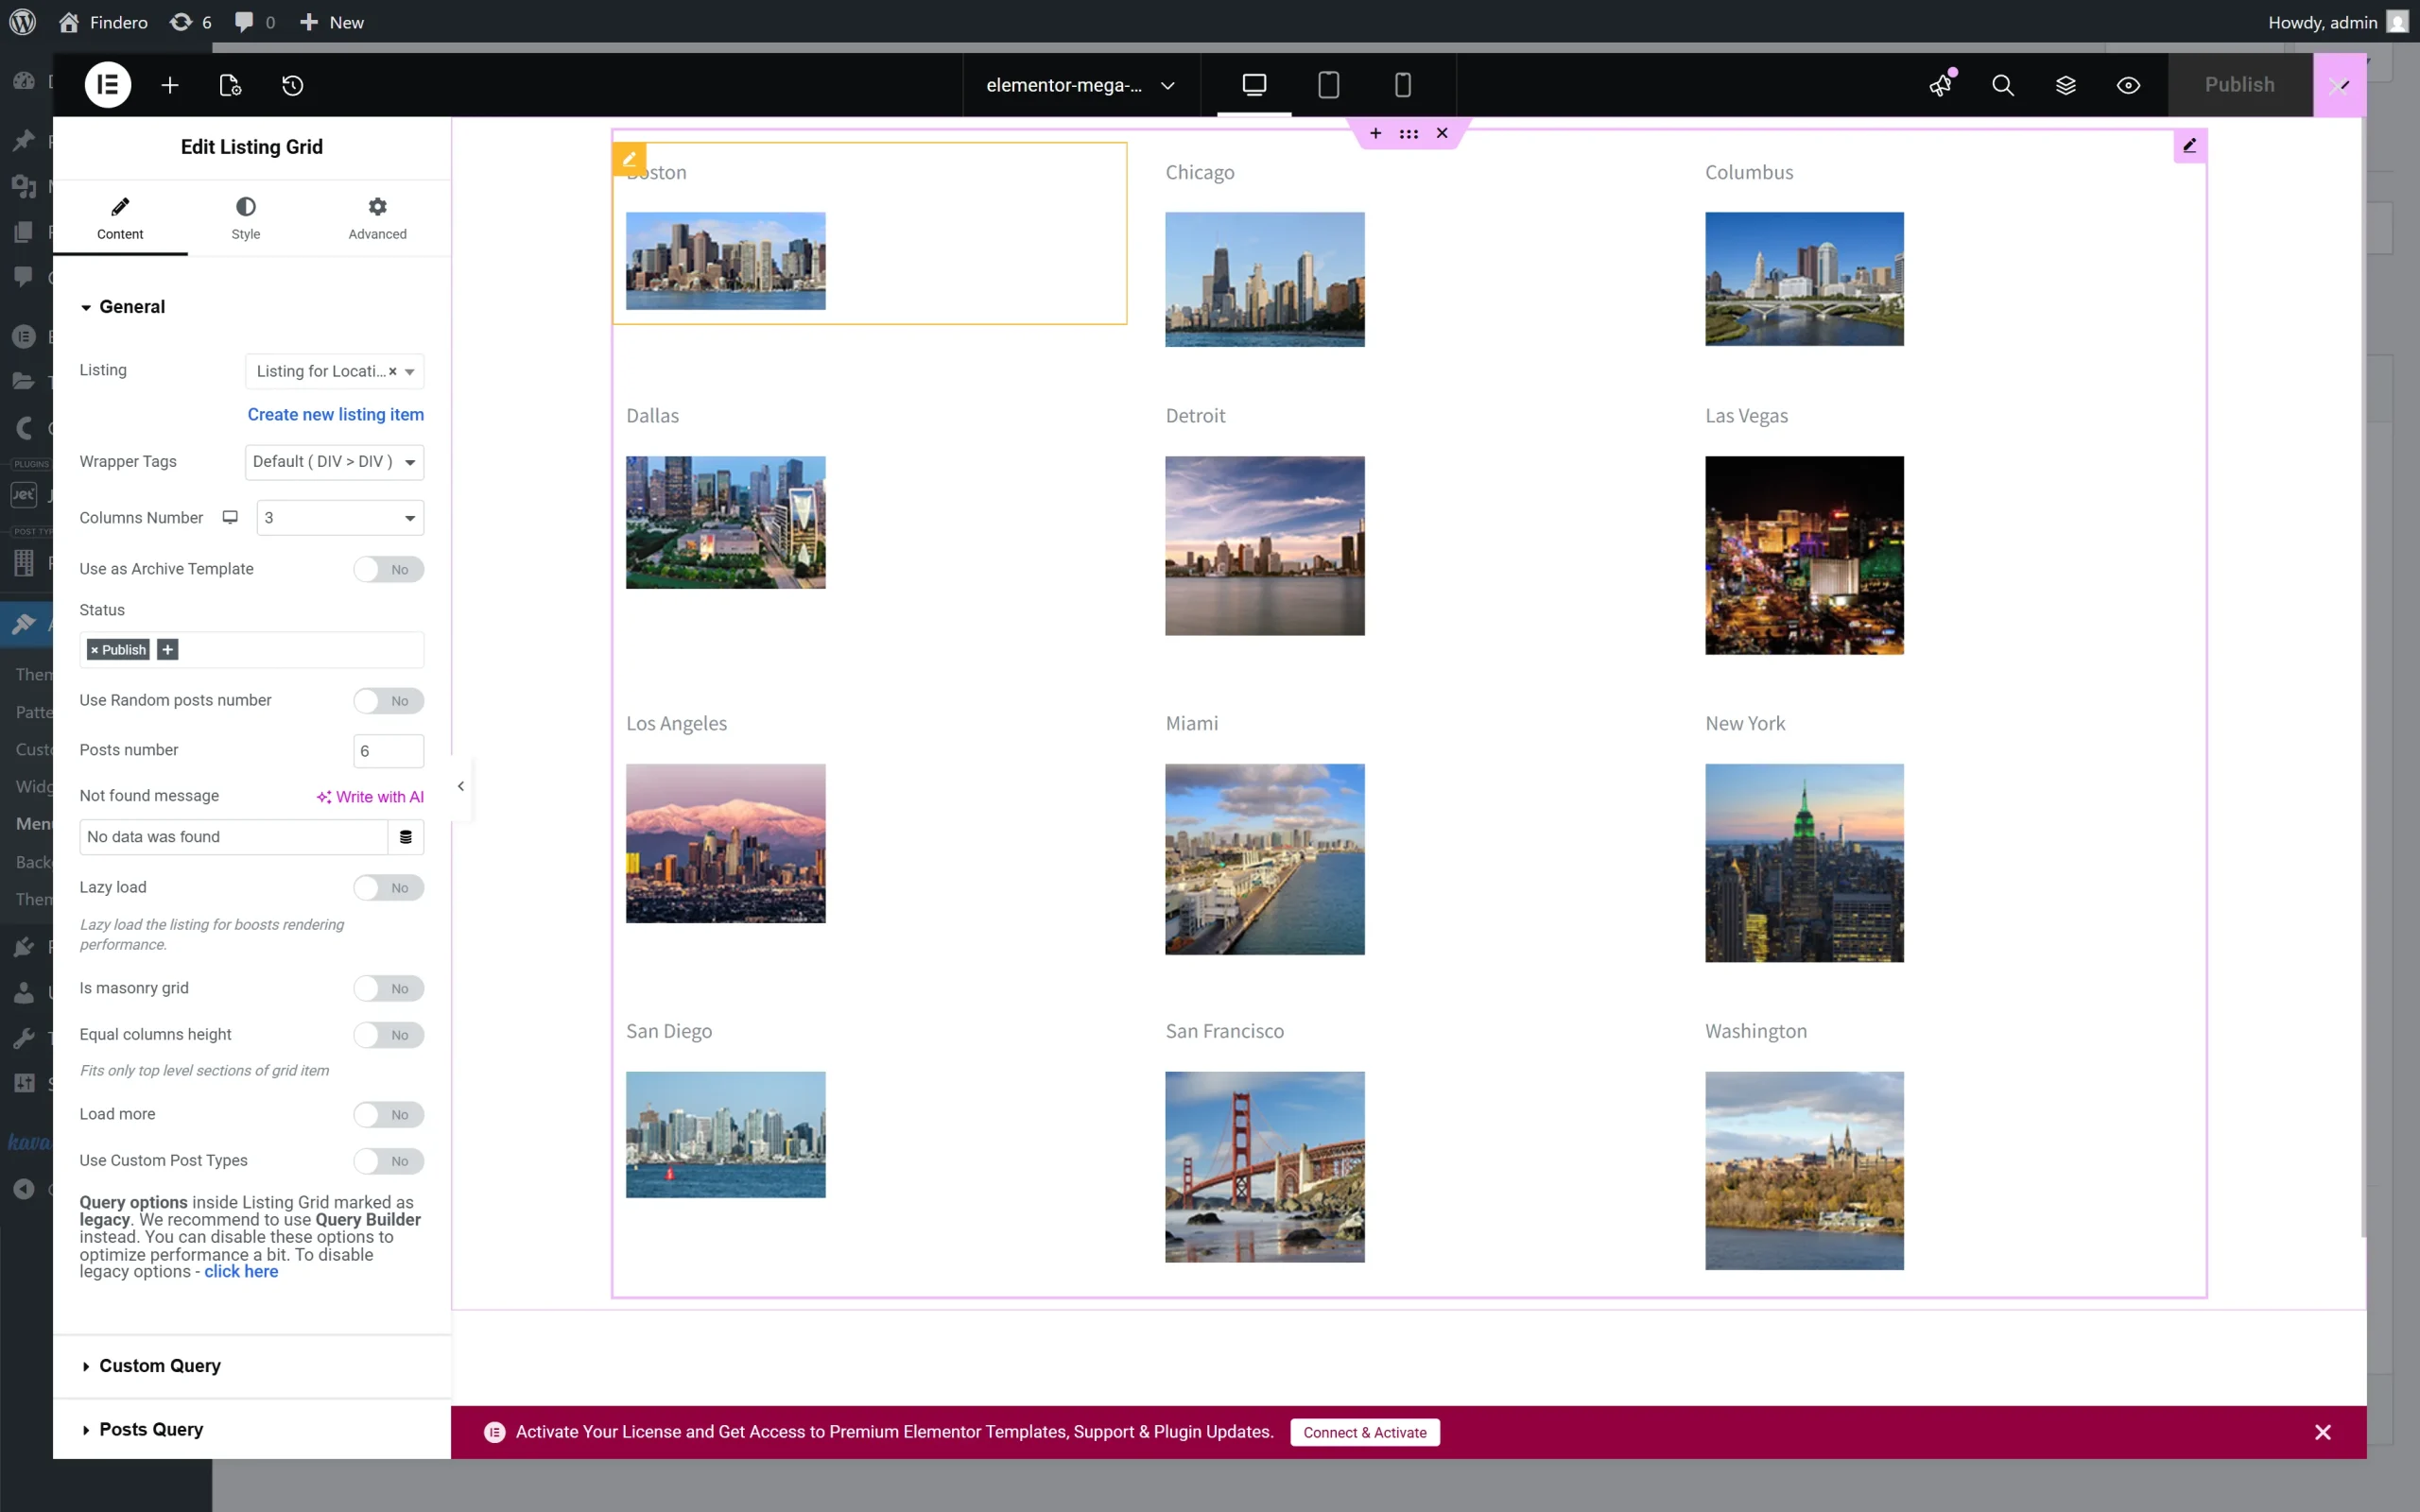
Next, move to the Custom Query tab, enable the Use Custom Query toggle, and select the created “Terms Type” Query in the Custom Query drop-down list.

Finally, complete the menu item and close it.
Insert the Menu into a Header
Navigate to the WordPress Dashboard > Crocoblock > Theme Templates tab. Open the existing header template or create a new one. Assign the header to the required page. In this case, the header is assigned to the entire site.
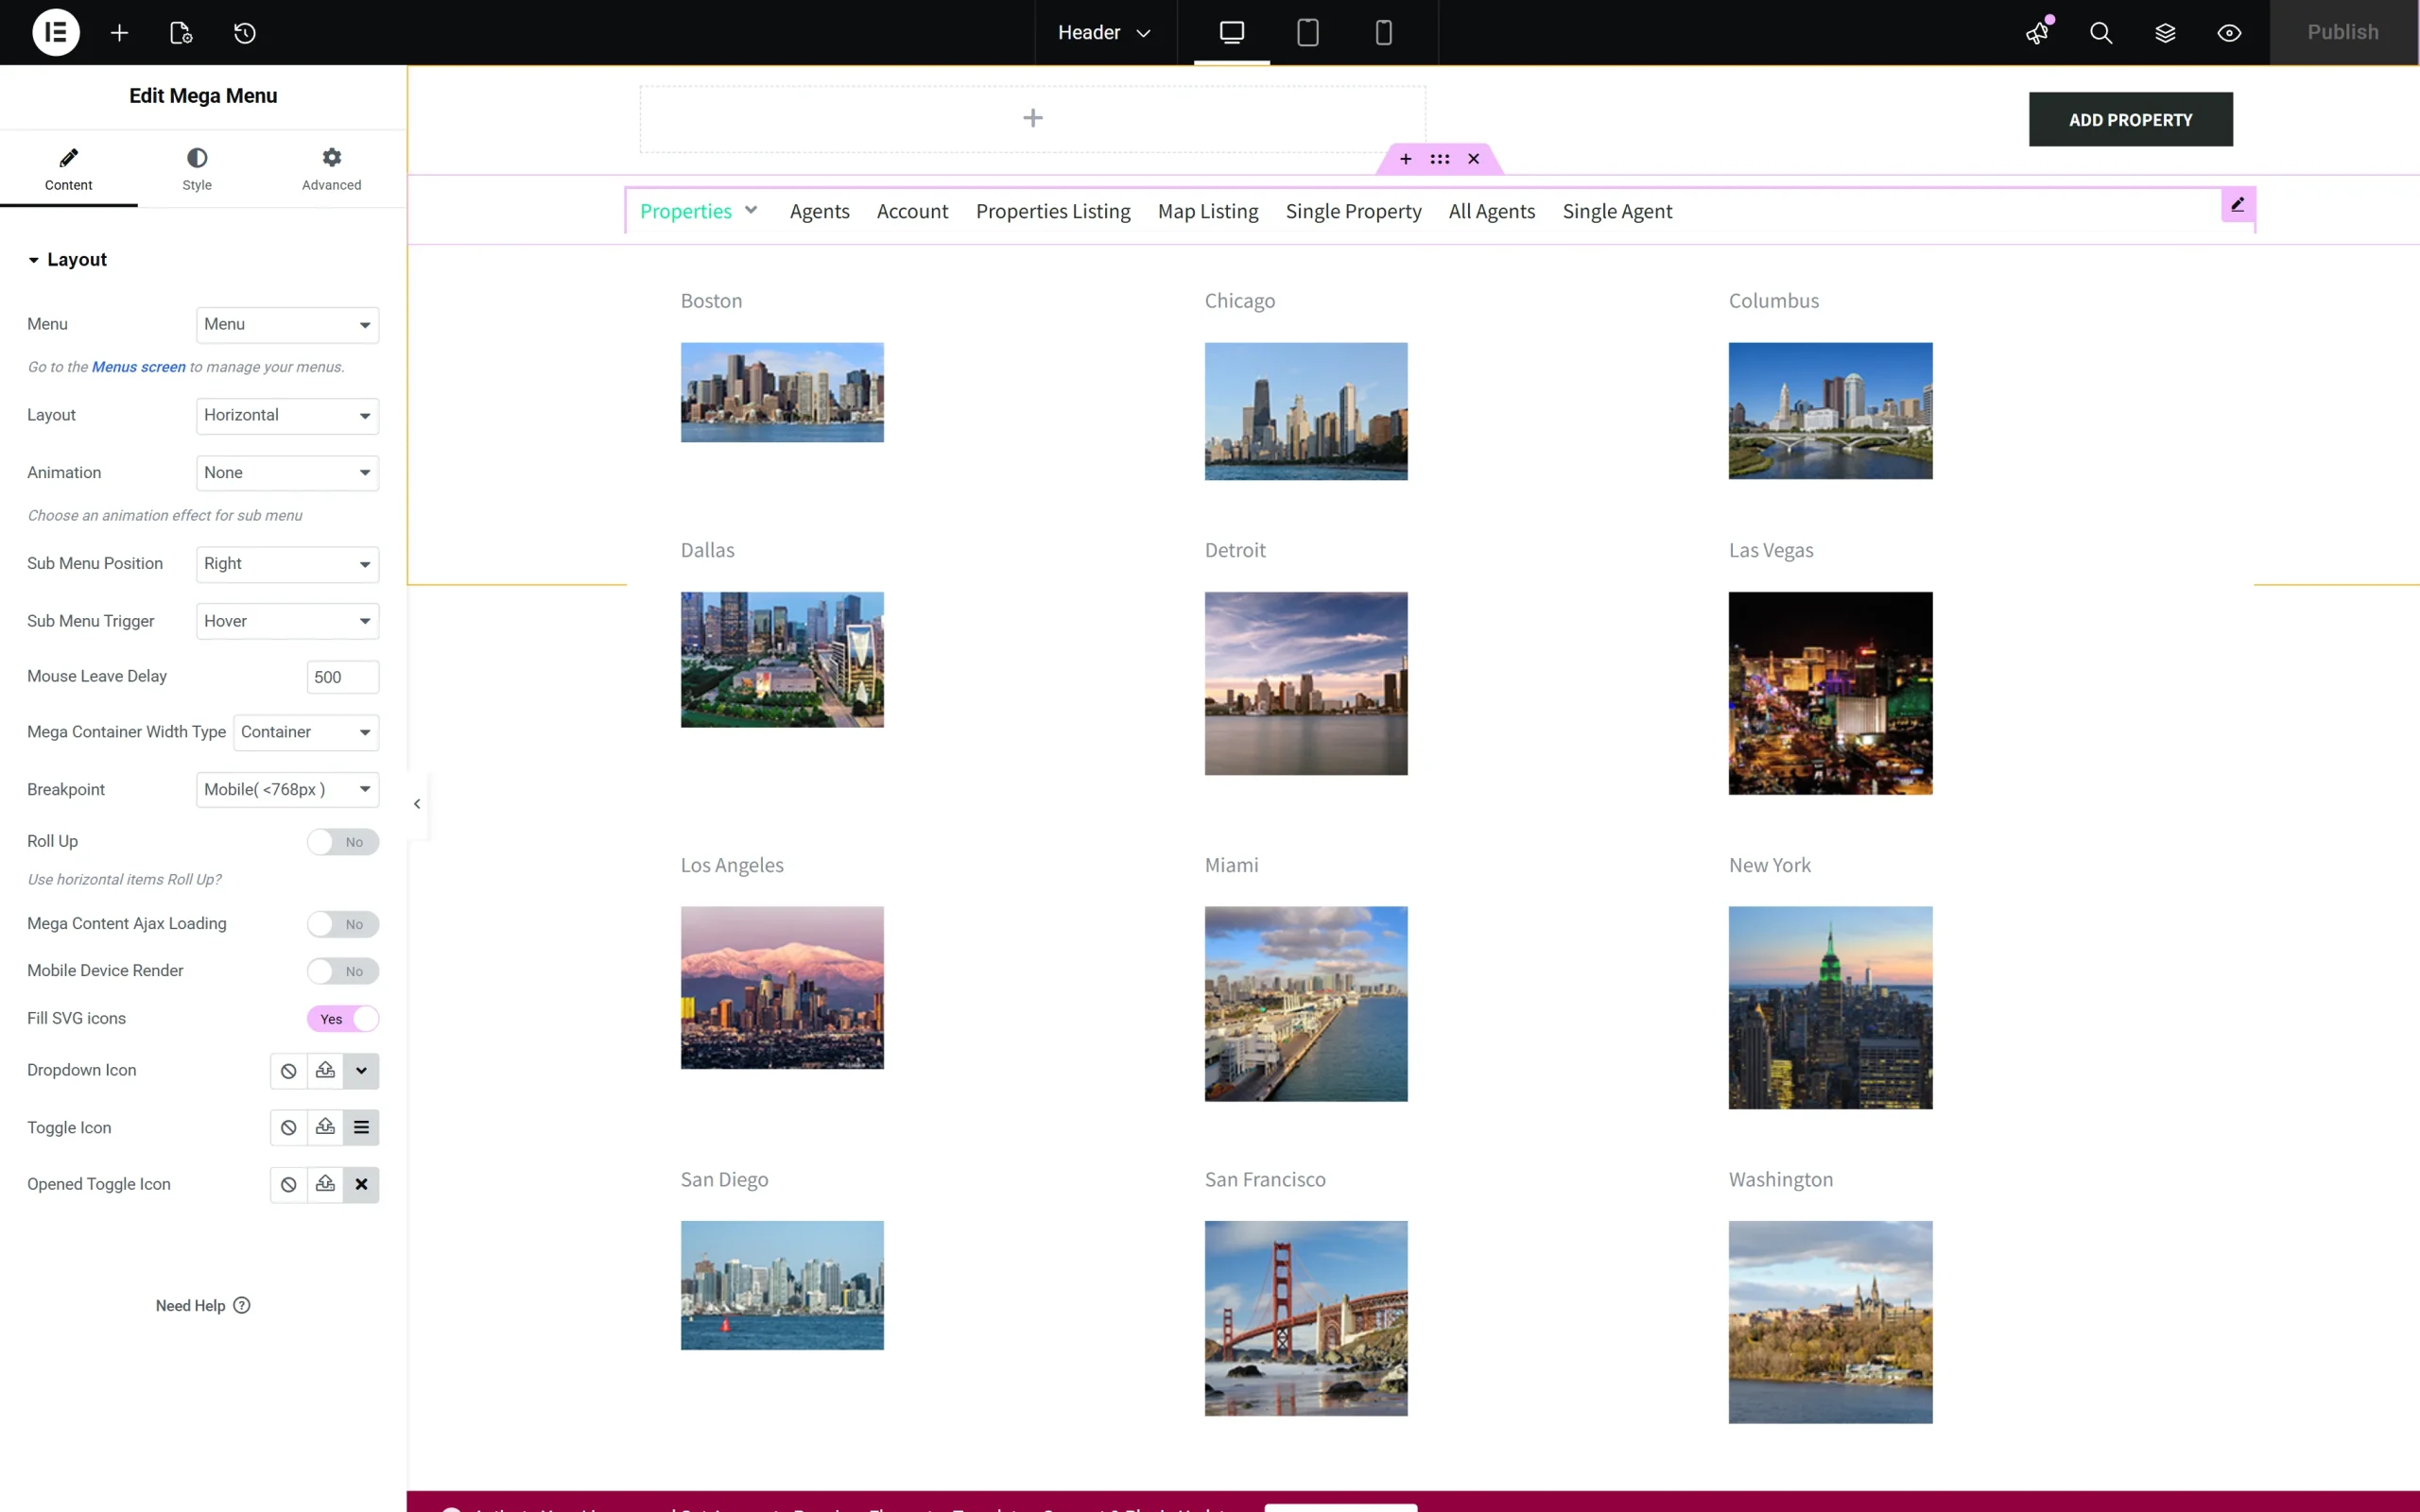
Add the Mega Menu widget to the page. Select the previously built menu from the Select Menu for Desktop drop-down menu.
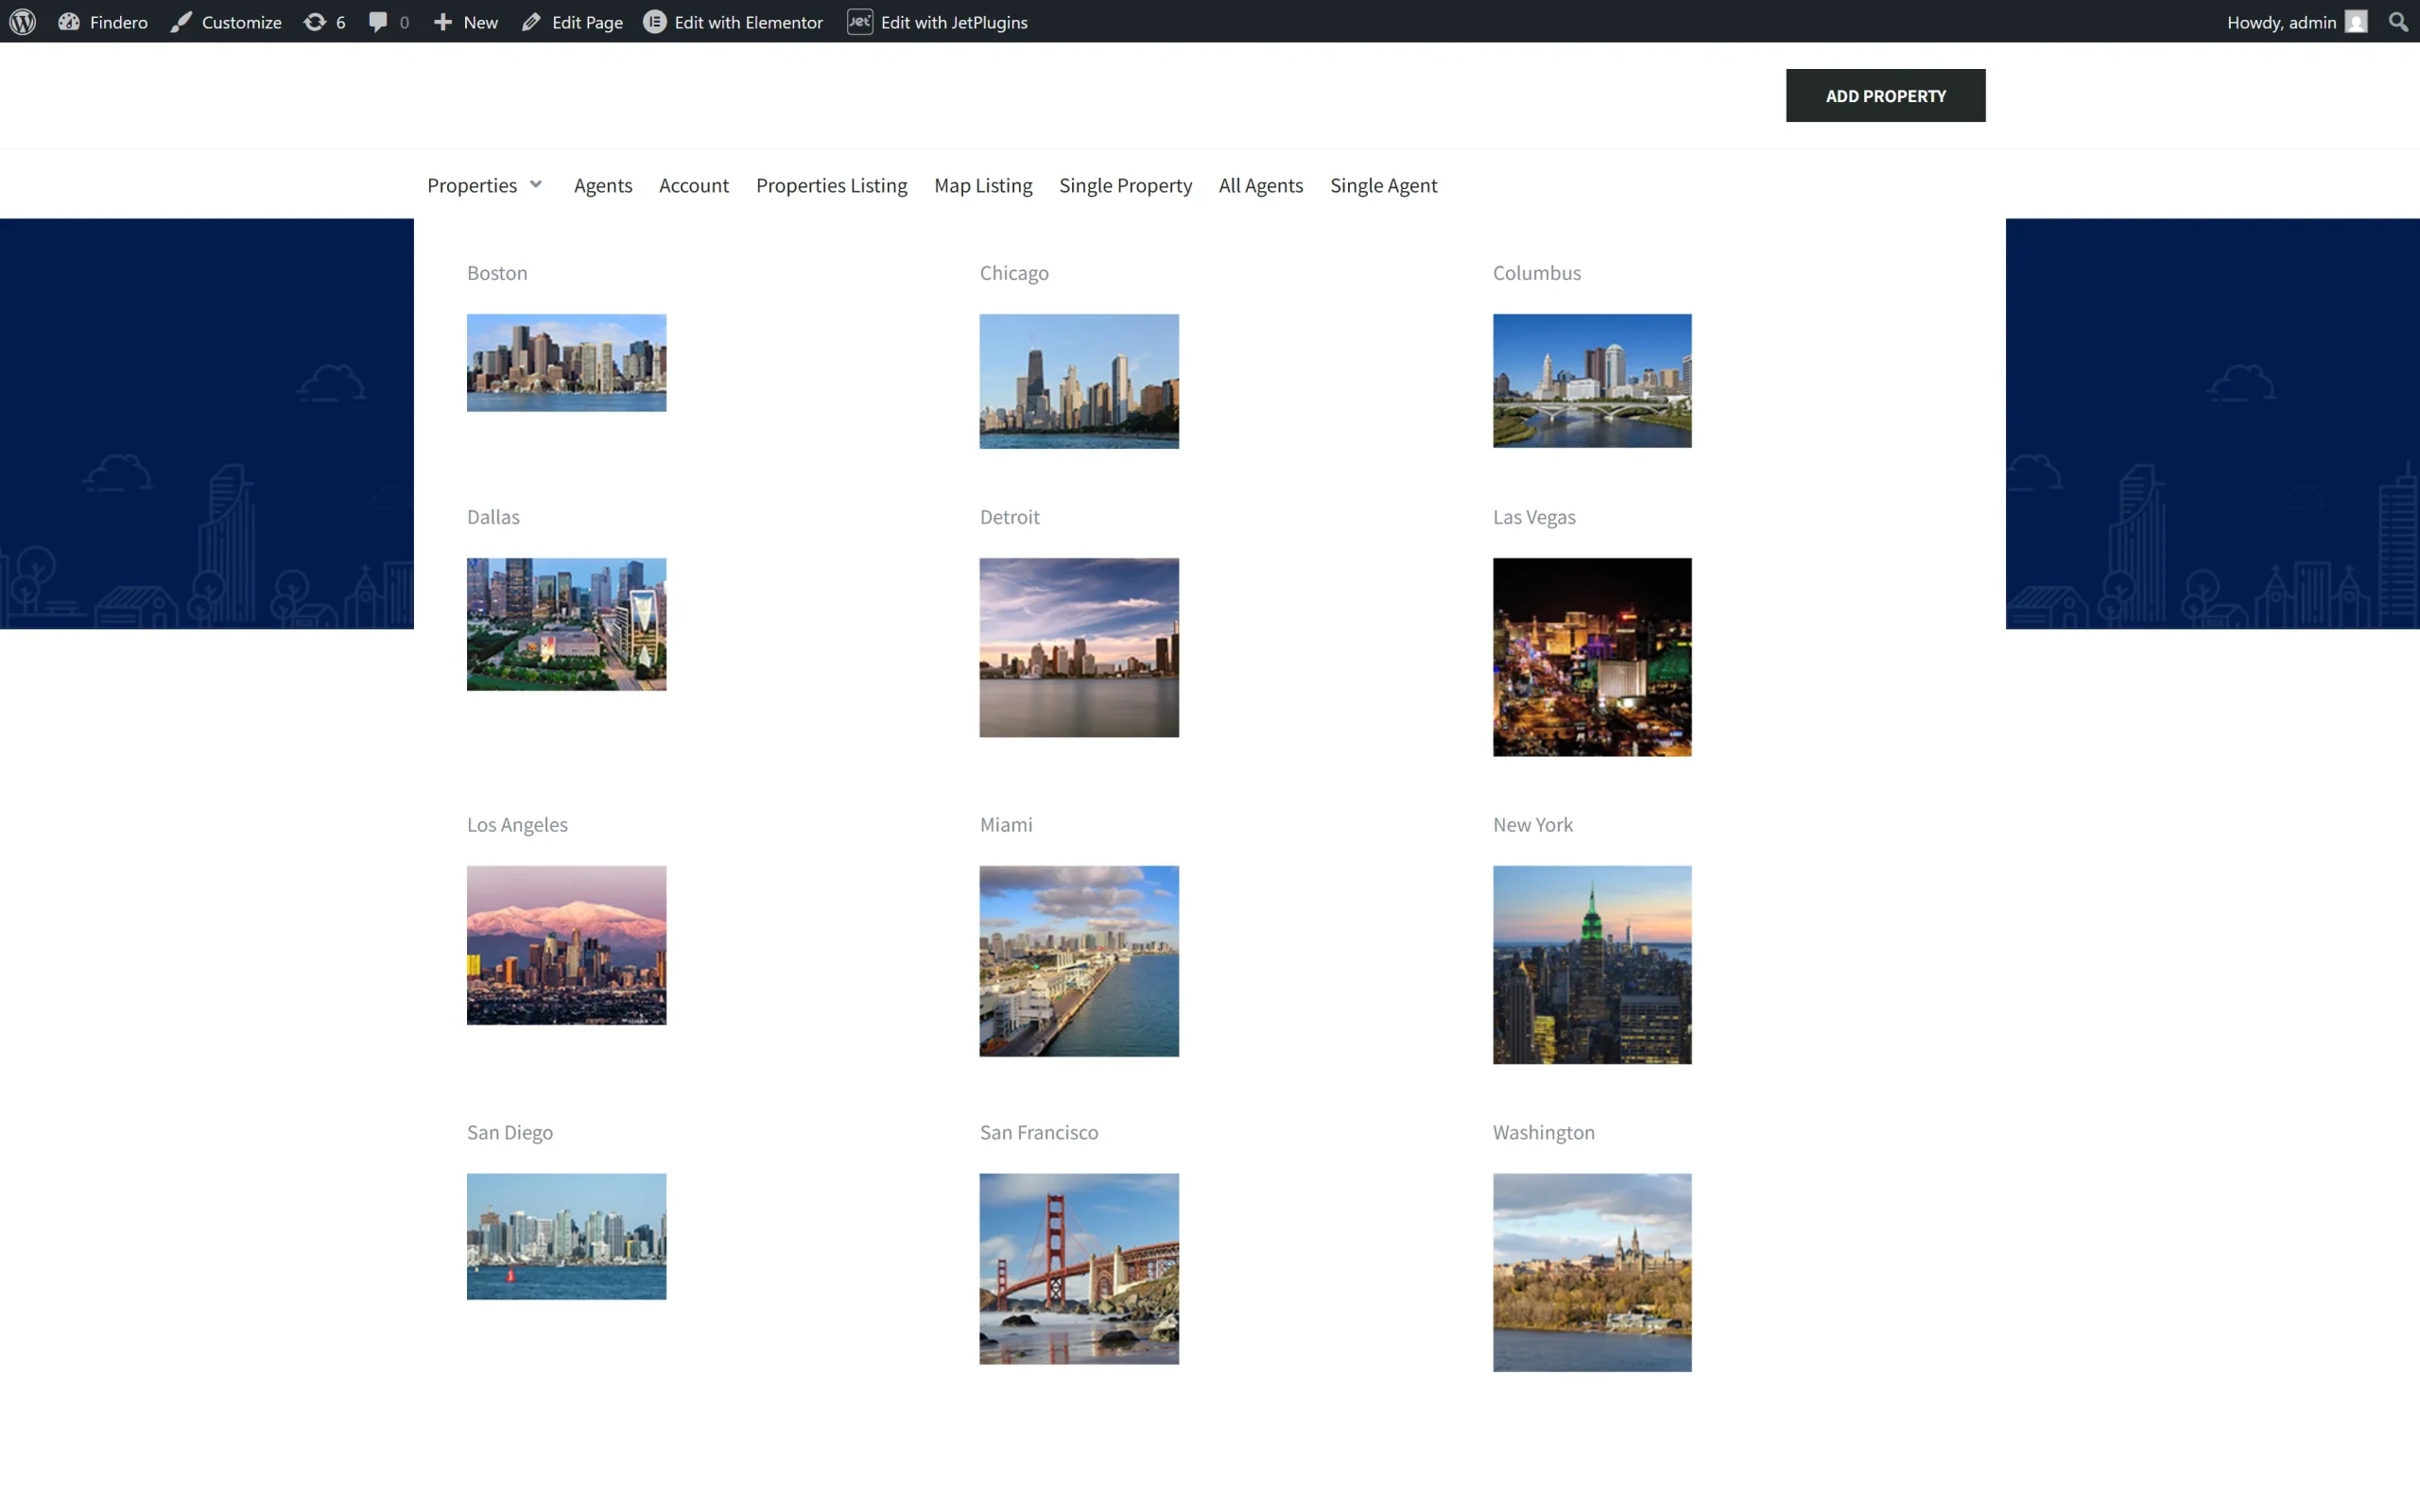
Check the Result
Navigate to the front end and open the page where the header is assigned. Unroll the mega menu and click the appropriate link.
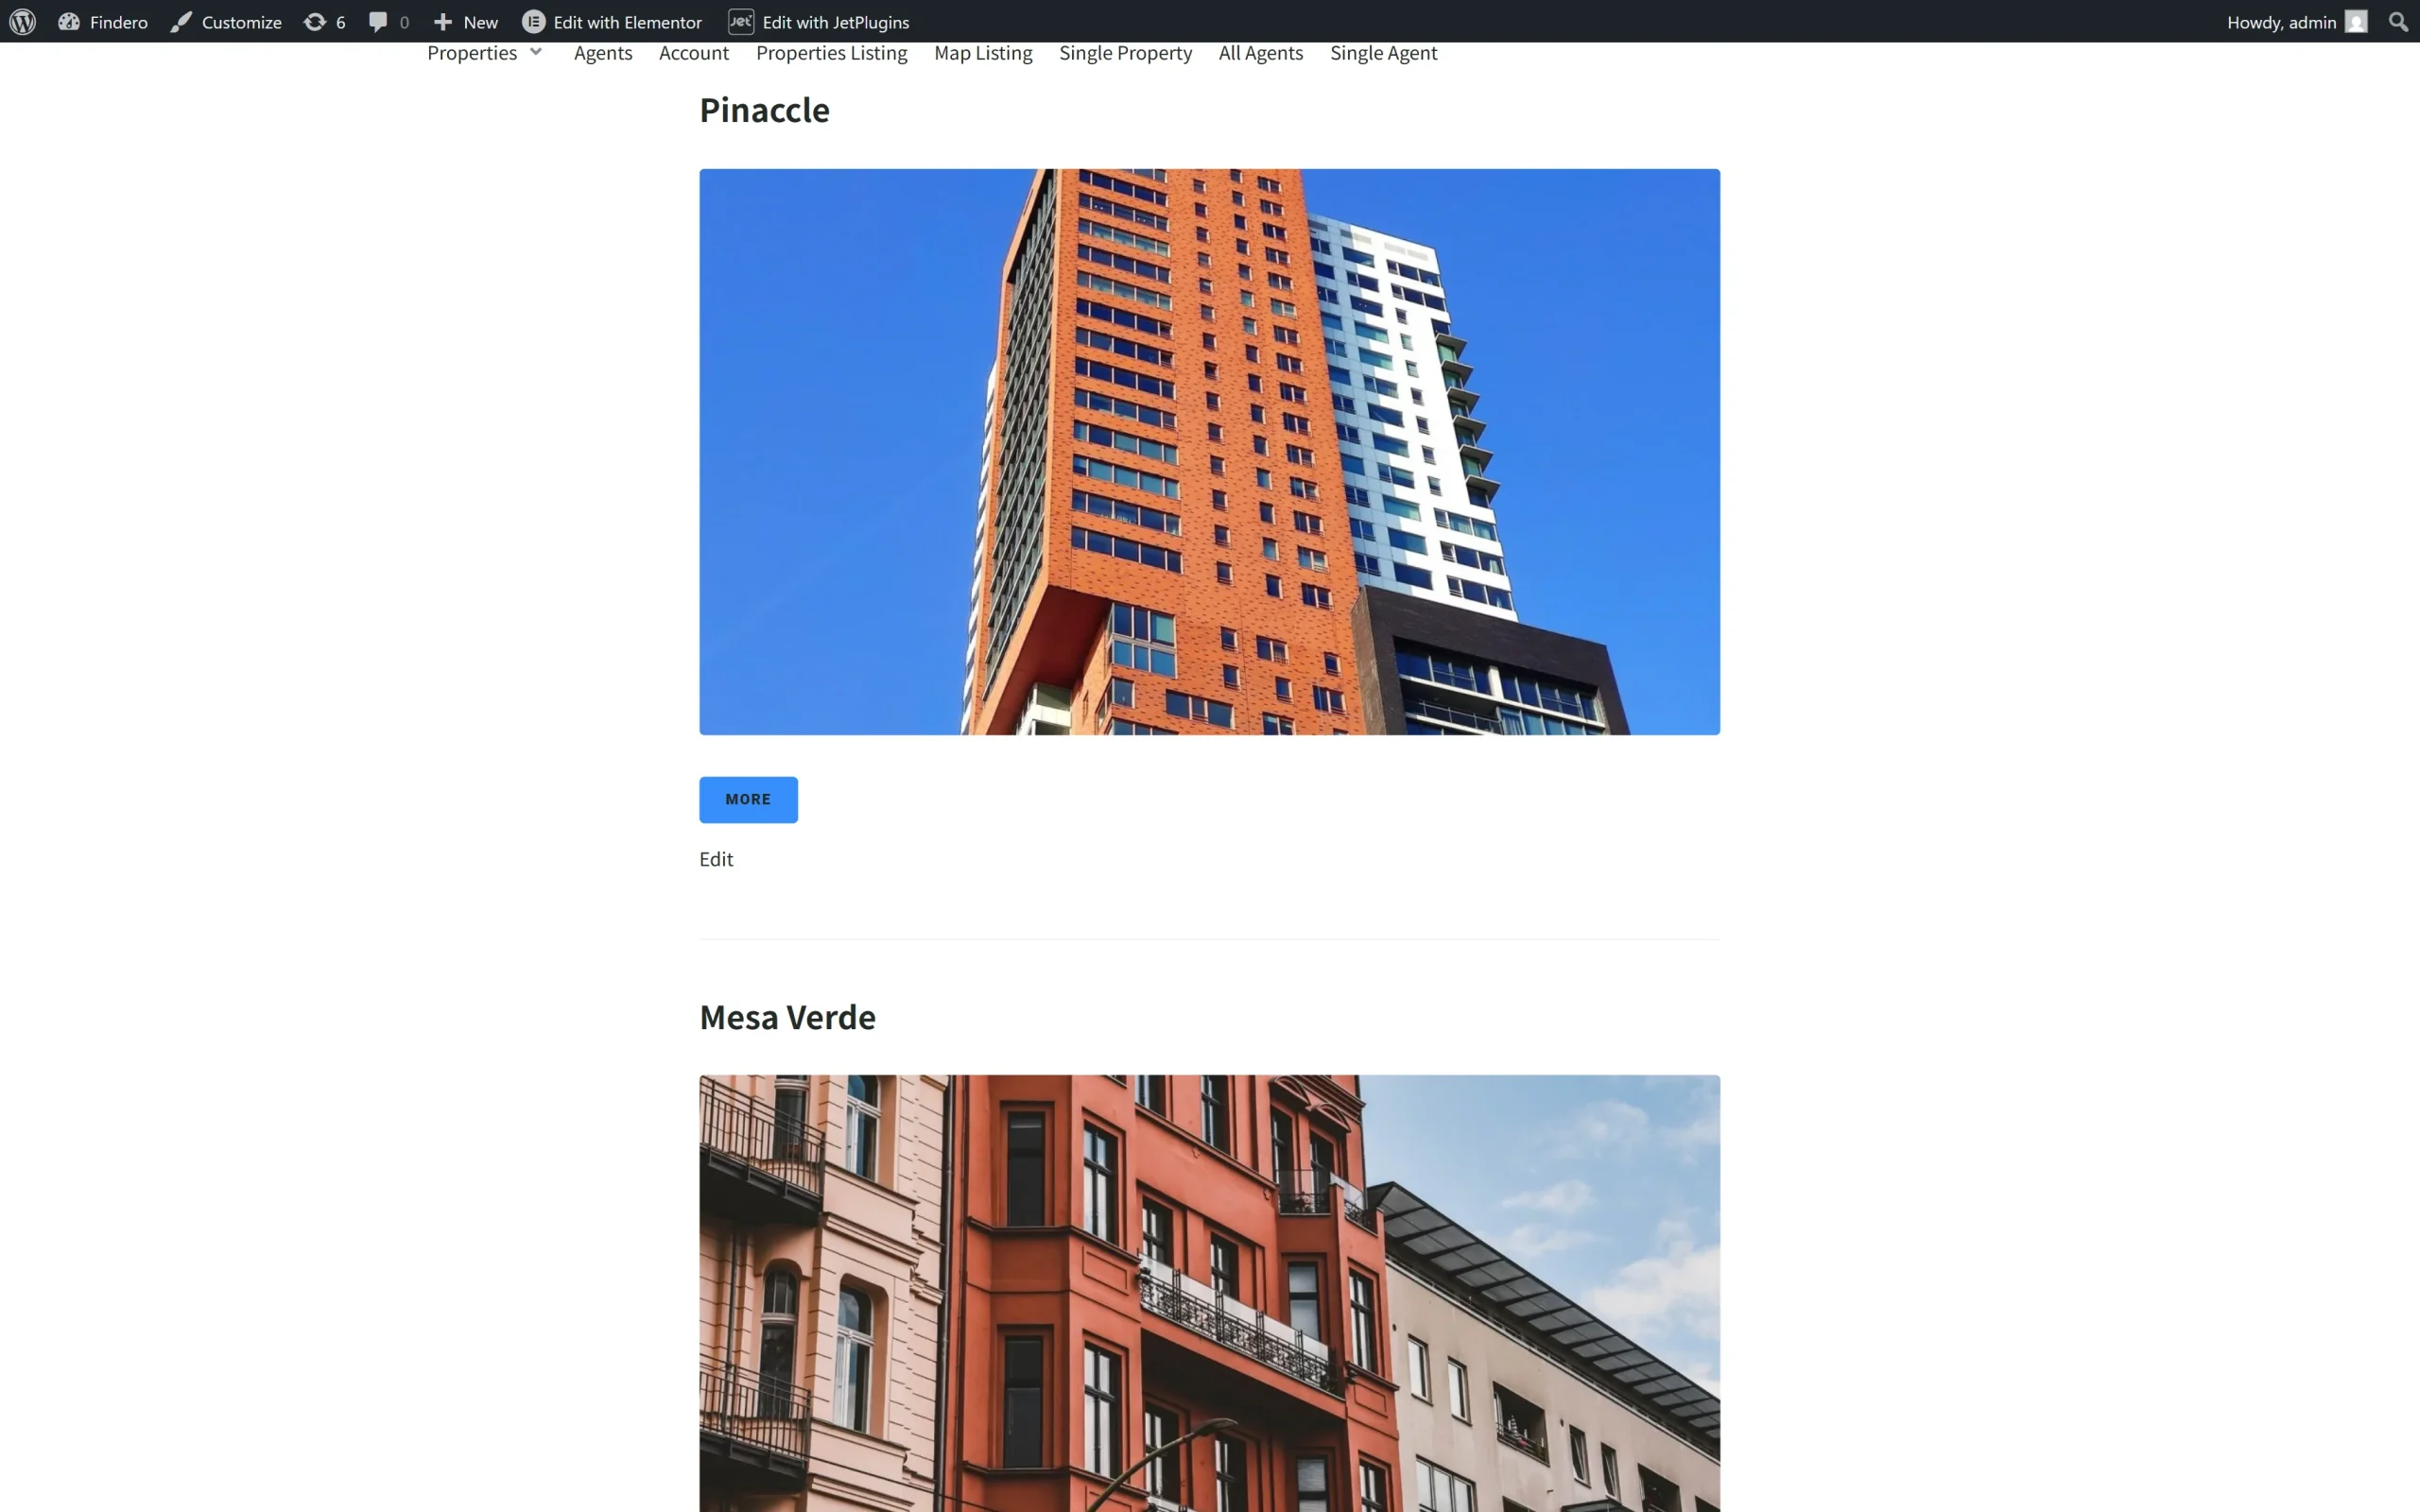
After that, you will be redirected to the page containing the CPT posts for the specified category.
This is it. Now you know how to create advanced Mega Menu items with the JetEngine plugin for WordPress.