How to Set Multiple Popup Conditions
The tutorial overviews multiple popup conditions provided by the JetPopup plugin and explains their settings for different page locations.
Setting Popup to Different Locations in Elementor
Click the gear icon at the bottom to proceed to the Jetpopup Settings. To set multiple conditions to the popup, navigate to Settings (the gear icon), unroll the Settings tab, and click the “Edit” button near the Display Conditions text.
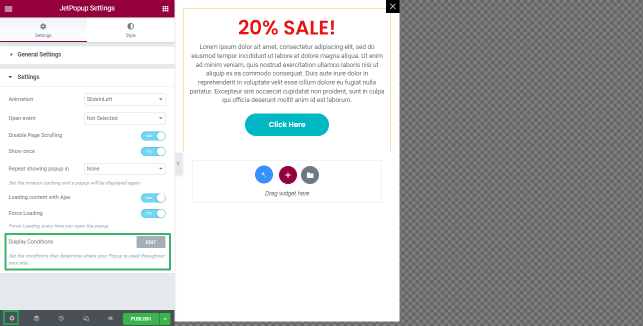
Then you will be redirected to the Dashboard.
Setting Popup to Different Locations in Gutenberg
Click the JetPopup icon at the bottom to proceed to the Jetpopup Settings. To set multiple conditions to the popup, navigate to Settings, and click the “Edit Conditions” button near the Display Conditions text.
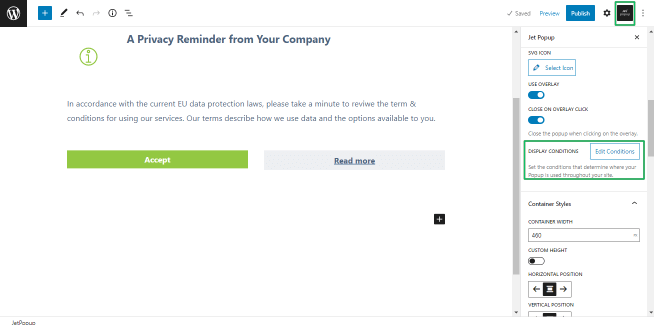
Gutenberg will redirect you to the Dashboard.
Setting Popup Conditions
After redirection the popup will be shown.
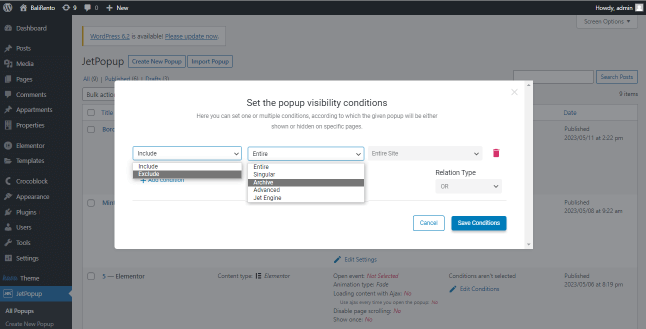
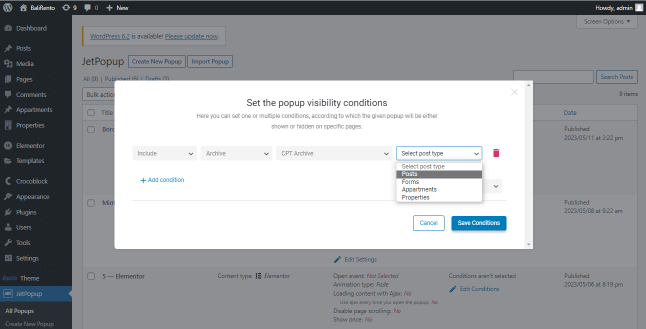
- The Include dropdown menu has the Include and Exclude options to specify the appropriate conditions for the popup. If you choose the Include, then the popup will always appear on the set pages or posts, and if you select the Exclude option, then the popup won’t appear on the posts and pages that you have set;
- the Entire dropdown menu has options to apply the popup on certain pages of the site: Entire, Singular, Archive, Advanced, and Jet Engine;
- If you need to apply the popup to the whole website, you should select the Entire Site condition:

- If you need to use the popup in the specific post, you can do it with the help of the Singular option: select the post you need from the dropdown in the following field;
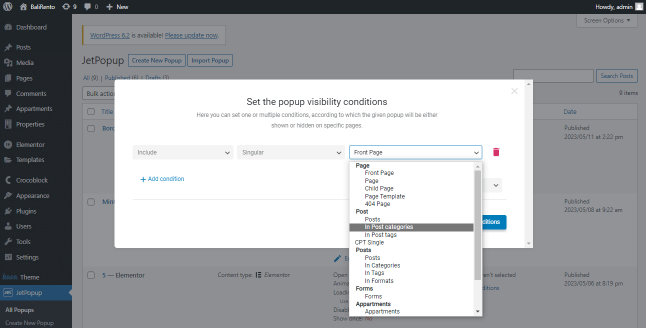
- With the Archive option, you can set the popup for Archive pages. You can choose the Post Type Archive condition and show your popup on the archive page. In this case, you should specify the tag, category, or format to select the popup for every tag, category, or format.
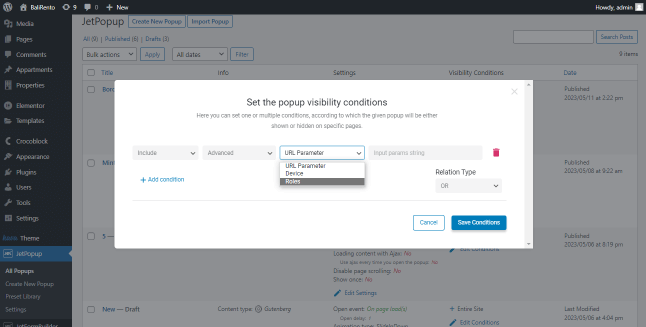
- the Advanced option allows type the necessary URL Parameter in the Input Parameters string field, select the Device (Desktop, Tablet, or Mobile), or specify Roles for the visibility conditions (Administrator, Editor, Author, and more);
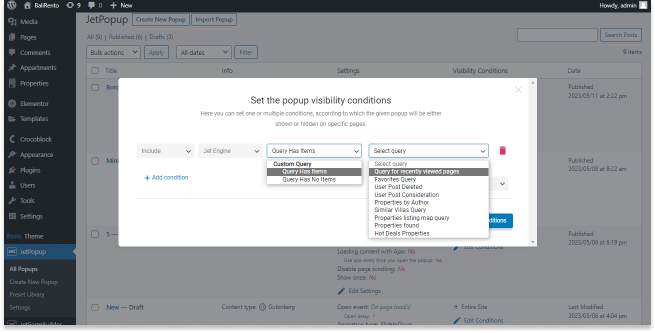
- the JetEngine option allows usage of a Custom Query and includes the Query Has Items and Query Has No Items options. If selected, the JetEngine option (regardless of the Query Has Items or Query Has No Items option chosen) turns on the drop-down menu with the same list of available queries;
Press the “+ Add condition” button for another popup visibility condition. It turns on another set of popup visibility conditions.
Specify the conditions you need and apply the Relation Type for these conditions (AND or OR) from the dropdown menu.
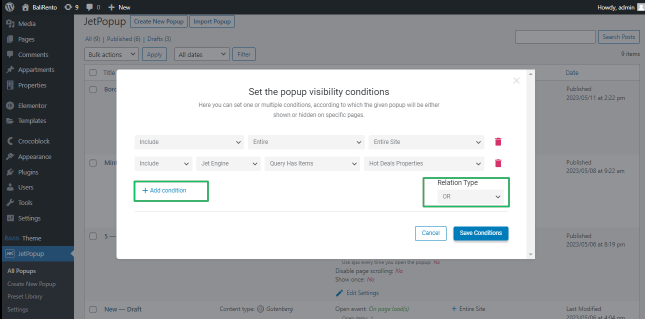
If necessary, add another condition(s).
The tutorial Popup Conditions Overview details the popup conditions.
That’s all about the multiple conditions settings of the JetPopup plugin.