How to Use Dynamic Data Addon from JetTabs DevTools
Learn how to use the Dynamic data addon for WordPress to display the dynamic content from the JetEngine plugin via the JetTabs widgets, such as Tabs, Image Accordion, and Classic Accordion.
Before you start, check the tutorial requirements:
- Elementor (Free version)
- JetTabs plugin installed and activated with free Dynamic data addon installed and activated
- JetEngine plugin installed and activated
Download and Install the Add-on
First, navigate to the Crocoblock Dev Tools page to observe all available add-ons.
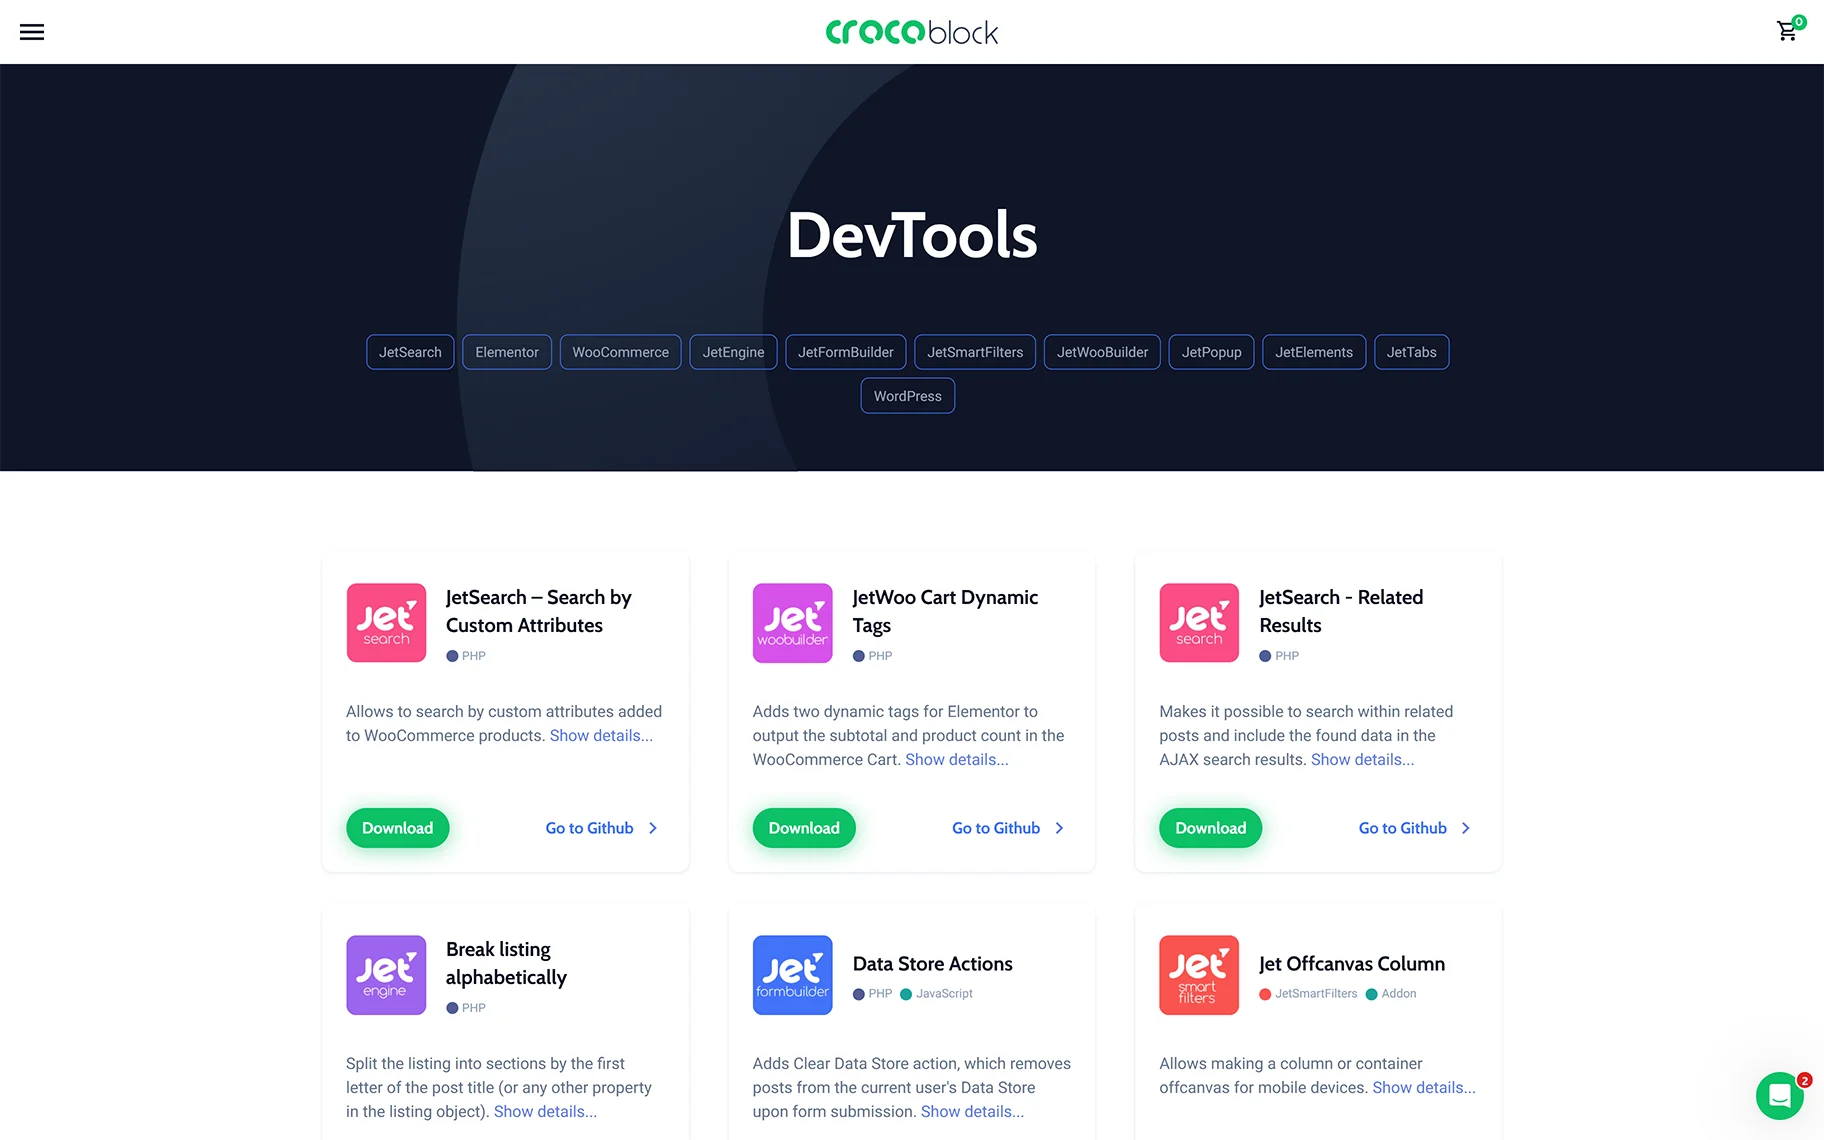
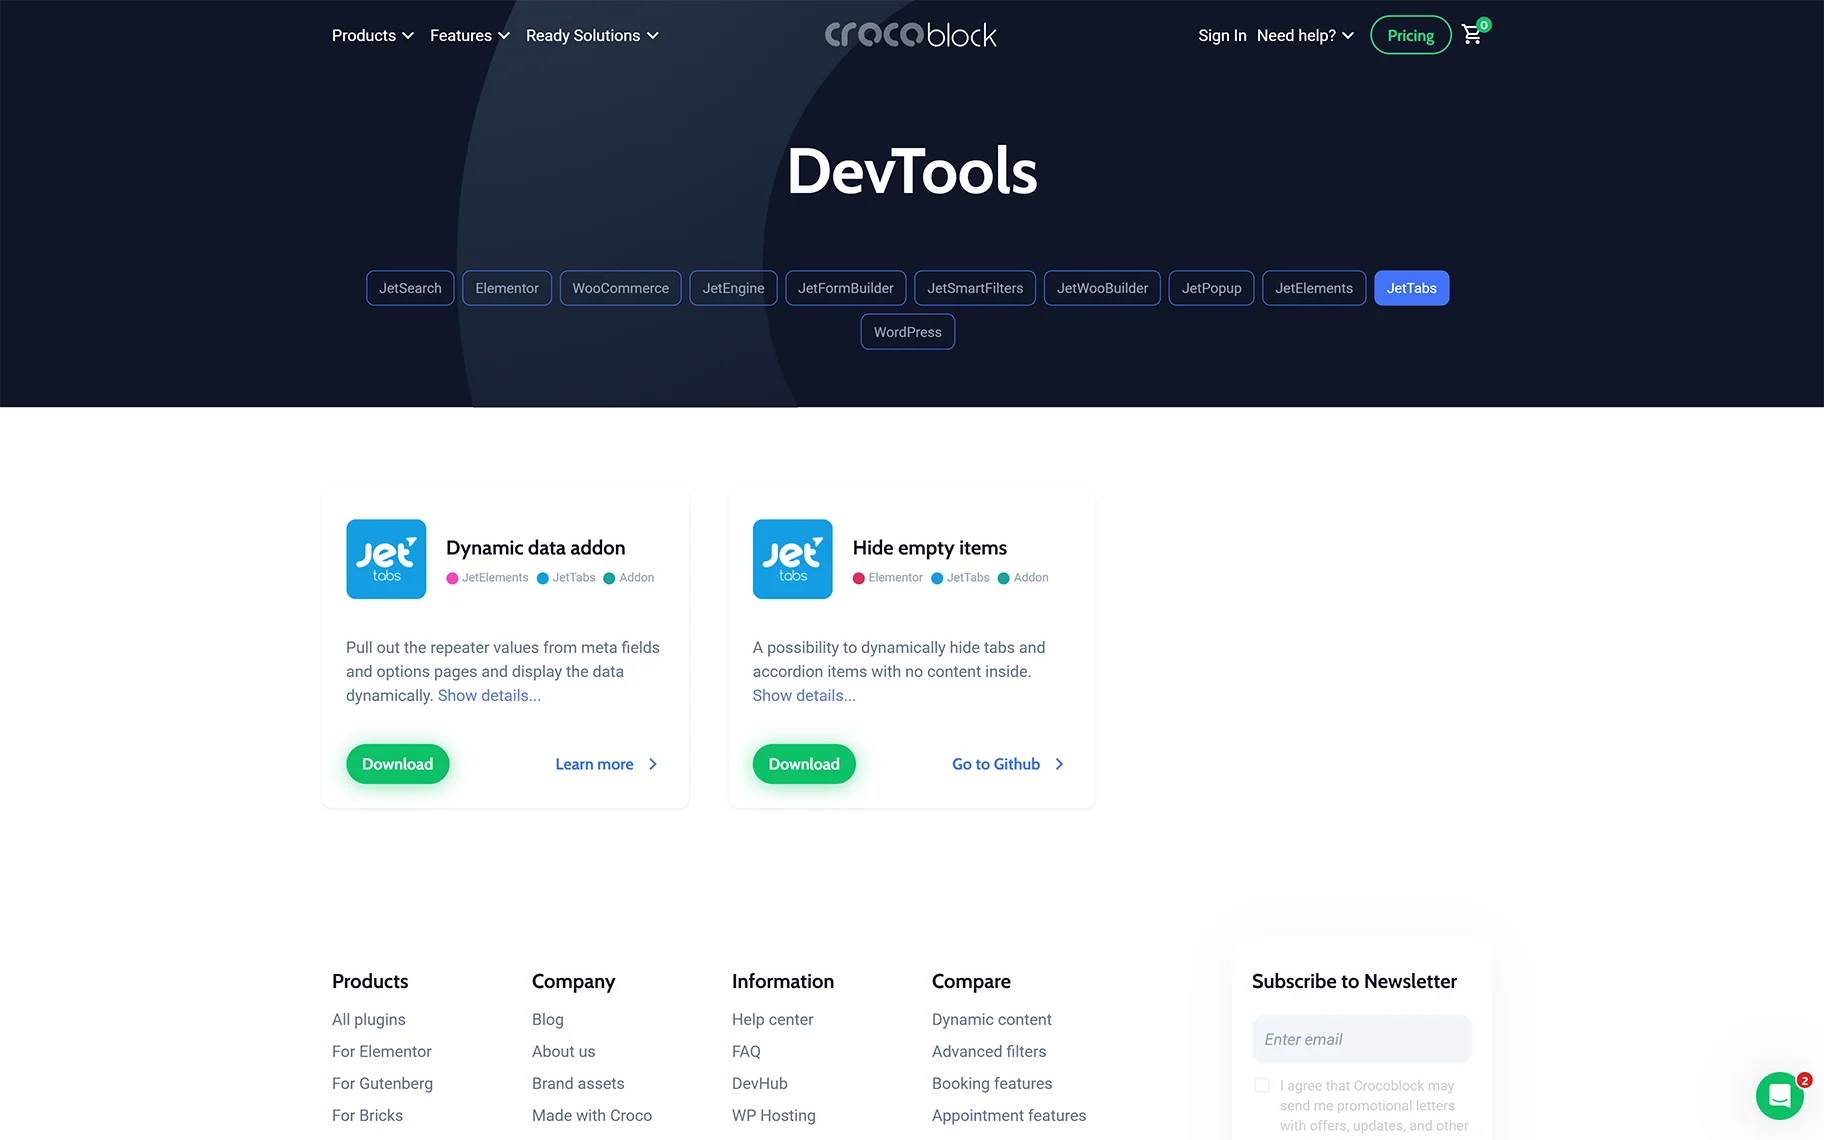
On this page, you can find the Dynamic data addon, or click the JetTabs tab to download it there.
After that, install and activate the add-on as any WordPress plugin. Read more details in the How to Install Plugins Manually and How to Install JetPlugins via WordPress Dashboard tutorials.
Create the Repeater Meta Field for CPT
In this case, we create the “Books” CPT to display grouped data.
After that, we add the Repeater Field and fill in the Label and Name/ID fields (“books_repeater”, in this case).
Then, we press the “New Repeater Field” button to add the field for completing: the “Author” Text Field, “Cover” Media Field, and “Description” Textarea Field. For the Media Field, set the “Media ID” Value Format.
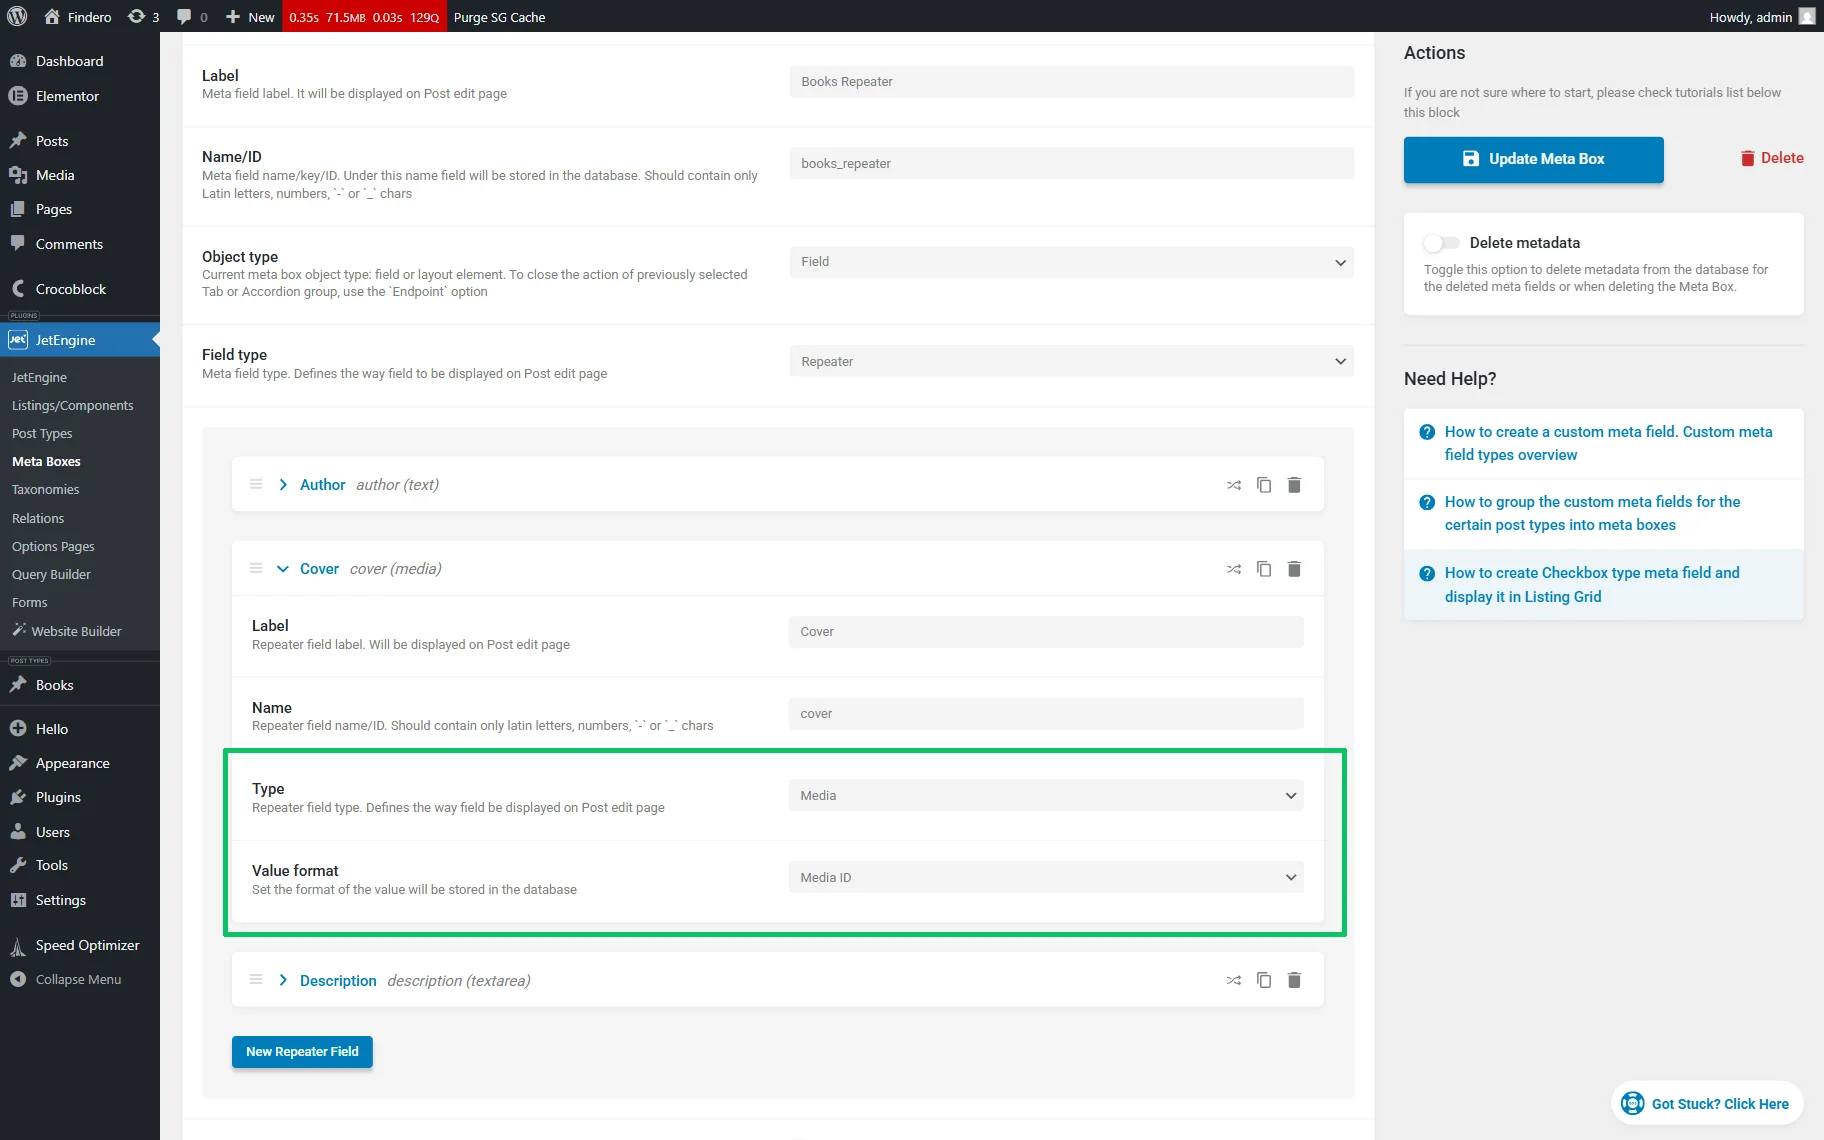
When everything is set, click the “Add/Update Post Type” button on the right.
Fill out the CPT Posts
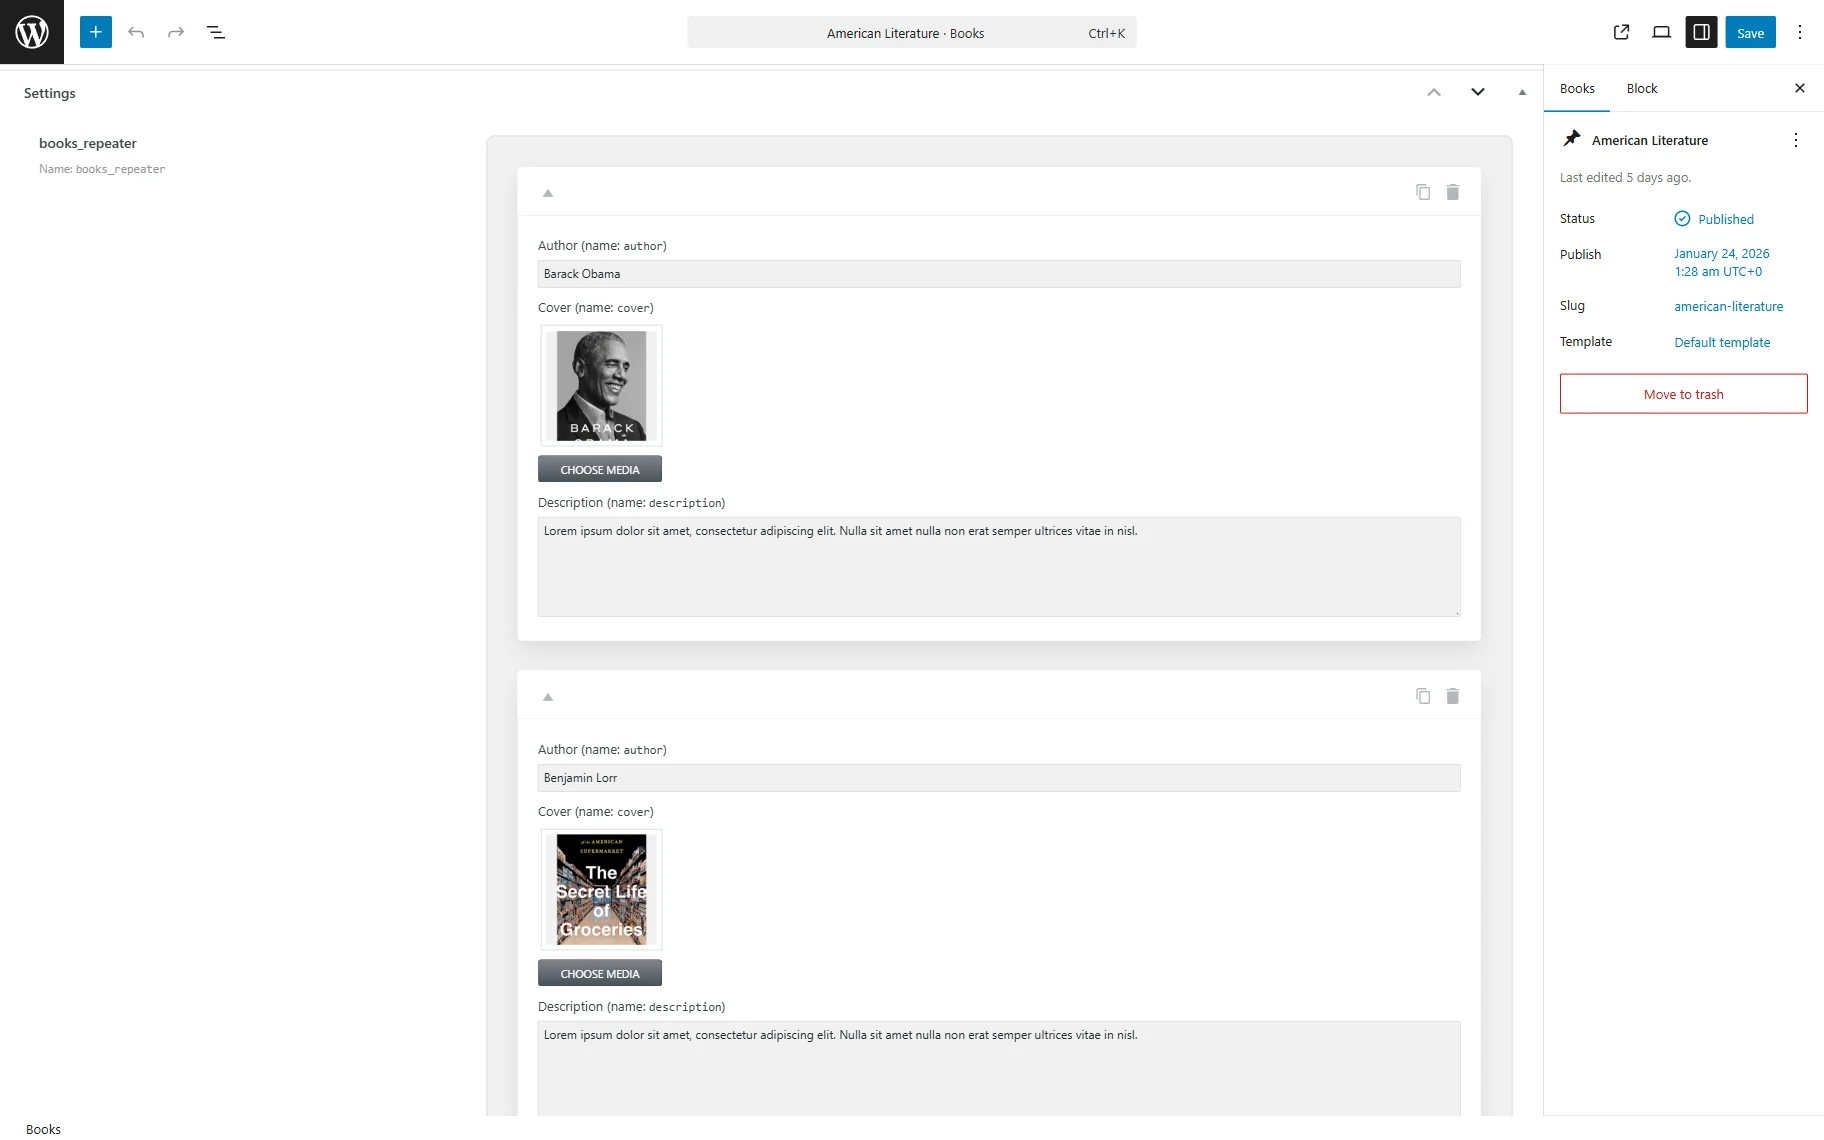
Open the newly created CPT section in the WordPress Dashboard. We are going to fill out the Repeater Field data into every CPT item. Click the “Edit” button under the post.
Display the Dynamic Content via JetTabs Tabs Widgets
Create a single template
Go to the WordPress Dashboard > Crocoblock > Theme Builder tab. Here, create a new single template to be edited in the Elementor Page Builder.
Add the JetTabs widget
Find the Tabs widget in the search bar or any other that supports the Dynamic data addon (Image Accordion and Classic Accordion) and place it on the single page.
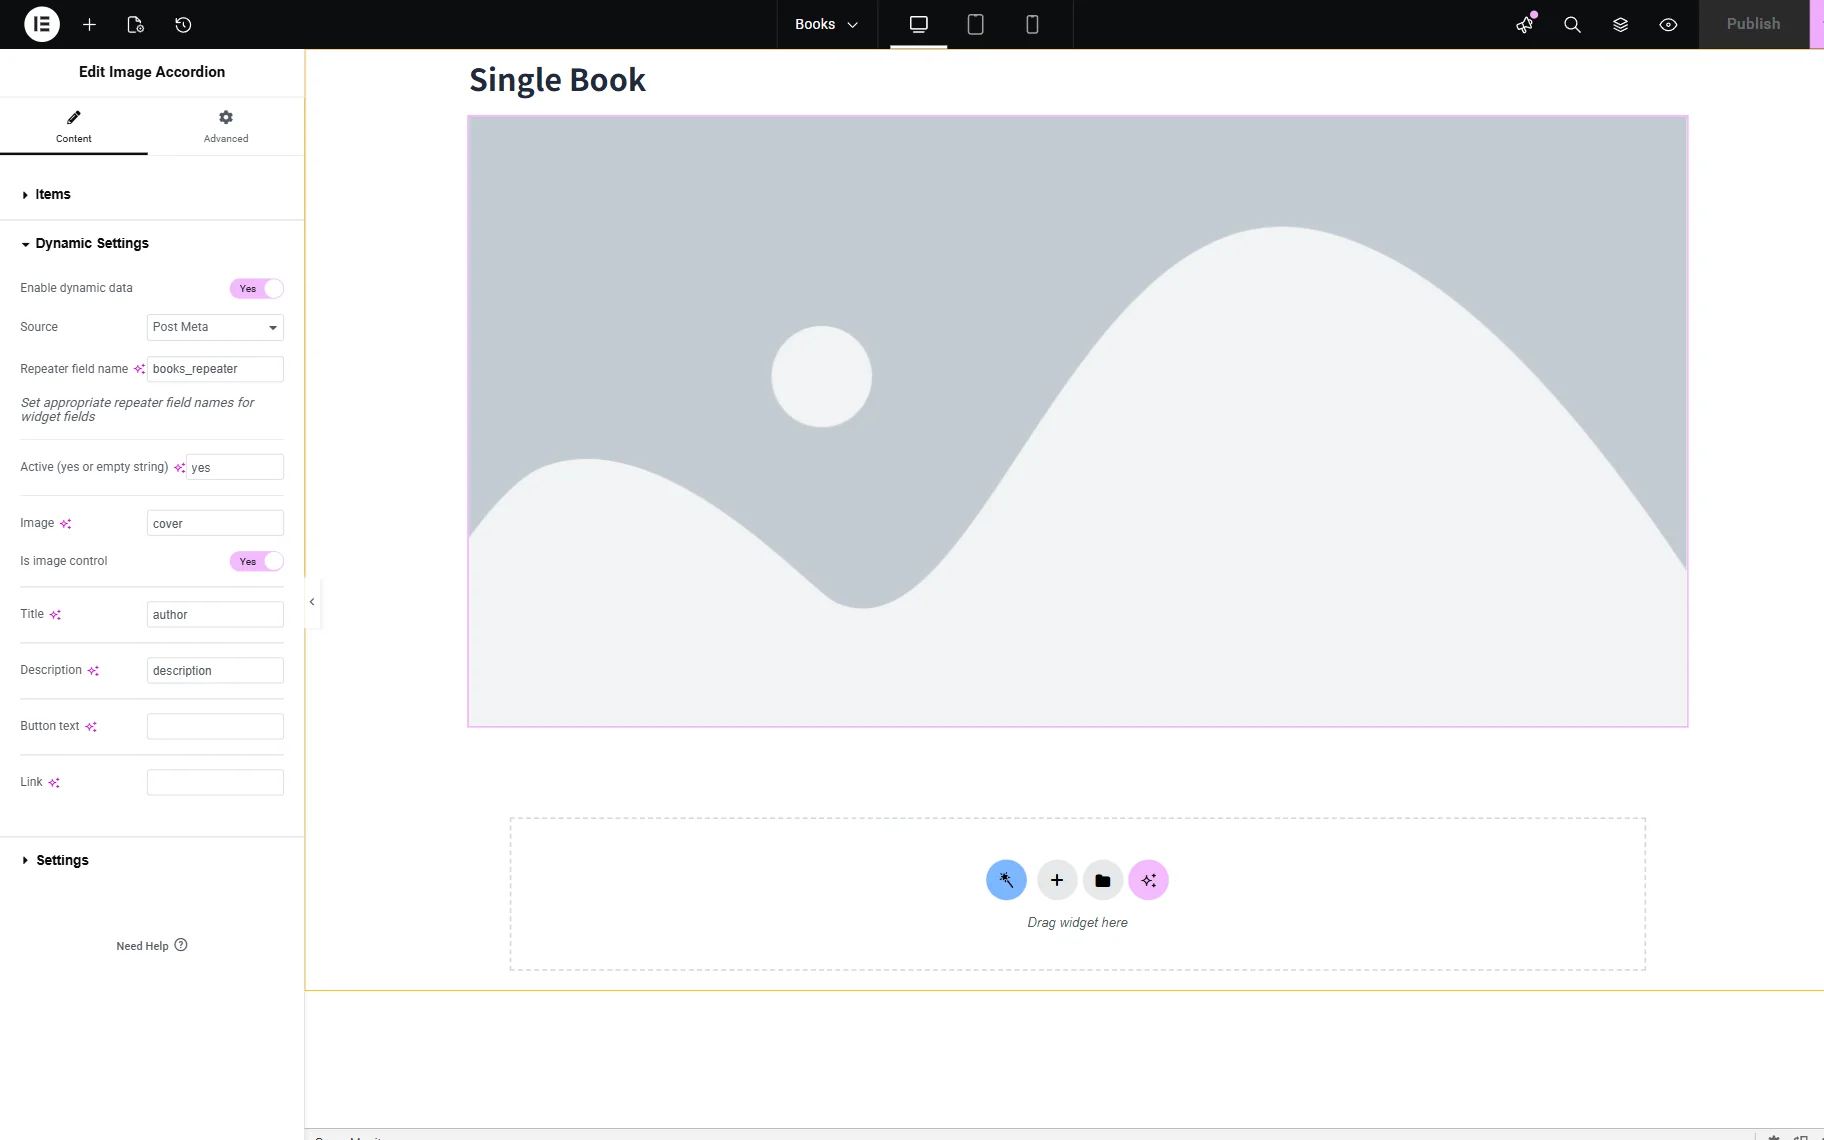
Open the widget’s settings and expand the Dynamic Settings tab. After that, activate the Enable dynamic data toggle and specify the Repeater field name as we set it earlier in the Name/ID field of the Repeater meta field (“books_repeater”, in this case).
Insert the meta field’s Name/ID that should be shown in the Image field (“cover”, here) and specify the other IDs if you have added some before. In this case, we insert the Name/ID of these fields (“author” and “description”) into the Title and Description fields.
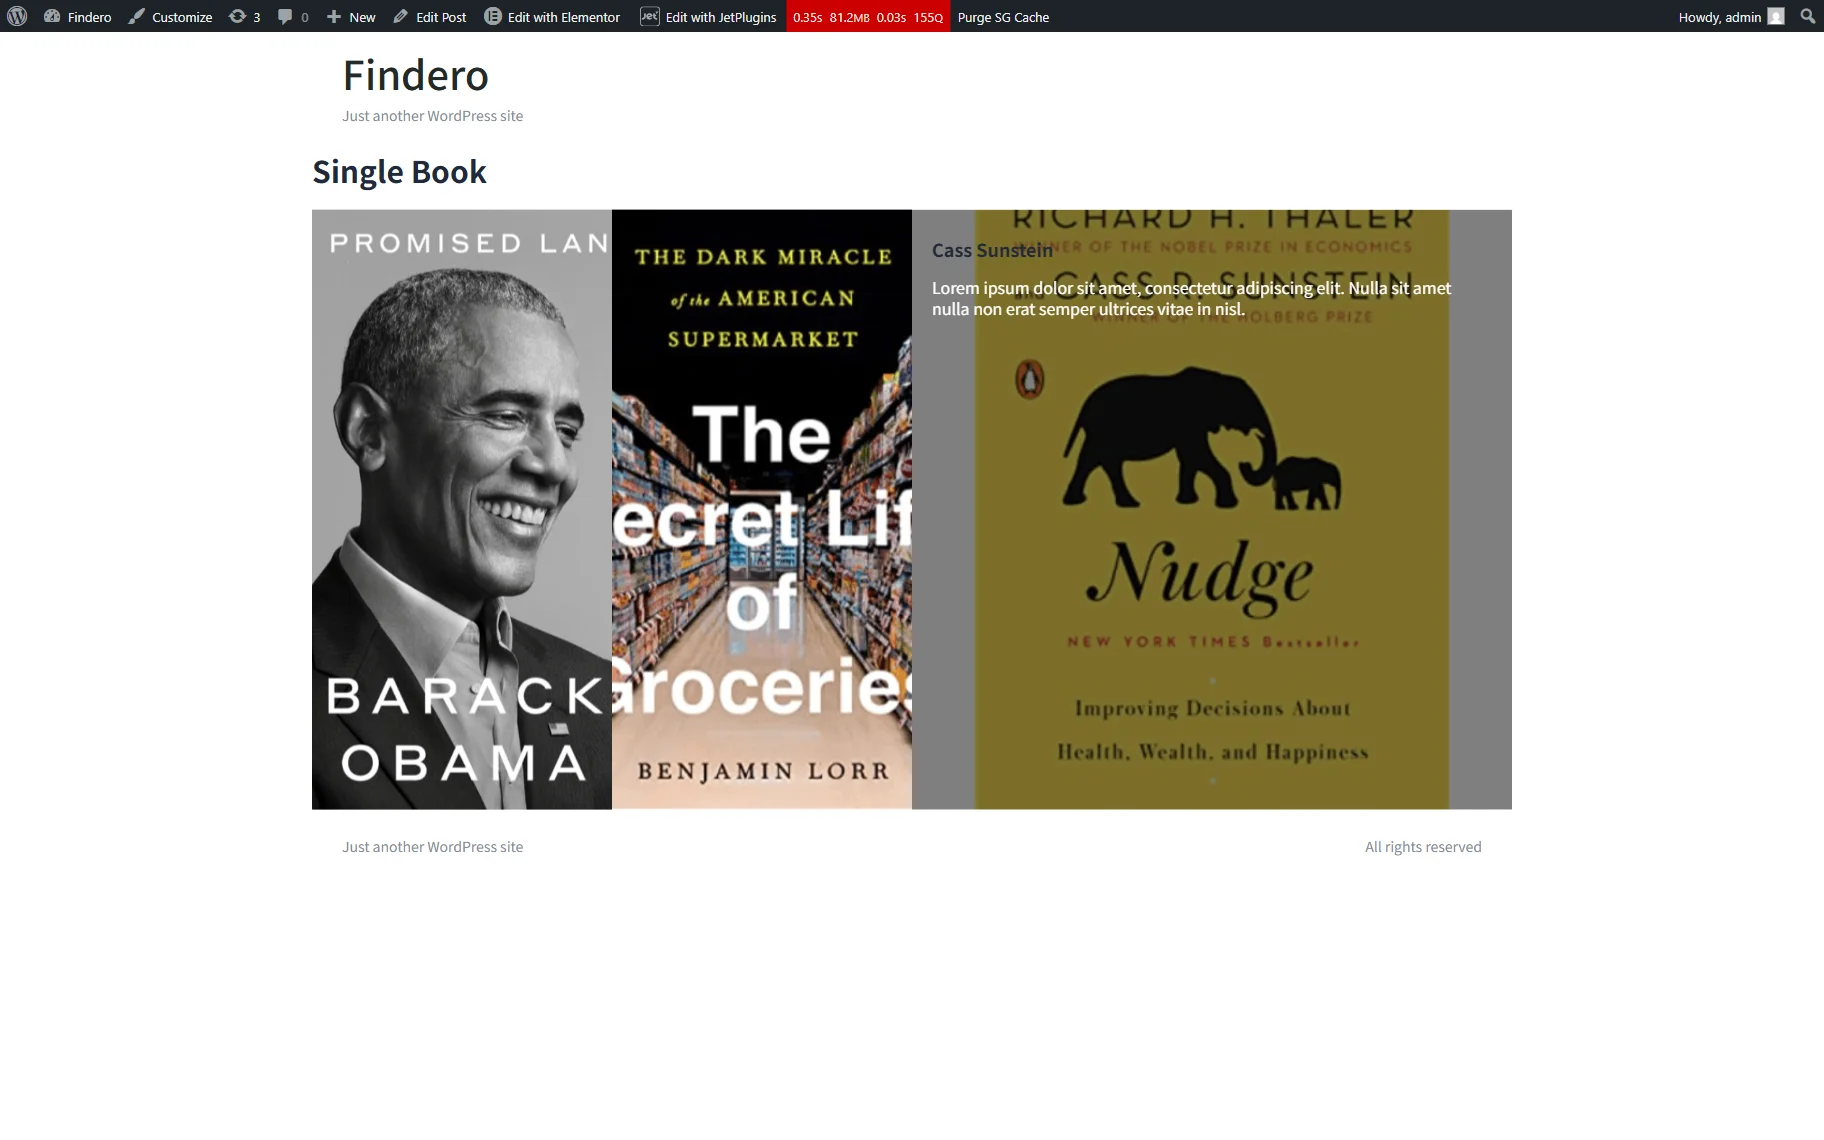
Finally, click the “Publish” button below and view the tabs on the front end.
That’s it. Now you know how to use the Dynamic data addon for WordPress to display the dynamic content by the JetEngine plugin via the JetTabs widgets.