How to Add a Tooltip to the Widget
From this tutorial, you will learn how to add useful tooltips to different parts of the website, like images, tables, headers, etc., using the functionality of JetTricks.
Tooltip is a little window with text that could give users some explanations about the website’s part he/she is currently looking at. Using the JetTricks plugin, you can attach tooltips not only to hotspots but also to any widget on the page. Let’s take a look at how it can be done.
Enable the Tooltips Extension
Go to JetPlugins > JetTricks Settings > Available Extensions and make sure that the Tooltip Widget Extension toggle is turned on.

Add and Customize the Tooltip
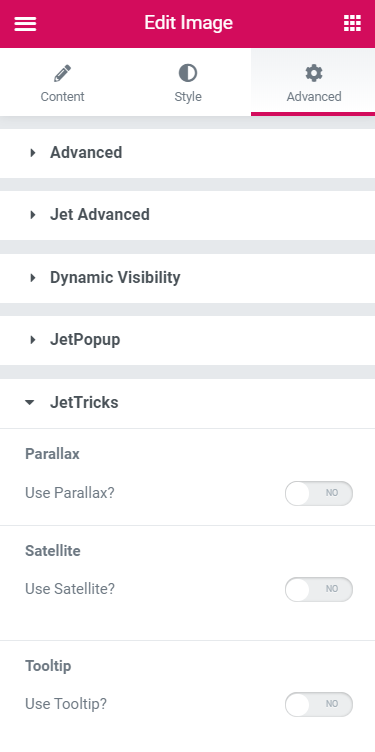
Proceed to the page you would like to customize, hit “Edit with Elementor” and click on the widget which you’d like to add the tooltip to. Go to Advanced > JetTricks and enable the Tooltip option.

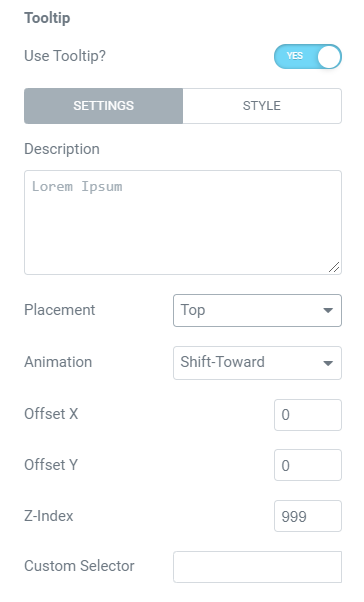
This menu has two tabs – Settings and Style. Its Style section has the same options as the general Style tab and can help you customize the appearance of the tooltip. And now let’s take a look at the Settings.

- Description – the text you’ll type in here will be shown as a tooltip;
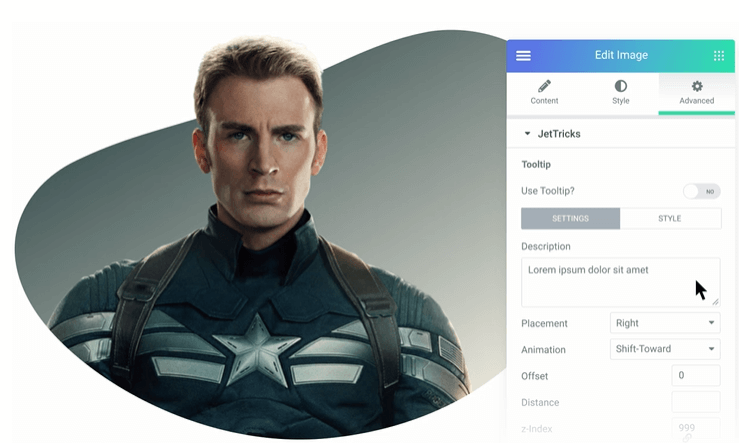
- Placement – here you can choose where the tooltip will be placed: above the widget, below it, to the right of it or to the left. Be aware that by default it will be located in the center;
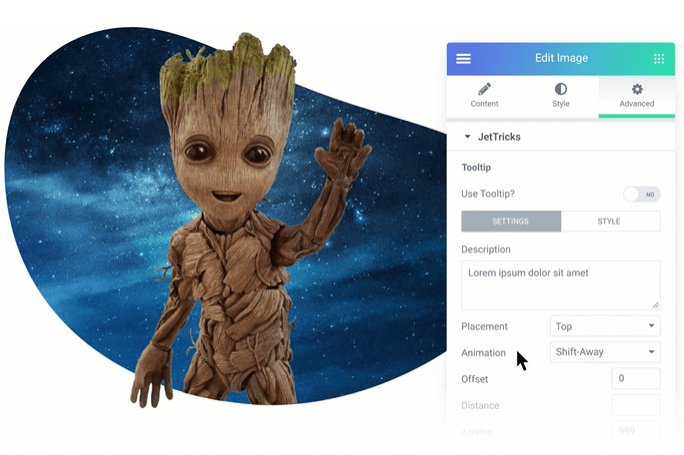
- Animation – there are 5 types of appearance animations to choose from;
- Offset X – the value you put here defines how far the tooltip will be moved horizontally. If the number is positive, the tooltip moves to the right; if it is negative, it moves to the left;
- Offset Y – the value you put here defines how far the tooltip will be moved vertically. If the number is positive, the tooltip moves up; if it is negative, it moves down;
- Z-Index – this value defines the order, in which the tooltips will overlap each other. The tooltip with a higher Z-index will be shown over those with lesser value;
- Custom Selector – this bar will come in handy if you want the tooltip to appear after the user hovers over a certain part of the widget. For example, you have a table and want a tooltip to appear only on hover over the single cell. Then you can take a look at the widgets code, copy the class of the element, and paste it into this bar.

As soon as you have customized the tooltip, switch to the Style tab, and do all the necessary styling. By the way, you can put an image to the tooltip, so it looks even cooler.

After you’re done with designs, click on the “Update” button and take a look at the page, containing the tooltipped widget. That’s it! Congratulations, you’ve added an awesome detail to your website.