Products Grid Load More Addon
Find out how to use the Load More functionality via the Elementor WooCommerce plugin.
The Load More option can help you organize products and save space on the page. In general, with Load More, you can hide one part of the Products Grid widget by adding the Button or Infinite Scroll option that will showcase another one. You can set the number of columns and products to organize the posts in the most preferable way.
Before installing the addon, be sure that you have an up-to-date version of the JetWooBuilder plugin. Then download the addon from the DevTools Crocoblock page, where this and other features are free. After that, navigate to Plugins on the Dashboard, click on the “Add New” button, and then “Upload plugin.” The last step is to activate the plugin.
Open the page in the Elementor page builder and click on the Products Grid widget. In the General section of the Content left-side menu tab, choose the Products Number that will be shown after every scrolling or clicking on the button.

Then open the Load More section and enable the toggle.
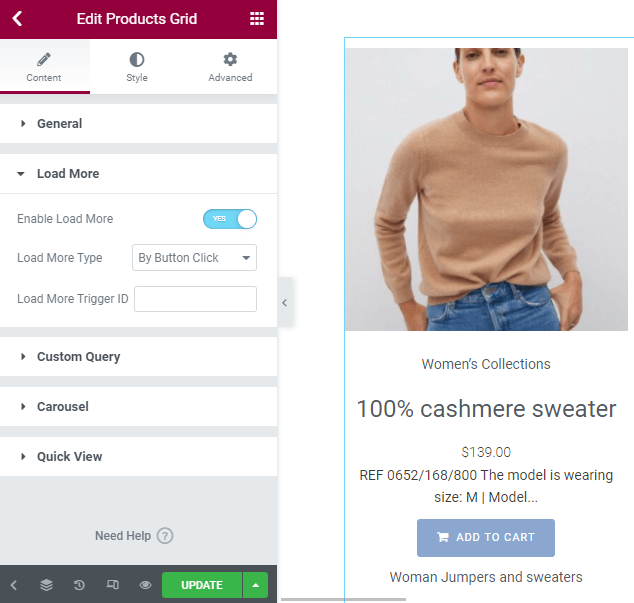
After that, two additional features will appear. Load more Type drop-down menu allows you to choose when the additional sections of the Products Grid will be shown – when the user clicks the button or scrolls down the page. In the Load More Trigger ID field, you should define what element will be used as a “Load More” button.
If you select the “By Page Scrolling” type, you don’t need any other settings. But you need to set the trigger element if you choose the “By Button Click” type.
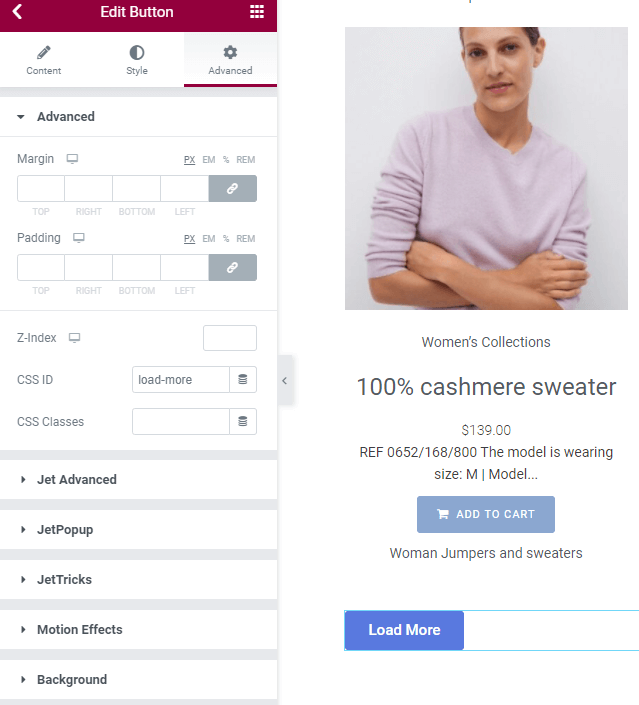
You can use any element as a “Load More” button – image, text, button, animation, etc. Place the element under the Product Grid, open the Advanced tab of the left-side menu, unfold the Advanced section, and fill in the CSS ID field.
If you place the default WordPress Button widget, you just need to fill in the Button ID field on the bottom of the Button menu section.
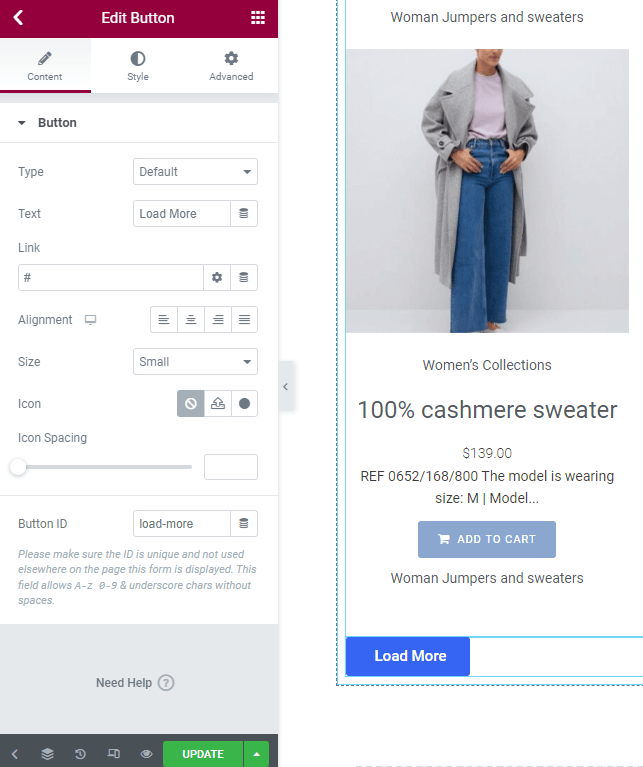
Then copy the ID and go back to the Products Grid widget settings. Paste the copied ID into the Load More Trigger ID field.
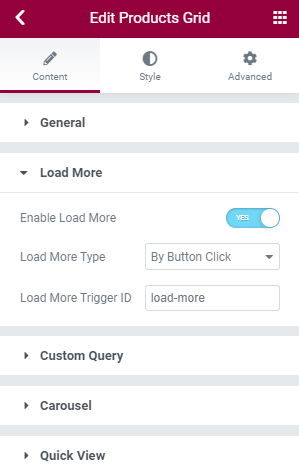
When you are done, click the green “Update” button at the bottom of the menu and watch the result on the front-end.
That’s all. This function will help you create a structured and attractive page without losing the content.