Elementor Pro Checkout Widget Not Working with JetWooBuilder
I’ve attached the Checkout template in the WooCommerce > Settings > JetWooBuilder section and displayed the Elementor Pro Checkout widget in the Elementor editor. On the front end, instead of the Checkout page, the 500 error or blank screen appears. Why does it happen, and how can I fix it?
Currently, you can build and use the Checkout page template in different ways:
- apply the JetWooBuilder plugin and the corresponding widgets;
- use the native WooCommerce templates;
- apply the JetThemeCore plugin and the corresponding widgets;
- activate the Elementor PRO licence and build the template using the PRO widgets.
Widgets specific to different plugins cannot be used interchangeably because they are forms in themselves and cannot be added to another form (the main template).
For example, since the Cart, Checkout, and Thank You page widgets of the JetWooBuilder plugin (i.e., Checkout Coupon Form, Checkout Billing Form, Checkout Shipping Form, Checkout Login Form, Checkout Additional Form) are forms, you can’t nest a tag inside another.
In turn, the WooCommerce pages (i.e., Cart page, Single Product page, Checkout page, Order Tracking Form, or My Account page) are built entirely with WooCommerce shortcodes; therefore, adding another shortcode within a shortcode is not possible and causes an error.
The main ways to configure the Checkout page template are presented below.
Create a Checkout Page with the JetWooBuilder Plugin
To build the different types of Checkout pages, the corresponding widgets should be activated. Then, the Checkout template should be created.
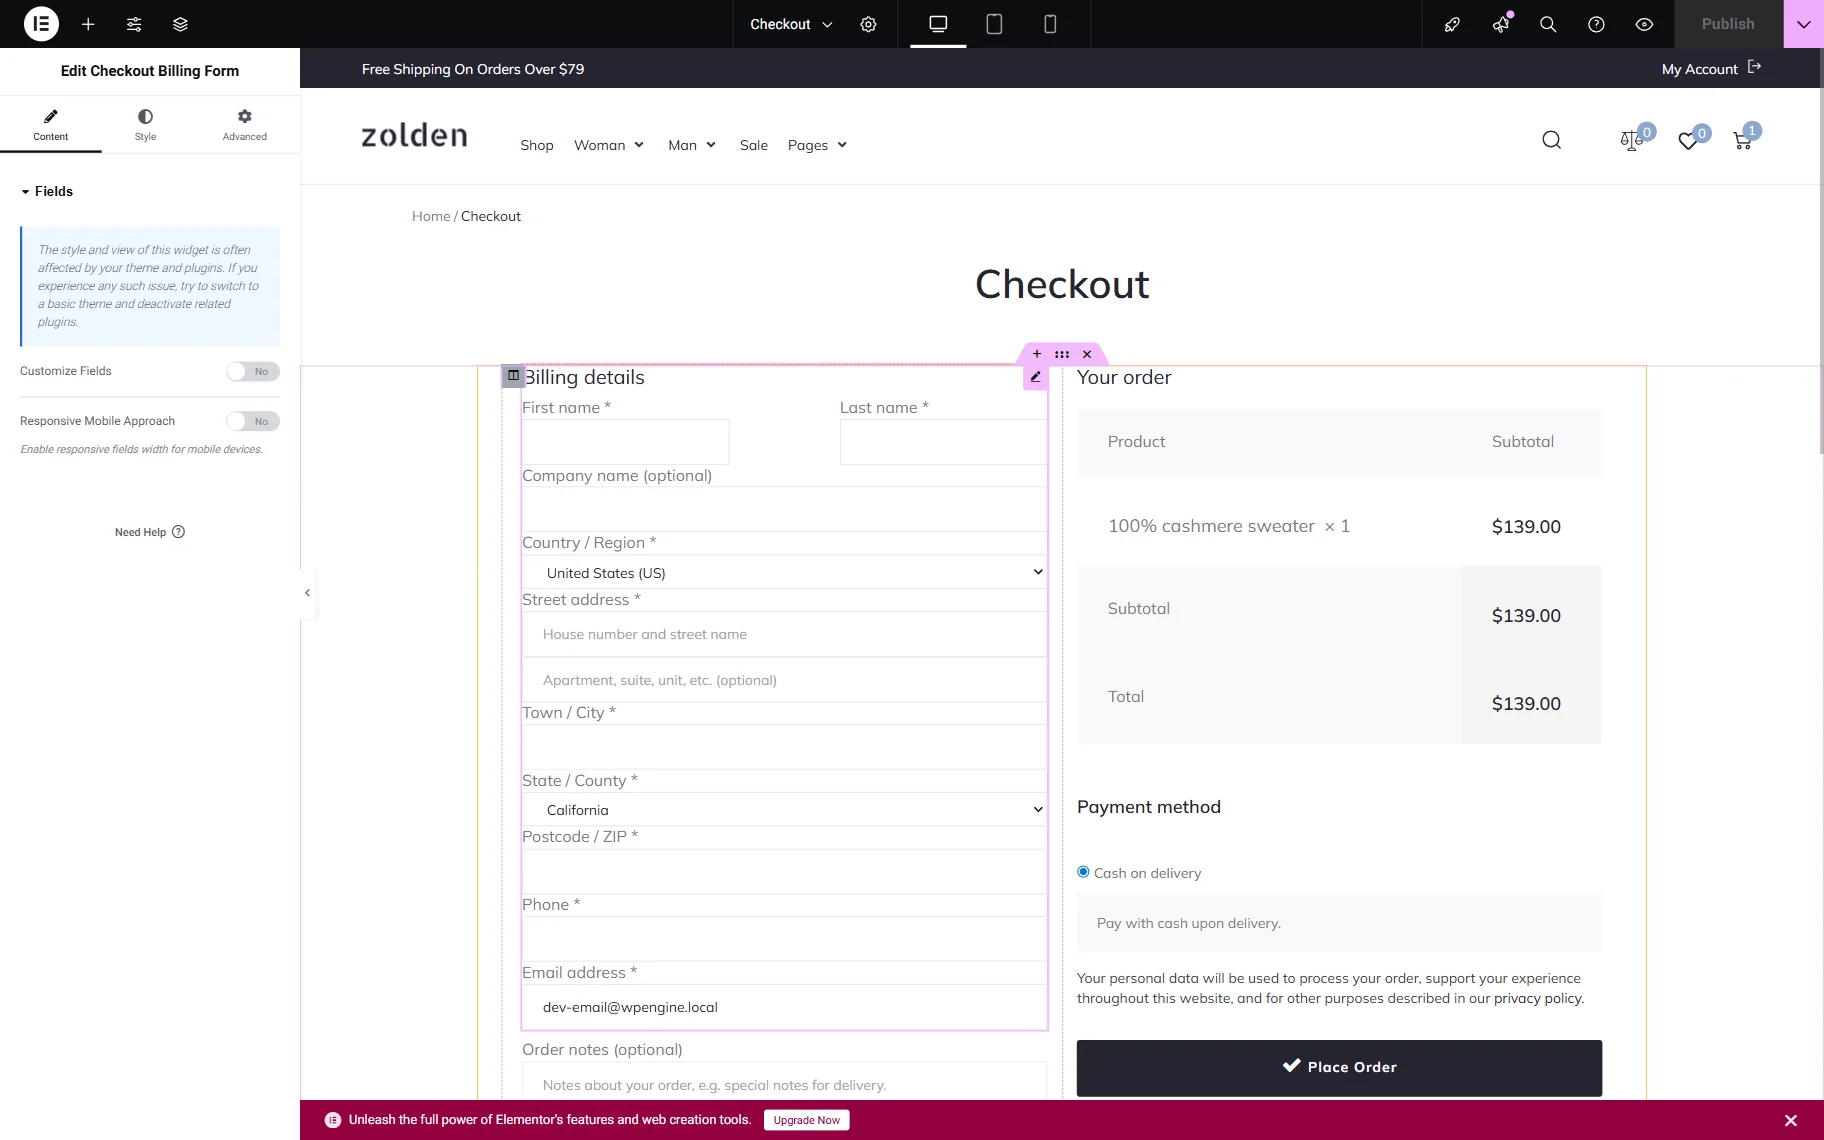
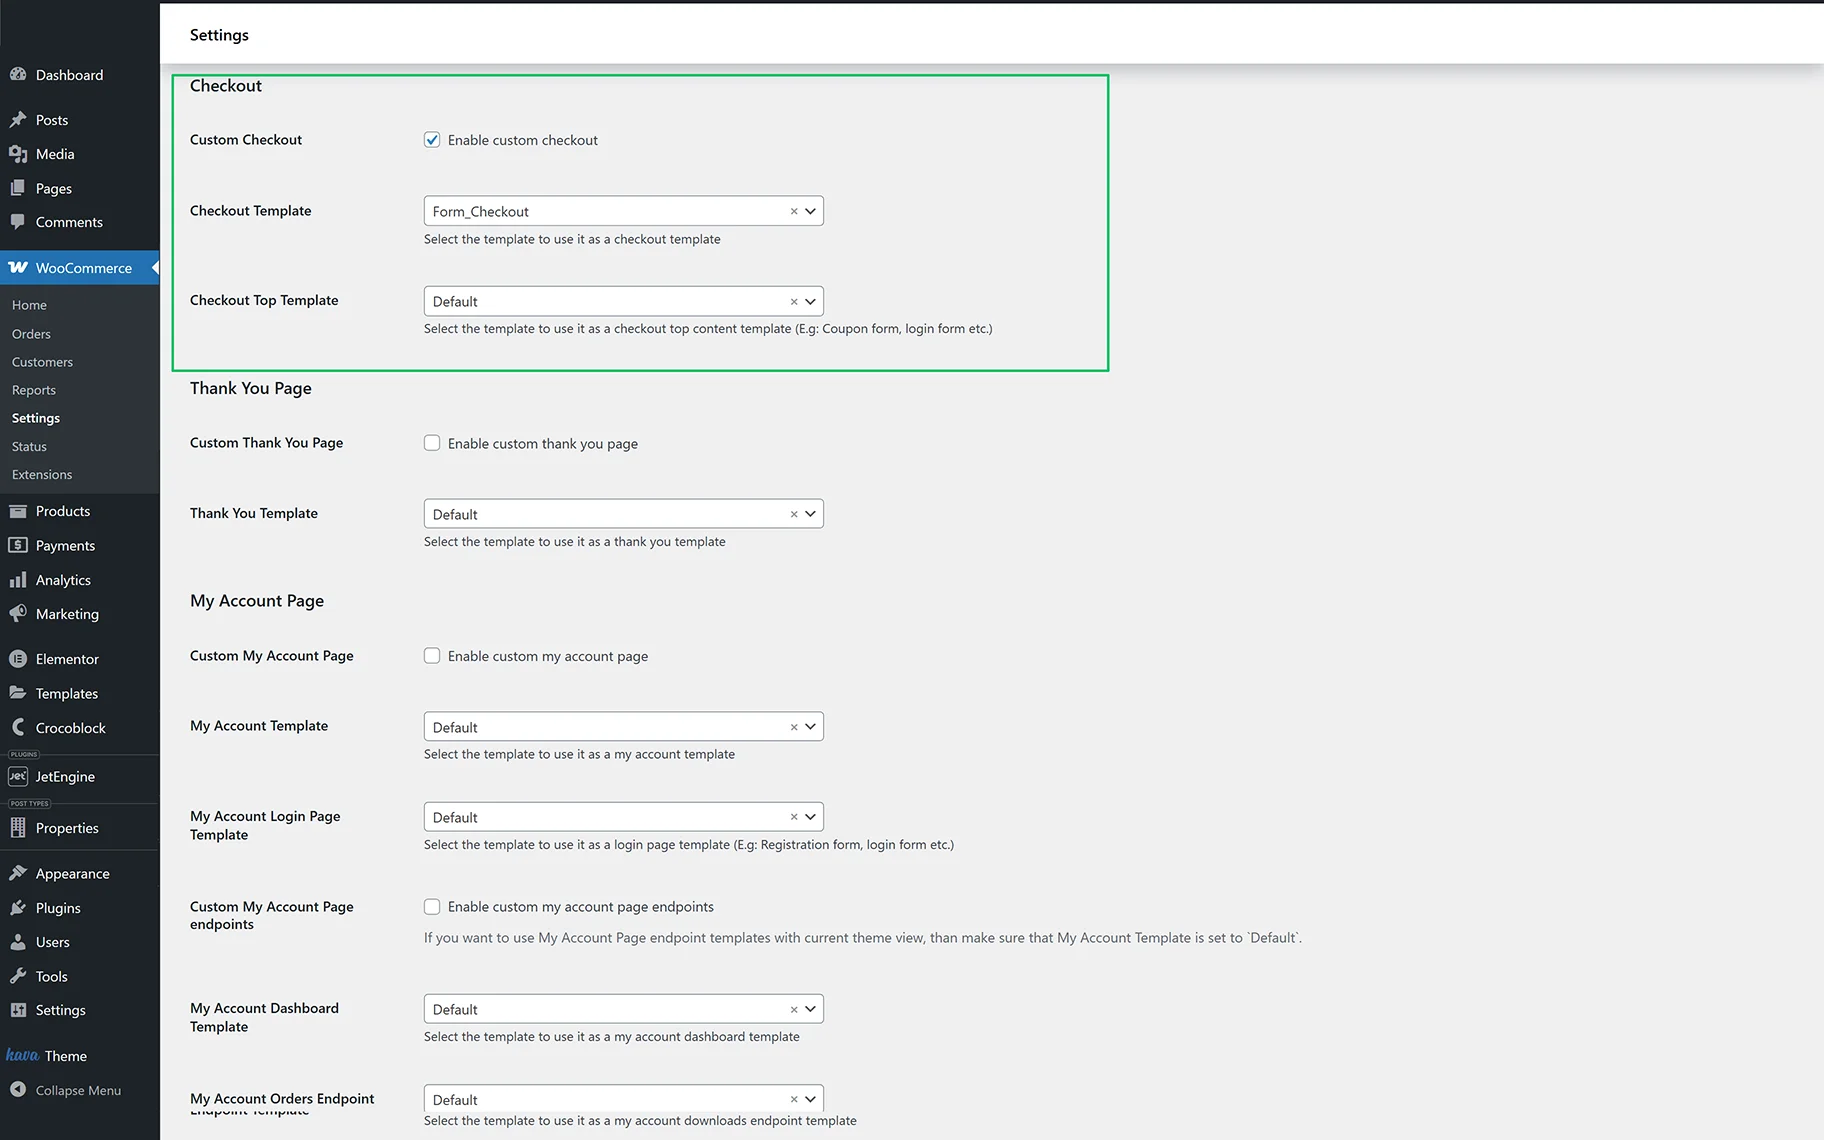
Finally, to assign the created template, go to WordPress Dashboard > WooCommerce > Settings > JetWooBuilder, tick Enable custom checkout in the Checkout section, and select the required template in the Checkout Template drop-down.
Add a product to the cart and check the Checkout page on the front end.
Read the How to Create a Checkout Page Template tutorial to learn how to enable the JetWooBuilder widgets, create a template of the needed design using the JetWooBuilder and JetThemeCore plugins, and get familiar with the different WooCommerce pages.
Create a Page with the Elementor PRO Checkout Widget
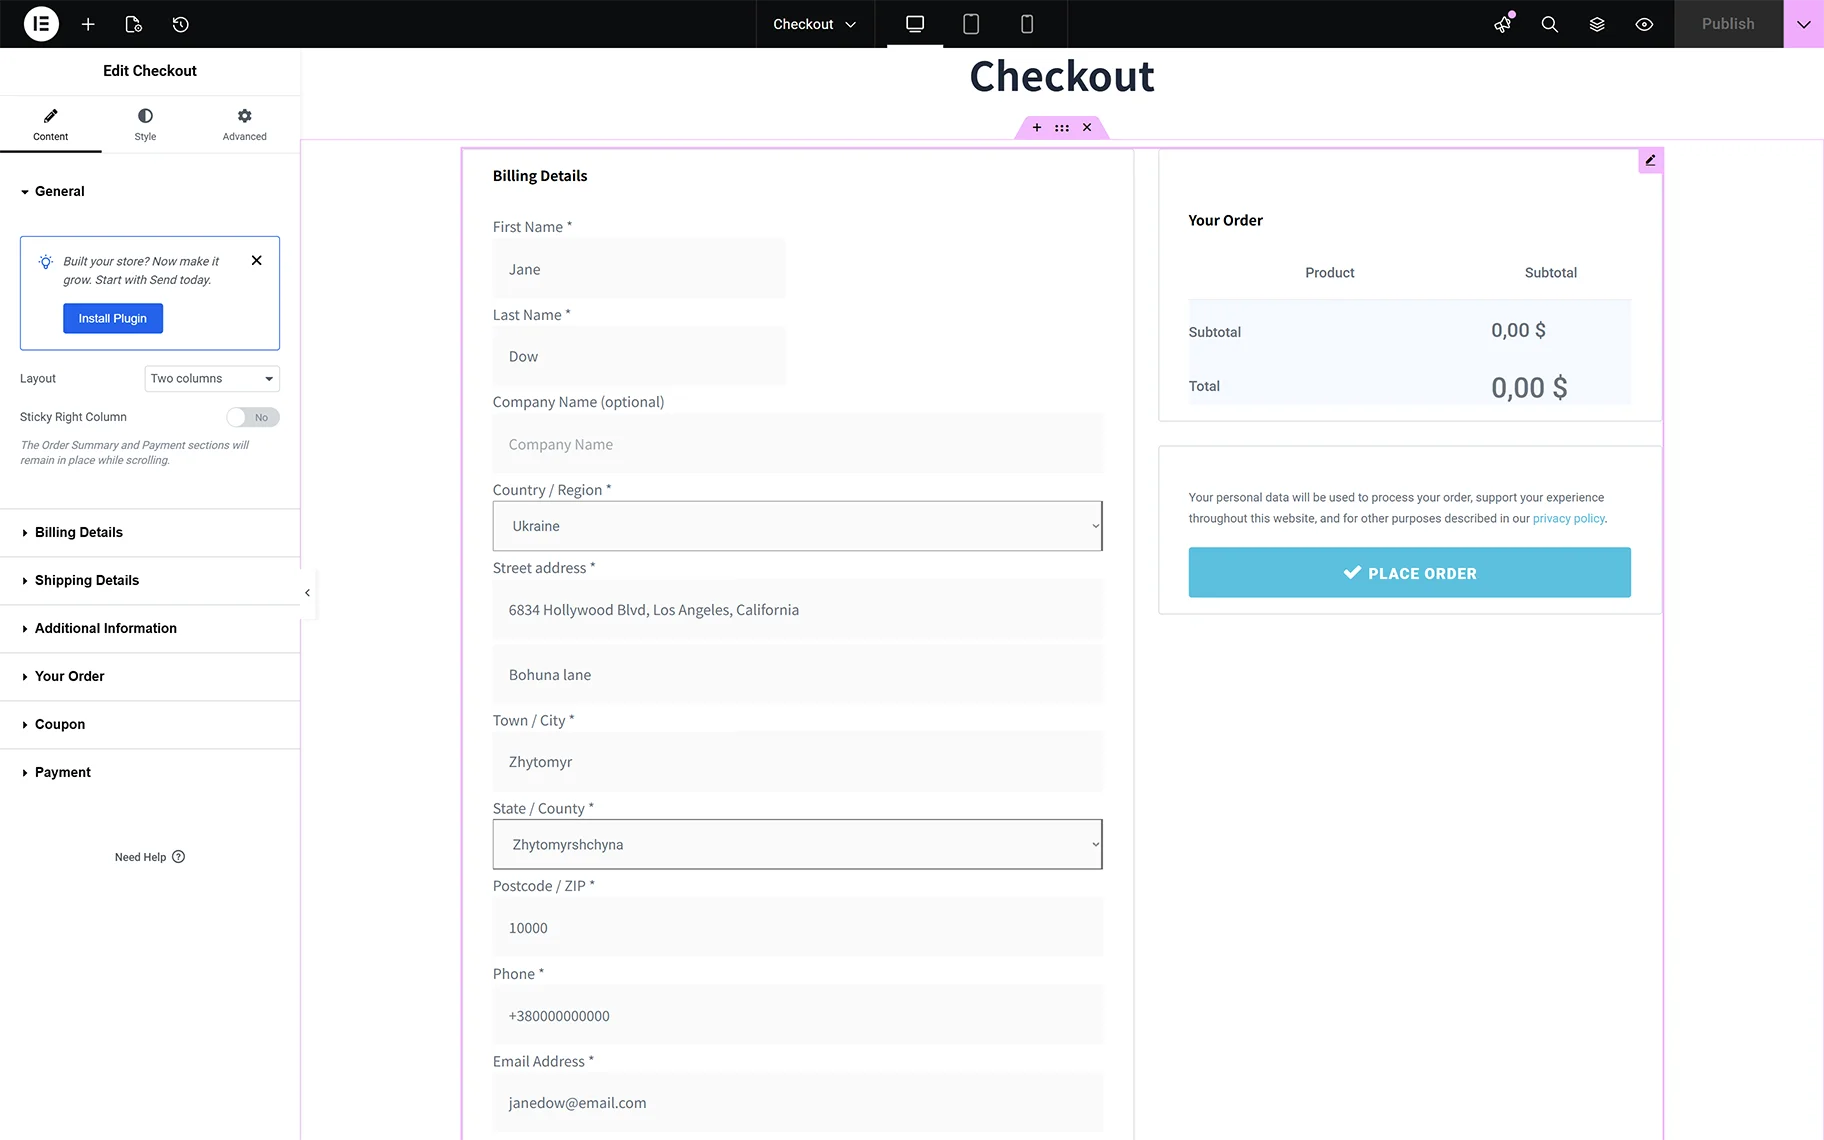
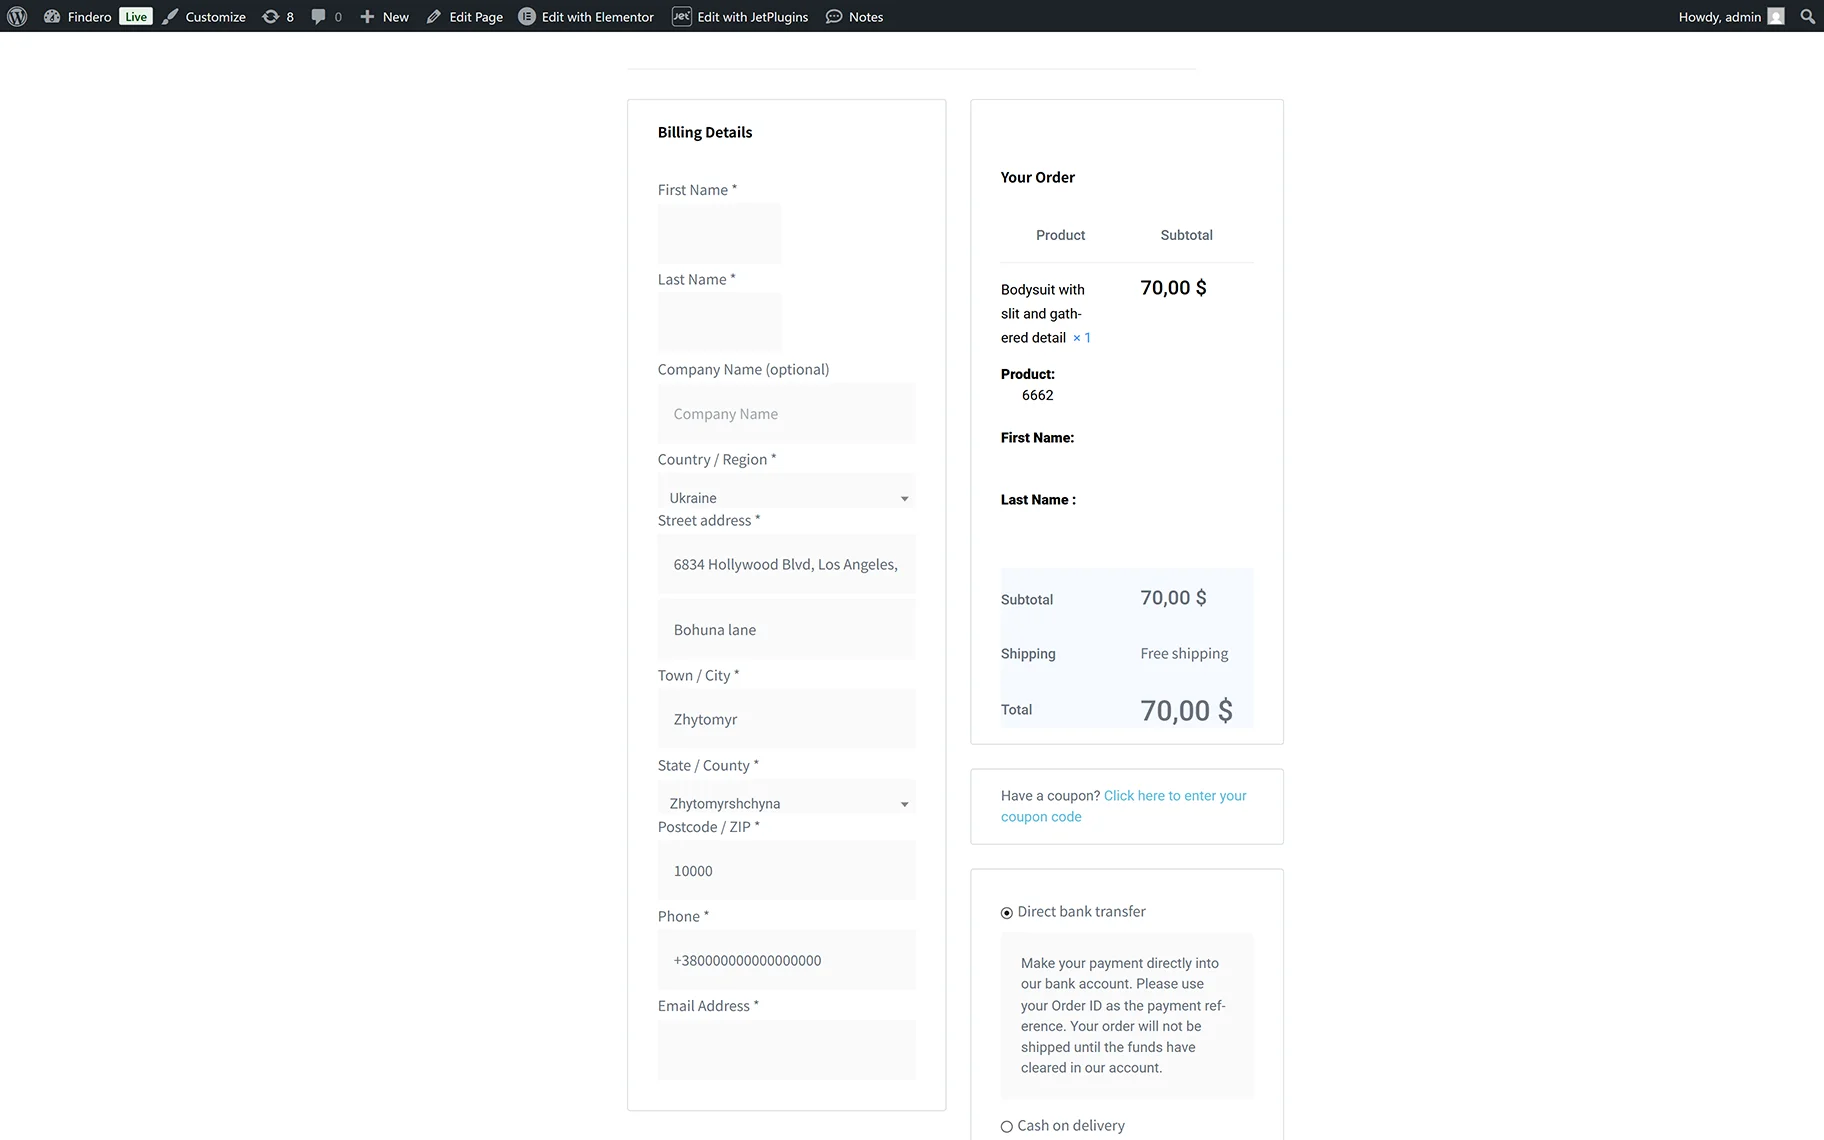
The widget can be applied to any page; the specific Checkout template does not need to be created. In this case, drag-n-drop the Checkout widget.
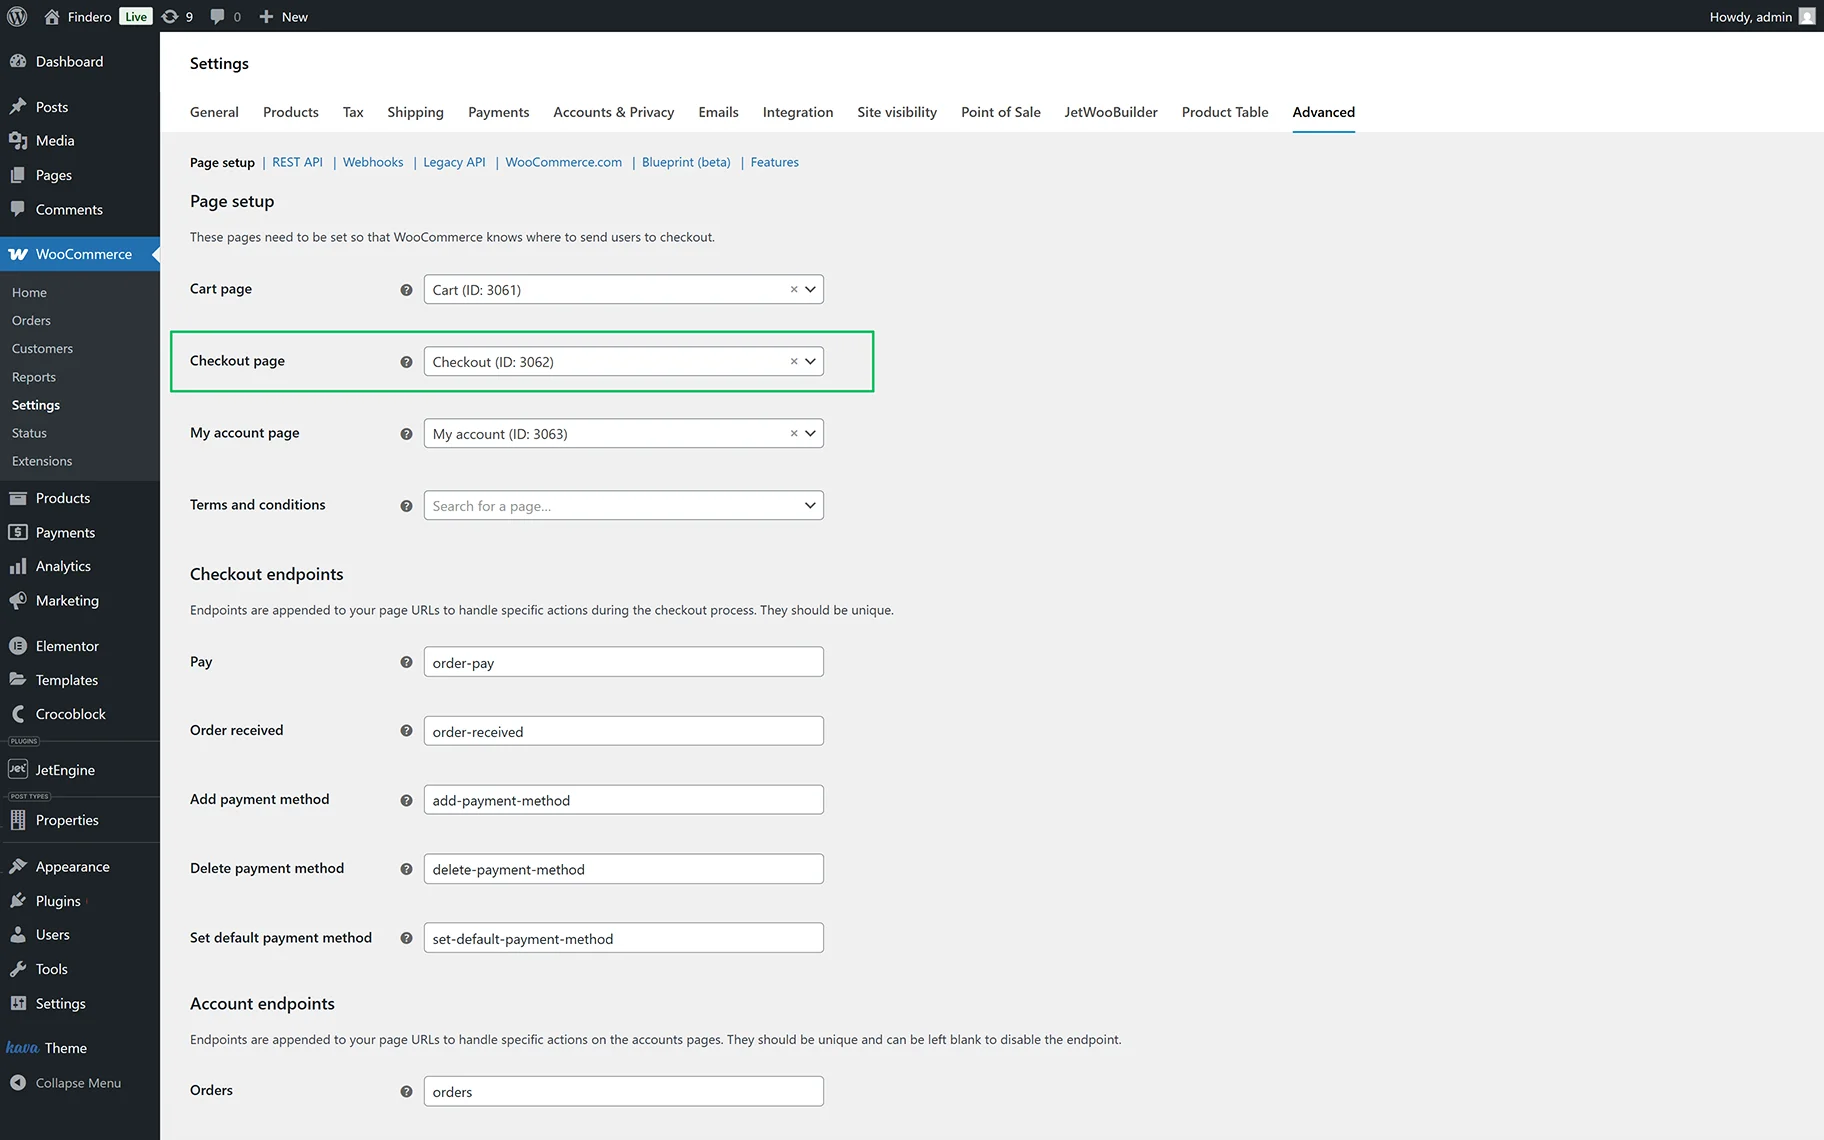
To assign the created template, proceed to the WordPress Dashboard > WooCommerce > Settings > Advanced tab and make sure that you’ve set the Checkout page there.
Add the product to the cart and check the Checkout page on the front end.
Use the WooCommerce Checkout Templates
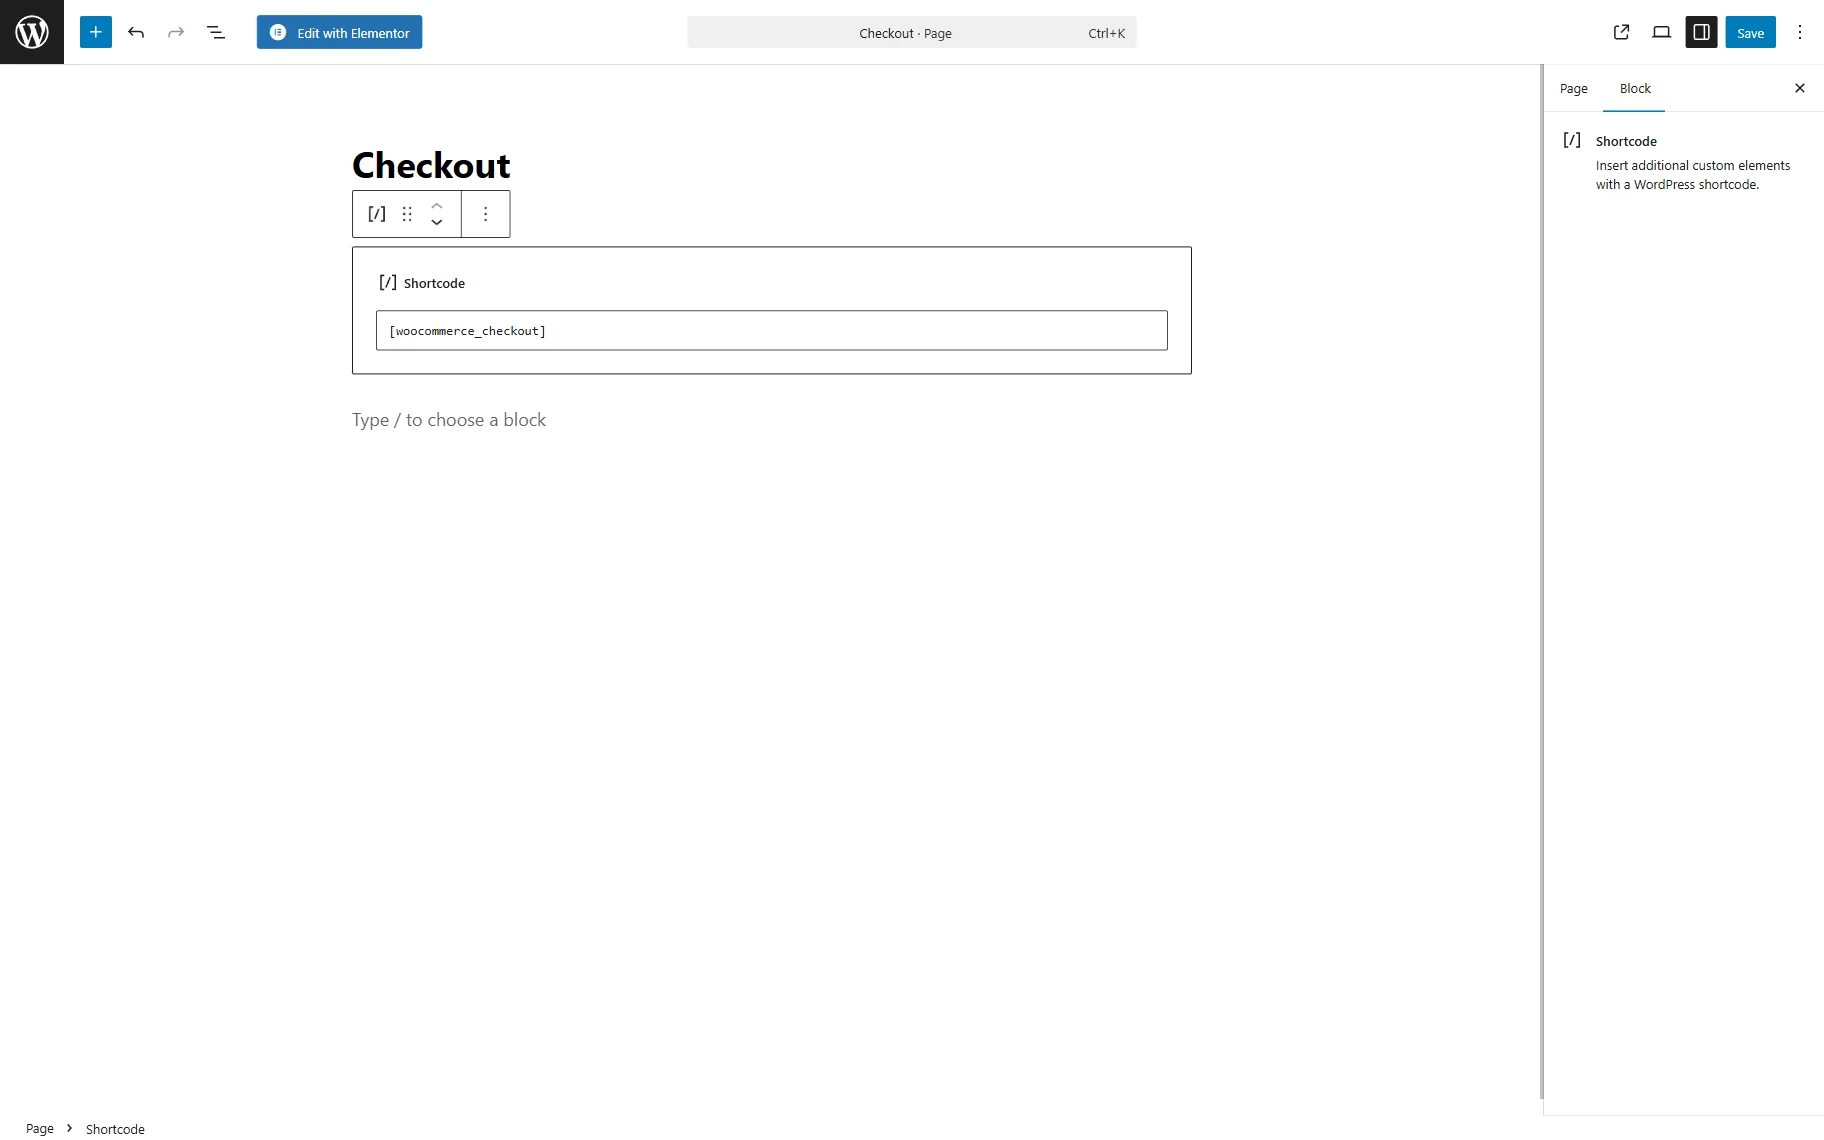
The WooCommerce pages are created via shortcode block fields in the Block Editor. To create the Checkout page, navigate to WordPress Dashboard > Pages > Add New. Enter the title and paste the [woocommerce_checkout] shortcode to the Paragraph field. Then, hit the “Publish” button.
To assign the created template, go to WordPress Dashboard > WooCommerce > Settings > Advanced, then set the Checkout page in the corresponding drop-down.
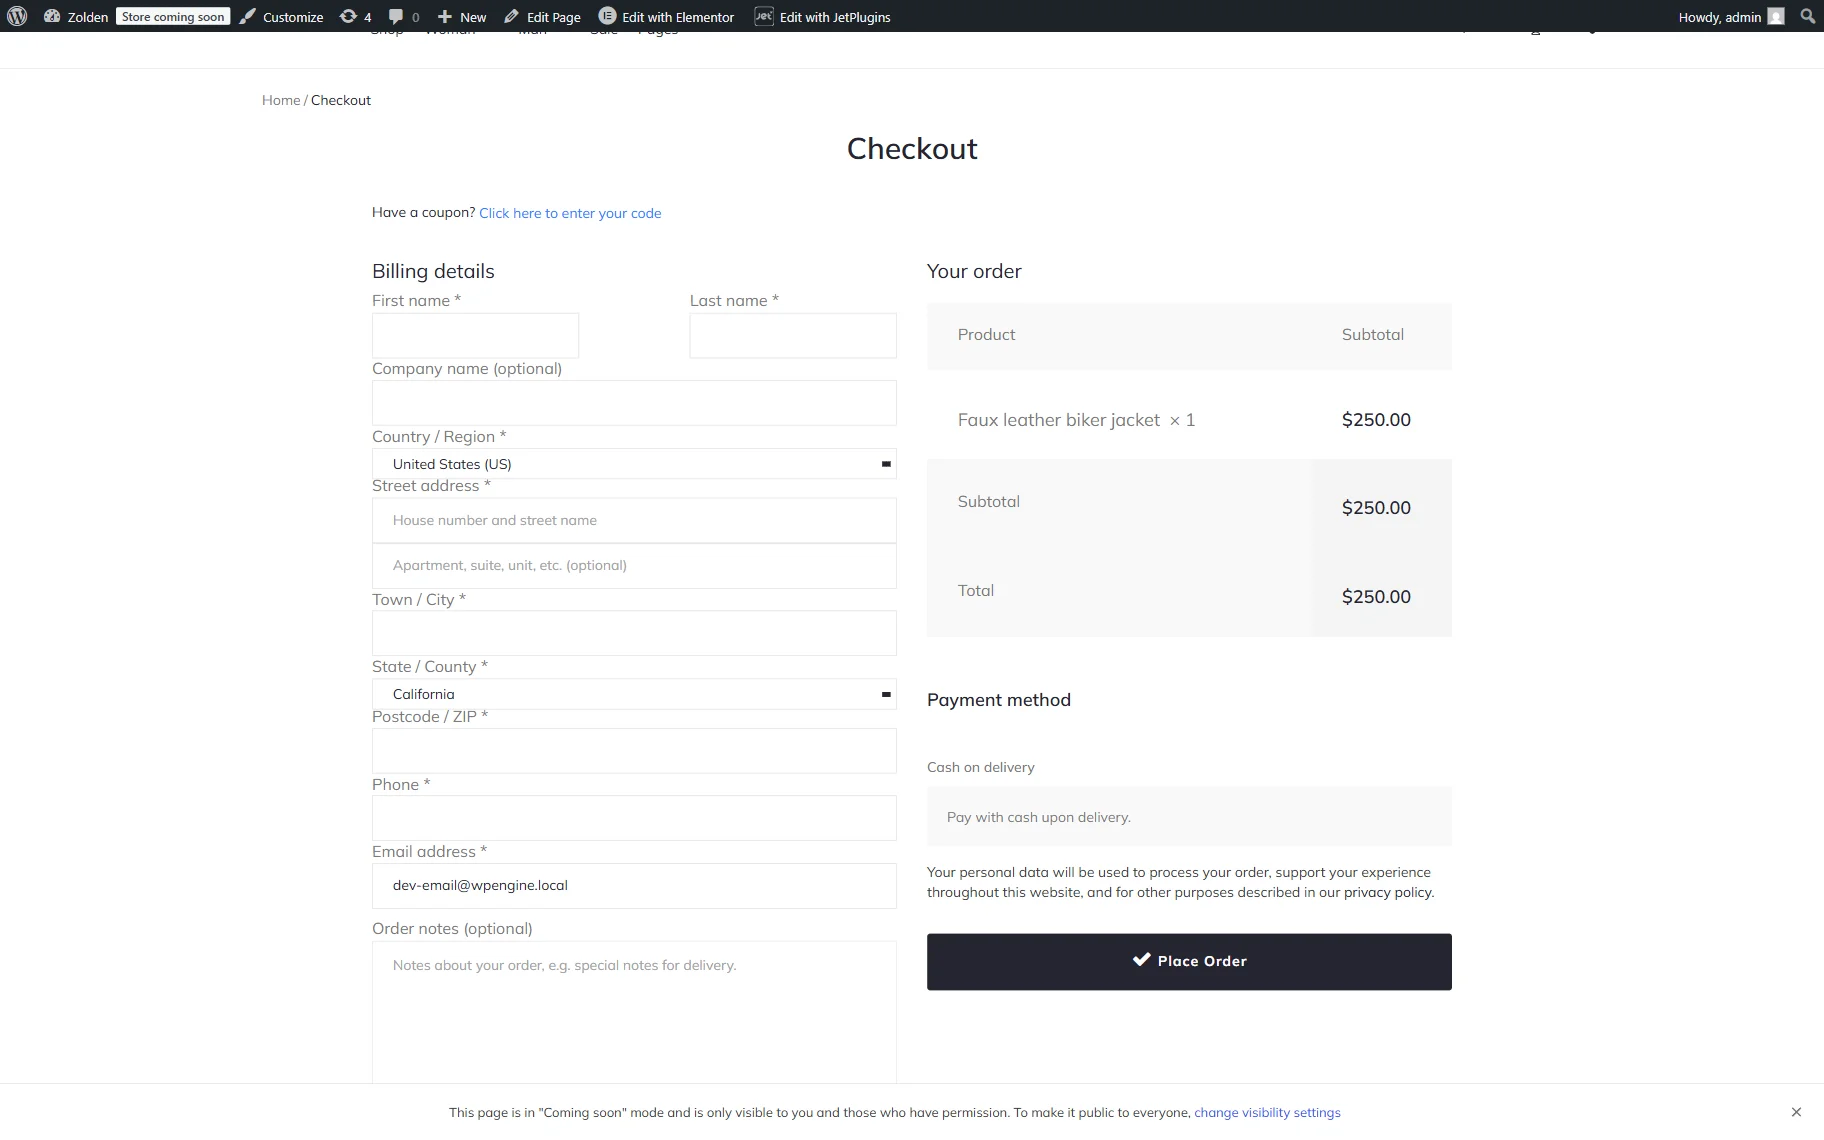
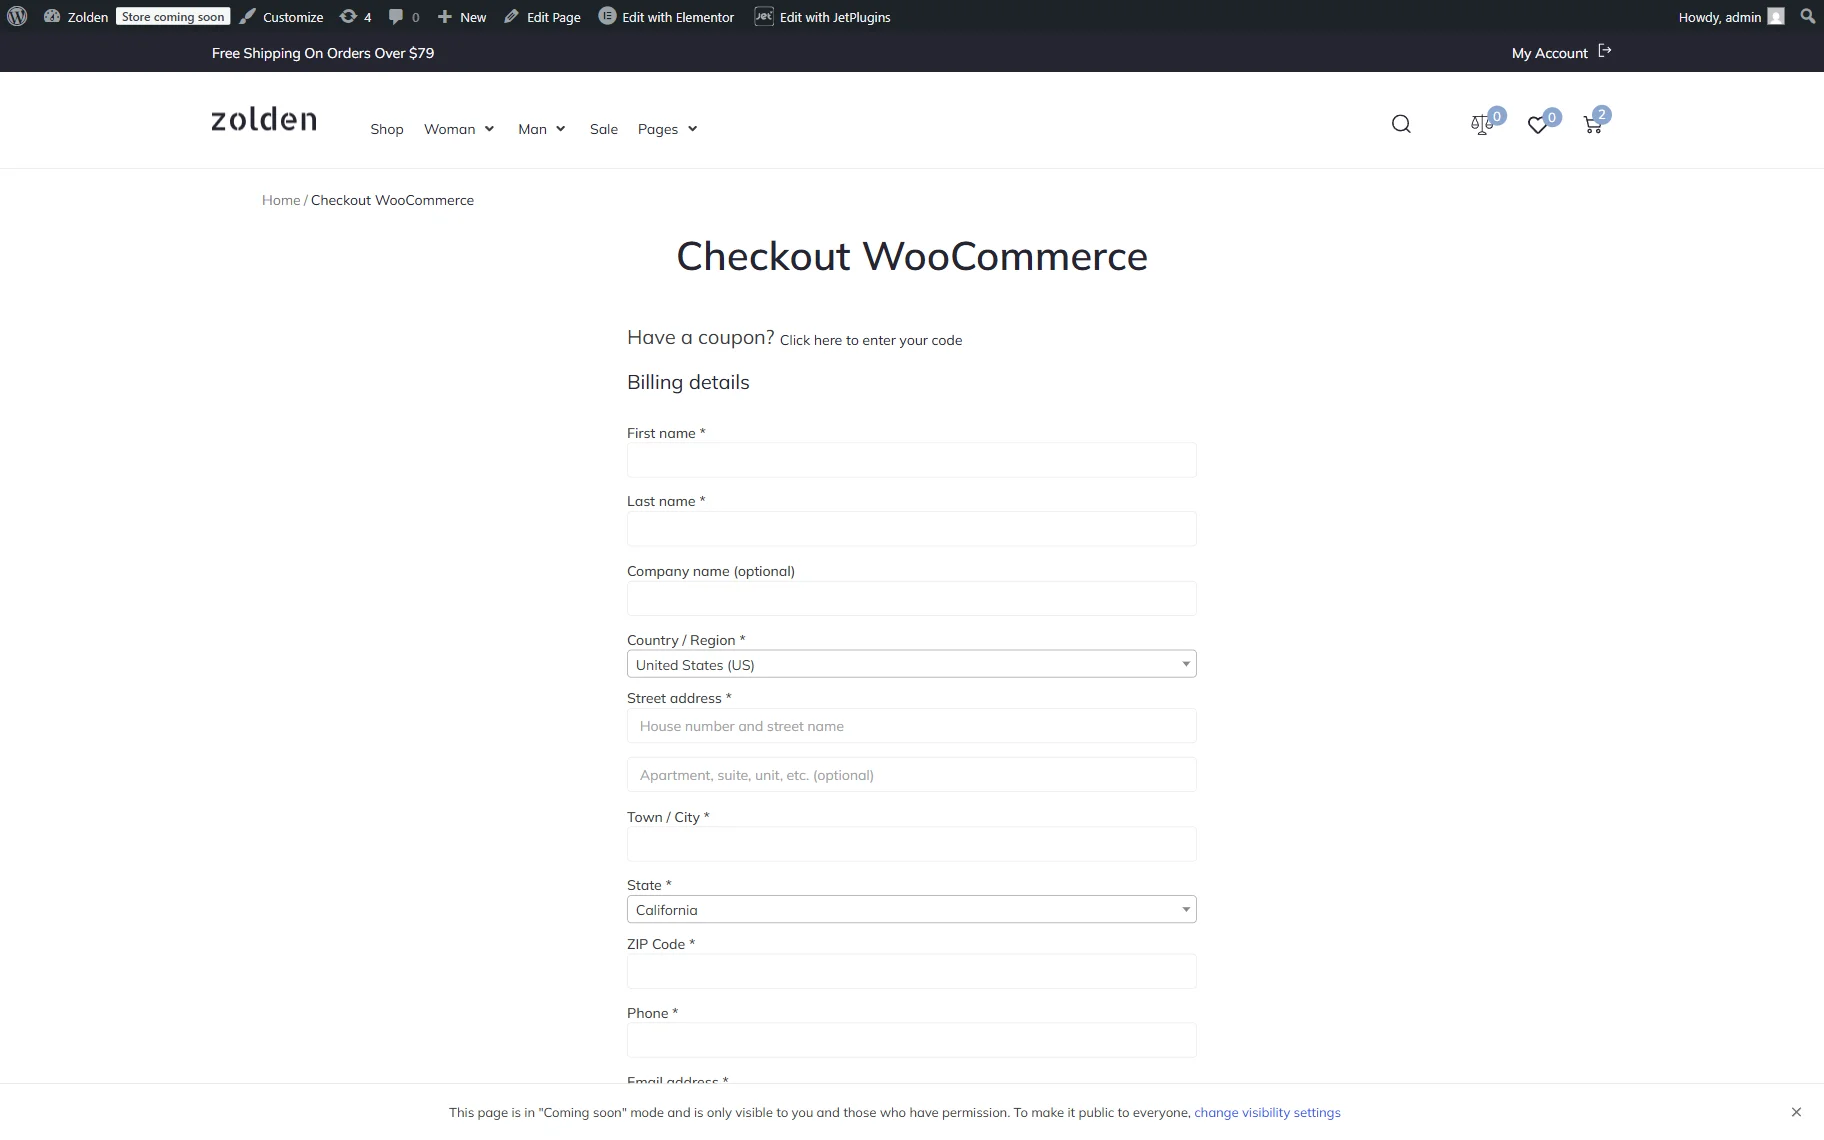
On the front end, the page looks as follows:
That’s all. You now know how to set the Checkout page with the Elementor Pro Checkout widget, WooCommerce plugin, and the JetWooBuilder widgets.