Displaying the Relations Meta Field in the Add New Post Form
The tutorial explains managing JetFormBuilder form settings for creating and adding data to the related “Parent 一 Child” CPTs from the front end.
Before you start, check the tutorial requirements:
- Elementor (Free version) or Block editor (Gutenberg)
- JetEngine plugin installed and activated
- JetFormBuilder plugin installed and activated
- JetThemeCore plugin installed and activated
Creating CPTs and Relations
Create a Parent CPT (here, Agent) with the Text field (here, Name for the Agent’s name) and the Child CPT (here, Cars) with fields of different types to store necessary data.
Set the one-to-many relation between the CPTs (here, the Agent-Cars relation): set the Agent CPT as the Parent Object and the Cars CPT as the Child Object.
Creating a JetFormBuilder Form and Managing Its Fields and Settings
Navigate to JetFormBuilder > Add New tab and create a new form.
Press the plus icon and add the necessary field blocks to map the CPT fields.
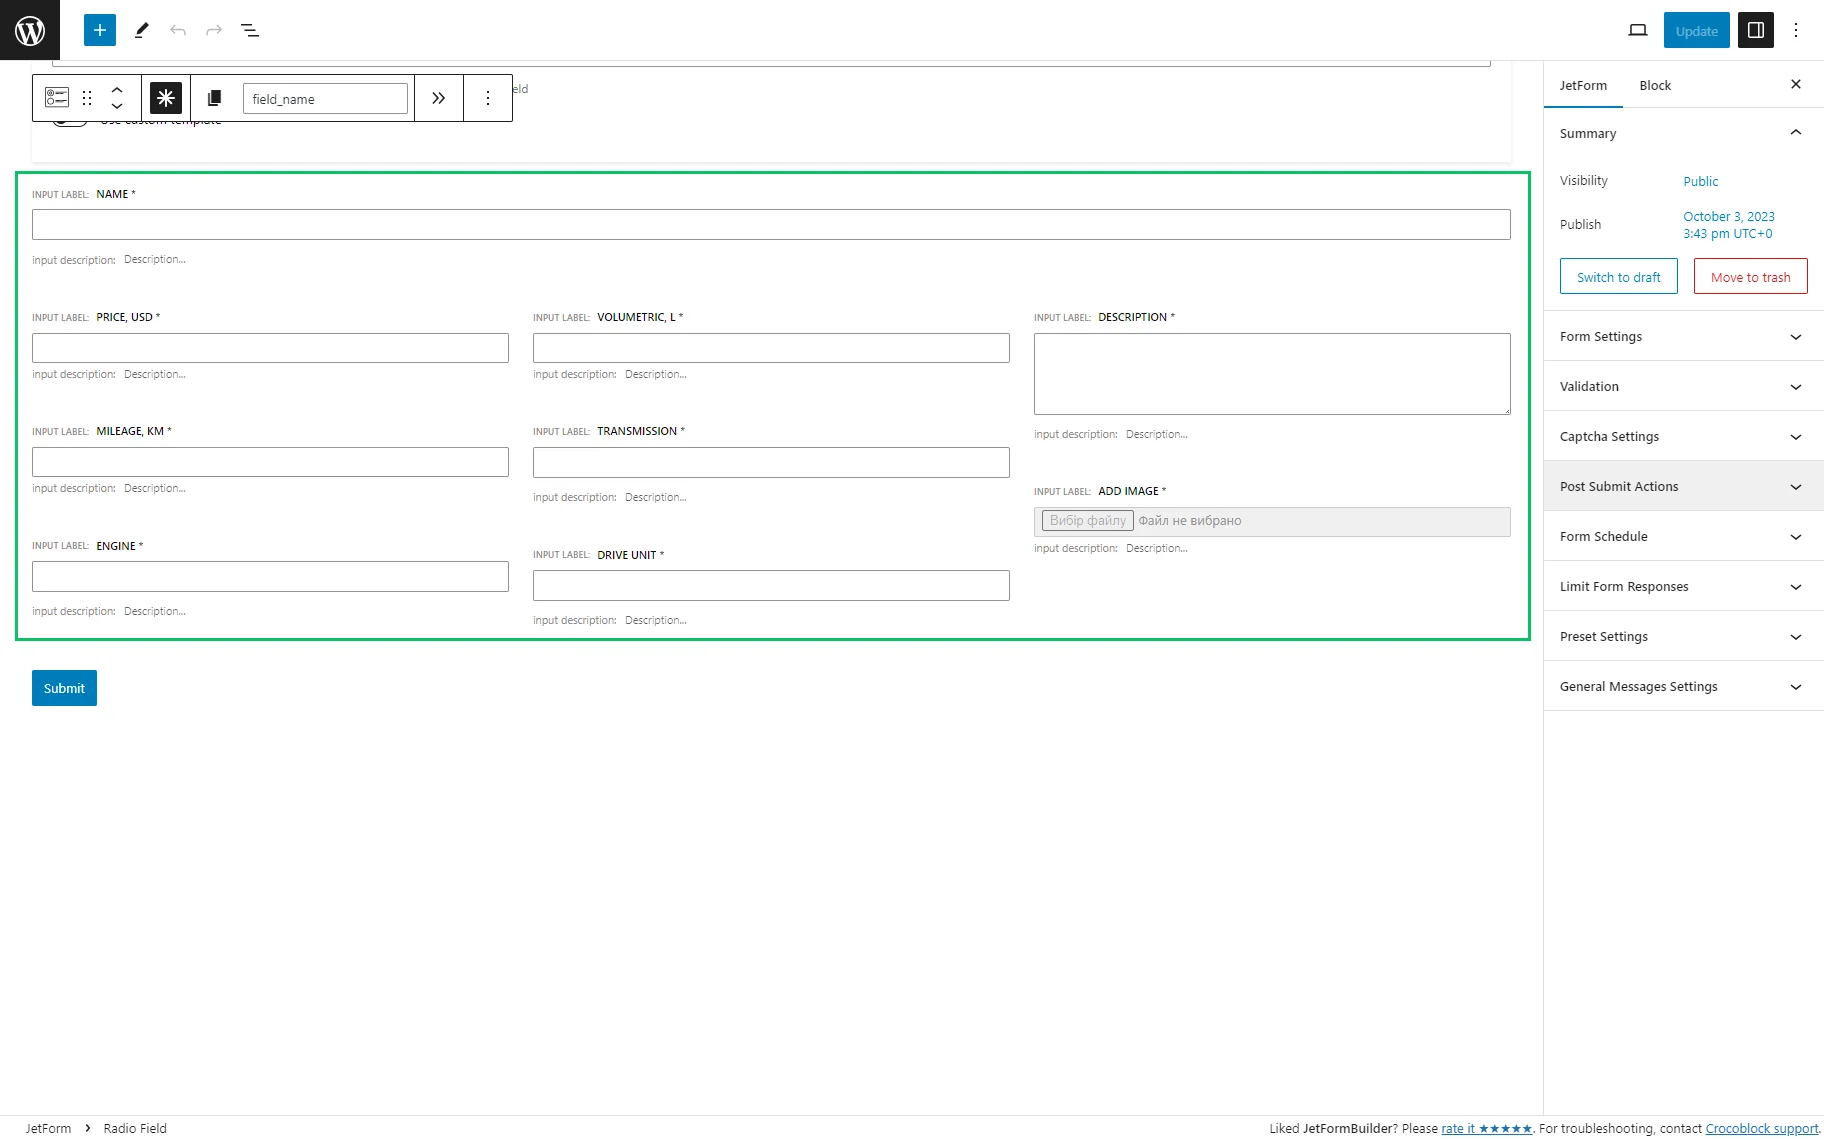
Adding the Select Field Block
Add the Select field block and set the following settings:
- FILL OPTIONS FROM: select the “Posts” option;
- POST TYPE: select the Parent CPT (here, “Agent” CPT).
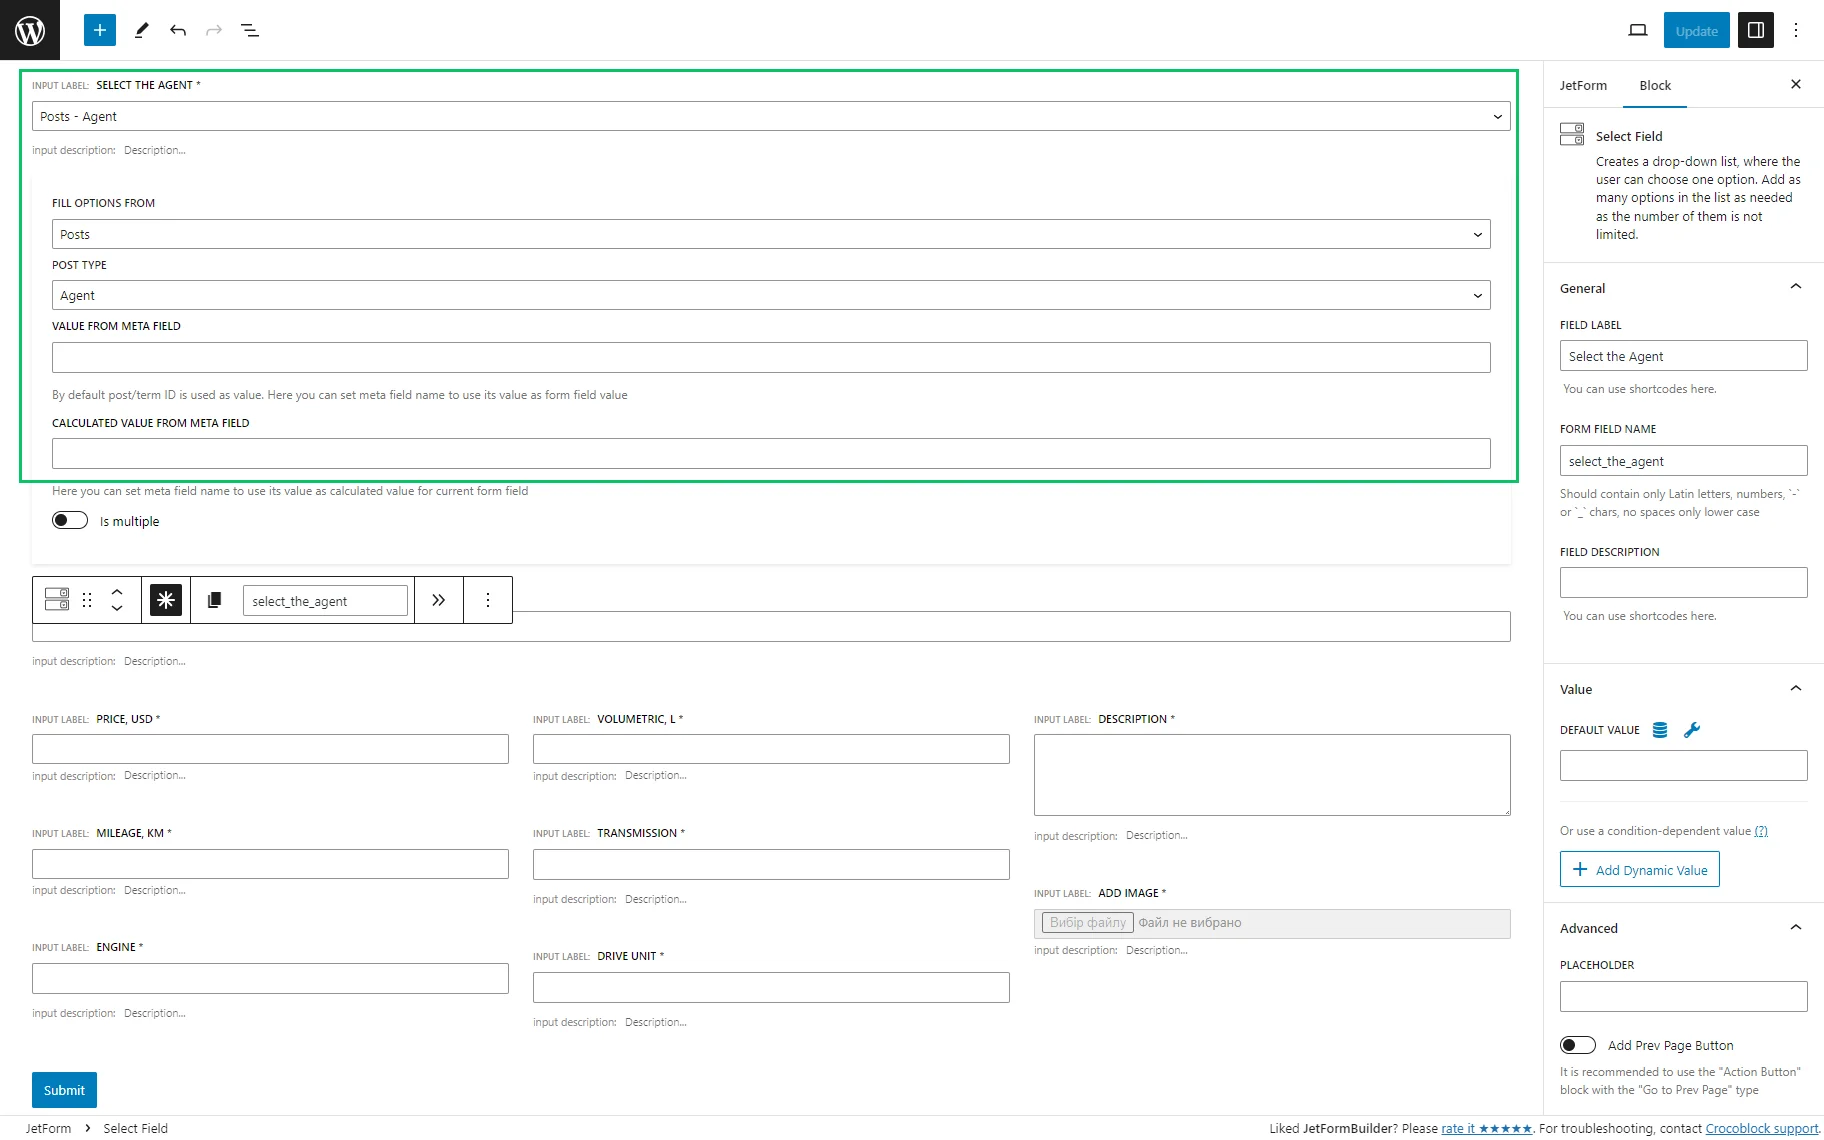
If necessary, specify the meta field of the Parent CPT as a source of data in the VALUE FROM META FIELD field of the pop-up. Press the “Save draft” button.
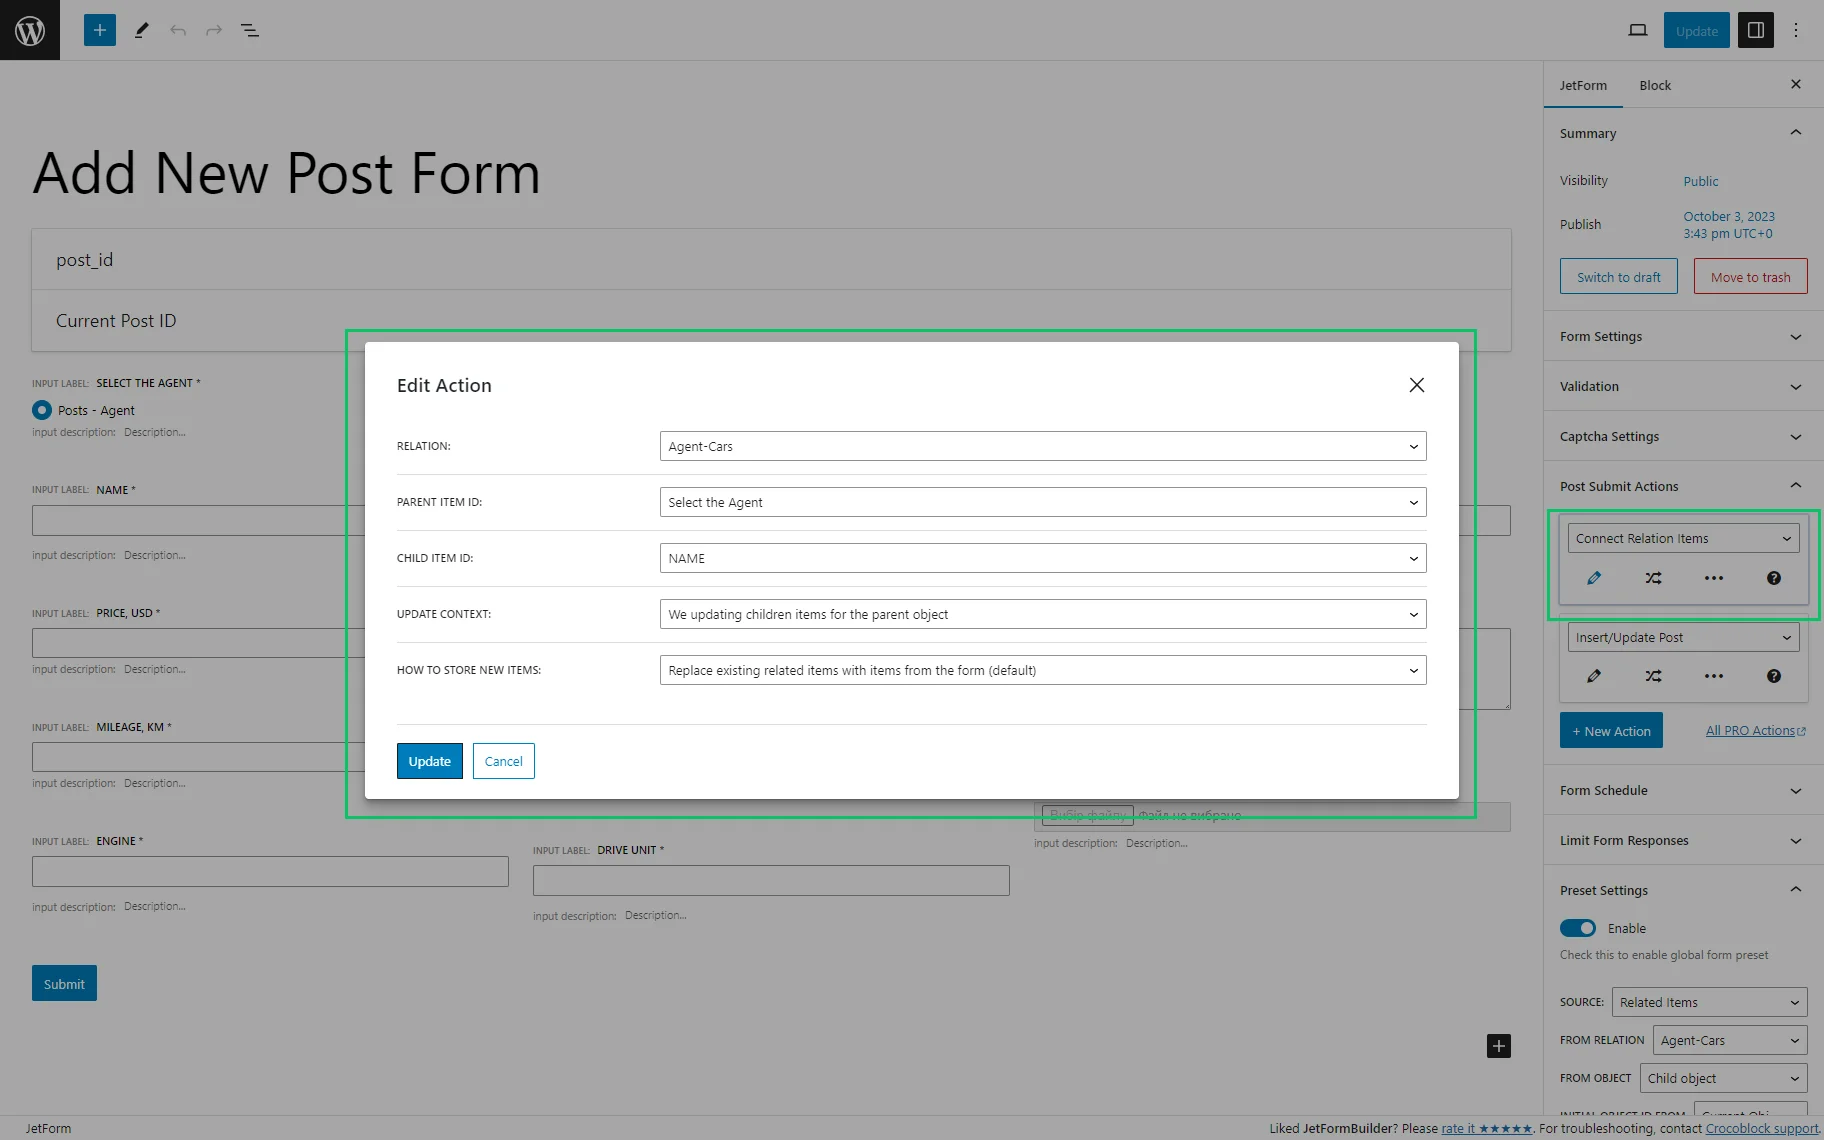
Post Submit Action Settings
Navigate to the form settings block and unroll the Post Submit Actions settings. Press the “+ New Action” button and select the “Connect Relation Item” option from the Post Submit Actions drop-down menu. Press the pencil icon to choose the following options from the drop-down menus of the “Edit Action” pop-up window:
- RELATION: select the current relation (the “Agent-Cars” relation for this tutorial);
- PARENT ITEM ID: choose the appropriate field block (“Select the Agent” option for this tutorial);
- CHILD ITEM ID: select the “NAME” option;
- HOW TO STORE NEW ITEM: select the “Replace existing related items with items from the form (default)” option.
Press the “Update” button and the “+ New Action” button to add another action.
Select the “Insert/Update Post” option from the “Post Submit Actions” drop-down menu and press the pencil icon to select the following options from the drop-down menus of the “Edit Action” pop-up window:
- POST TYPE: select the Child CPT (here, Cars);
- POST STATUS: select the appropriate one among the Draft, Published, etc.
- FIELD MAPS: provide data to be used for the Child CPT fields (i.e., for the current tutorial, we selected the following options from the appropriate drop-down menus: post id 一 Post ID (will update this post), Select the Agent 一 Post Parent, and Name 一 Post Title).

Press the “Update” button and publish the form.
Read the tutorial about JetFormBuilder: Connecting WordPress Related Items with Post Submit Actions.
Add the form to an existing page or create a single page with the form.
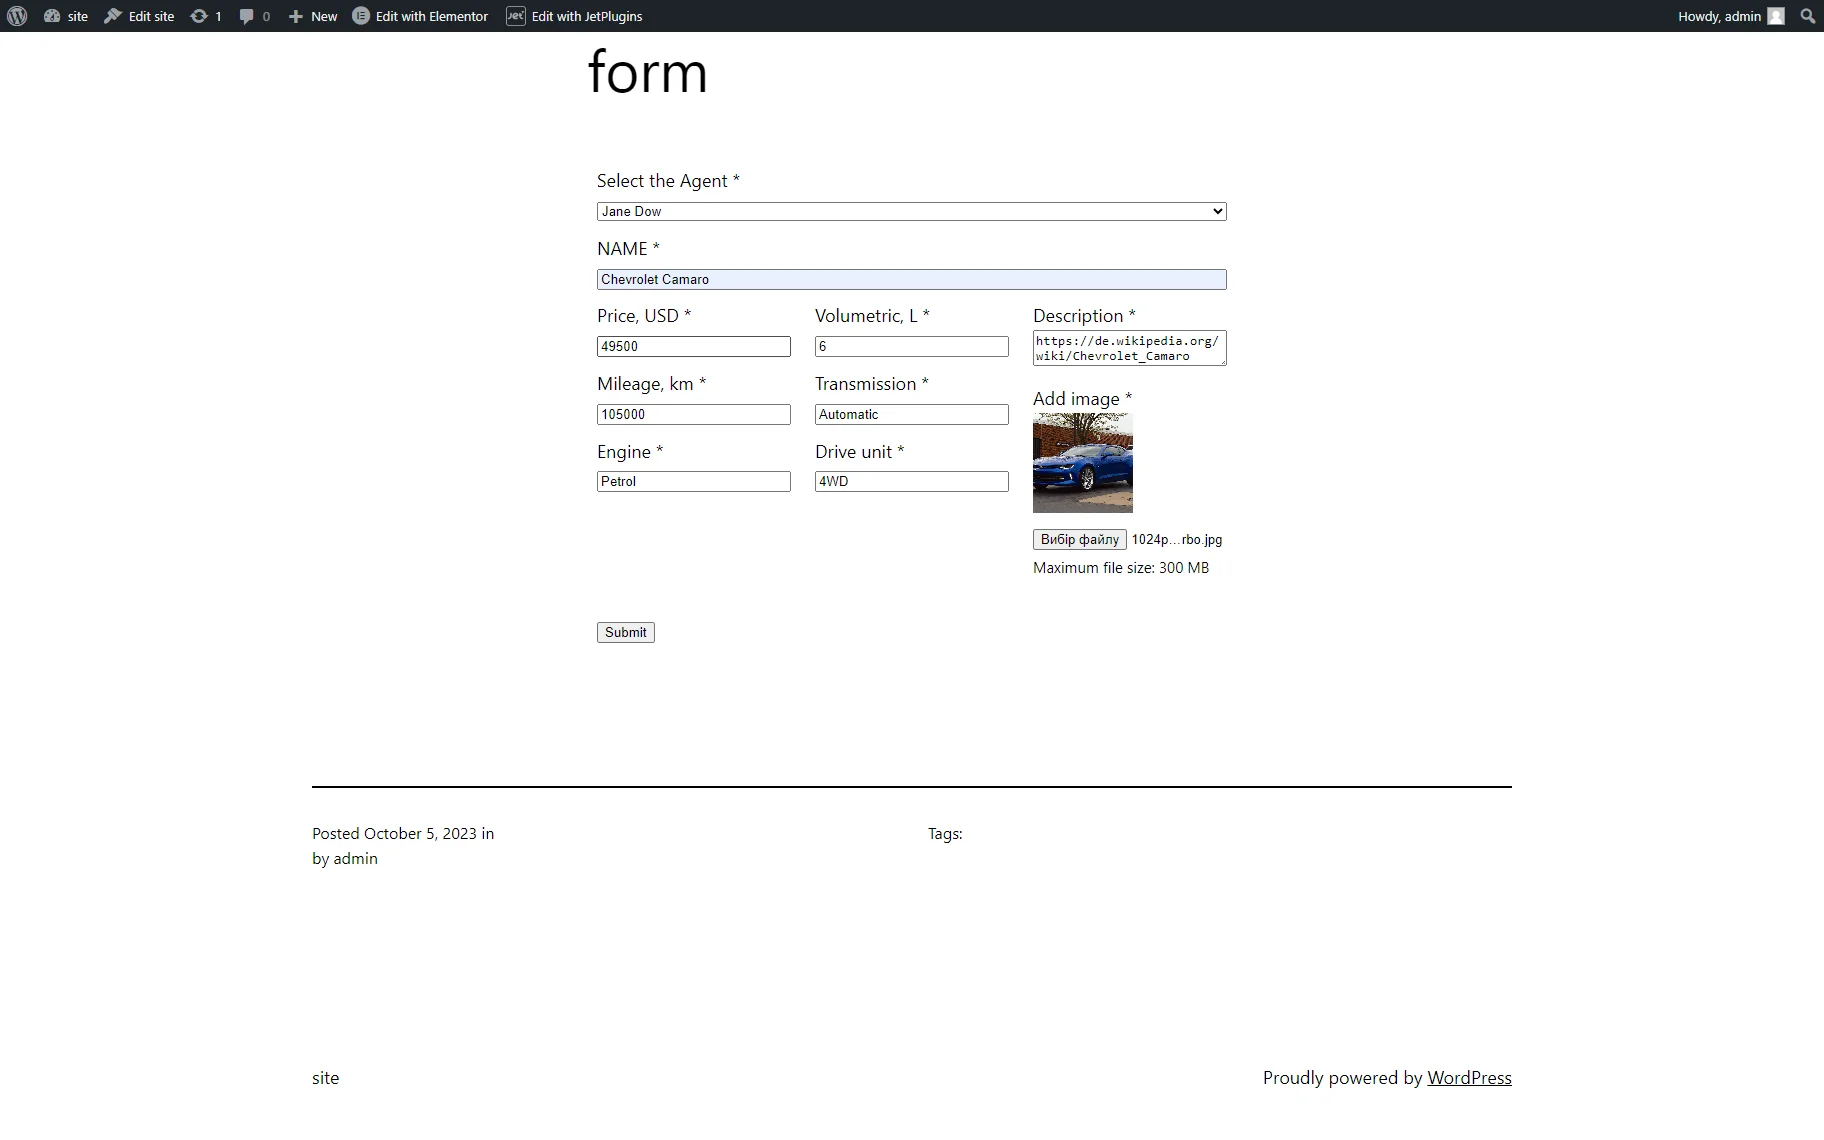
Checking the Result
Fill in the form on the front end. Press the “Submit” button.
Navigate to the WordPress Dashboard > Child CPT (here, Cars) to see the new CPT.
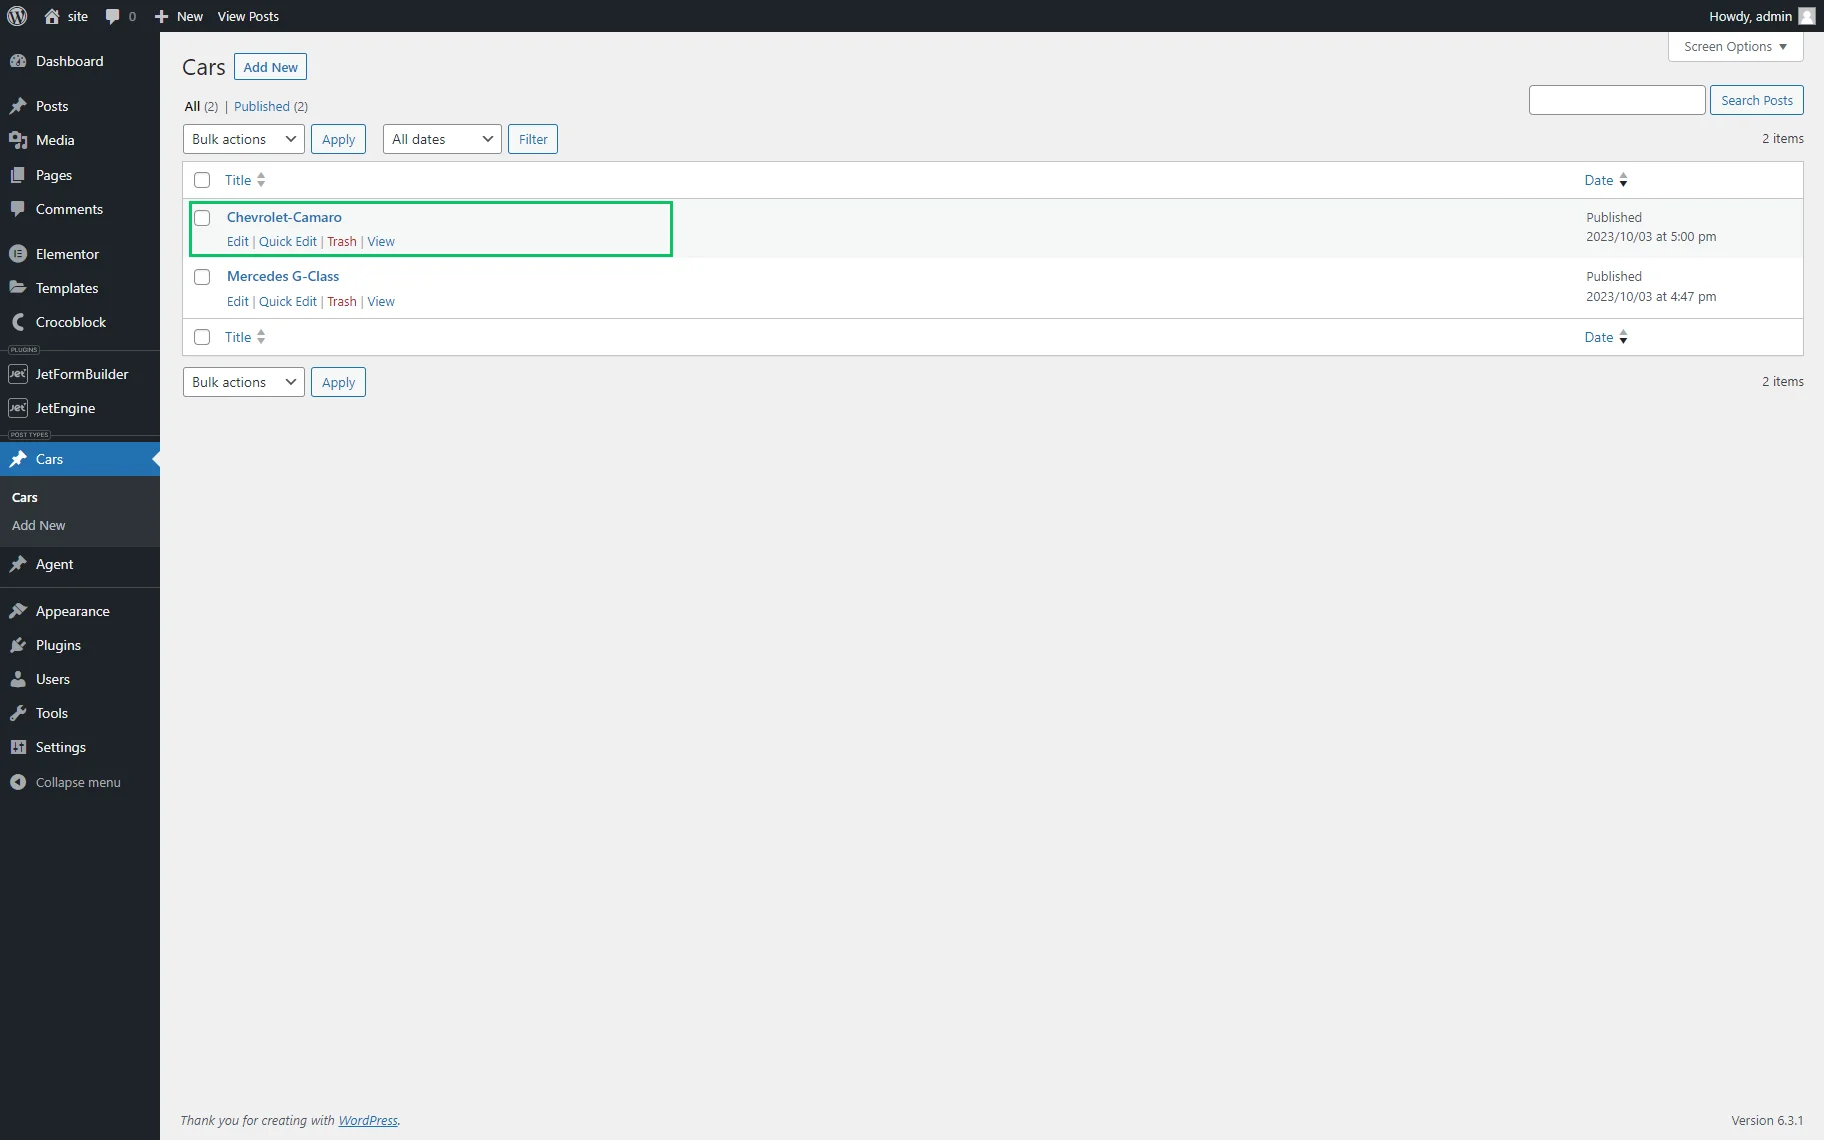
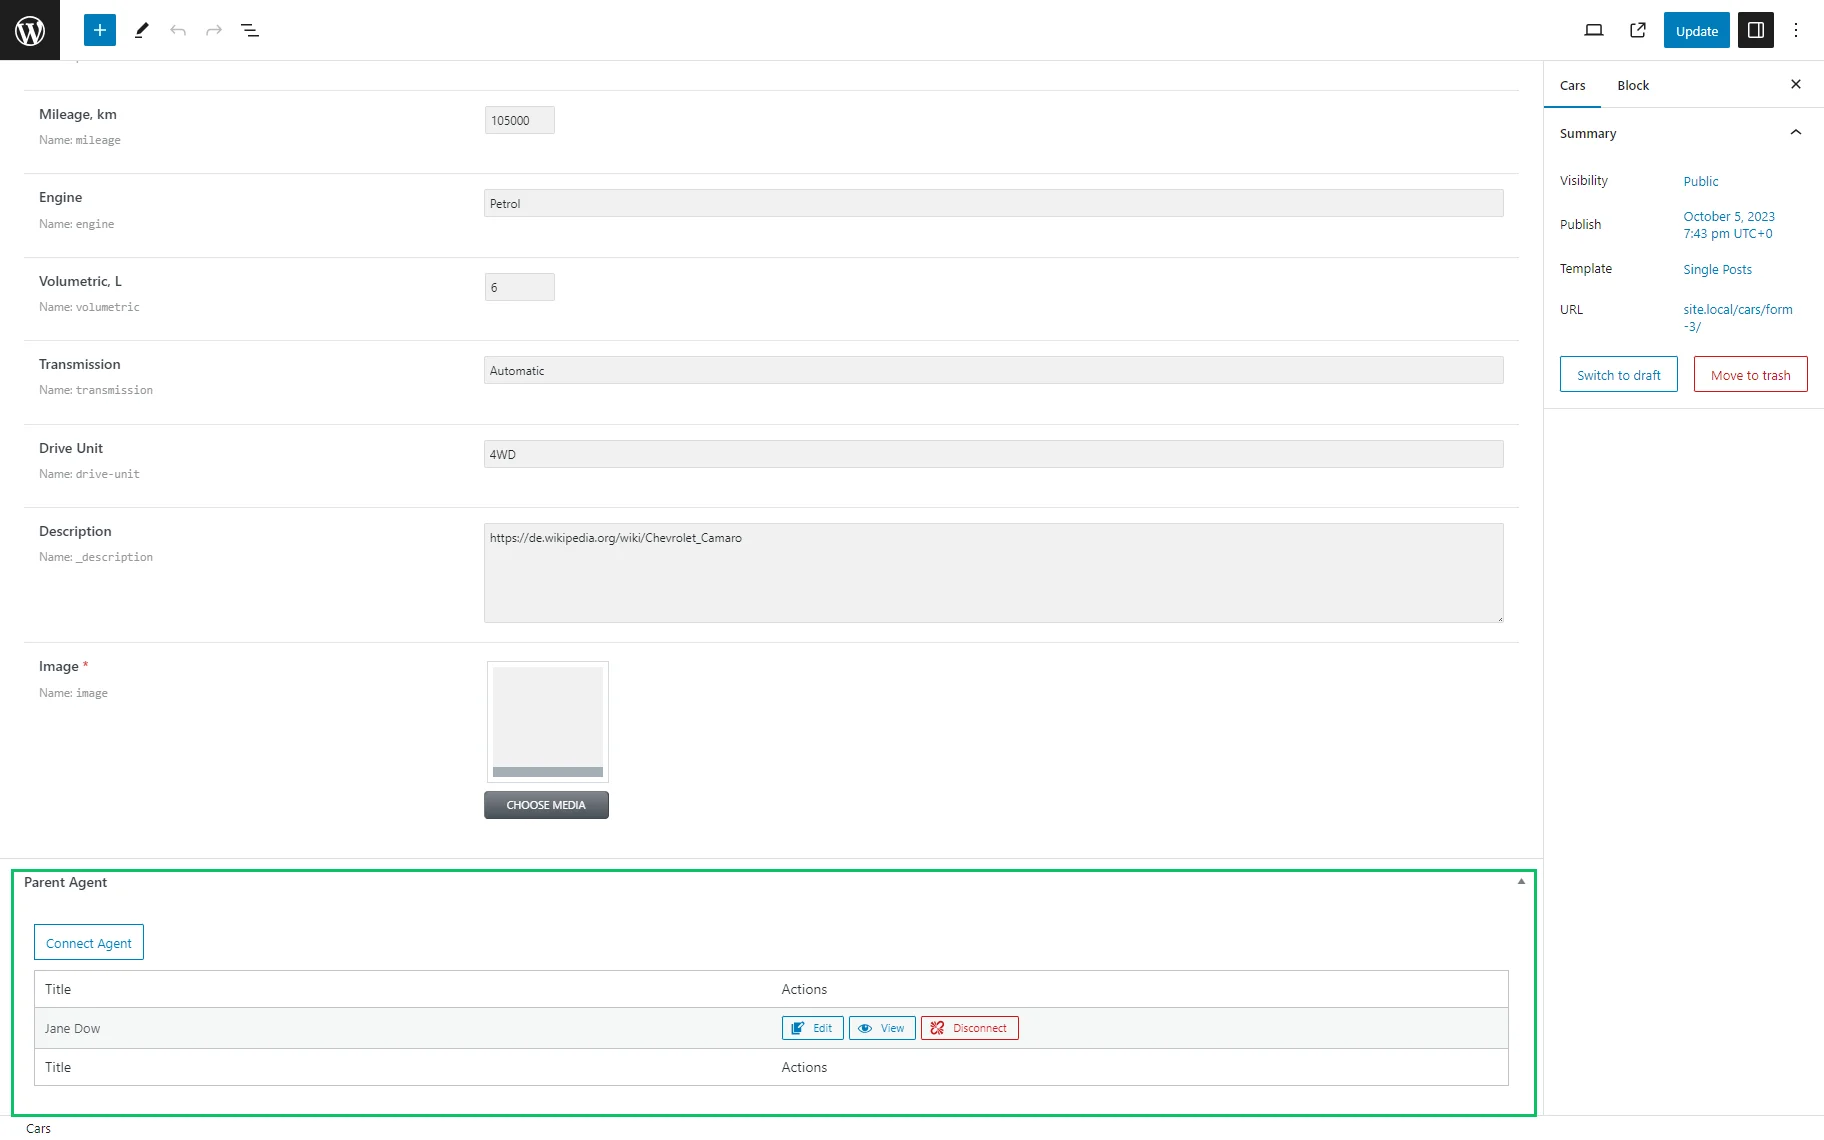
When you open this CPT, you will see the Parent CPT added.
Now you’ve learned how to manage the JetFormBuilding form settings to allow users to create the related “Parent 一 Child” CPTs on the front end with the possibility to select the related parent CPT by the Select field block.