Do you want the visitor of your WordPress site to pay attention to something special? Or do you want to show how to use your product on the site?
The best way to do this is to use tooltips and hotspots. They allow you to specify the necessary information compactly, exactly where you need it, and not clog the design. Of course, if you place them correctly.
From this article, you will find out the following:
- how hotspots and tooltips can make UX more accessible and usable;
- the differences between the two;
- how to make great hotspots and tooltips using JetTricks;
- the most viable use cases.
How Hotspots and Tooltips Improve UX?
Creating a seamless user experience is crucial for any website. After all, how can we enjoy the website if it’s not user-friendly? Among the various visual elements that enhance the user interface and boost engagement, hotspots, and tooltips have the most potential to expand content accessibility and its presentation appeal.
Hotspots are effective because they enrich images by adding interactive areas that provide contextually relevant information. For instance, they can highlight various points on a map and display statistical data.
Another good example is adding links to different products on the same image.
In addition to providing information, hotspots can increase user engagement through clear microcopy. Meanwhile, Tooltips display details about selected elements in a small box that appears above all other content when the cursor hovers over it, such as explaining the purpose of a specific button.
Both methods aim to offer supplementary information, but they differ in how they enhance the UI’s accessibility and usability.
For example, hotspots help to preserve the balance between design and expand content by packing information behind image spots while maintaining a clean and clutter-free presentation. In contrast, tooltips serve primarily as a hidden background aid by explaining specific aspects of the interface or webpage.
Hotspots usually contain one or two words, a short link, or a short sentence. Tooltips typically contain more information and explanations.
Nowadays, a combination of hotspots and tooltips is commonly used. Typically, hotspots utilize the tooltip hover-and-show approach to prevent screen clutter.
Using Hotspots and Tooltips: Best Practices
1. Applying hotspots to product cards
How to show all the product’s benefits on the site without bulky text? It is one of the most challenging tasks.
But you can manage to fulfill it using hotspots. These interactive elements will tell your potential customers about your product’s benefits and compelling advantages concisely and conveniently.
Information appears when hovering over a separate section of the image, which is why there is no chaos on the page.
2. Implementing tooltips for product feed
On eСommerce marketplaces, product feeds can often look cluttered. To see the details, you must go to the product card, which is not always convenient.
Tooltips can assist in keeping vital information within reach, from a “new product” disclaimer to product specifications such as hard drive storage space.
In addition, the interactive nature of tooltips enables shoppers to consider a product from the outset.
With JetTricks, such info as brand, price, other tech specs, or links to special offers can be easily added to the fold.
3. Using hotspots for product bundles
You can help people buy multiple items from your product range at once, or you can quickly find something that can complement a particular purchase using hotspots. Hotspots are a versatile solution, not only for showcasing product details but also for presenting product bundles. By using hotspots as links to specific product pages, you can organize product bundles in three ways:
- Product ranges, where the image depicts one product or type of product sorted by some attribute (e.g., size or color).
- Combinations of products, the so-called “shop the look” technique, where one hotspot includes information about all products on the image.
- Cross-selling, where the user clicks on one product and receives suggestions for related products via hotspots (similar to “you may also like” items).
Hotspot bundles look like a streamlined image grid with multiple interactive elements and take up less page space. Besides, hotspots allow for creating whole pages around specific sets of products grouped by specific attributes, e.g., birthday presents or Christmas gifts.
4. Creating tooltips for user onboarding and product tours

The first time a user visits a website is crucial for their experience. While some users may quickly understand the interface, others need guidance.
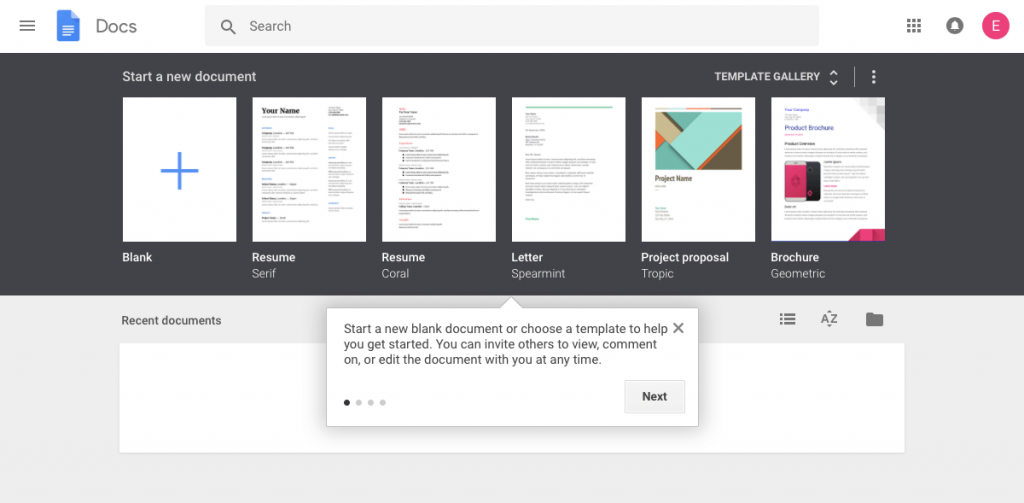
Tooltips can serve as a walkthrough guide over the principal elements of the UI, explaining the purpose of every element and describing how to perform specific actions step by step.
Another way to use tooltips for product onboarding is in knowledge base tutorials, where you could transform the learning section into a series of commented images.
5. Setting hotspots for infographics
Infographics and charts can effectively convey complex information through visual representations. There are specialized data visualization tools like D3; however, they may not always be necessary. In cases where it’s unwise to employ a fully interactive package, hotspots can be a helpful alternative.
Adding hotspots to infographic images allows you to create interactive and engaging visuals. The hotspots widget handles the technical part similarly to regular hotspots. Though, you may need to tweak content a bit more to avoid clutter and ensure a practical layout.
6. Using tooltips and hotspots for sales boost
Tooltips and hotspots can be used to increase sales. To do this, you need to place these elements in the right place on the site, write an appealing selling copy, and give the opportunity to buy.
Try using different colors and animations for tooltips and hotspots to grab attention and prevent page visitors from missing them.
With these elements, you need to keep one important UX rule in mind. Hotspots and tooltips should not obscure any vital website content. Otherwise, these elements will annoy those who see them.
If you want to make your hotspots and tooltips more effective, you can A/B test them after placing them in different places and keep only those that show the best results.
Creating Hotspots and Tooltips with JetTricks
JetTricks is a plugin with eight widgets for adding visual effects to WordPress websites, including tools for hotspots and tooltip creation.
Adding these elements is easy.
- While working with your website’s Dashboard, open the needed page in Elementor, and select the element on which you need to add hints.
- Select the type of hints – either hotspots or tooltips.
- Add the needed text.
- Select a location for this element.
- Apply the desired font style and hints.
- Add animation if necessary.
Done! Creating hotspots or tooltips with Crocoblock takes a few minutes and requires only a few clicks from you.
Before setting up tooltips or hotspots, you can use a heatmap, an analytics tool that will show you where your tips are most needed.
Final Thoughts
The following examples demonstrate how to effectively incorporate hotspots and tooltips on your website to enhance user experience and make interacting with the pages more engaging. Using these techniques, you can showcase products, offer guidance and onboarding, and present complex information in a simplified and interactive manner.
If you want to see what hotspots and tooltips can do, check out JetTricks. It contains both the Hotspots and Tooltip widgets. They are easy to implement and configure. Because of the plugin’s visual interface, image mapping turns into a simple routine.

