It’s time to clear up some misconceptions and talk about common mistakes users make when using JetFormBuilder. I will go through the most frequent requests to our Technical Support.
Let’s get down to it.
“Why Gutenberg if I Really Love Elementor Forms?”
It’s a very frequent question, especially from those who used JetEngine Forms. Firstly, don’t worry – JetFormBuilder is fully functional in Elementor. But let’s go into some details.
There are multiple advantages when we are talking about Gutenberg forms.
- For starters, Gutenberg is a native WordPress builder, so it will always be compatible with any builder or plugin. It makes JetFormBuilder really universal and generic.
- You can always insert the JetFormBuilder form into any visual builders’ layouts using a shortcode or a very versatile JetForm widget.
It lets you style every detail of the form and choose the layout.
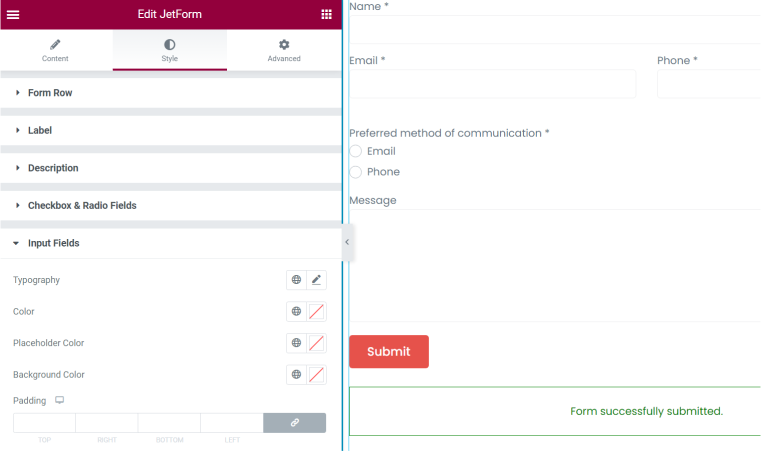
- Forms are quite a utilitarian element that consists of pretty standard components such as input or select fields. If you want to add more styling to them, there’s a free Crocoblock JetStyleManager plugin to modify colors, fonts, margins, paddings, and more in your Gutenberg editor.
- Gutenberg is actually very flexible, even if it’s not so obvious. Yes, it has big issues with styling flexibility, but the cool thing is that you can combine different blocks even within a form. For example, to add a social login provided by another plugin or JetEngine Listings. But you need to use this functionality discreetly not to overload your site and decrease performance.
Don’t insert other forms (e.g., CF7) in JetFormBuilder forms: it simply doesn’t work like this, and you will get too many database requests and scripts that will drastically reduce the page performance.
Use blocks such as Heading, Image, Paragraph, etc., and enjoy the result and how much flexibility compared to non-Gutenberg plugins it can give you.
So, it’s fully available for Elementor; you can build advanced forms and insert them anywhere on the Elementor page/JetEngine listing/JetThemeCore template. So, after all, it absolutely doesn’t decrease flexibility or the role of Elementor on your site.
Forgetting to Use JetStyleManager
Gutenberg is not the best editor for styling elements if you don’t use any extra plugins for this. That’s why JetStyleManager appeared. It’s a free plugin available in the WordPress plugin directory, and it’s really helpful. Using it, you can customize everything, be it margins or padding, color, fonts, dimensions, and even adjust responsive dimensions. You can use with JetFormBuilder, JetEngine, and JetSmartFilters blocks.
After the installation, you needn’t add any additional settings – just open the Gutenberg editor, add a block, click on it, and the brush icon will appear in the top right corner. Click on it, and edit the styles of your form field.
Confusion When Downloading JetFormBuilder Pro Addons
If you are an All-Inclusive or Lifetime Crocoblock client, you get JetFormBuilder Pro add-ons for free. Yes, the process is a bit confusing, but the reason for this is that JetFormBuilder is a free plugin, and only add-ons are premium. There is no way to add them just by inserting some kind of license code due to WordPress Plugin Directory restrictions. So, the idea is you have to add at least one premium add-on to activate Pro.
The process is the following:
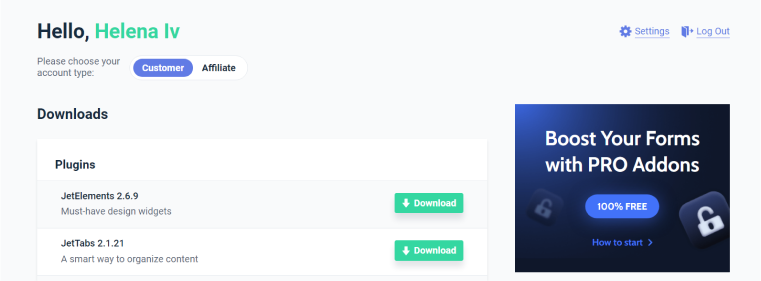
- Log into your Crocoblock account, and you will see the banner on the top right corner that reads “Boost Your Forms with PRO Addons.”
- Click on it, and you will be redirected to the JetFormBuilder.com site, where you need to enter your email address and name.
- That’s it; your Pro add-ons for JetFormBuilder are available with the license.
- Go to your website, make sure that the free JetFormBuilder is installed, and add the add-ons you will use as plugins, insert the license code and enjoy.
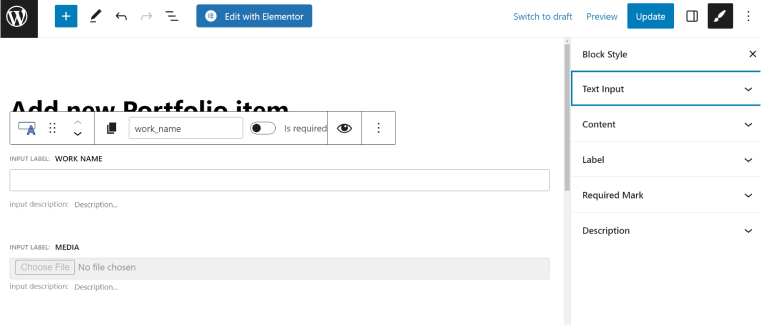
Not Mapping Fields
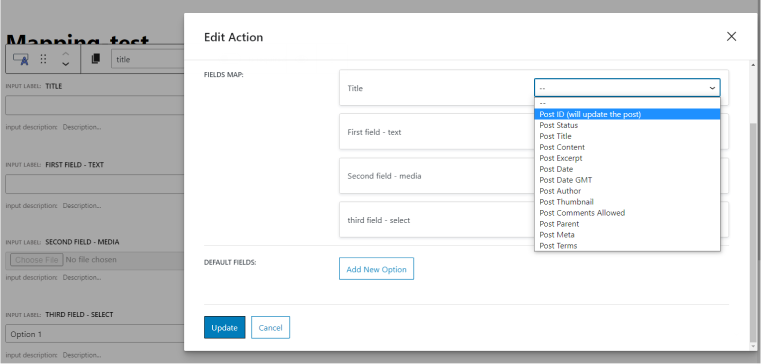
When you select Insert/Update Post or Register User/Update User post-submit actions, don’t forget to map fields that should be updated from the front end. In other words, you must connect the field with the corresponding meta fields of the post that should be updated. After setting up form fields which format should correspond to the fields from the post you are about to create/update, go to JetForm > Post Submit Actions and select, Insert/Update Post (if we deal with posts, if you want to register or update user, the mapping process is the same). Click on the pencil icon and edit all the settings and mapping. The dialog window will look like this:

Note that you select the field type from the list, but you should insert the meta field name manually; just copy and paste the value from the corresponding post type in JetEngine > Post Types.
Also, if you have many items to be inserted using forms, consider using CCT; it’s the unique Crocoblock entity to optimize the database and store data a bit differently. Read about CCT in this article. The advantage of using them is that form creation and mapping are automatic and take one click – you will see the “Create Form” button in the Add/Edit CCT dashboard.
Mixing up creating and updating post settings when mapping
If you want to create a new post, then in the field that is intended for Title, choose Post Title. But if you want to update it, select Post ID (will update the post).
Having Troubles With Creating a Login Form
Please check out this video with a detailed explanation of how to create a login form with a password reset. One can do it with the Change Render State action, which is a very interesting feature itself.
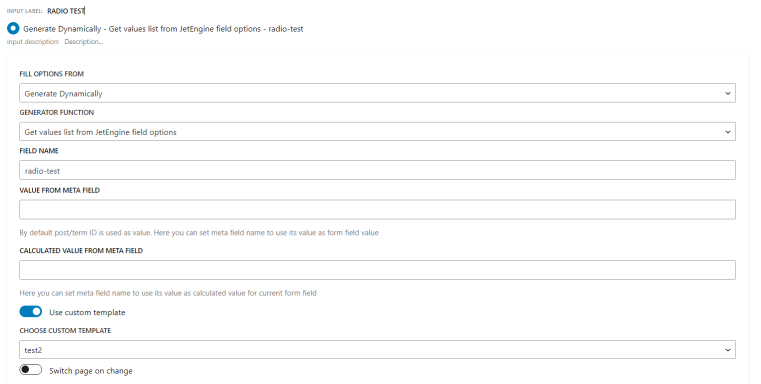
Forgetting About Custom Templates for Checkbox and Radio Fields
You can add icons or images to checkboxes/radio fields. To do so, use custom templates and JetEngine dedicated post types with such meta fields. So, the option values will be pulled from there. This is a detailed guide for doing it.
A custom template is being built as JetEngine Listing, and icons or SVG images can be added with the help of the Check Mark widget/block.
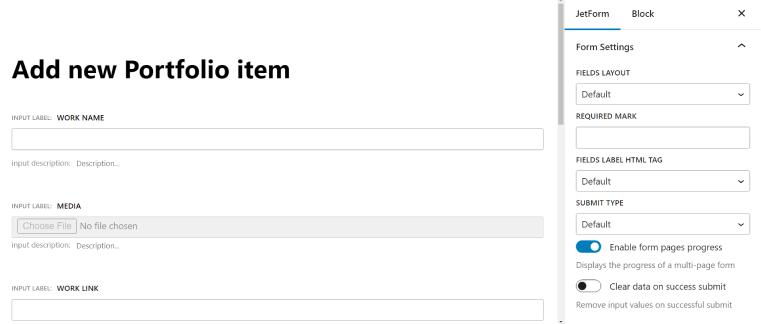
Missing the Toggle for Multi-Step Forms
If you want to create a beautiful multi-step form and display the progress, you should not forget to activate the Enable form page progress toggle. On the left-side panel, go to JetForm > Form Settings and activate the toggle.
Other Mistakes and Tips
- JetFormBuilder will not work on Classic Editor because it’s a Gutenberg plugin, so it’s a must.
- Trying to insert other forms inside the form, such as Contact Form 7. Never do it; it will cause errors.
- Forgetting that JetFormBuilder can perform advanced math calculations.
- There are two submit types: page reload and AJAX. So, if you selected AJAX while building a form in Gutenberg, you should also select AJAX in the JetForm widget when adding the form to your Elementor page.
- Forgetting to check “Save as array” when creating a Checkbox/Radio field in JetEngine that you will further use in the forms (if you select to generate options dynamically and choose JetEngine).
- If you want to add a form in a JetEngine listing, it’s better to use a button with a pop-up (that has that form) instead to avoid errors and improve performance.
Takeaway
JetFormBuilder is a powerful plugin by itself, but it goes to another level when it works in combination with JetEngine. It’s a Gutenberg-based form builder, which gives it extra perks, but if you use Elementor, it will not be a problem because you can use the JetForm widget to style every little detail and enjoy the form in your Elementor-built pages.
Overall, it’s quite easy to use, but some functionality is really advanced, so it might take some time to figure out how to set it up properly.


