How to Apply Filters to Several Widgets on a Page
This tutorial gives detailed information on creating a new filter and applying it to different widgets using the JetSmartFilters plugin.
In this tutorial, you will learn how to apply one filter to multiple widgets on a page at the same time using the Additional Provider setting in JetSmartFilters.
Adding Widgets to the Page
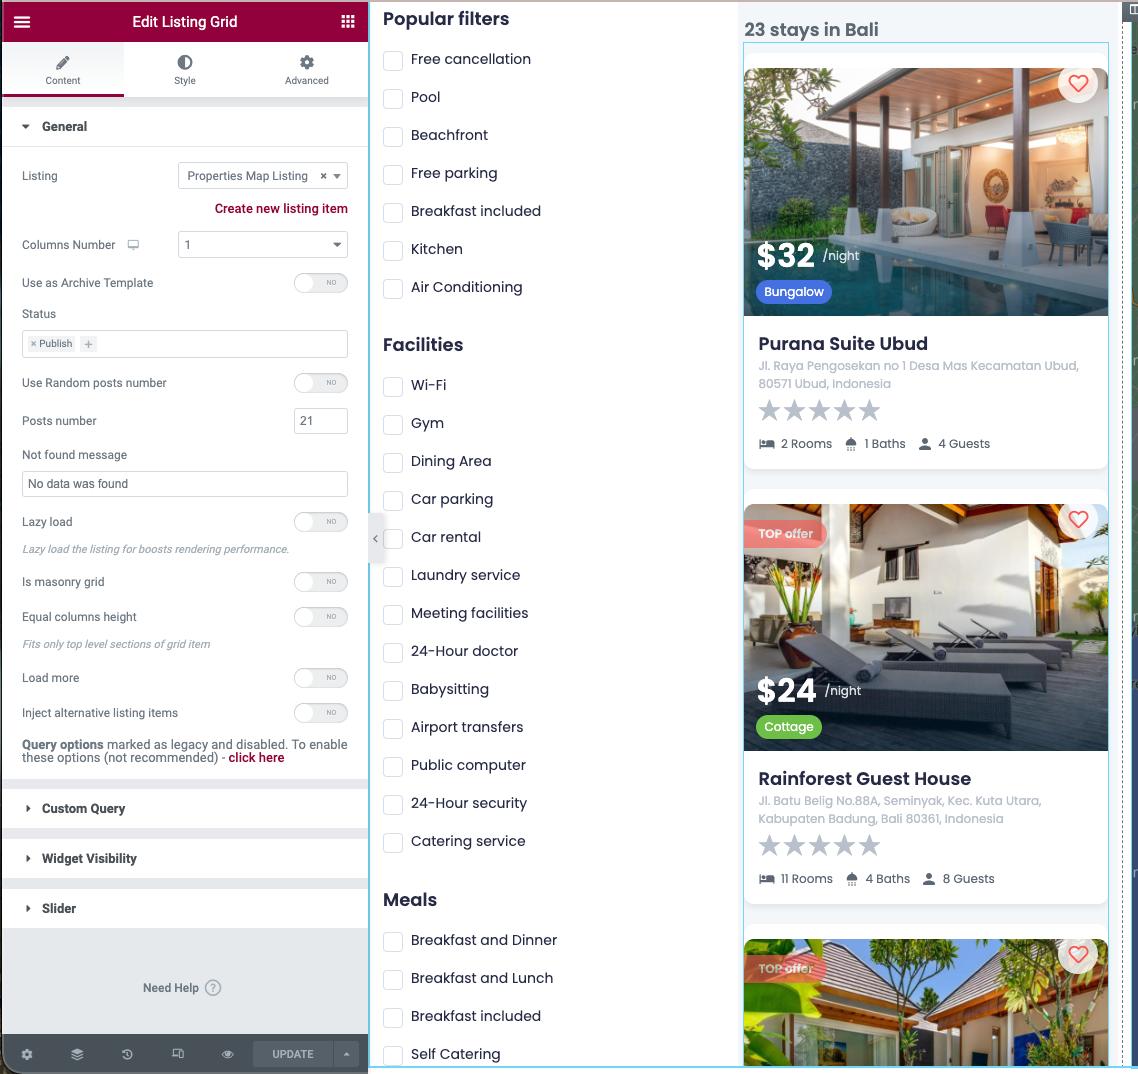
Open the needed page in the Elementor Page Builder. Add three columns in Elementor and drag and drop the following widgets into the following columns: first column — filters, second сolumn — Listing Grid widget, third column — Map Listing:
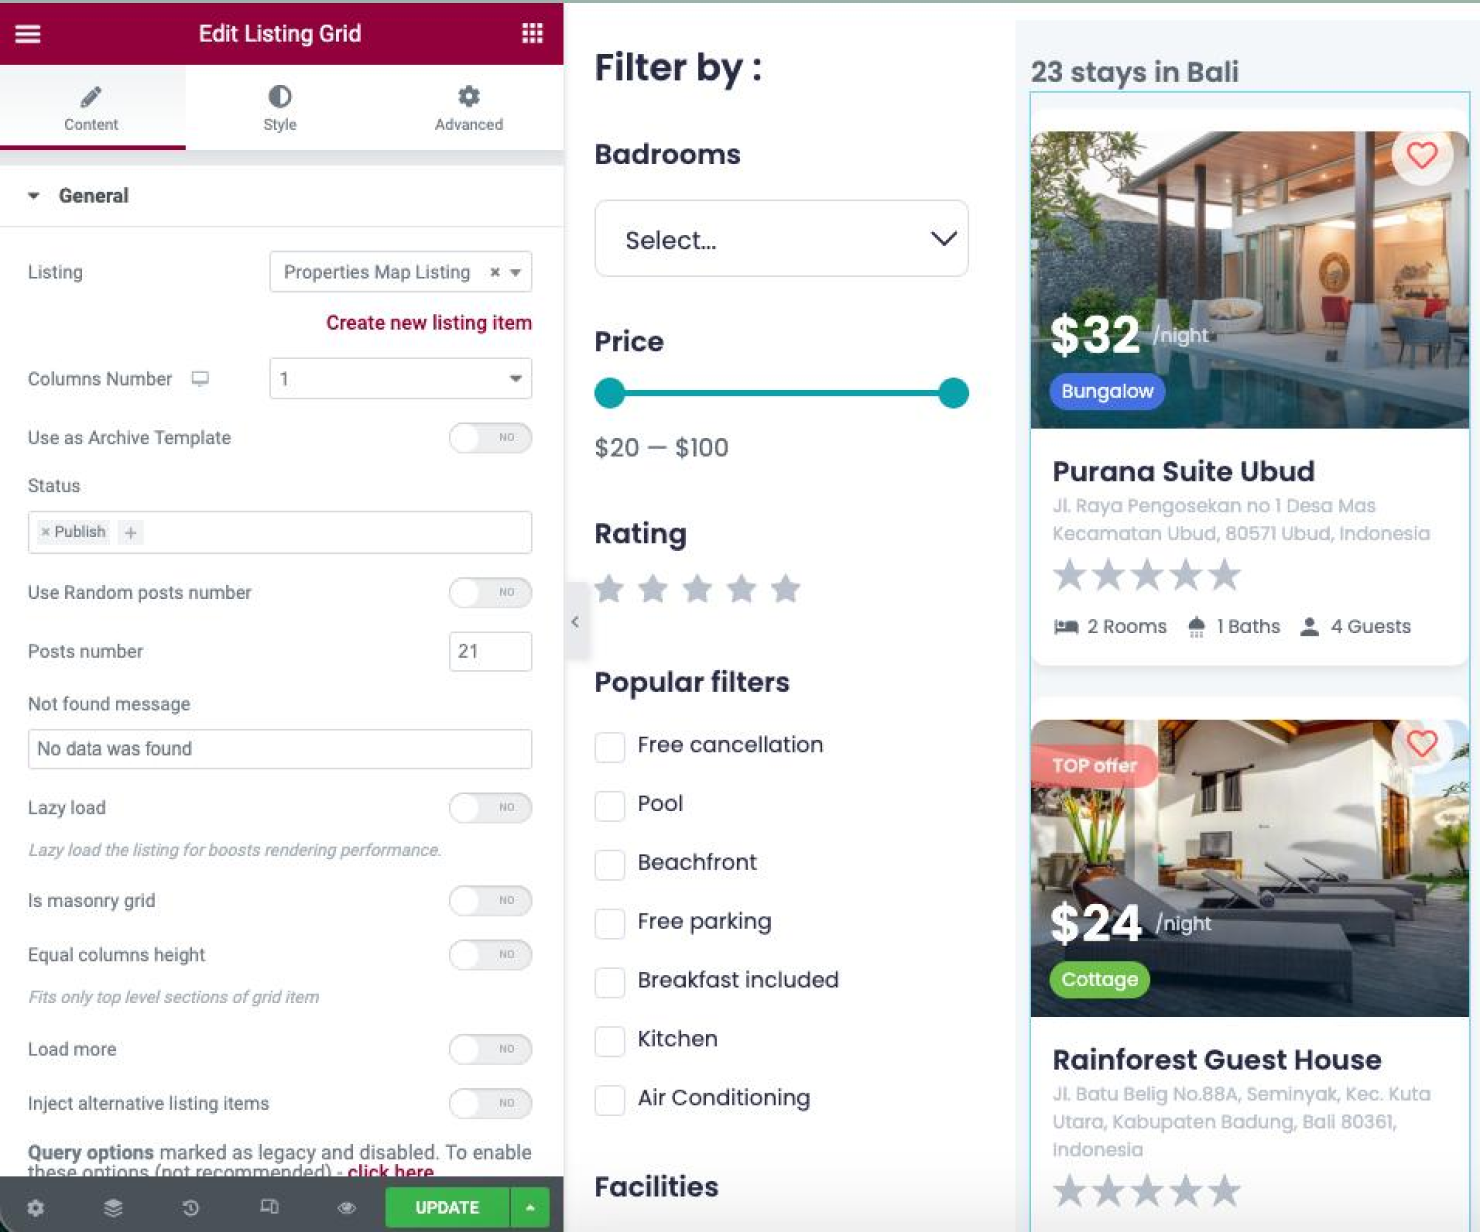
In the second column, add the Listing Grid widget and choose the needed Listing item you want to filter.
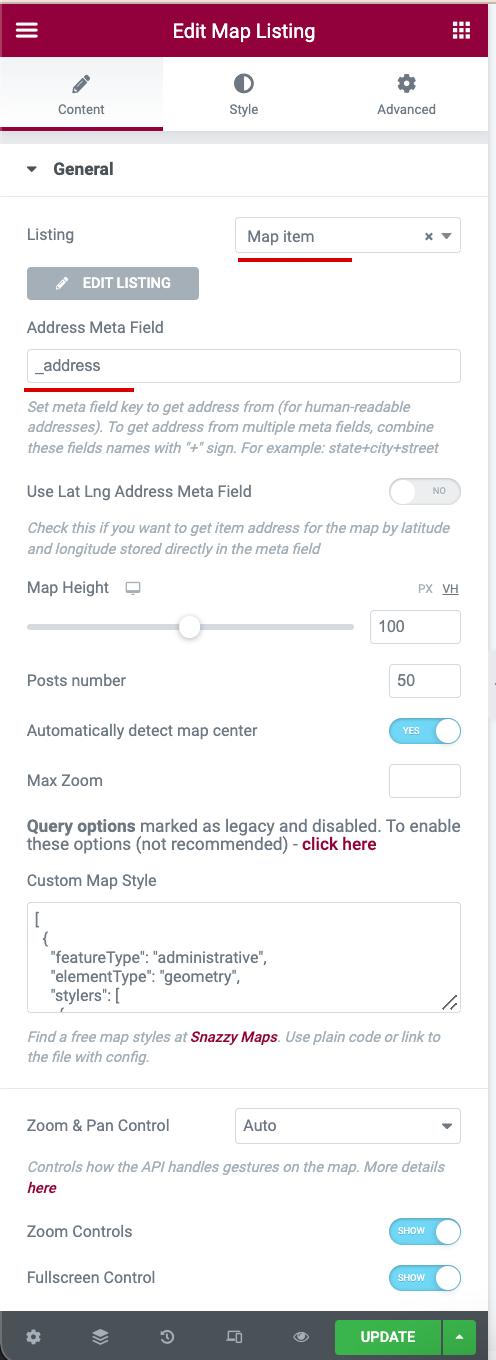
In the third column, click the Map Listing widget and select the needed Listing item from the Listing dropdown menu. Then, type the Address Meta Field Name field custom field meta key.
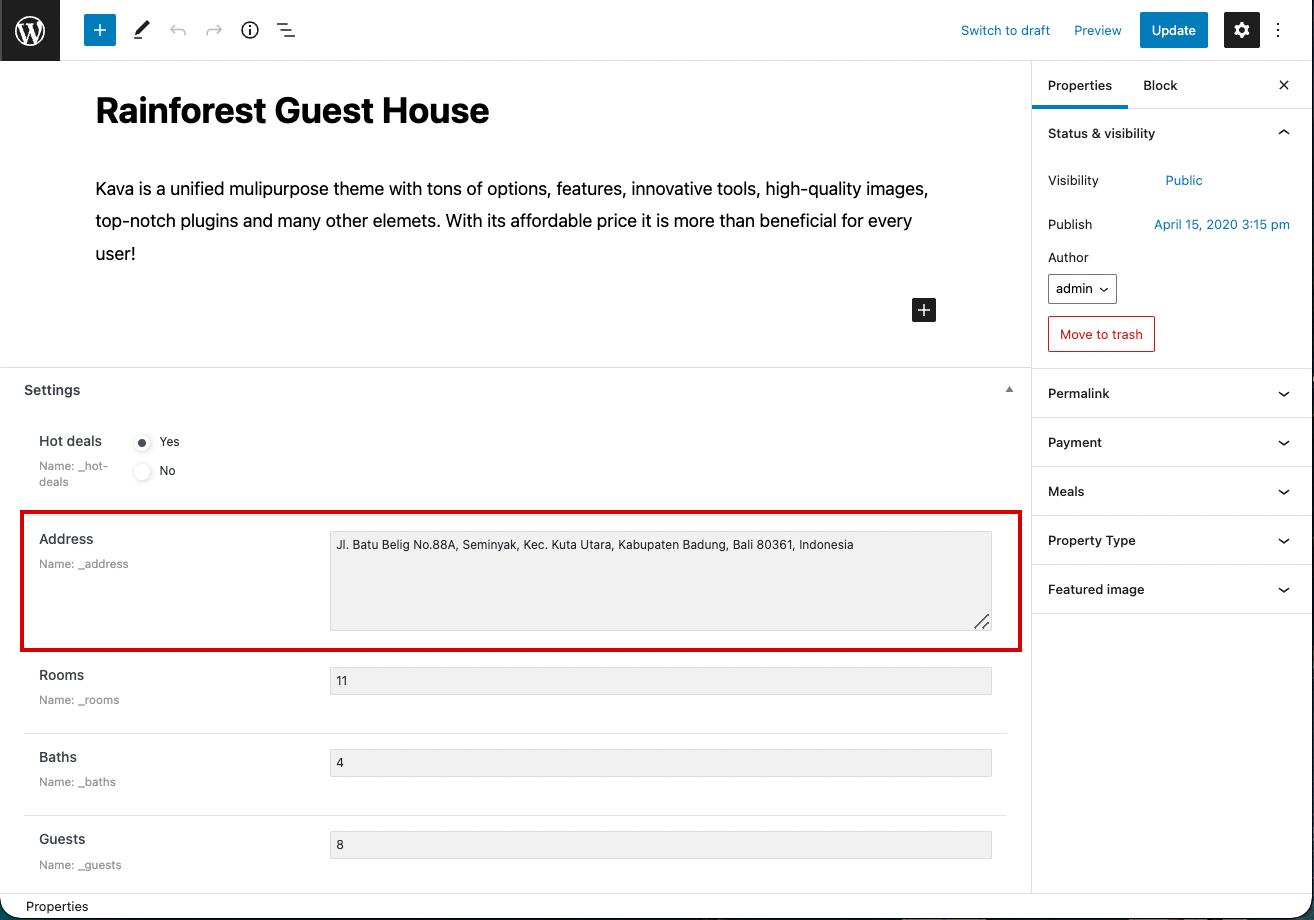
Here, you should paste the value of the one meta field that stores the address in the current Custom Post Type.
Applying Filters to the Widgets
Proceed to the column where the filter widget or widgets are located. Click on the widget, and select the appropriate filter, i.e., if to drag and drop the Checkboxes widget, pick the Checkbox filter created before.
Then, in the This filter for dropdown, choose “JetEngine Maps,” toggle on the Additional Providers Enabled option, and pick “JetEngine” as an additional provider.
Follow the Additional Providers List Option Overview to learn more about this feature.
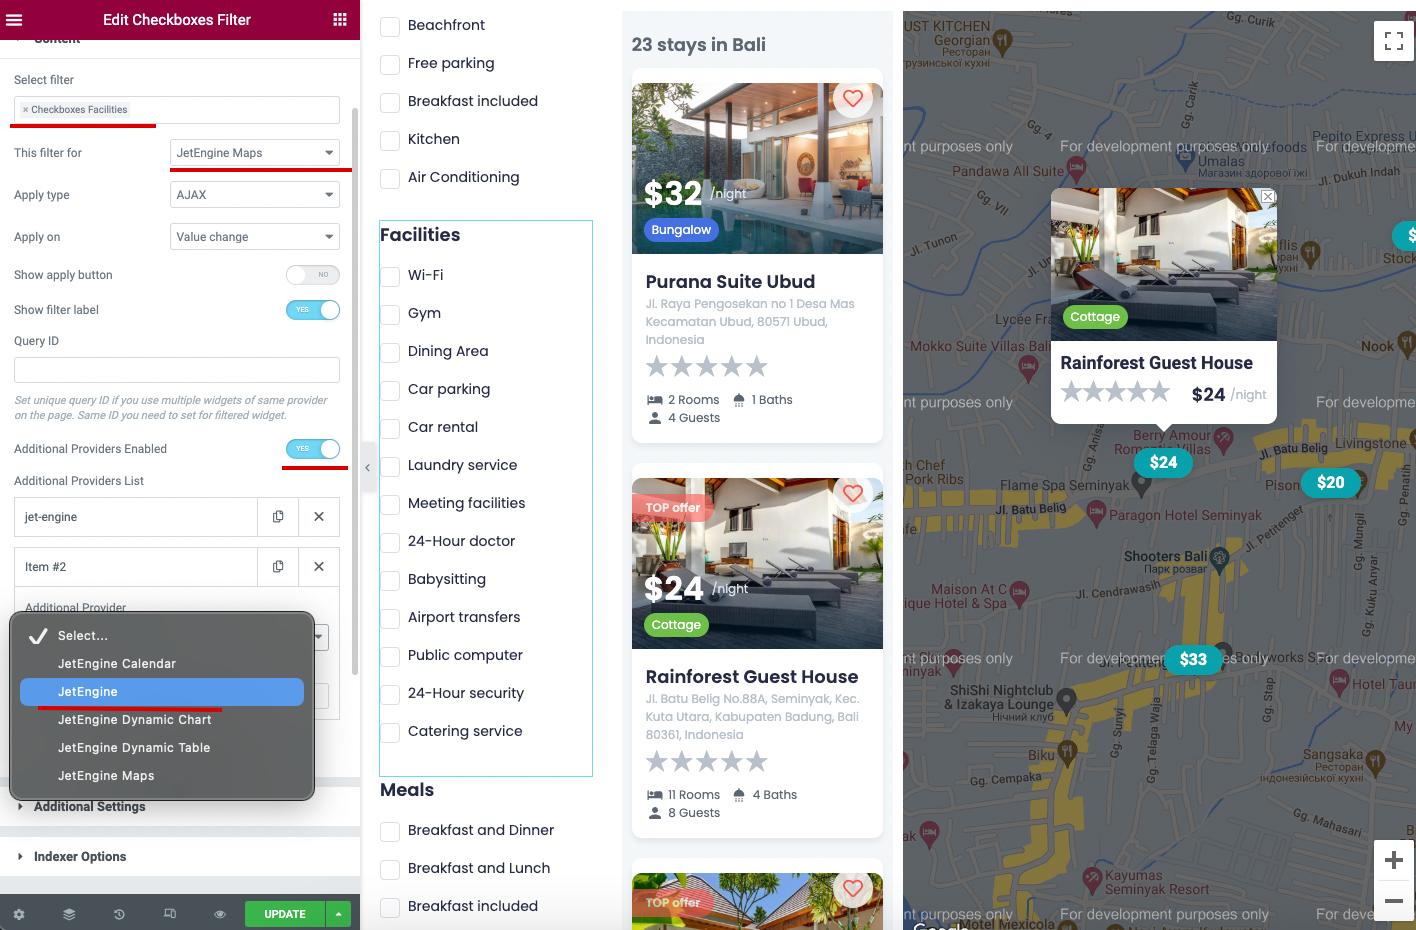
Save all updates and check how it works on your site.
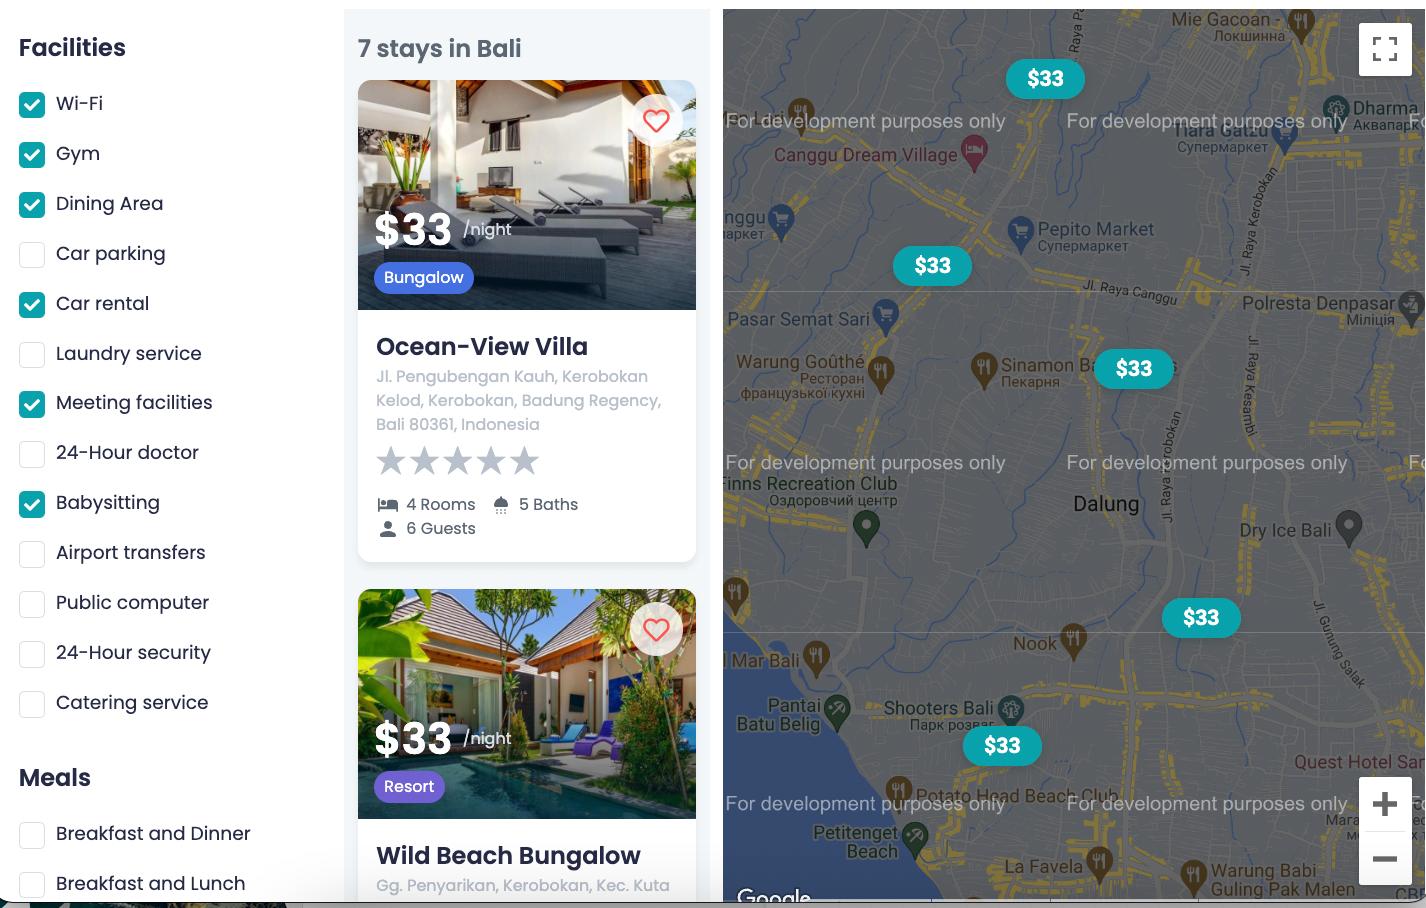
That’s all. Now you know how to use the additional provider function and filter several widgets equally from one filter.