Redirecting Users to a Filtered WooCommerce Shop from the Home Page
Discover how to redirect to a filtered WooCommerce shop page from the Home Page using the JetSmartFilters WordPress plugin.
Before you start, check the tutorial requirements:
- Elementor (Free version)
- WooCommerce plugin (Free version) installed and activated
with products and product categories created.
- JetEngine plugin installed and activated
- JetSmartFilters plugin installed and activated
Access the shop page with pre-selected filters directly from the home page by using the Dynamic Link widget customization in the Listing for terms, which is available with the JetSmartFilters WordPress plugin.
Create a Filter for Product Categories
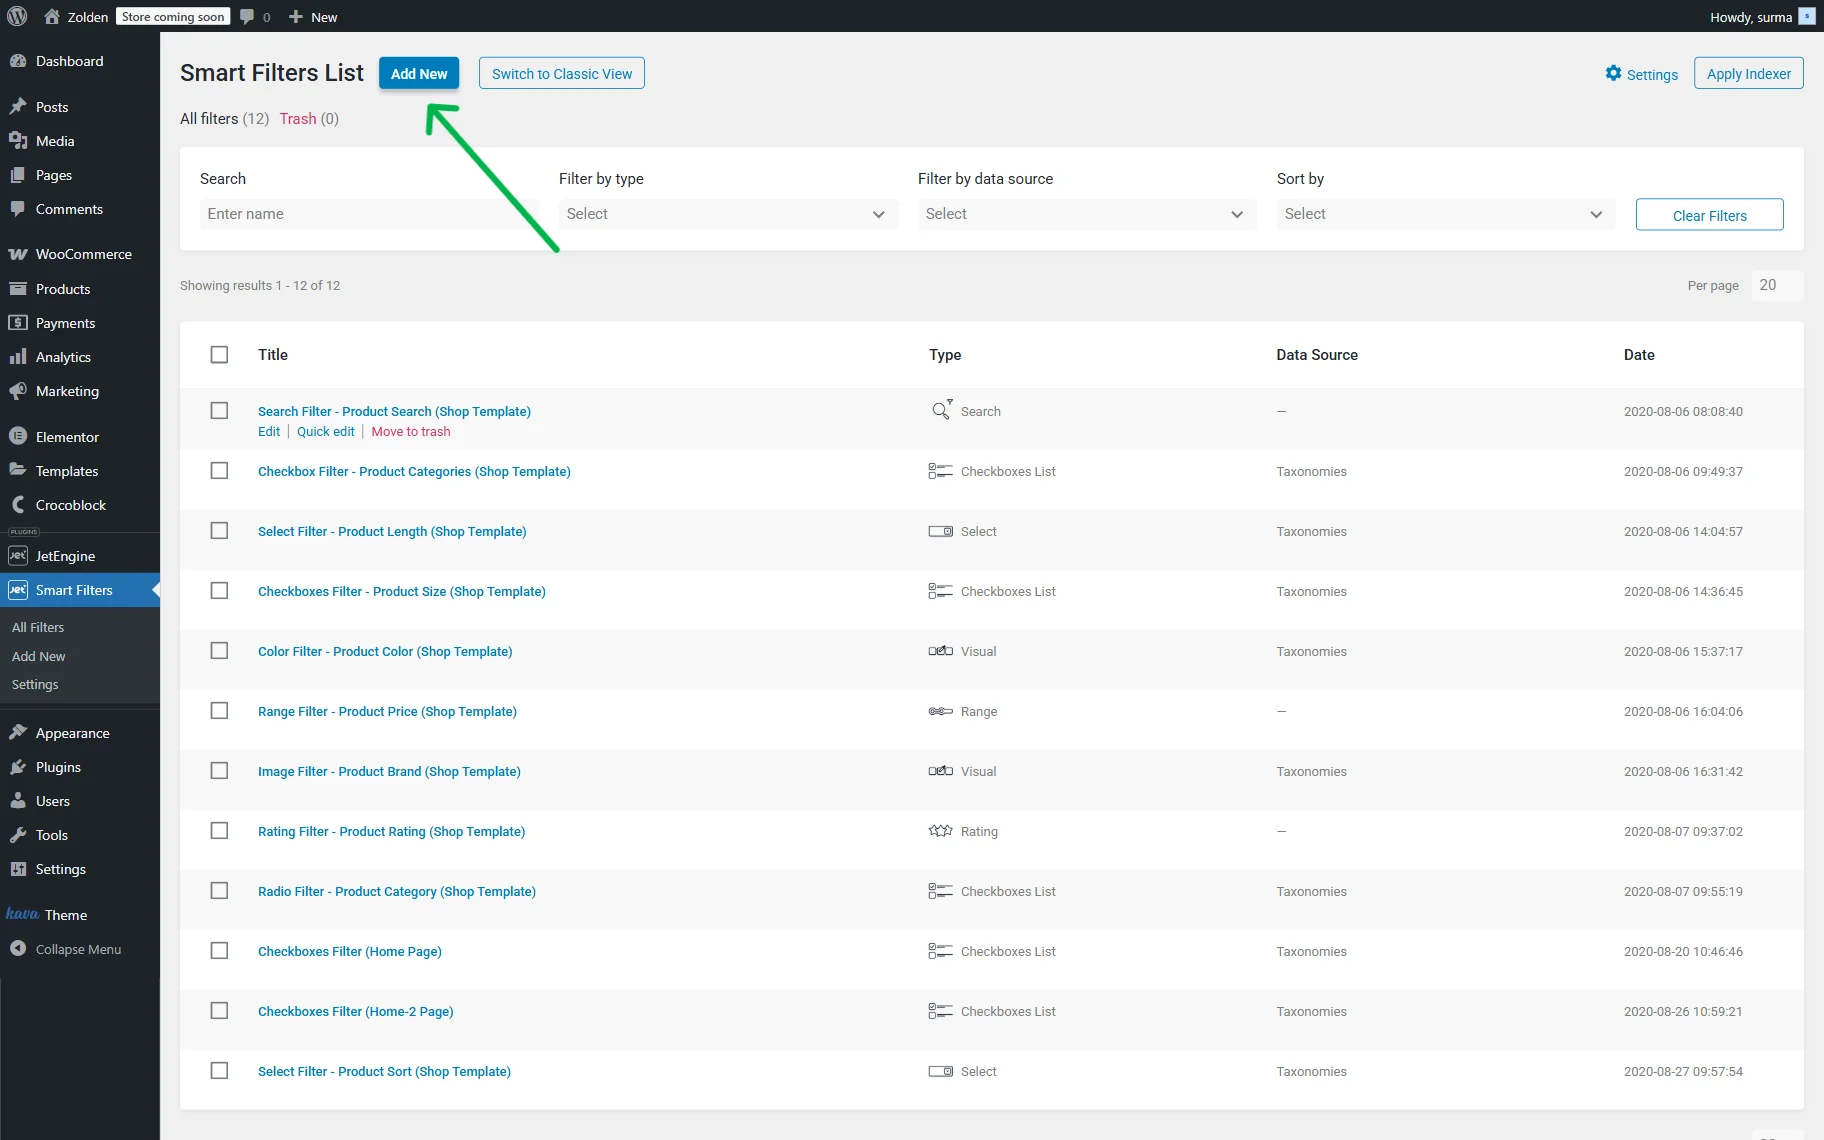
Proceed to WordPress Dashboard > Smart Filters and click the “Add New” button.
Type the Filter Name and select the Filter Type. In this tutorial, we use the “Checkboxes list” type.
Choose the “Taxonomies” for the Data Source and select the Taxonomy from the dropdown (“Product feature” here). For the remaining fields, we maintain the default settings.
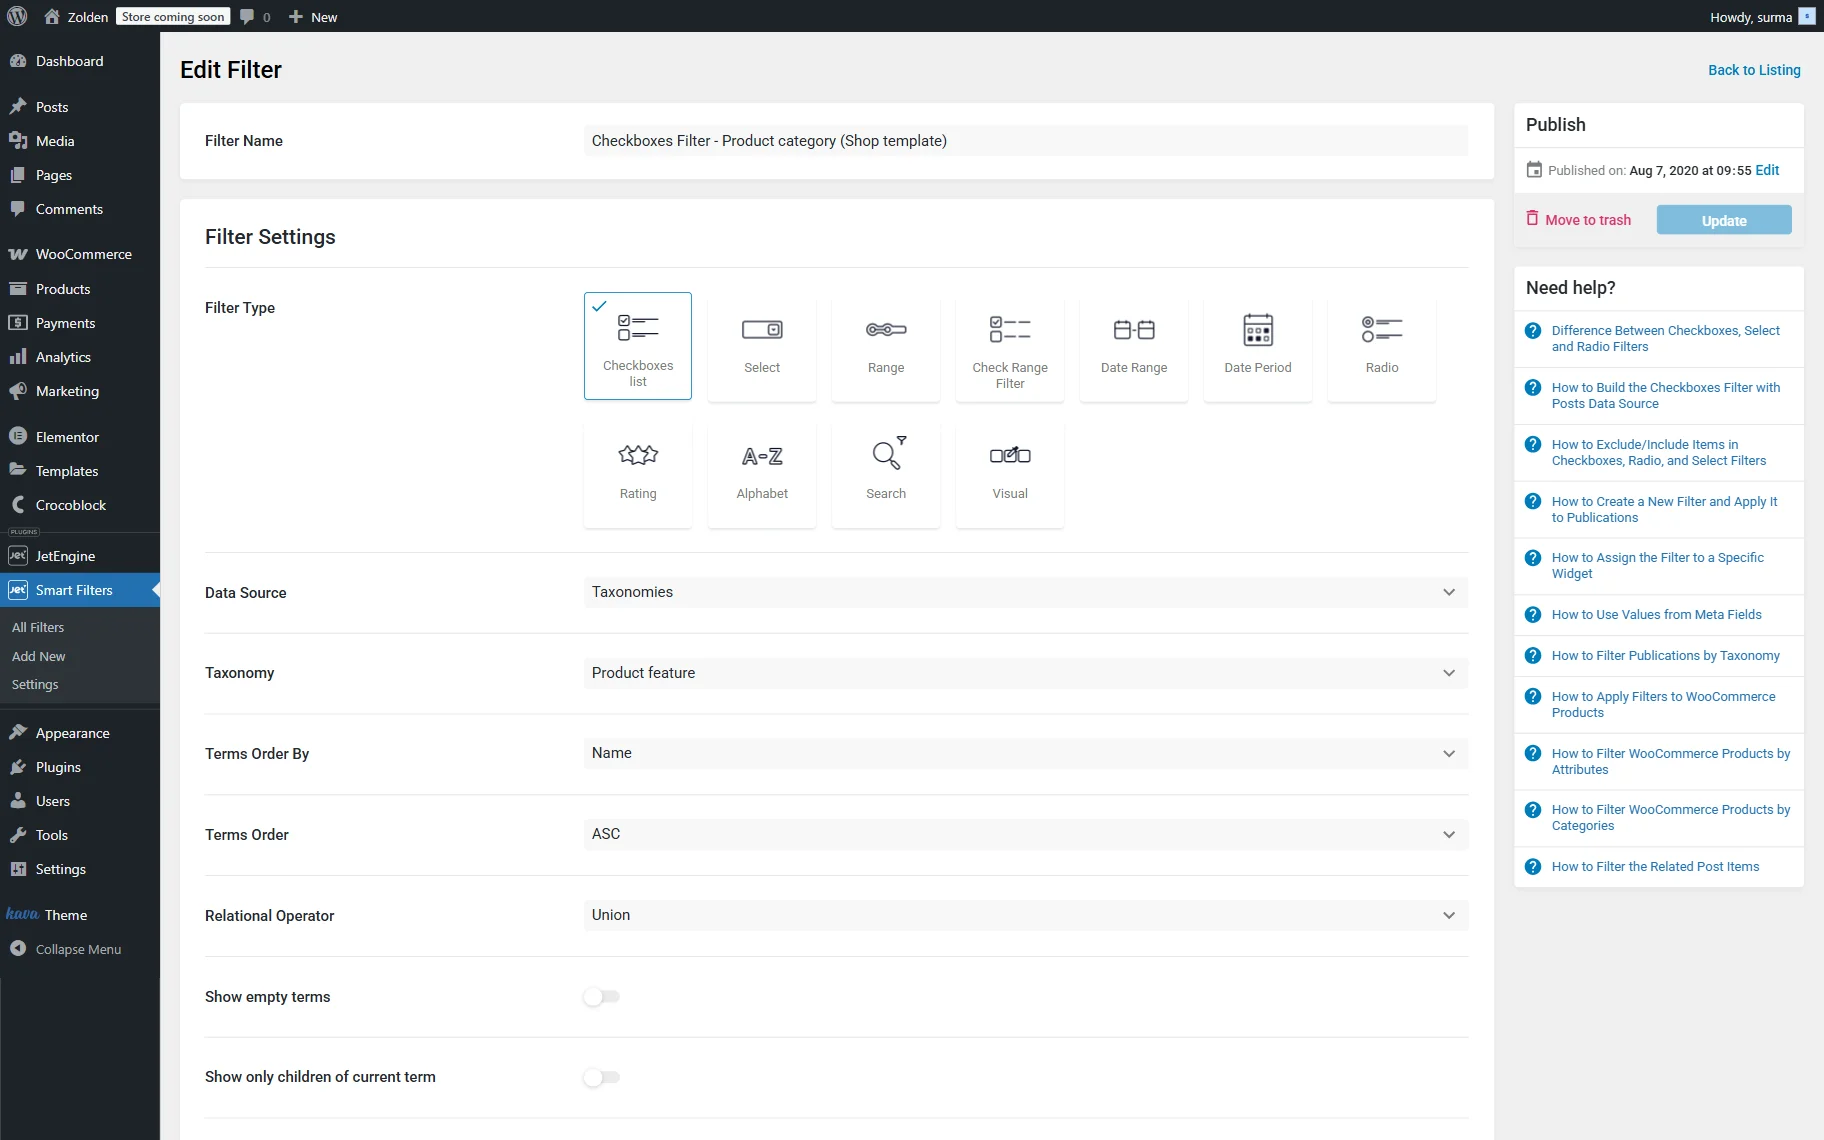
Click the “Update” button once you are ready with the settings.
Add the Filter to the Shop Page
Proceed to the Shop page in Elementor. In the left-side toolbar, find the Checkboxes Filter widget and drag and drop it to the desired page area.
Select the filter you have just created in the Select filter control. Pick the provider you use in the This filter type for dropdown (in this tutorial, we select the “JetWooBuilder Products Grid” option) and ensure that you choose “Mixed” as the Apply type.
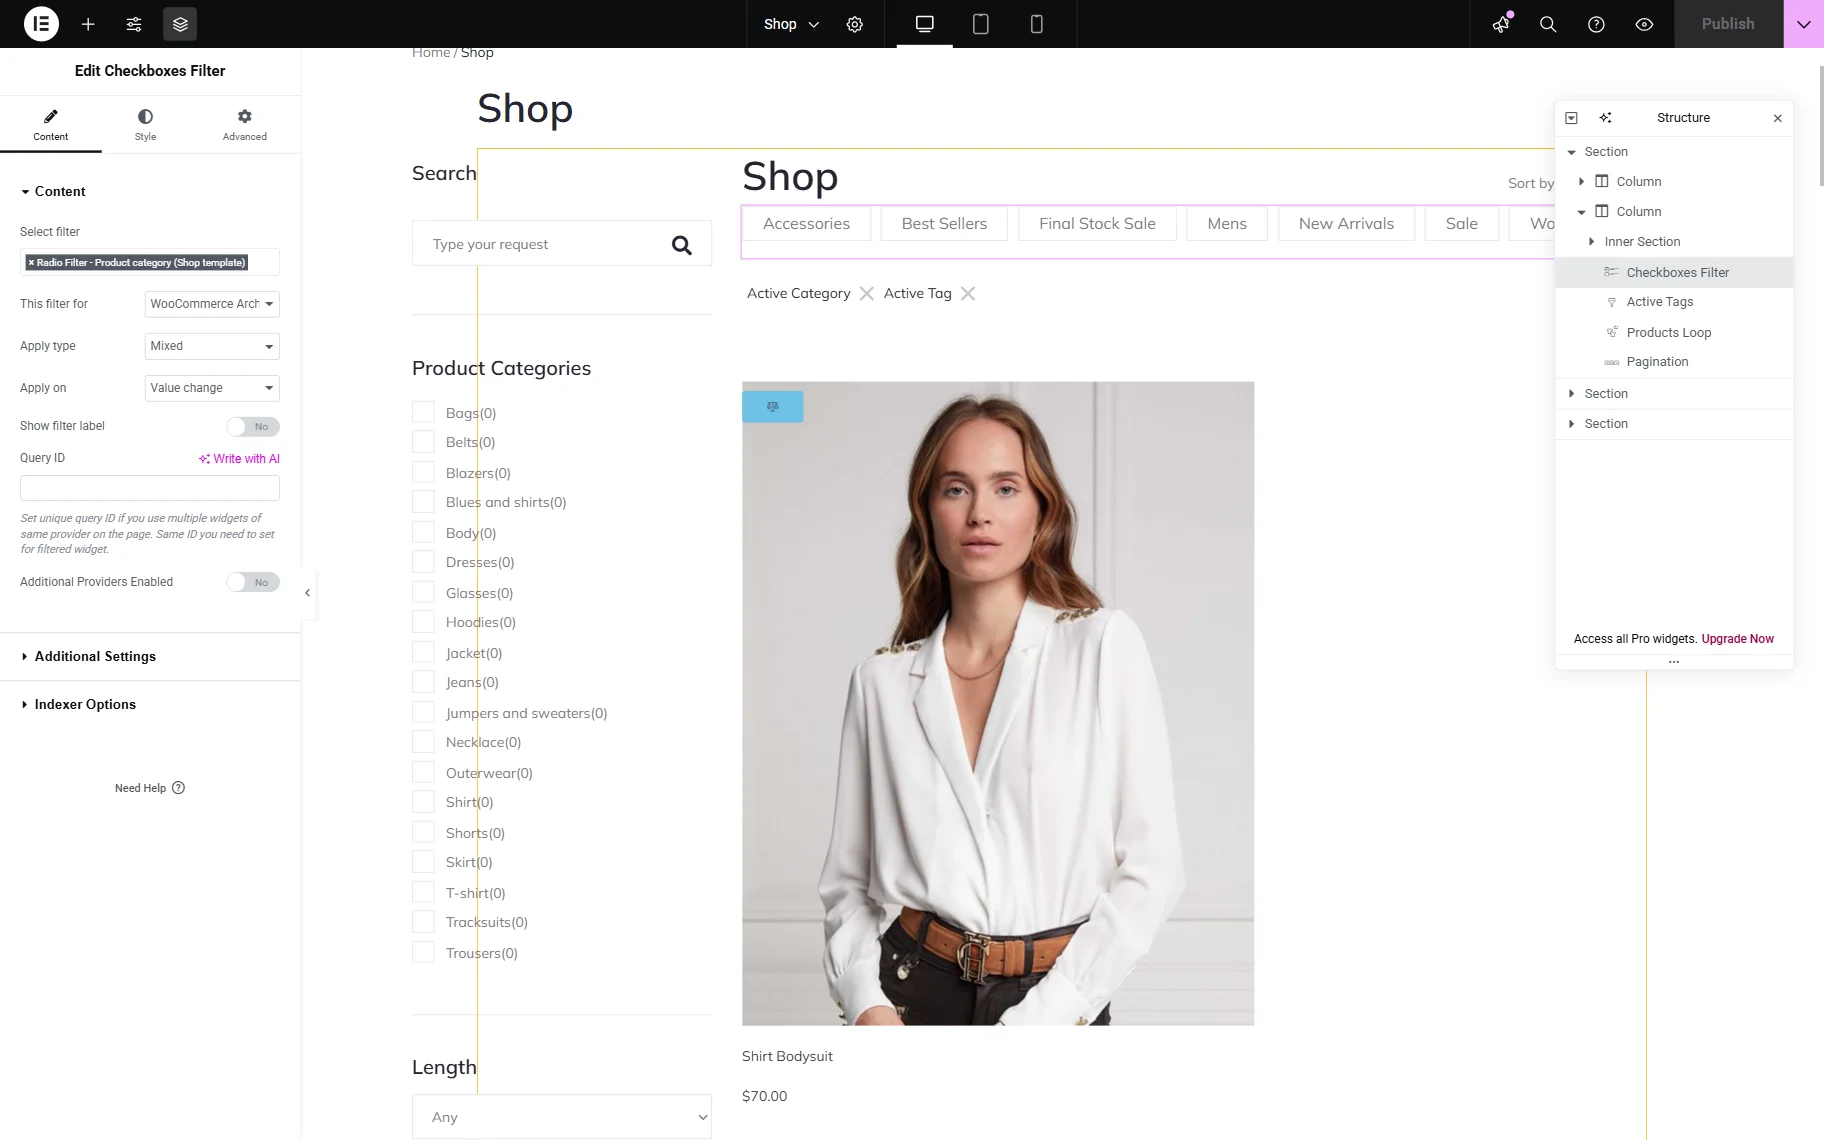
Click the “Publish” button once you are ready with the settings.
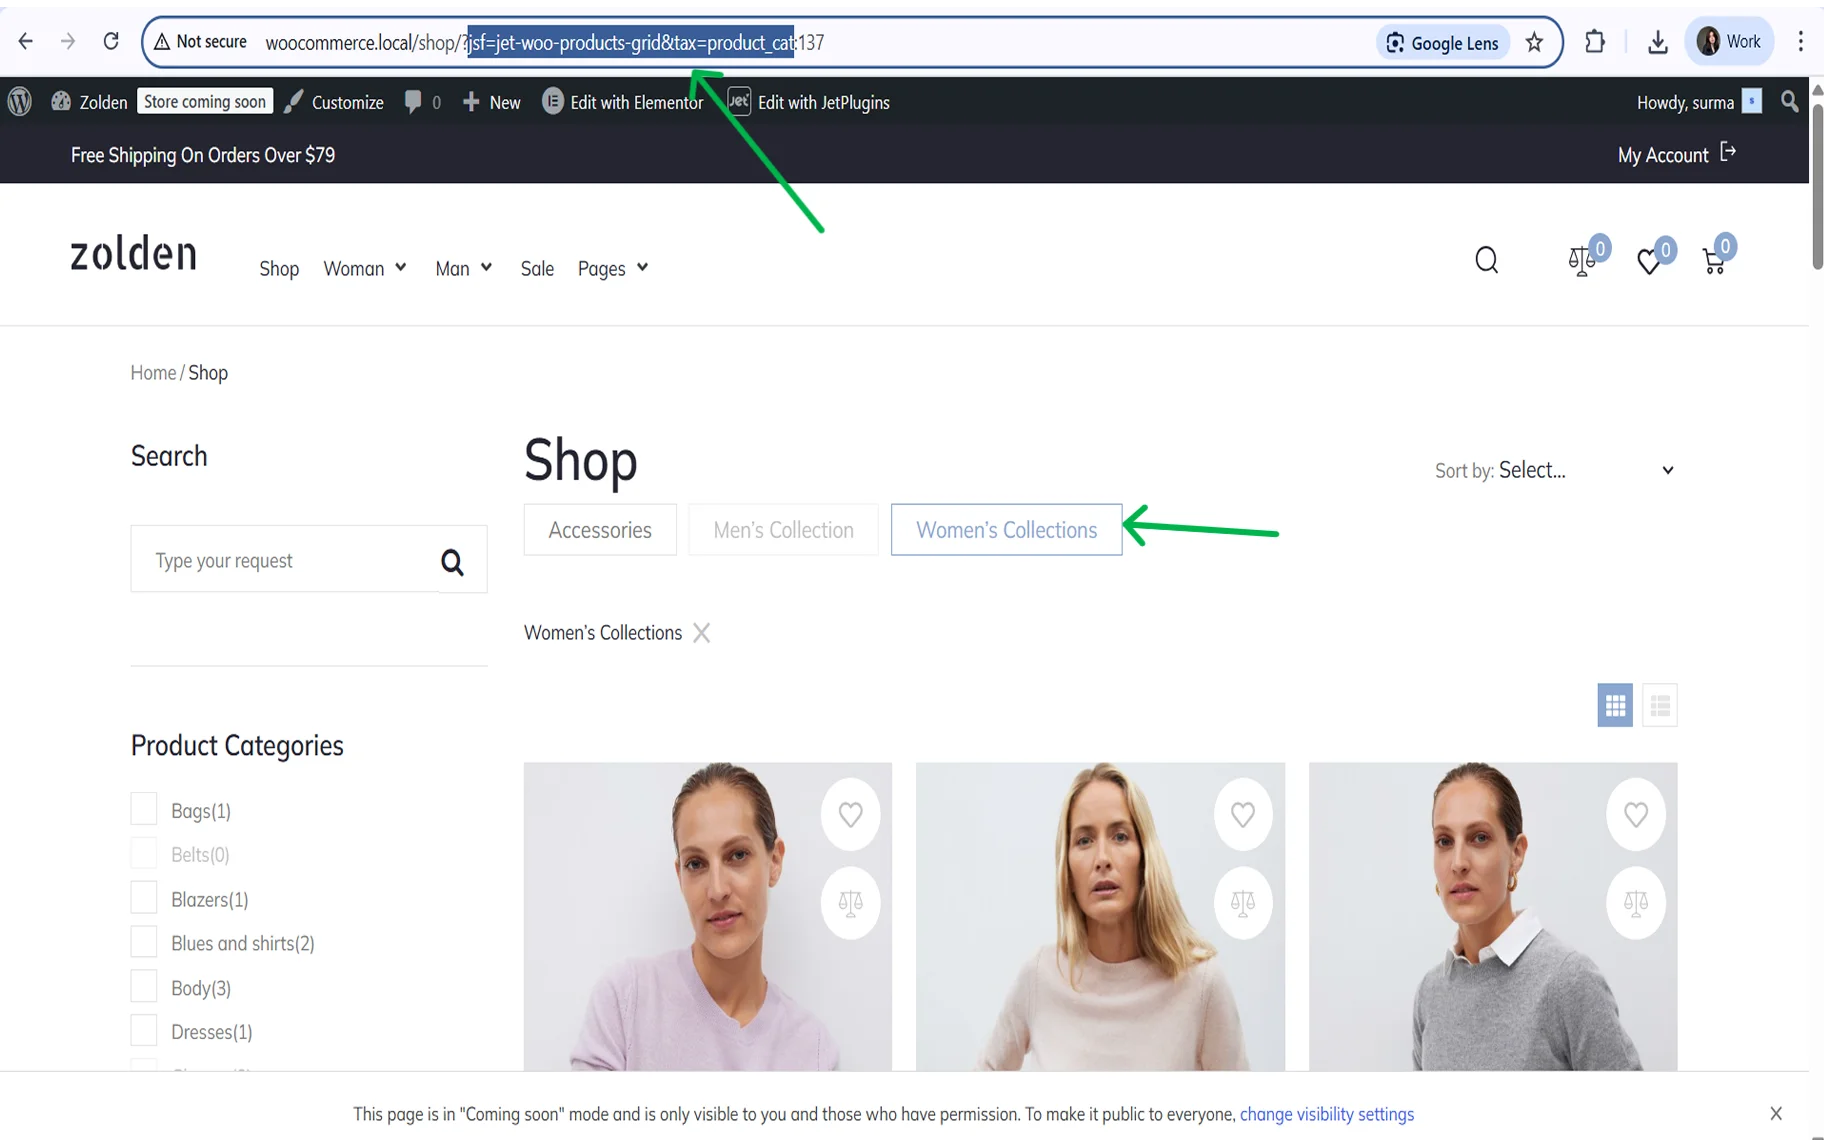
Now, proceed to the Shop page on the front end, select one of the options in the newly created checkbox filters, and copy its link to a safe location. It will be needed later.
Ensure that the category number is not copied, stop right after the “:” sign.
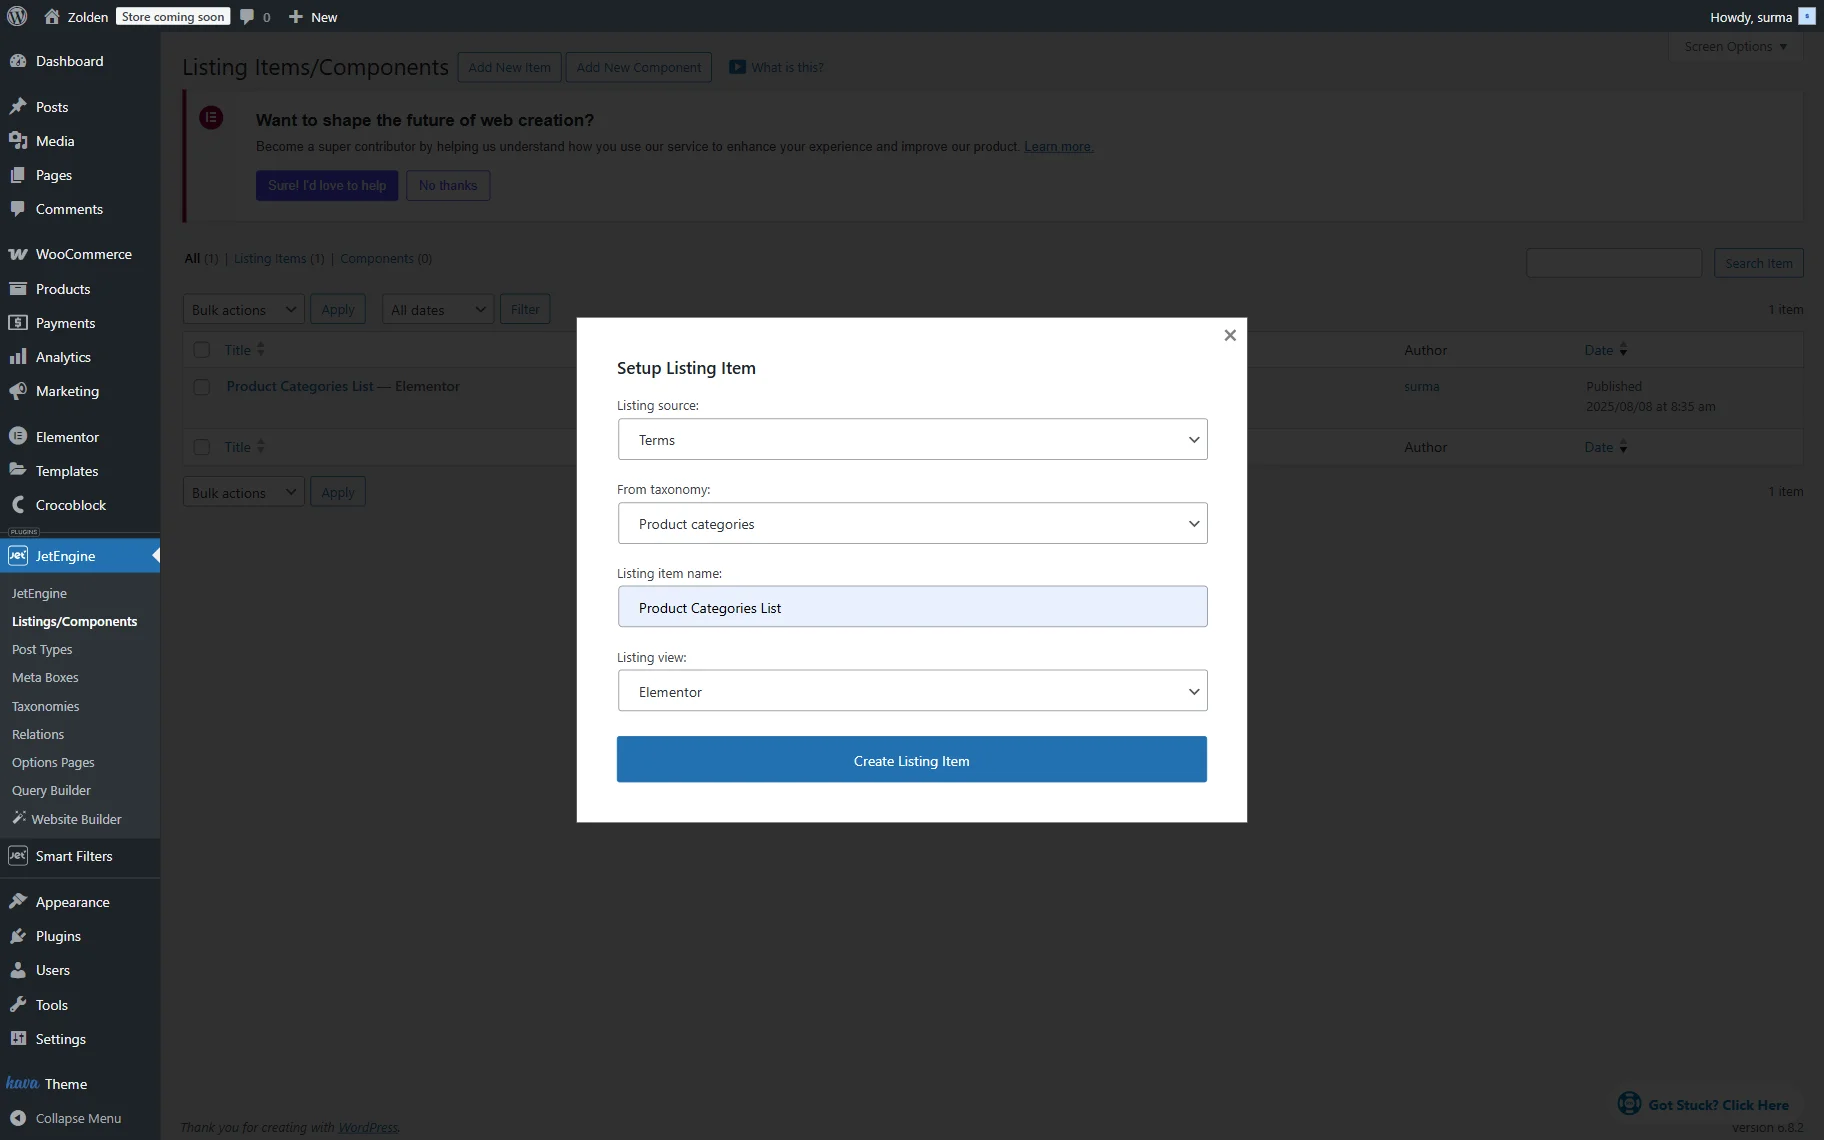
Create a Listing for Terms
Following our How to Create a Listing Template for Custom Taxonomy in Elementor tutorial, we created the Listing Template for the product category.
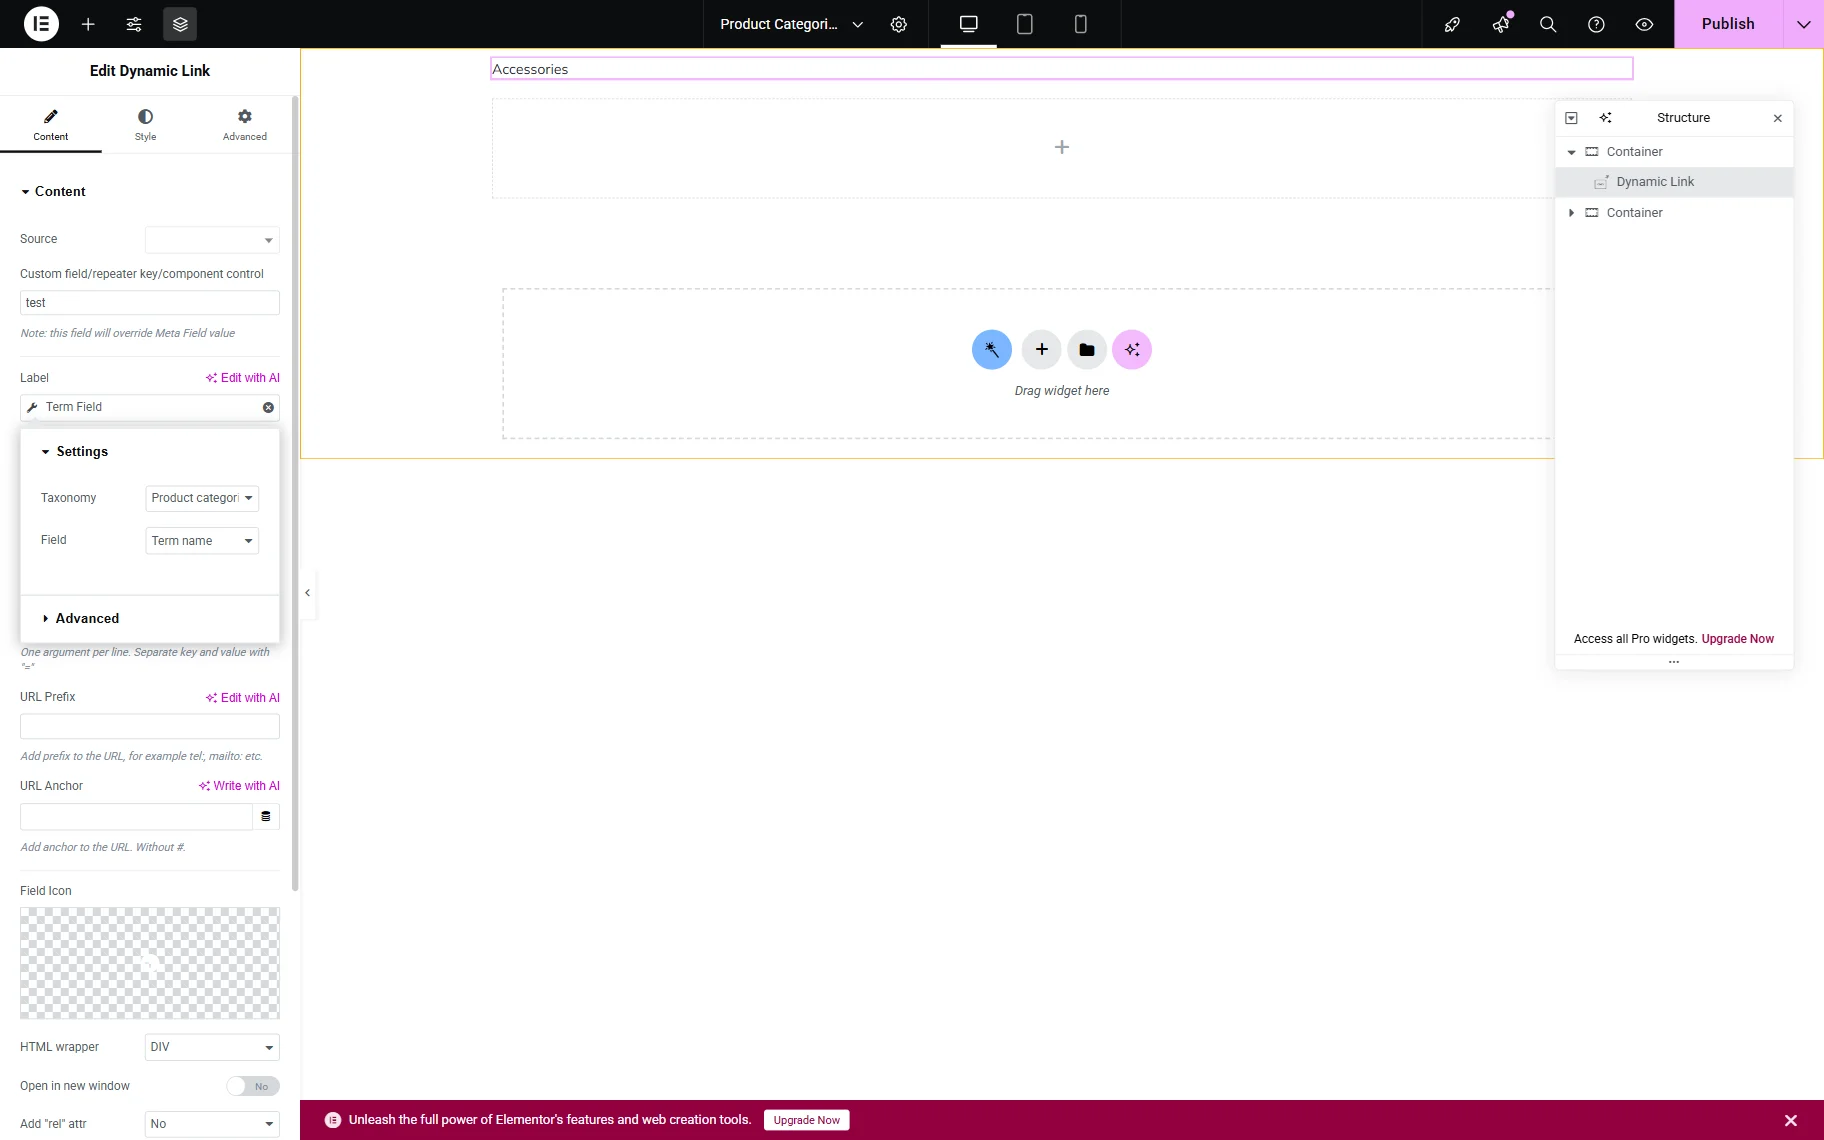
When the Elementor editor is opened, add the Dynamic Link widget.
Ensure that the Source field is empty, and in the Custom field/repeater key/component control, put the non-existing field name.
Click the “Dynamic Tag” icon next to the Label input and in the JetEngine section, find the “Term Field” option. In the newly opened pop-up, select the needed Taxonomy and choose the “Term name” option for the Field input.
Then, enable the Add Query Arguments toggle. In the newly opened field, add the following macro:
jsf=jet-woo-products-grid
tax=product_cat:%queried_term%
Where the “jsf=jet-woo-products-grid&tax=product_cat” is the URL part we saved earlier. %queried_term% is a macro that helps pull up the filtered search results.
In the URL Prefix input, add the bare link to the shop. In this case, we use the “http://woocommerce.local/shop/”.
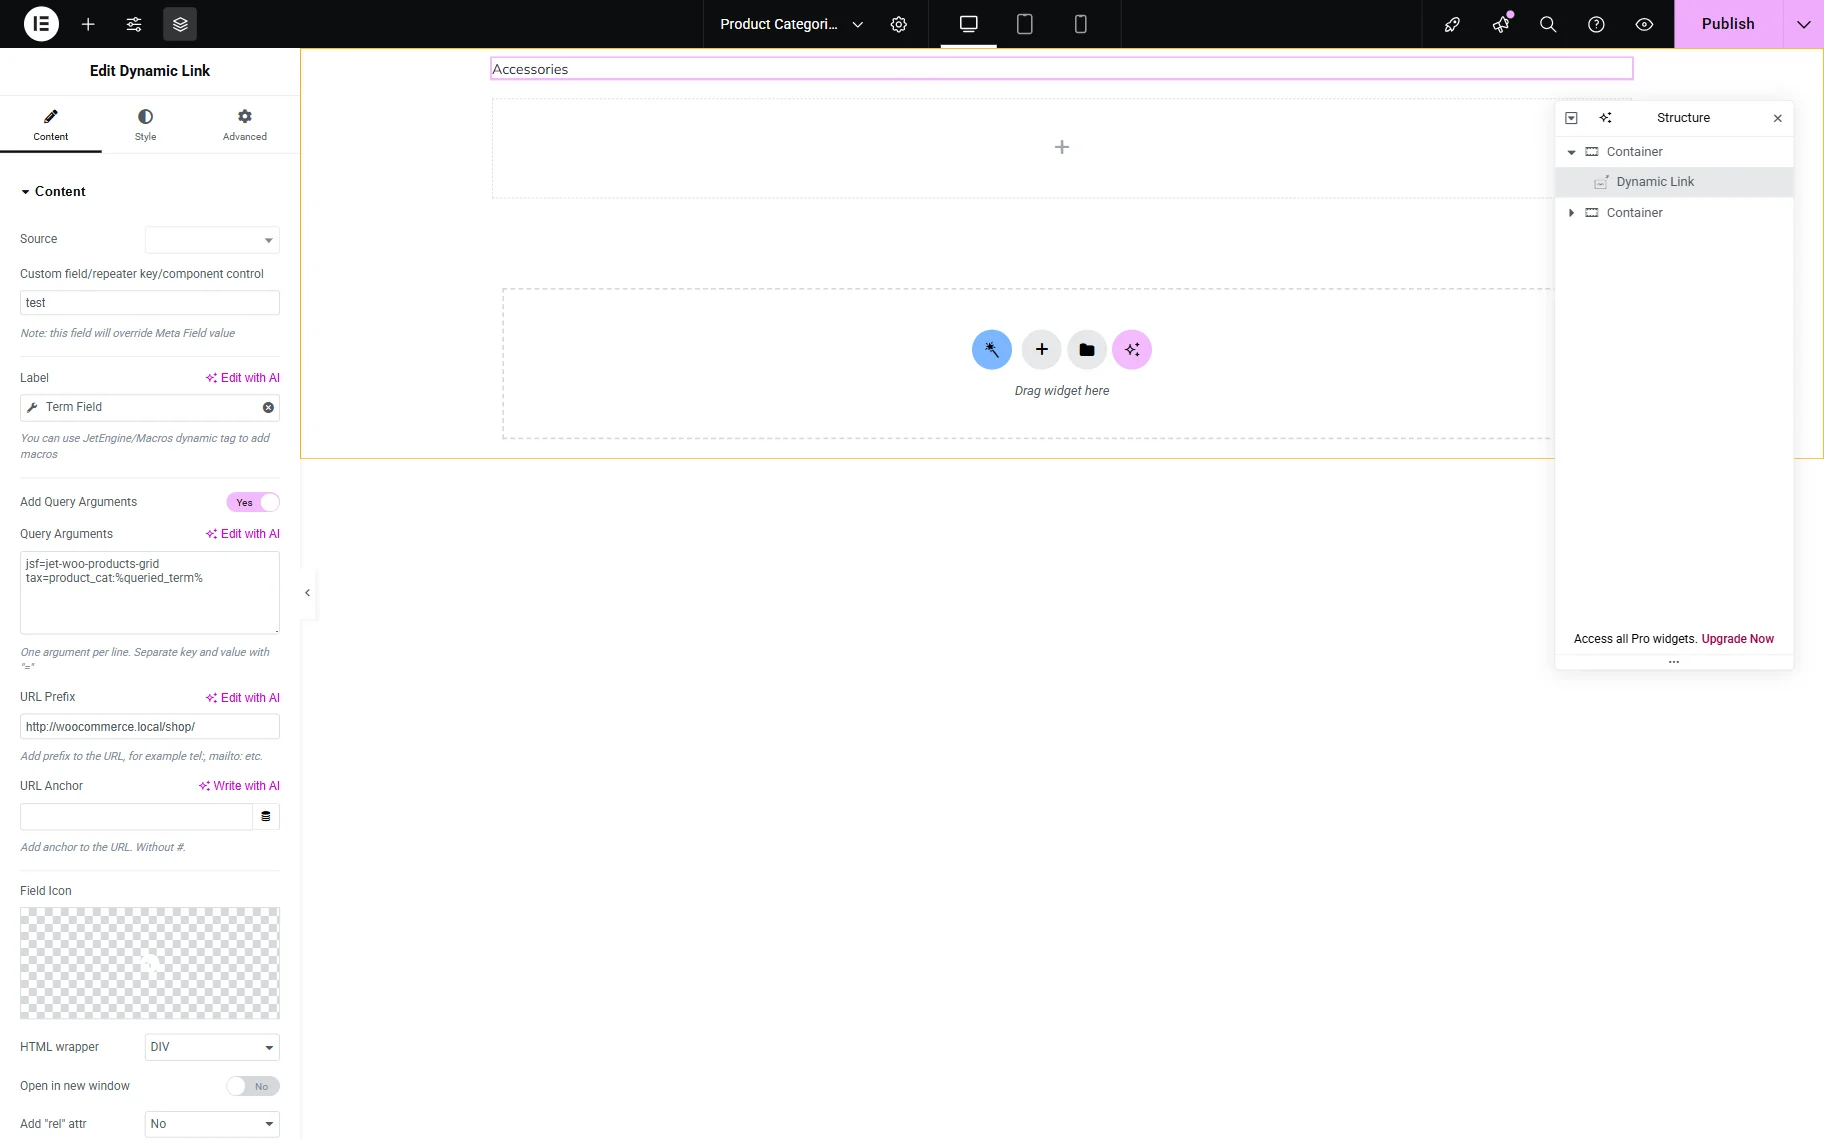
After all the needed settings are applied, click the “Publish” button.
Add the Listing to the Home Page
Now, proceed to the editing page of the home page and add the Listing Grid widget. Select the Listing you have just created.
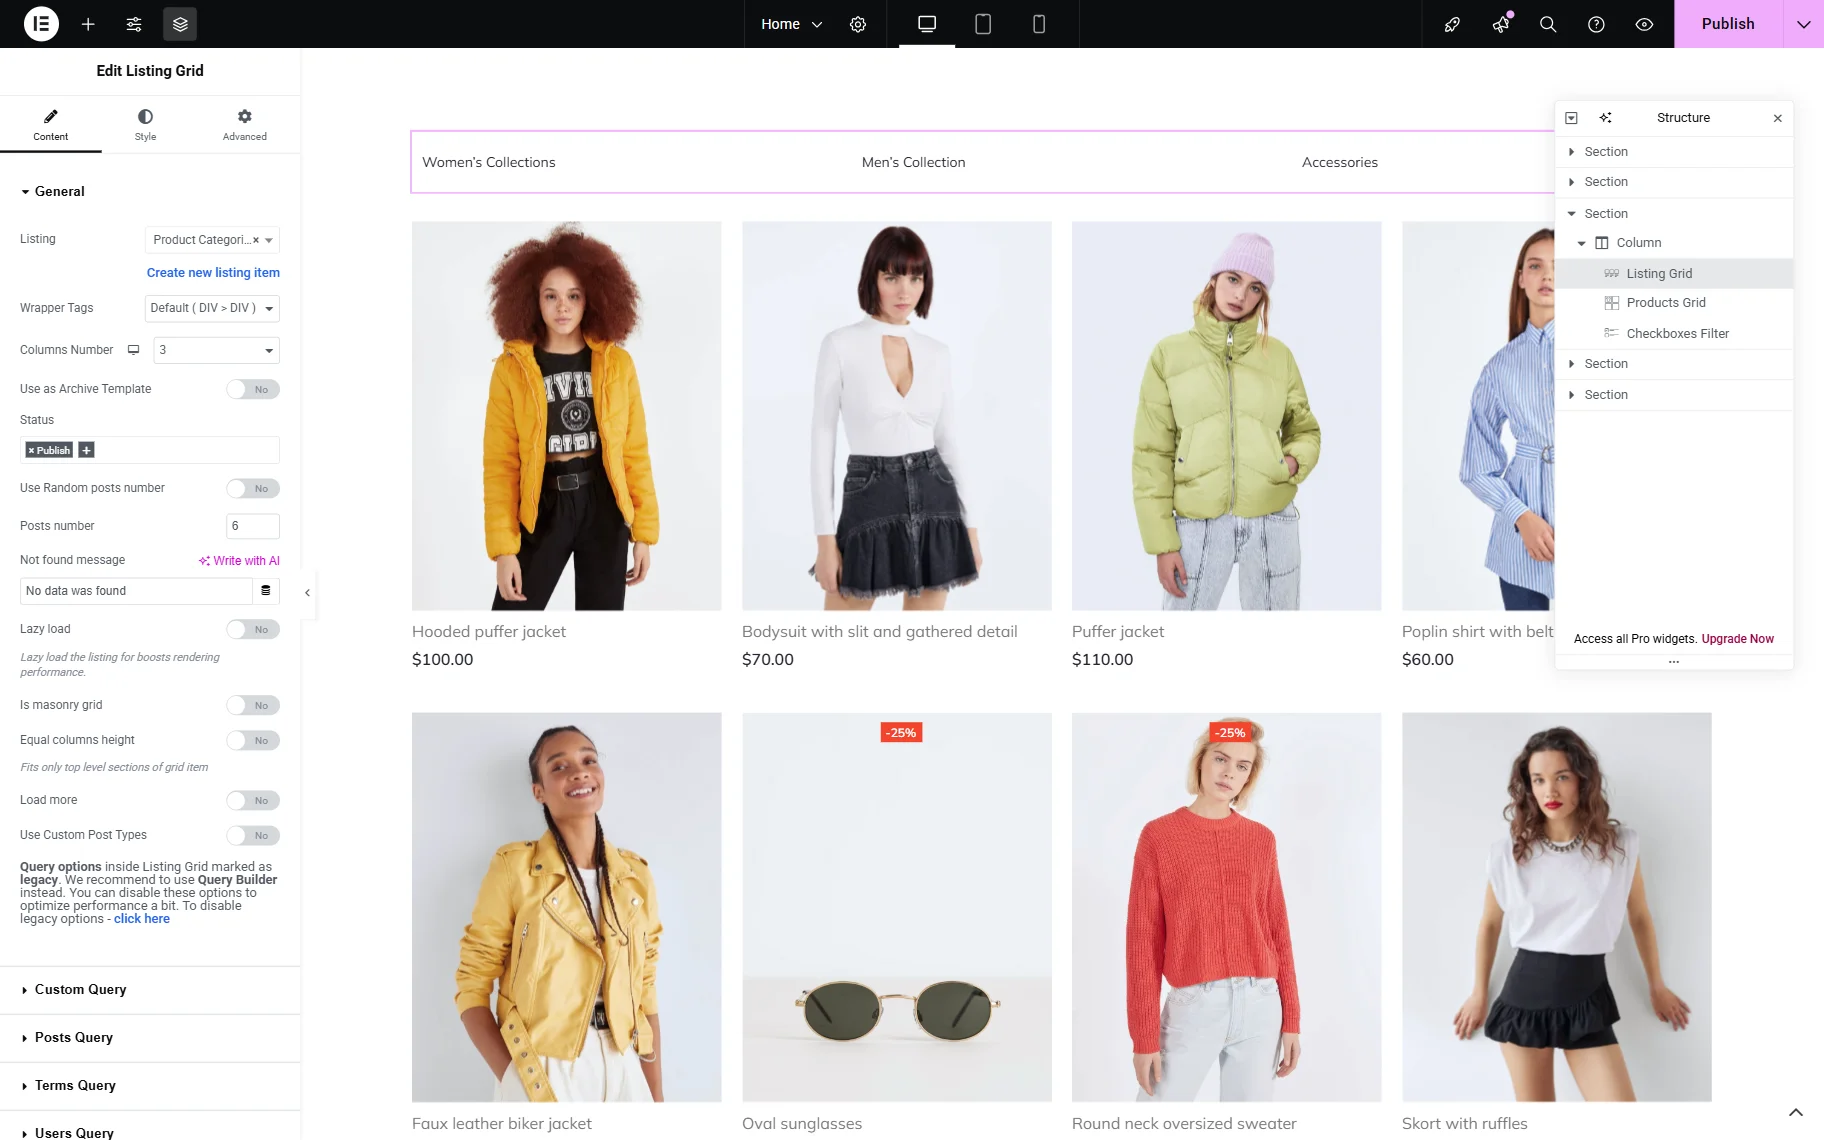
Click the “Publish” button once you are ready.
Check the Result
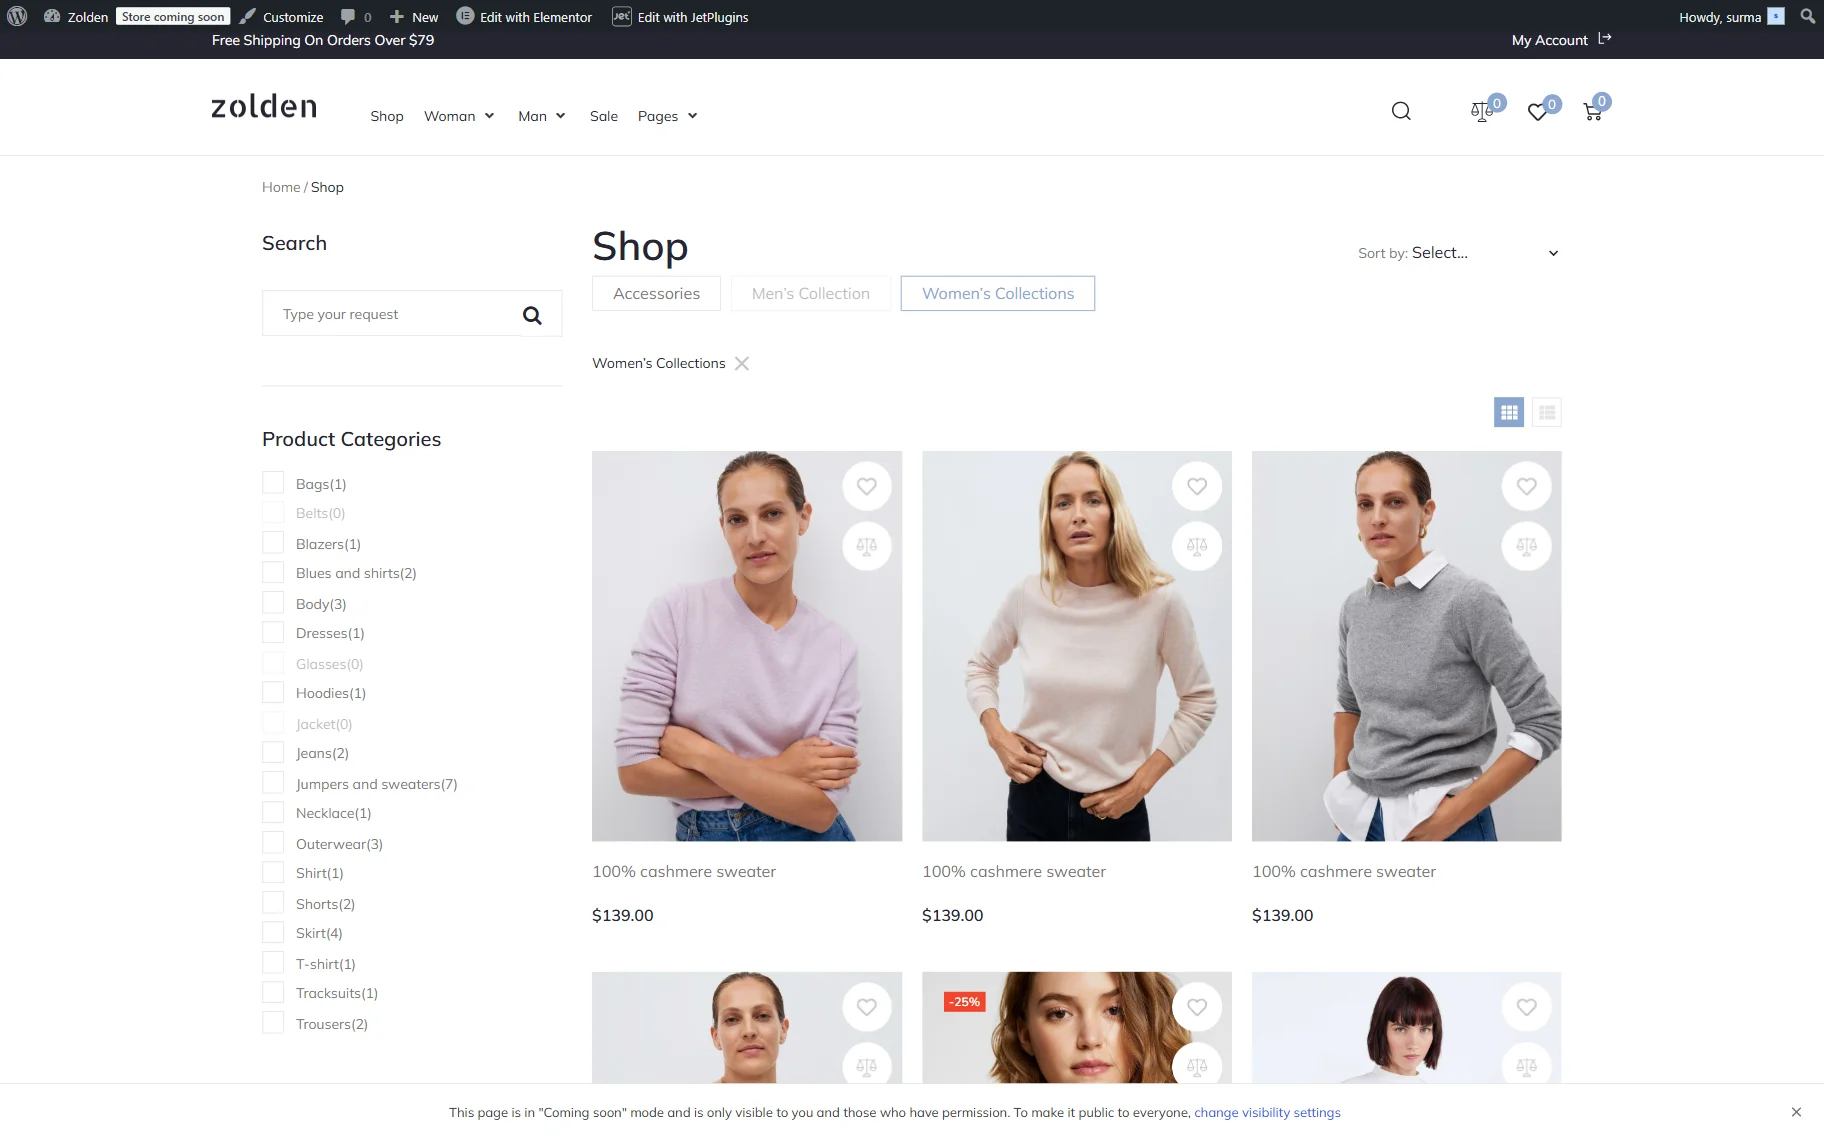
Proceed to the front end of the home page, where the term Listing is visible. Select any item and click it (here we select the “Women’s Collections”).

Now, we are redirected to the shop page where the category we selected on the home page is applied in the filter.
That’s it. Now you know how to access the shop page with pre-selected filters right from the home page using the JetSmartFilters WordPress plugin.