How to Get MailChimp Audience ID and API Key
The tutorial explains how to create a Mailchimp account to get an API key and unique audience ID, integrate them into your site, and use them with the JetElements or JetPopup plugins.
Mailchimp Account Creation
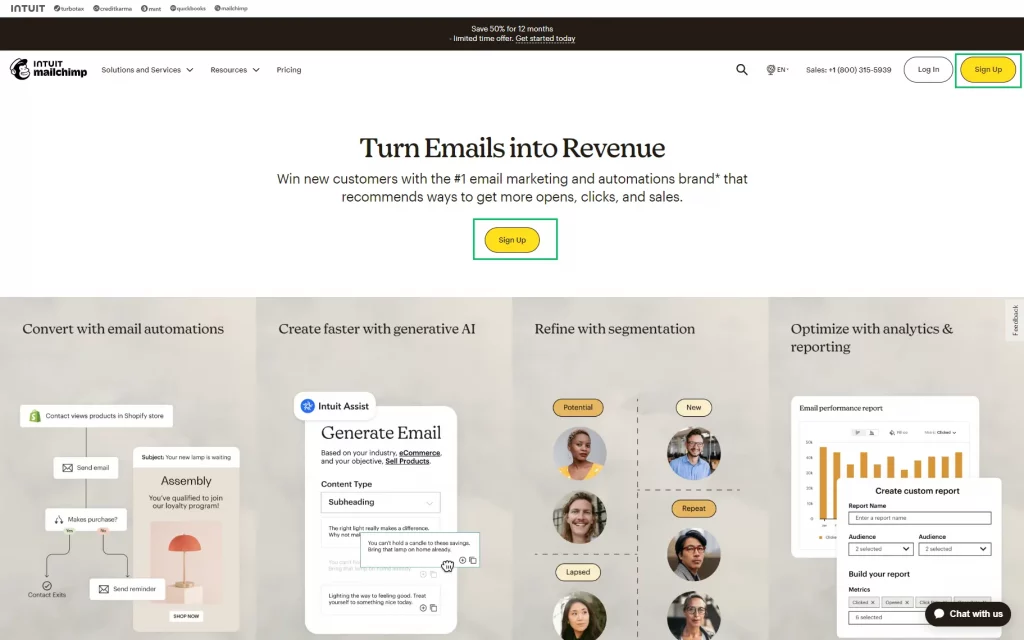
Navigate to the Mailchimp site and press the “Sign Up” button.
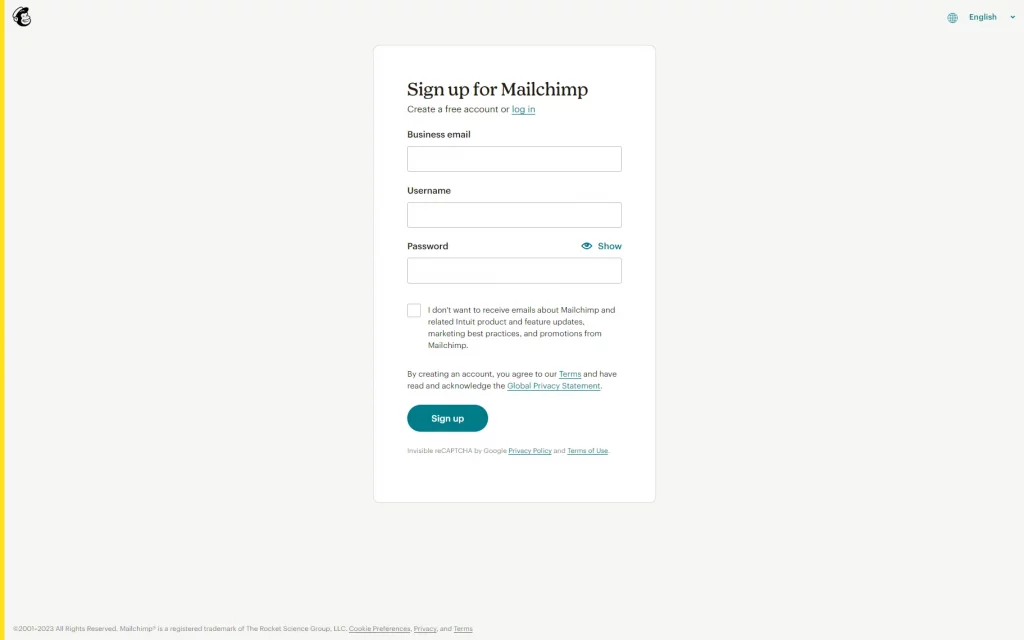
Select the appropriate pricing plan and fill in the form to sign up for Mailchimp (type your email, username, and password).
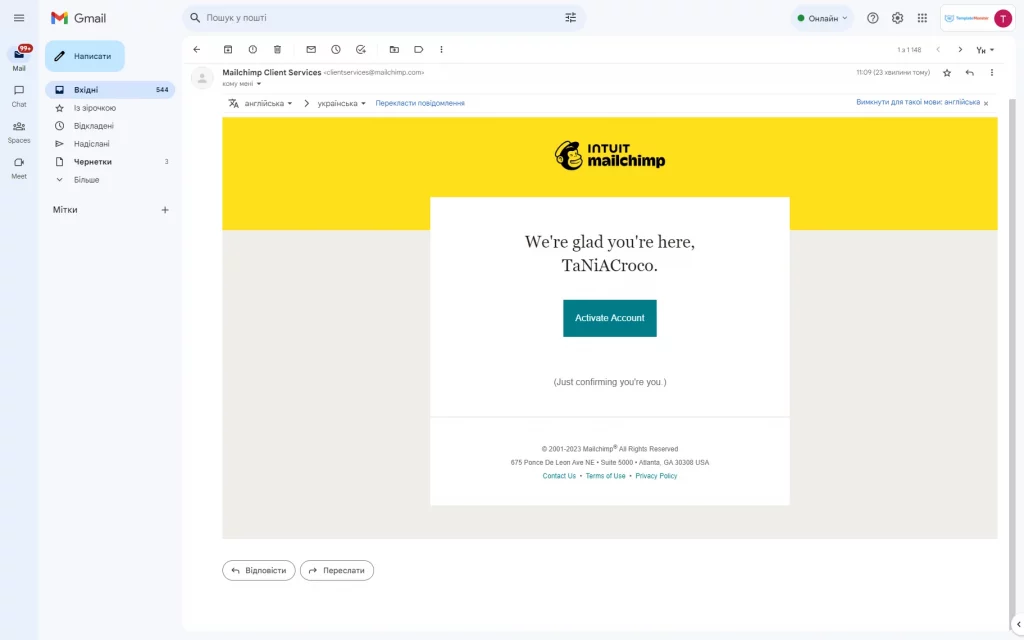
Check your email and click the “Activate Account” button in the letter that was sent from Mailchimp Client Services.
Fill in the account sign-up forms with personal data and address, and specify the primary goal for using Mailchimp.
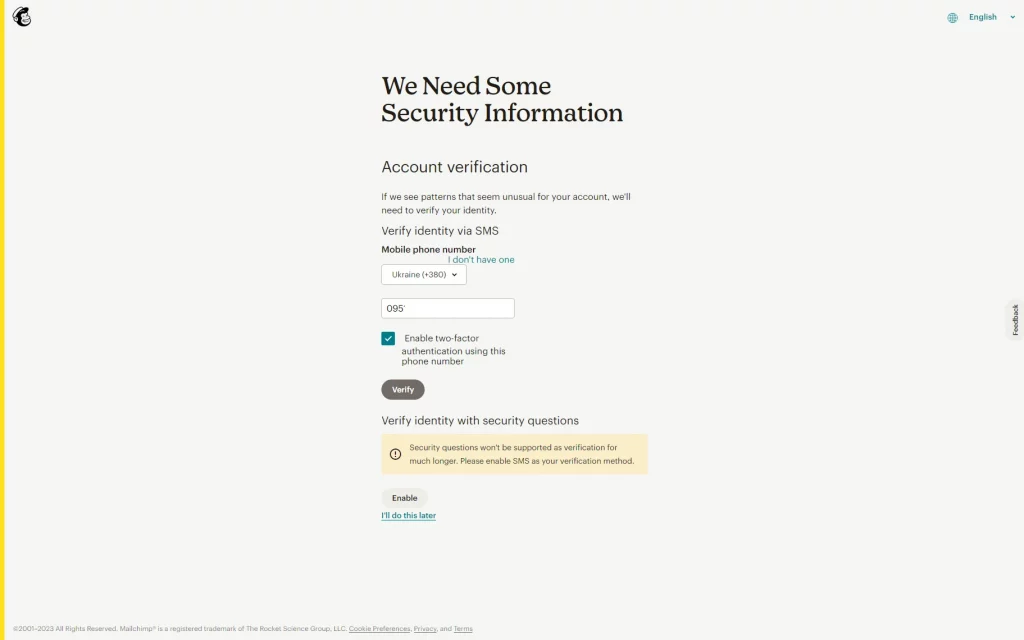
Verify your account.
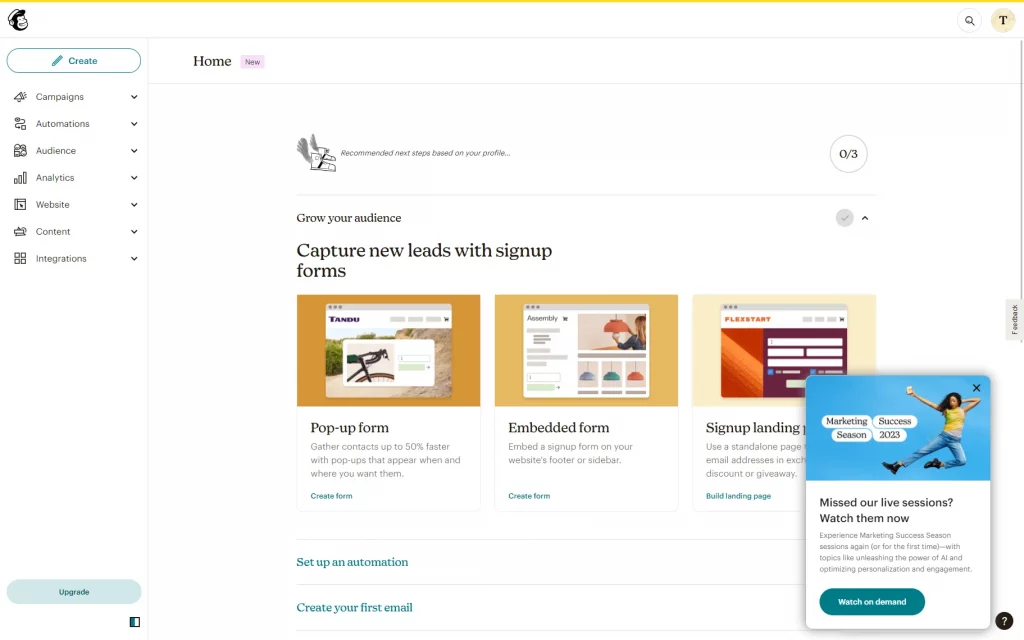
After verification, the account is created.
Mailchimp API Key Generation and Its Integration Into Your Site
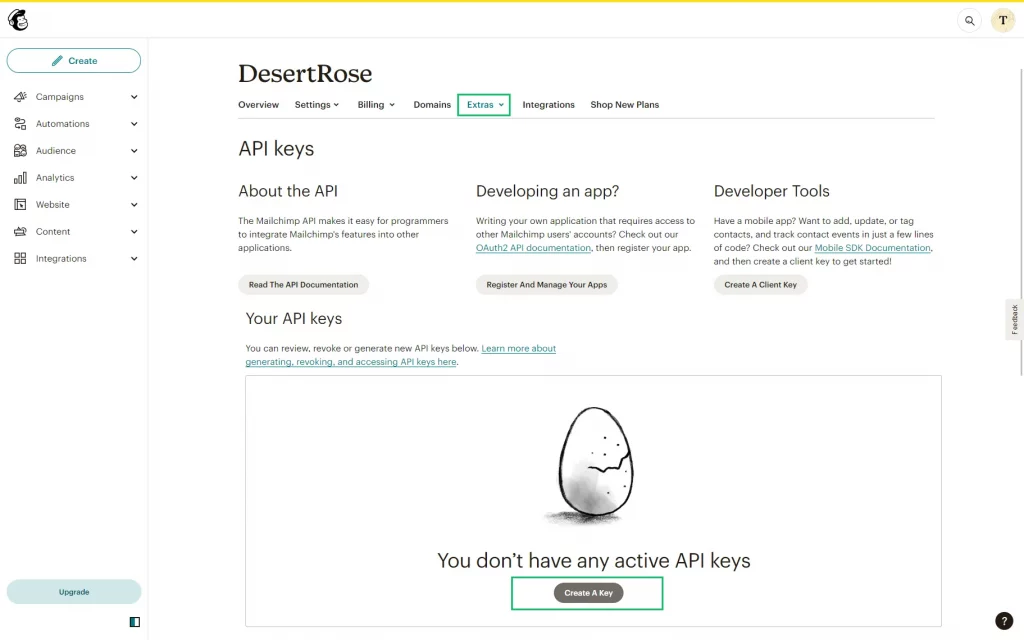
Navigate to the Extras > API Keys tab in the Mailchimp account, scroll down, and click the “Create A Key” button.
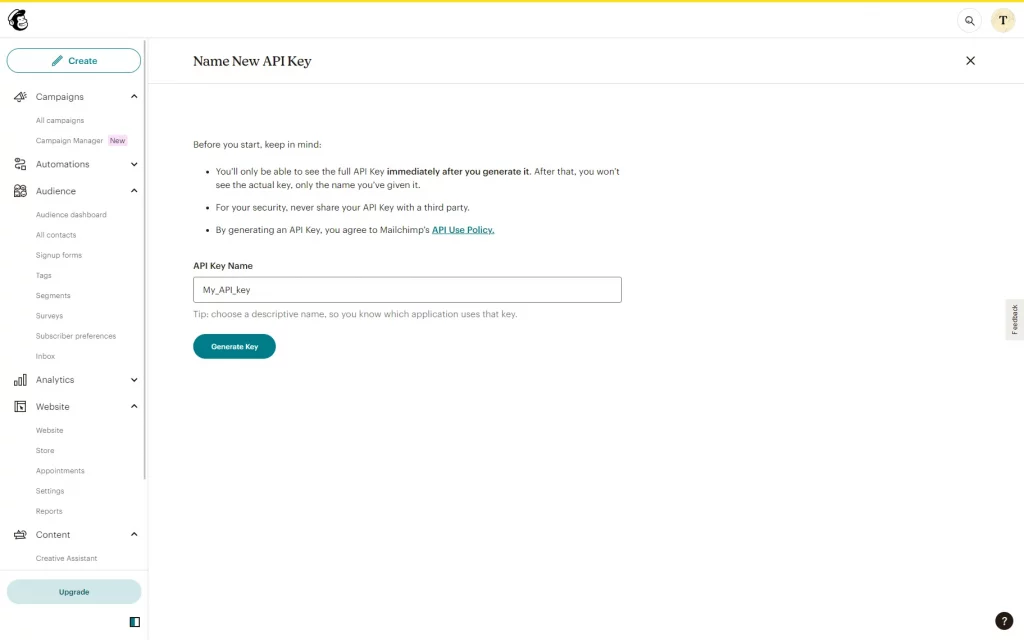
Type the name of the API key into the “API Key Name” field.
Press the “Generate Key” button and copy the API key to the clipboard by pressing the “Copy To Clipboard” button.
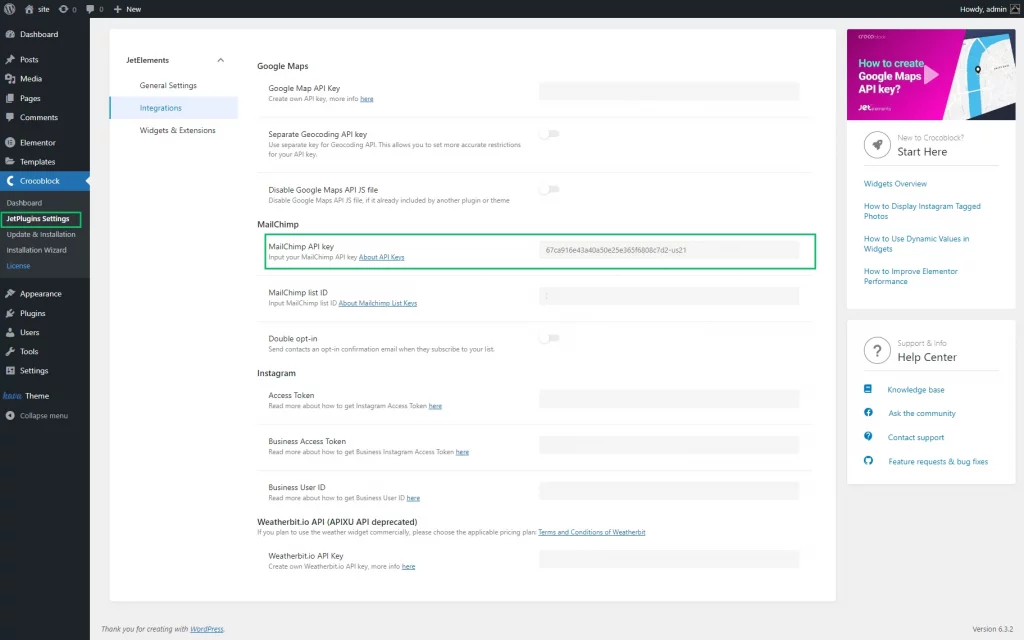
Go to your site, unroll the Crocoblock > JetPlugins settings, and select the plugin to which you need to add the API key.
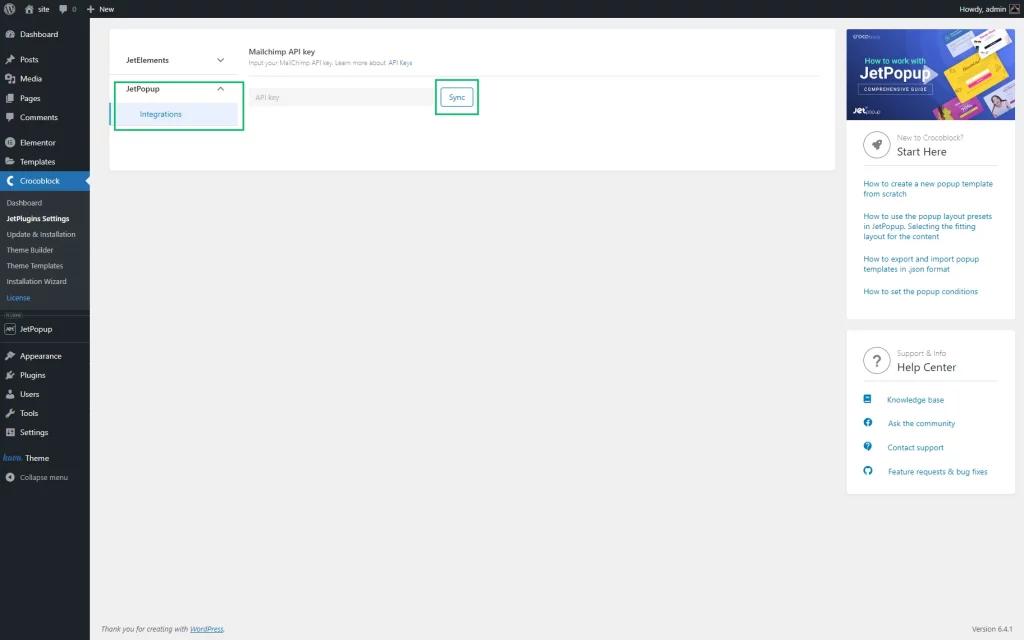
Once added, the API key is available for other plugins. For example, when added to the JetElements’ settings, the API key is also accessible for the JetPopup plugin, and vice versa. Unroll the appropriate tab (the Integration tab of the JetElements or the JetPopup settings) and paste the copied API key into the “MailChimp” field.
Users can synchronize the integrated API key with other plugin(s). For example, to synchronize the added API key, navigate to the Integration tab of the plugin settings and press the “Sync” button.
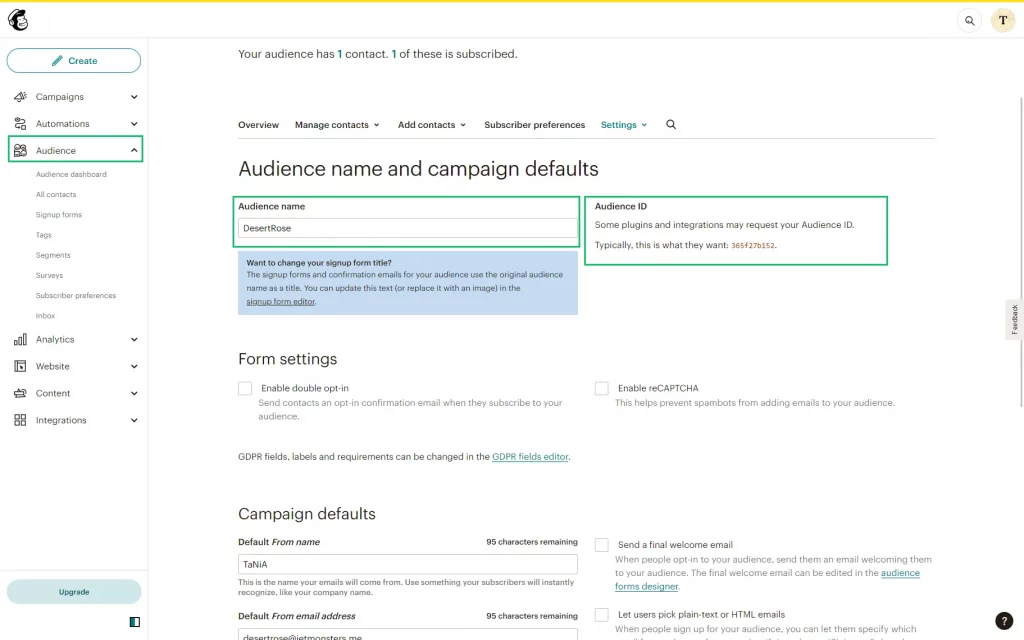
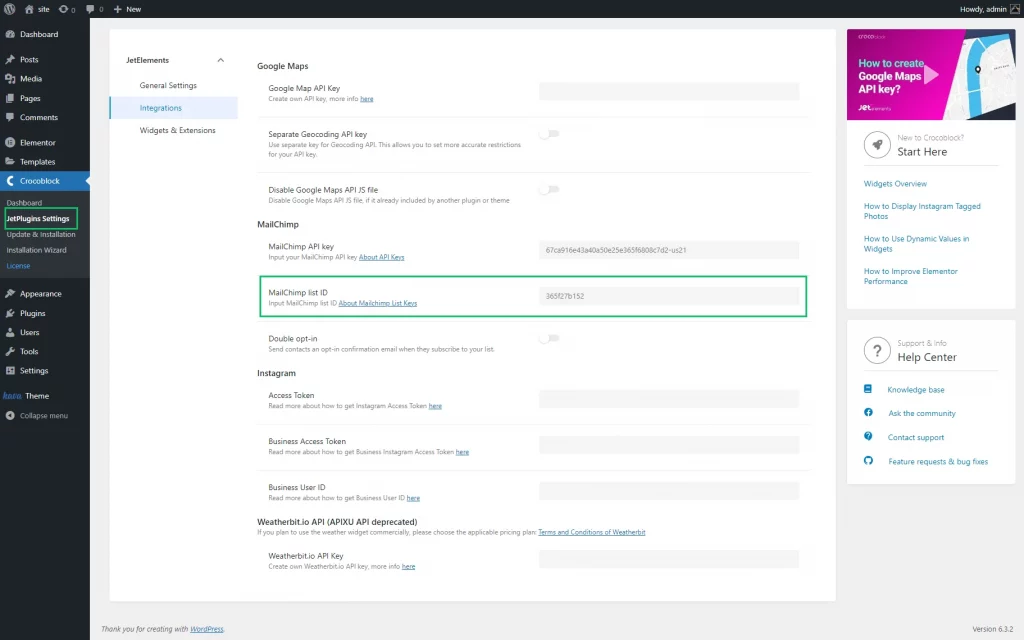
Unique Audience ID Generation and Its Integration Into Your Site
That’s it. You have everything to connect your Mailchimp audiences with your site or blog.
