How to Create a Custom Taxonomy
Categorize the WordPress posts easily with the JetEngine custom taxonomy.
Before you start, check the tutorial requirements:
- Elementor (Free version) or Block editor (Gutenberg)
- JetEngine plugin installed and activated with Custom Post Type created and several posts added. If you have not done this yet, please follow this tutorial
One of the JetEngine plugin advantages is that you can categorize the posts in particular terms. If there are a dozen posts, and some of them refer to one topic, you can create a taxonomy to unite them.
The Difference between Taxonomies and Terms
First, let’s clear up what the taxonomies and terms are:
- Taxonomies allow categorizing post types according to any classification characteristics;
- Terms are items inside the taxonomies, which add additional classification attributes, thus building a hierarchical order within a certain taxonomy.
For example, if there will be “Countries” taxonomy, the “USA” and “France” will be terms within it.
Creating a New Custom Taxonomy
Proceed to the JetEngine > Taxonomies tab on the WordPress Dashboard and click the “Add new” button to create a new taxonomy.
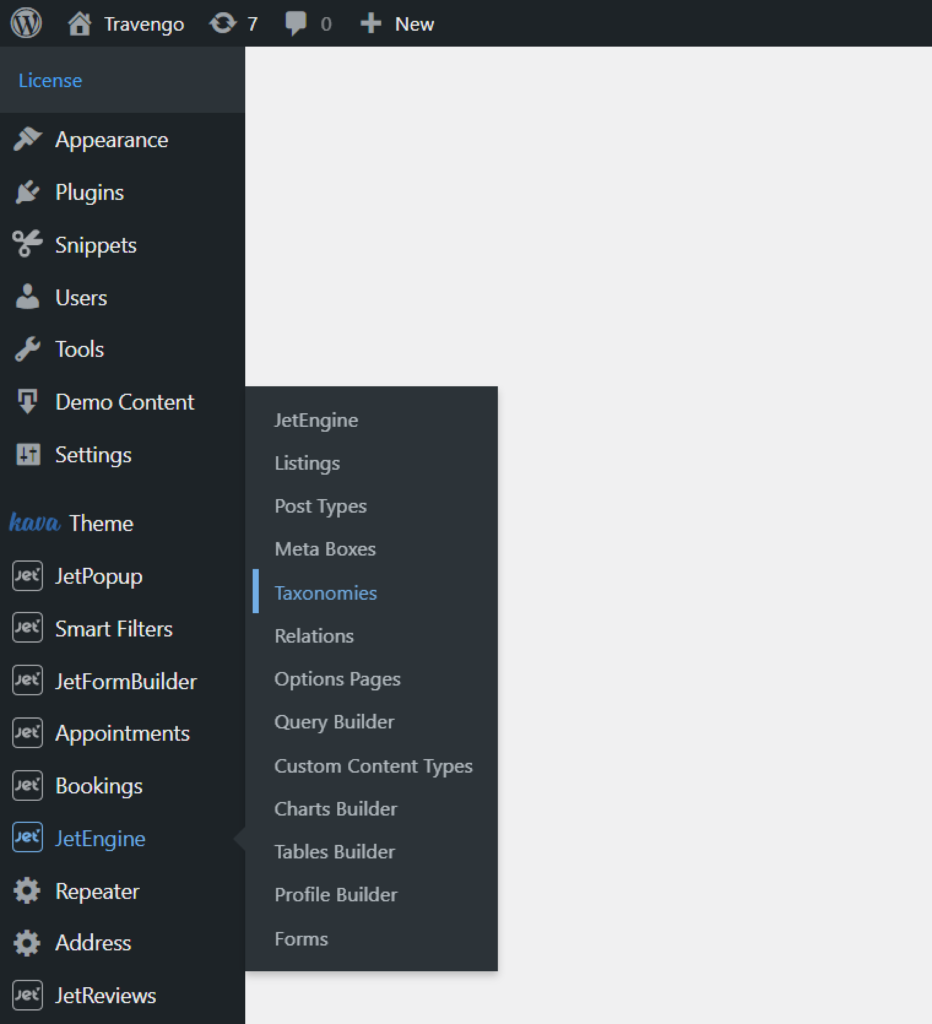
The process is very similar to creating a custom post type. There are the same blocks: General Information, Labels, Settings, and Meta Fields.
Fill in the fields with information
In General Settings, there are such fields as:
- Taxonomy Name — set the name of the taxonomy, for example, “Projects” or “Portfolio,” it depends on what post type this taxonomy is created;
- Taxonomy Slug — will be automatically fulfilled, but you can change it. Be aware of using only letters, numbers, ‘-‘ and ‘_’ charts. Don’t use spaces;
- Post Type — from the list, choose an item for which the taxonomy will be created.
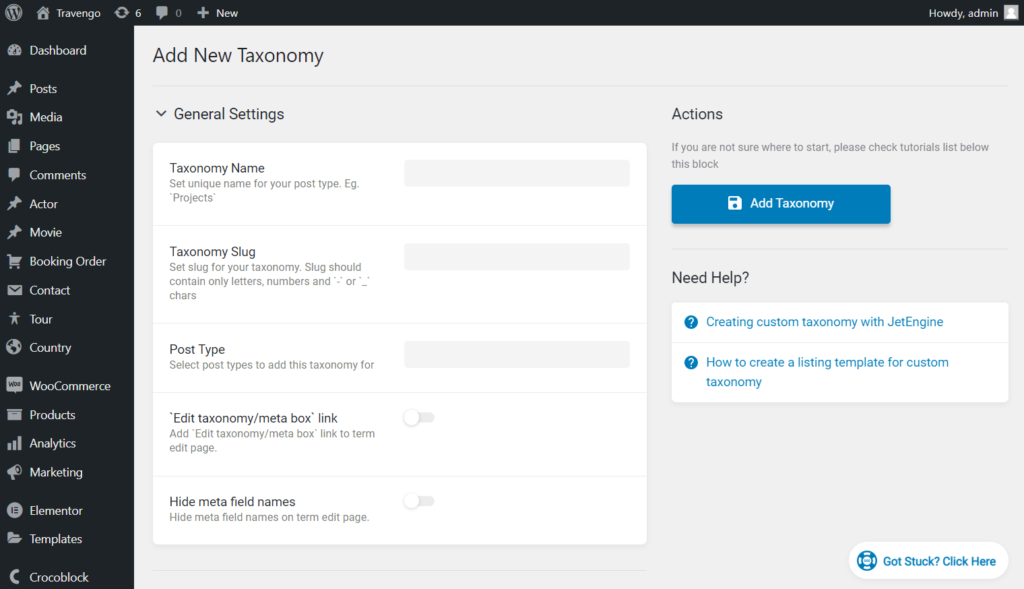
In the General block, you need to fill in all three fields. Pay attention to the Post Type field because the created taxonomy will only apply to the selected ones.
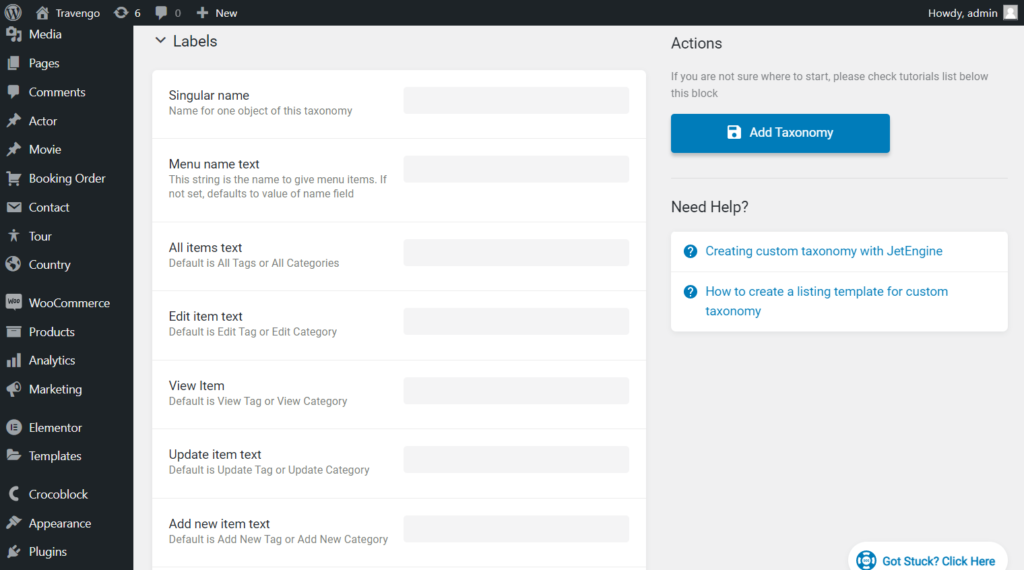
Fill the Labels block
Here you can set the Labels to use instead of the default titles. For example, instead of “Add New Item,” you can set “Add New Category.” Labels will be visible only on the backend, but they can make navigation a little easier.
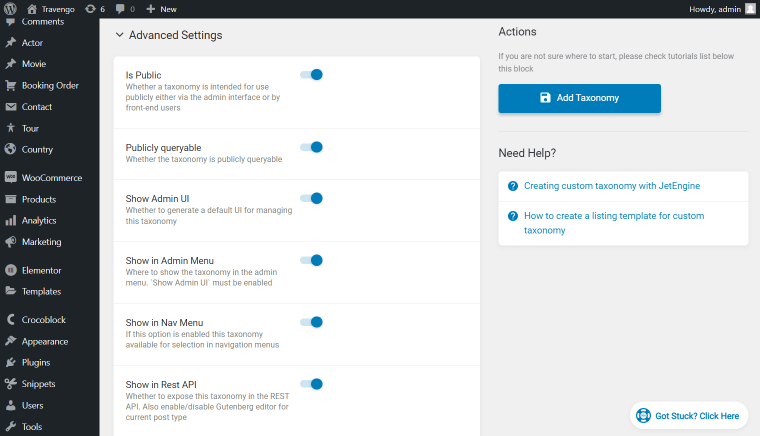
Advanced Setting block
This block allows you to set the displaying mode of the taxonomy. Decide if you want it to be public or shown in Admin Menu, etc.
Meta Fields block
Create meta fields to display extra information for the taxonomy, such as media, radio options, repeater fields, etc. You can customize the width of the fields to make them occupy less space and arrange them side by side.
You can create such meta fields as Price, Location, Date, etc. Learn more in the Meta Field Types Overview.
By adding the Meta Fields, it is possible to fulfill the taxonomy with more information and then display it through the Listing Grid widget or block.
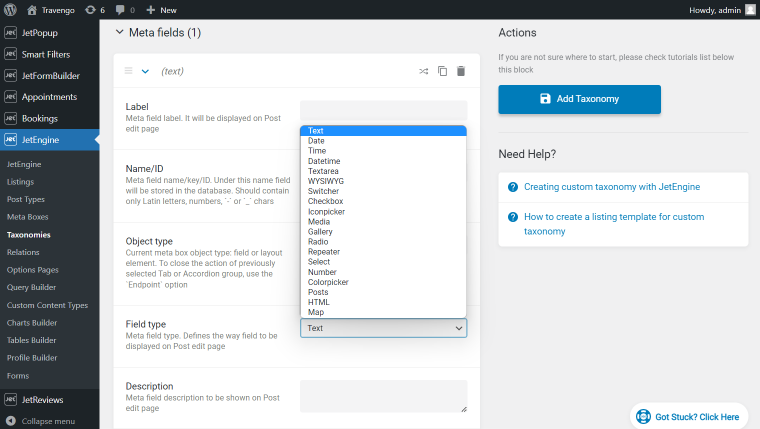
For example, here’s how the Radio meta field can be used to create an options list within the taxonomy.
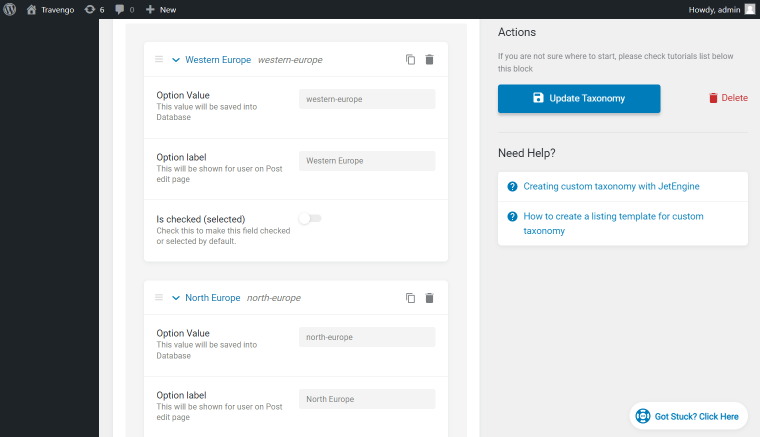
Having finished all these steps, hit the” Add/Update Taxonomy” button.
As we created taxonomy only for the Country post type, the Country taxonomy menu tab appears in the post type block on the WordPress Dashboard.
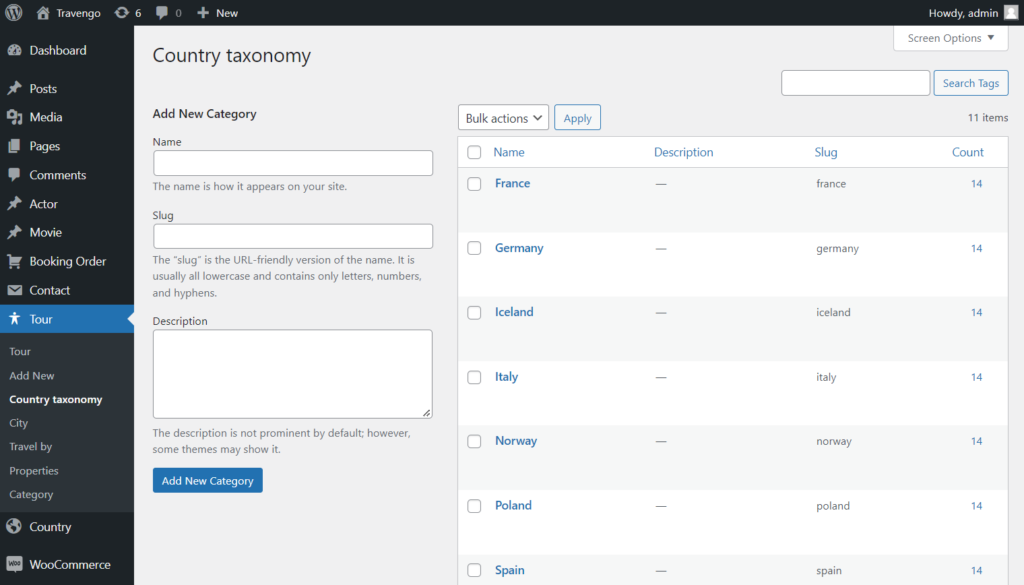
Add a new category
After the taxonomy is created, you need to specify a new term; in our case, we need to add a new city.
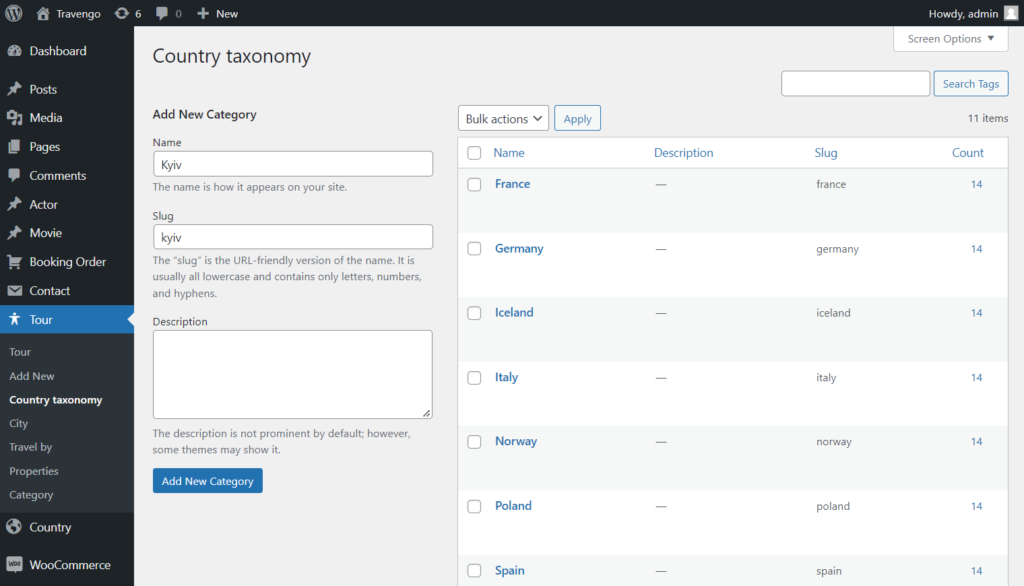
Next, think up the Name and Slug, enter the Description and then click the “Add New Category” button.
On the right side, there is a list of the terms.
Edit a custom post
Click to edit a custom post and assign it to the term that suits it.
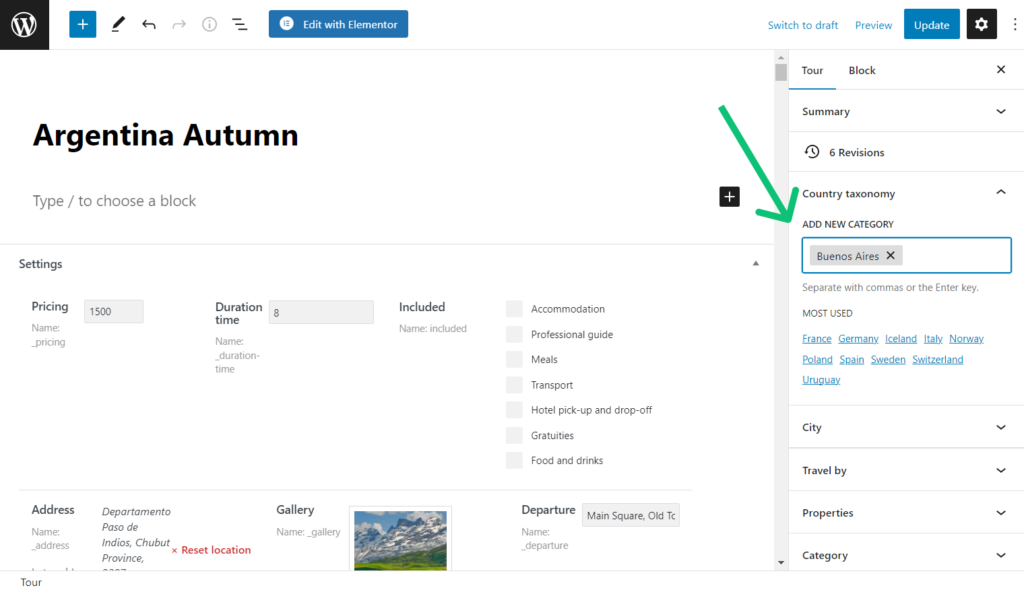
Click the “Update” button to save the changes.
So, here we are. You know now how to create a custom taxonomy with the JetEngine WordPress plugin.