How to Create a Custom Post Type
Find out how you can create a Custom Post Type with the JetEngine plugin.
Before you start, check the tutorial requirements:
- JetEngine installed and activated
Create a CPT
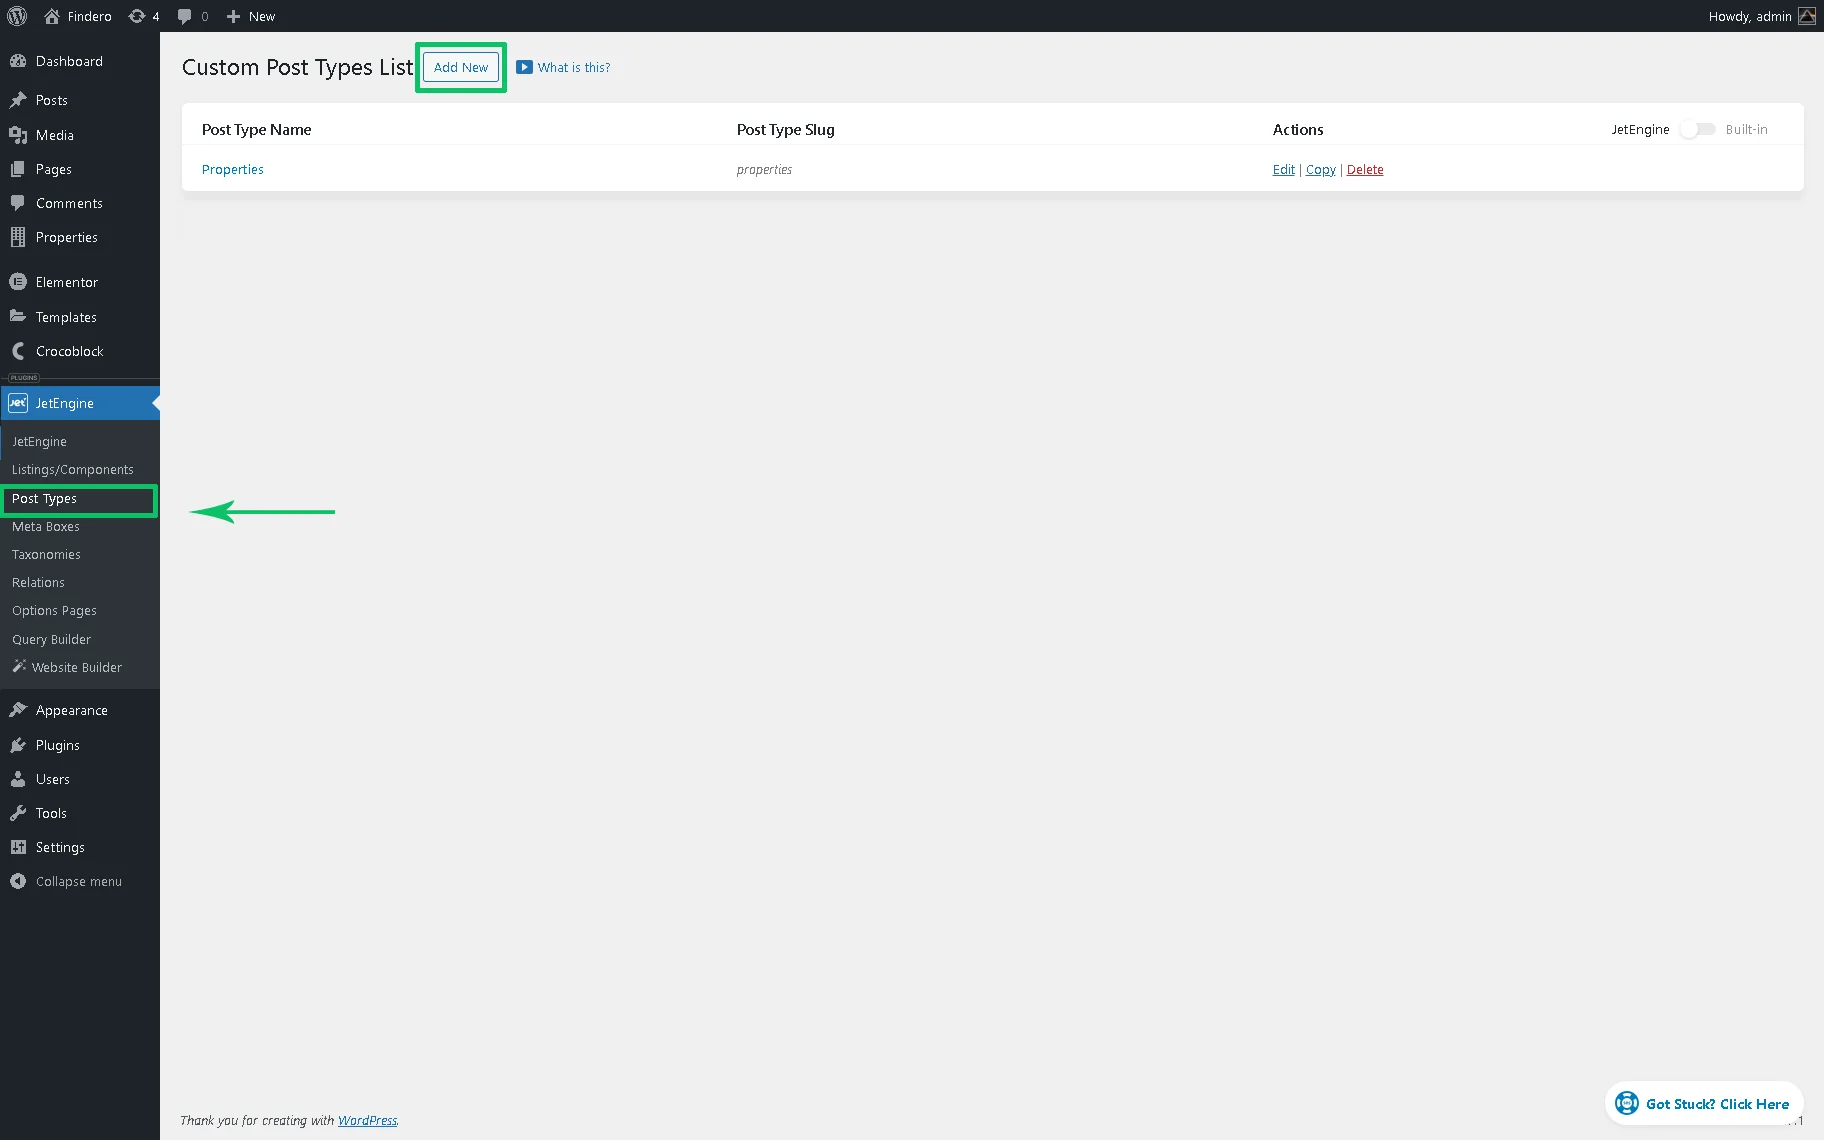
Initially, head to WordPress Dashboard > JetEngine > Post Types. Press the “Add New” button on the Custom Post Types List page to create a new post type.
After that, you will be redirected to the page with the post type’s settings.

Configure the CPT settings
Here, insert the Post Type Name (the “Popular Tours” text, in this case). The Post Type Slug will be generated automatically based on the CPT’s name (the “popular-tour”, respectively). Now, let’s add a link for the Custom Post Type editing page from the post page. You can do it by enabling the `Edit post type/meta box` link option.
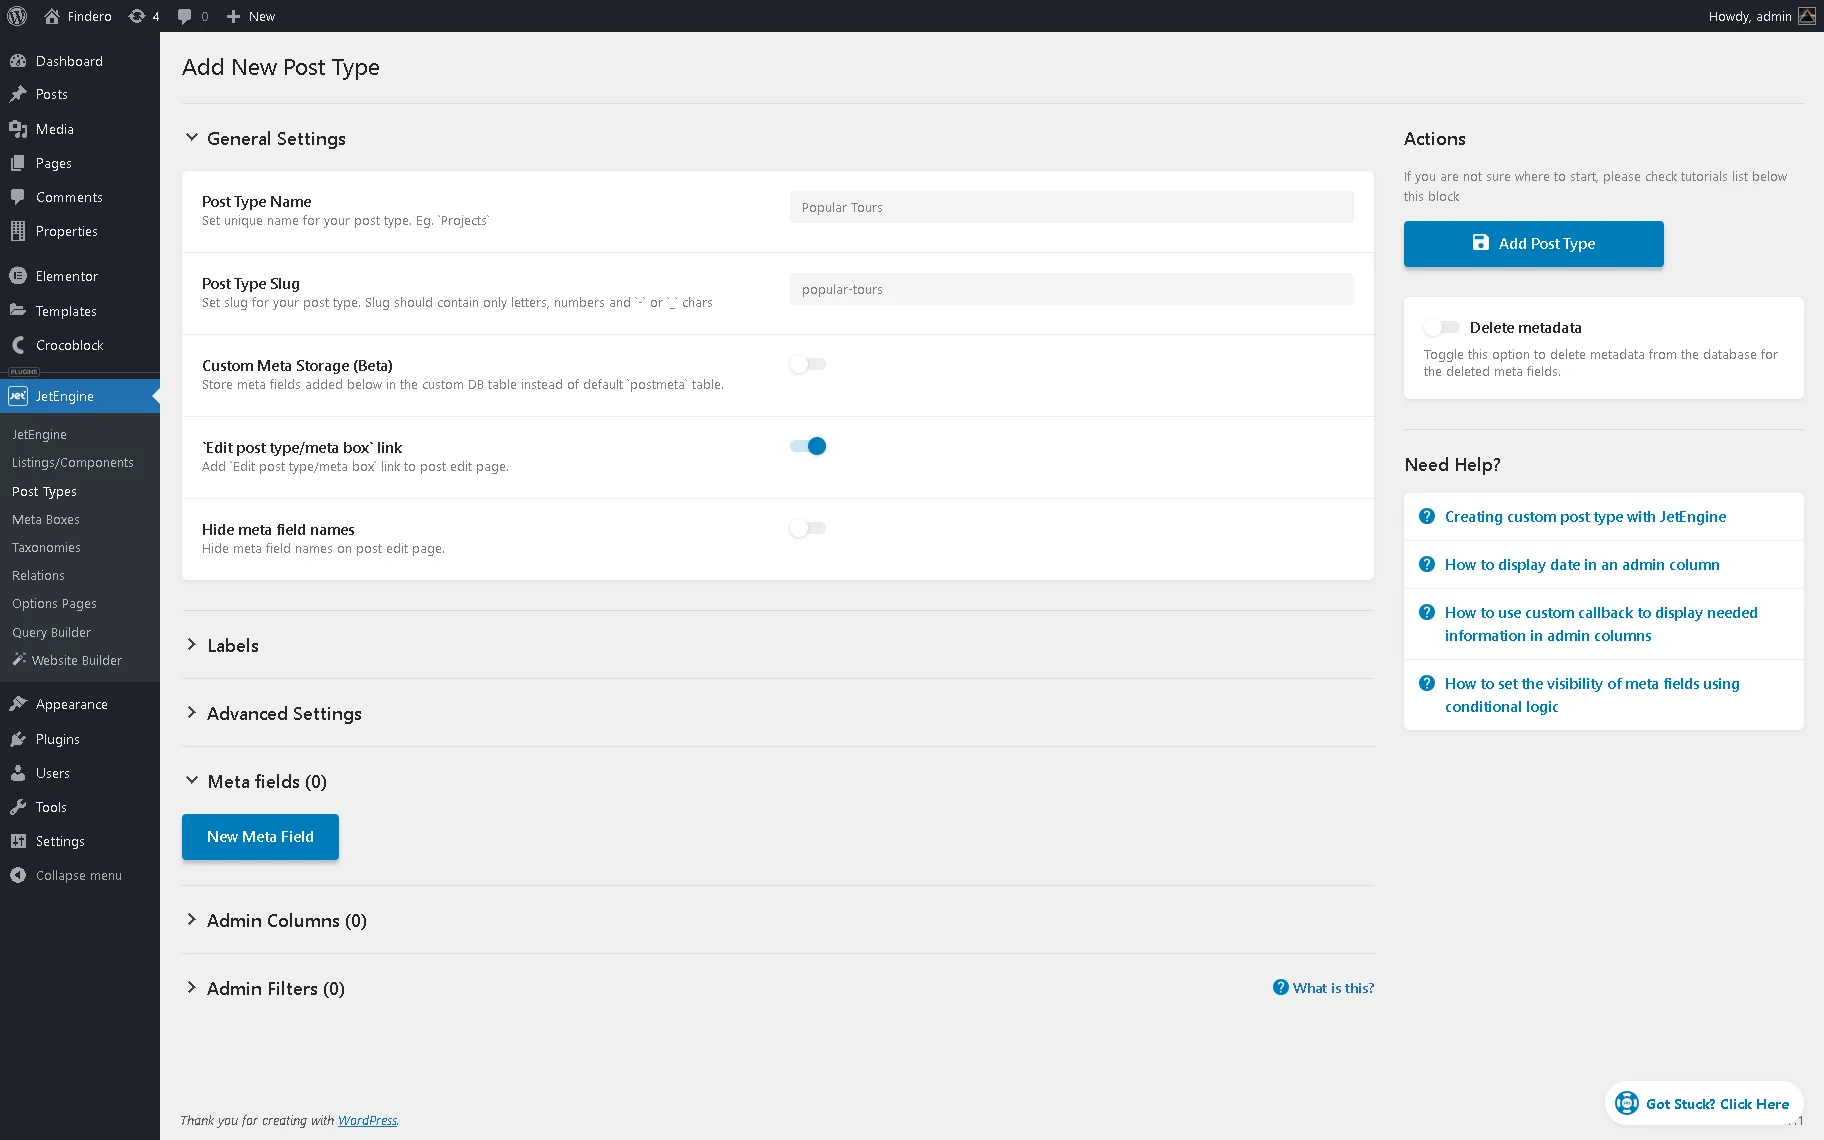
A link to the Custom Post Type editing page will appear after adding a meta field to the CPT.
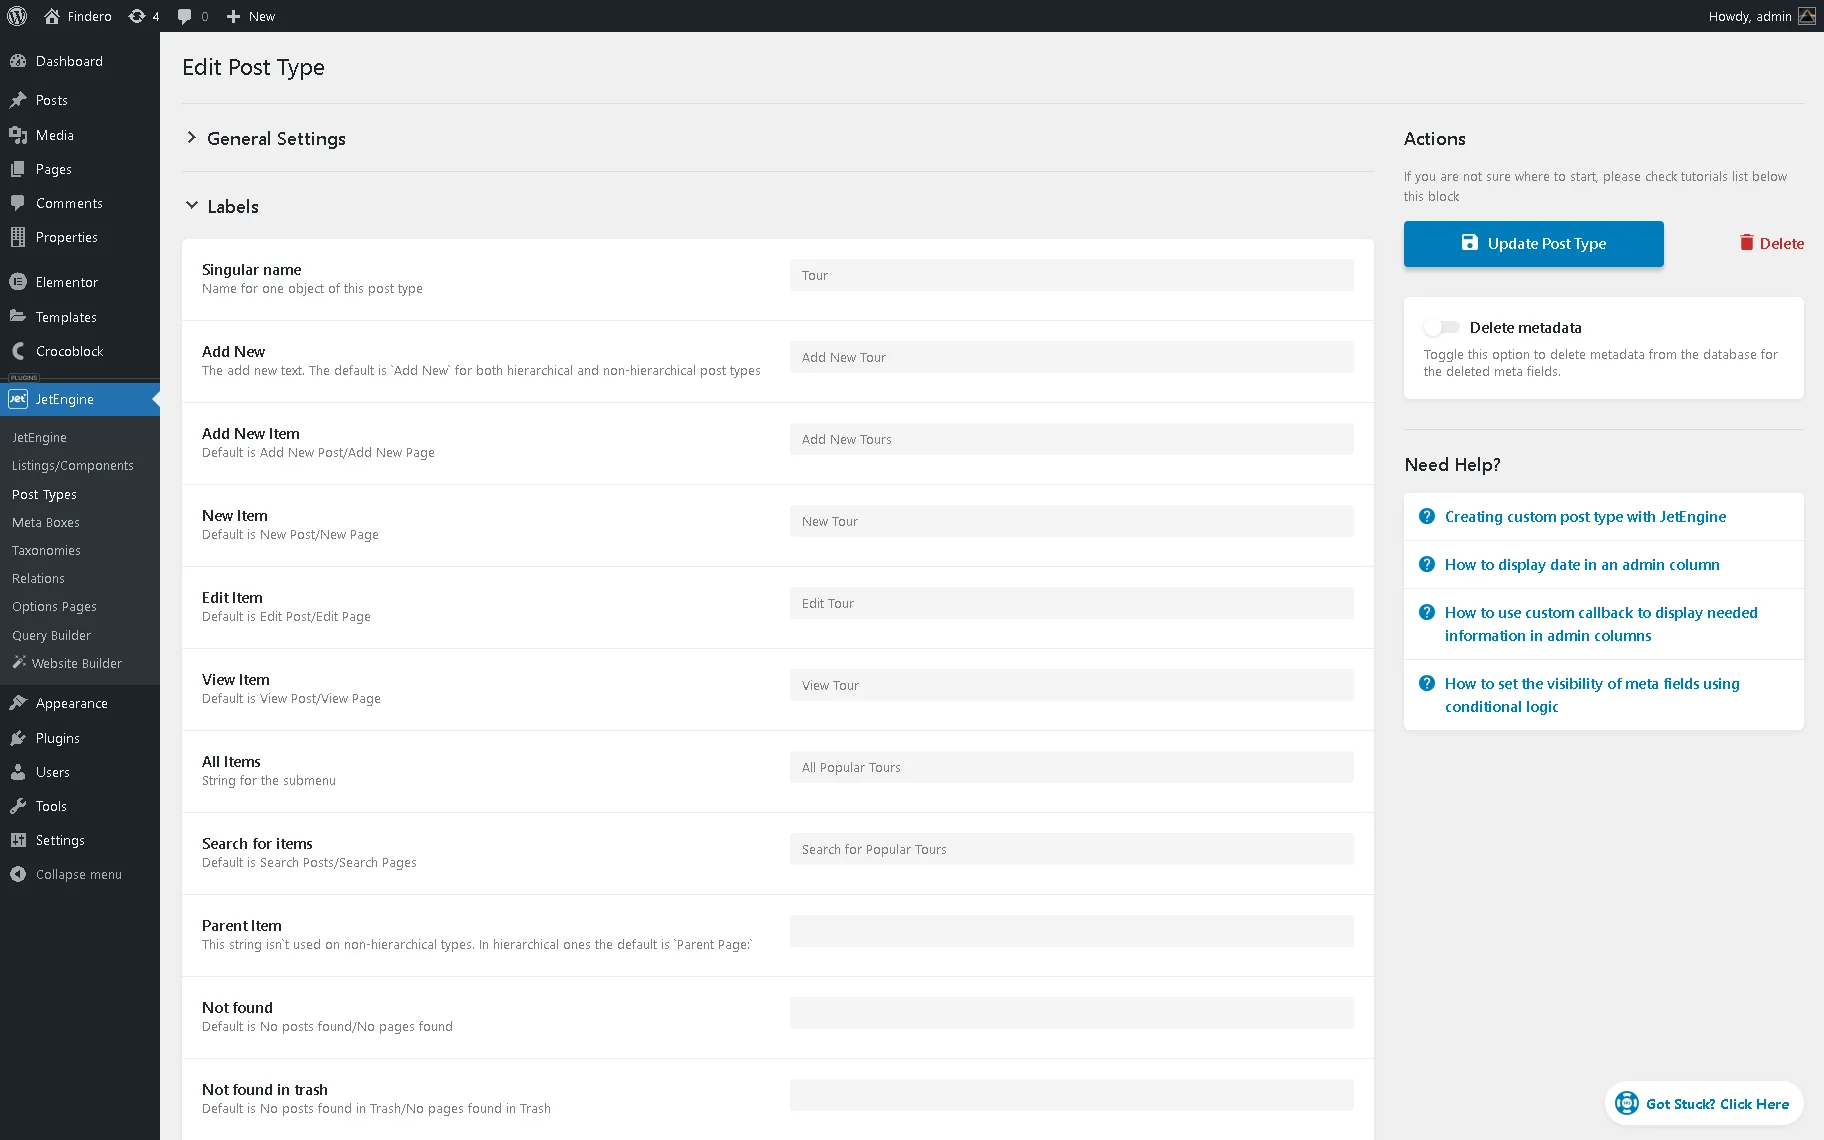
Next, proceed to the Labels tab and insert the needed data. In this case, we type the “Tour” value in the Singular name field. After placing the cursor in the other field of the tab, the text from the Singular name field is inserted automatically (e.g., the Edit Item field is filled out by the “Edit Tour” text) to other Labels fields.
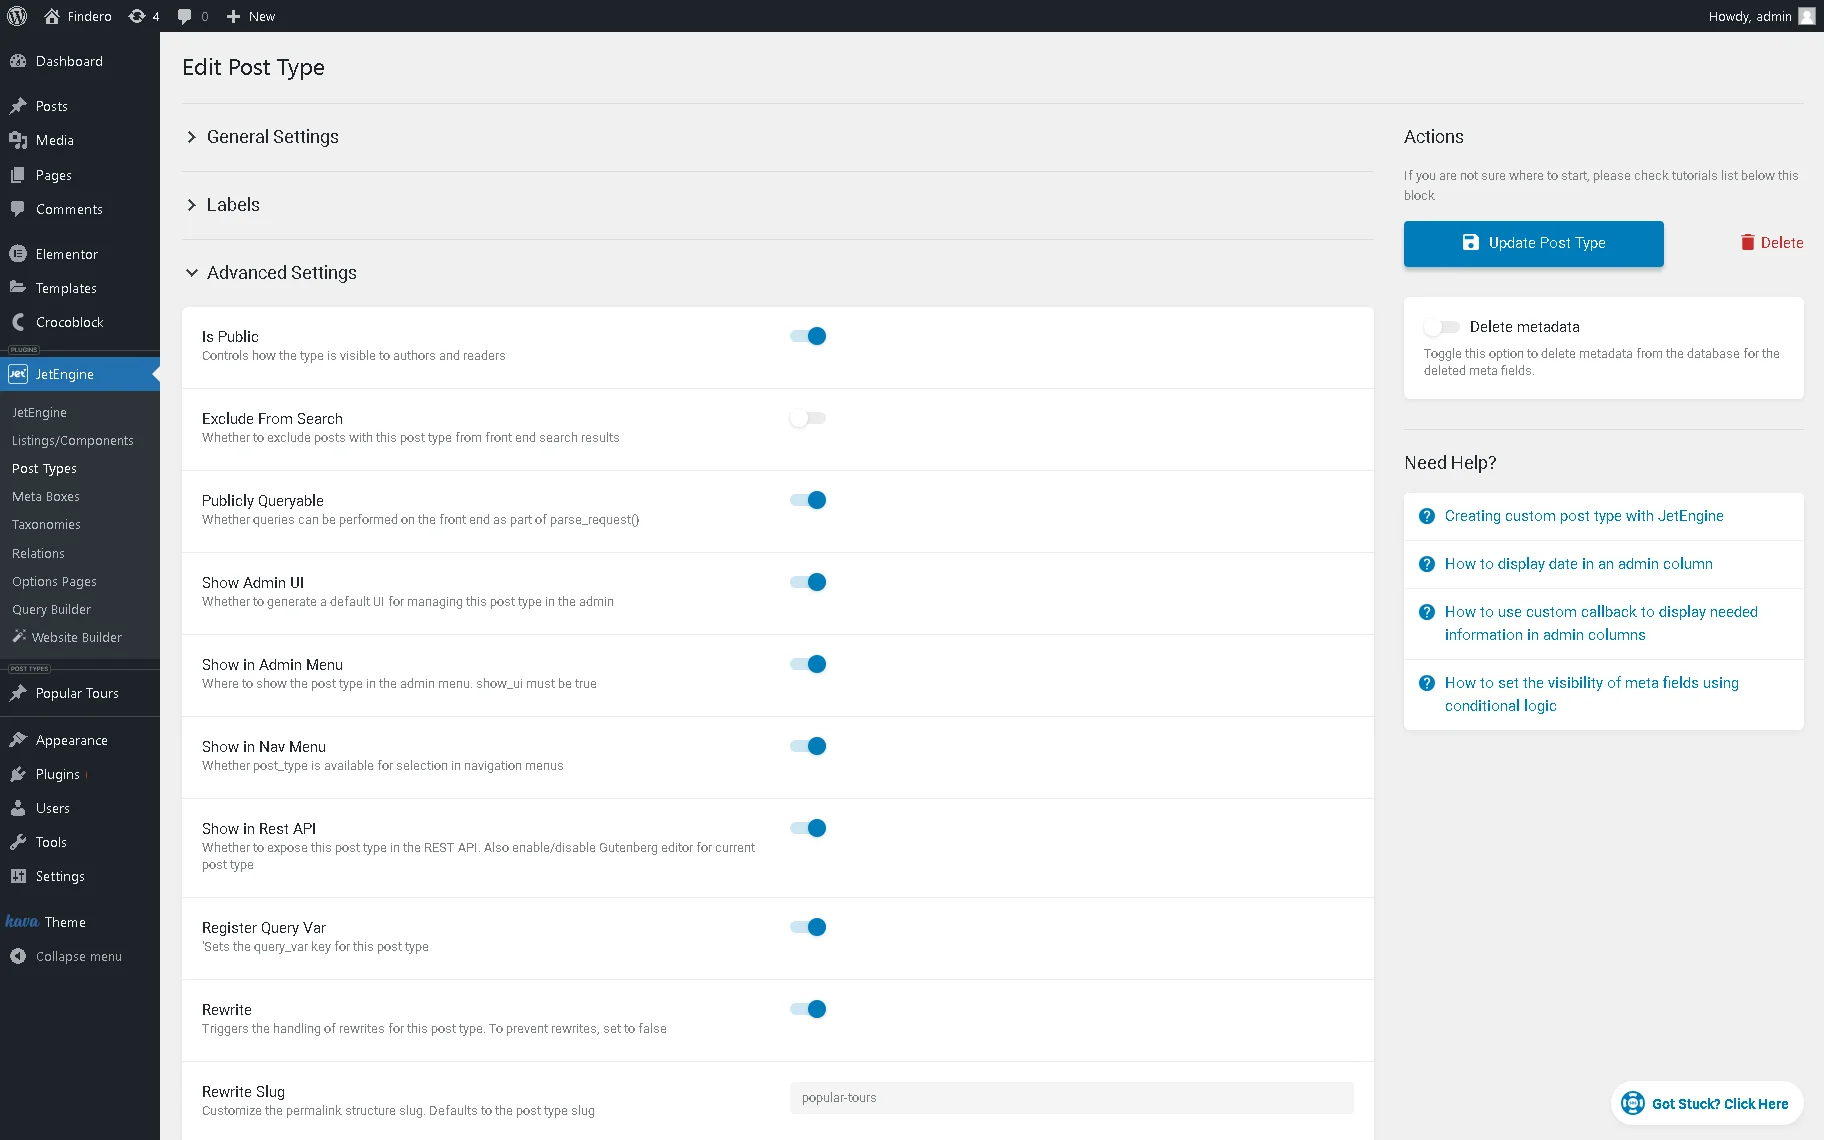
Then, move to the Advanced Settings tab. Here, we keep the default settings without changes.
Scroll the page down to the Meta fields tab and add the needed ones. Here, we add the “Name,” “Photo,” “Tour Details,” “Tour Plan,” “Places You’ll See,” and “Days” meta fields.
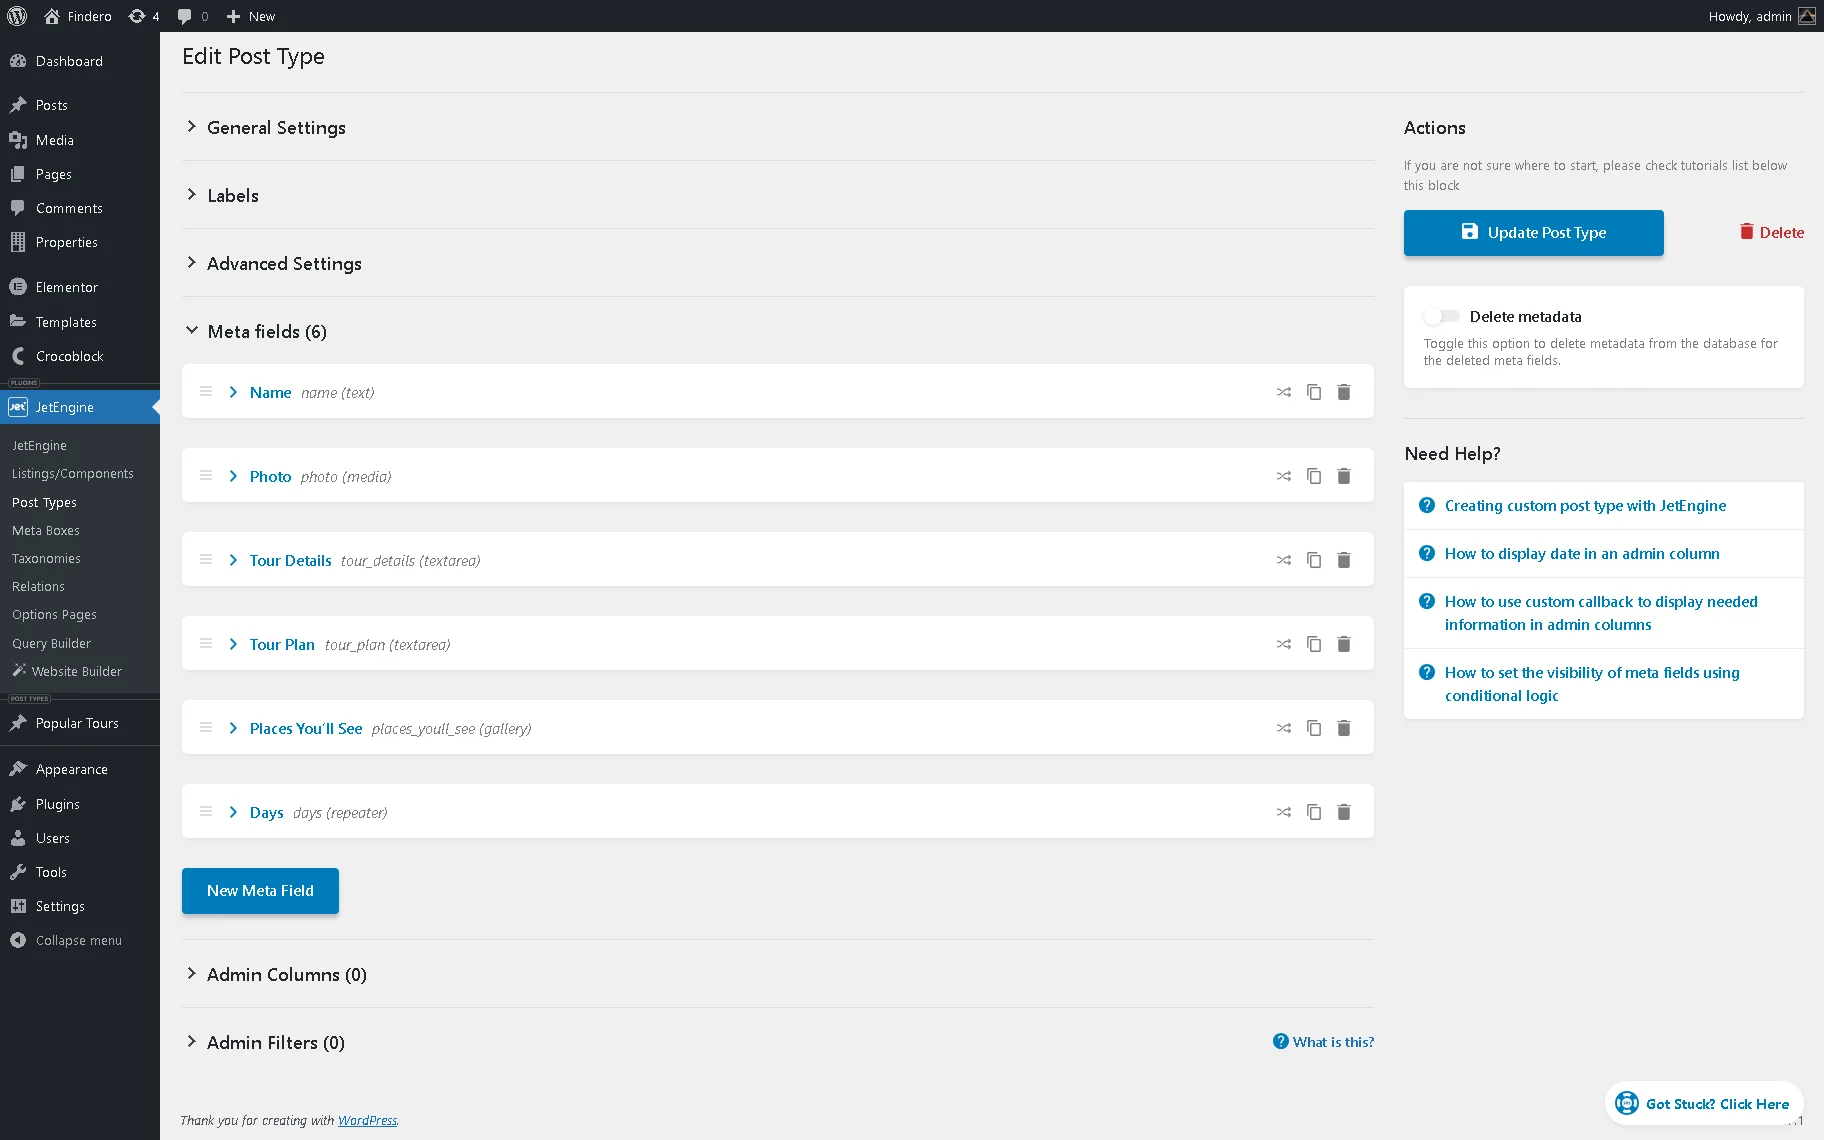
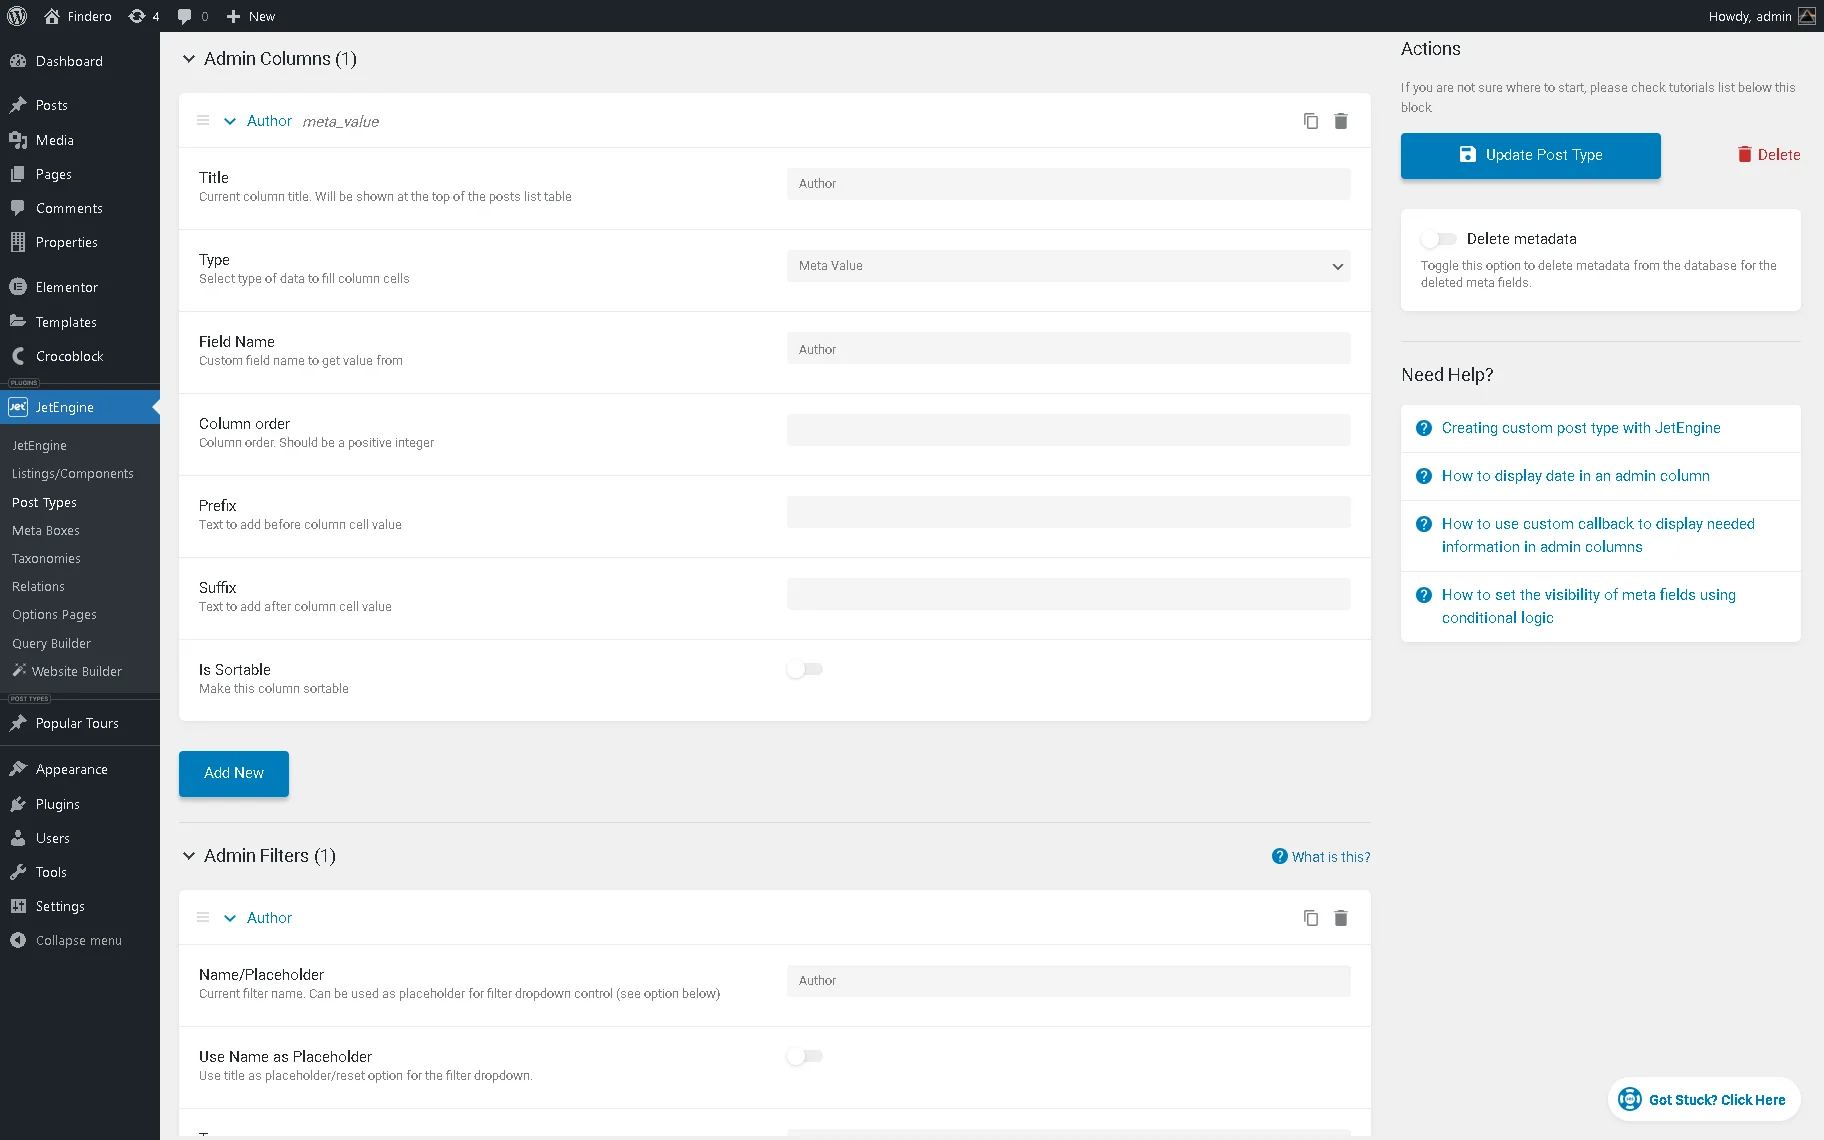
After that, if needed, unroll the Admin Columns and Admin Filters tabs to create additional columns and corresponding filters to display and filter the meta fields with listed data on the backend.
In this case, we create the “Author” Admin Column and “Author” Admin Filter that will display the information from the “Author” meta field.
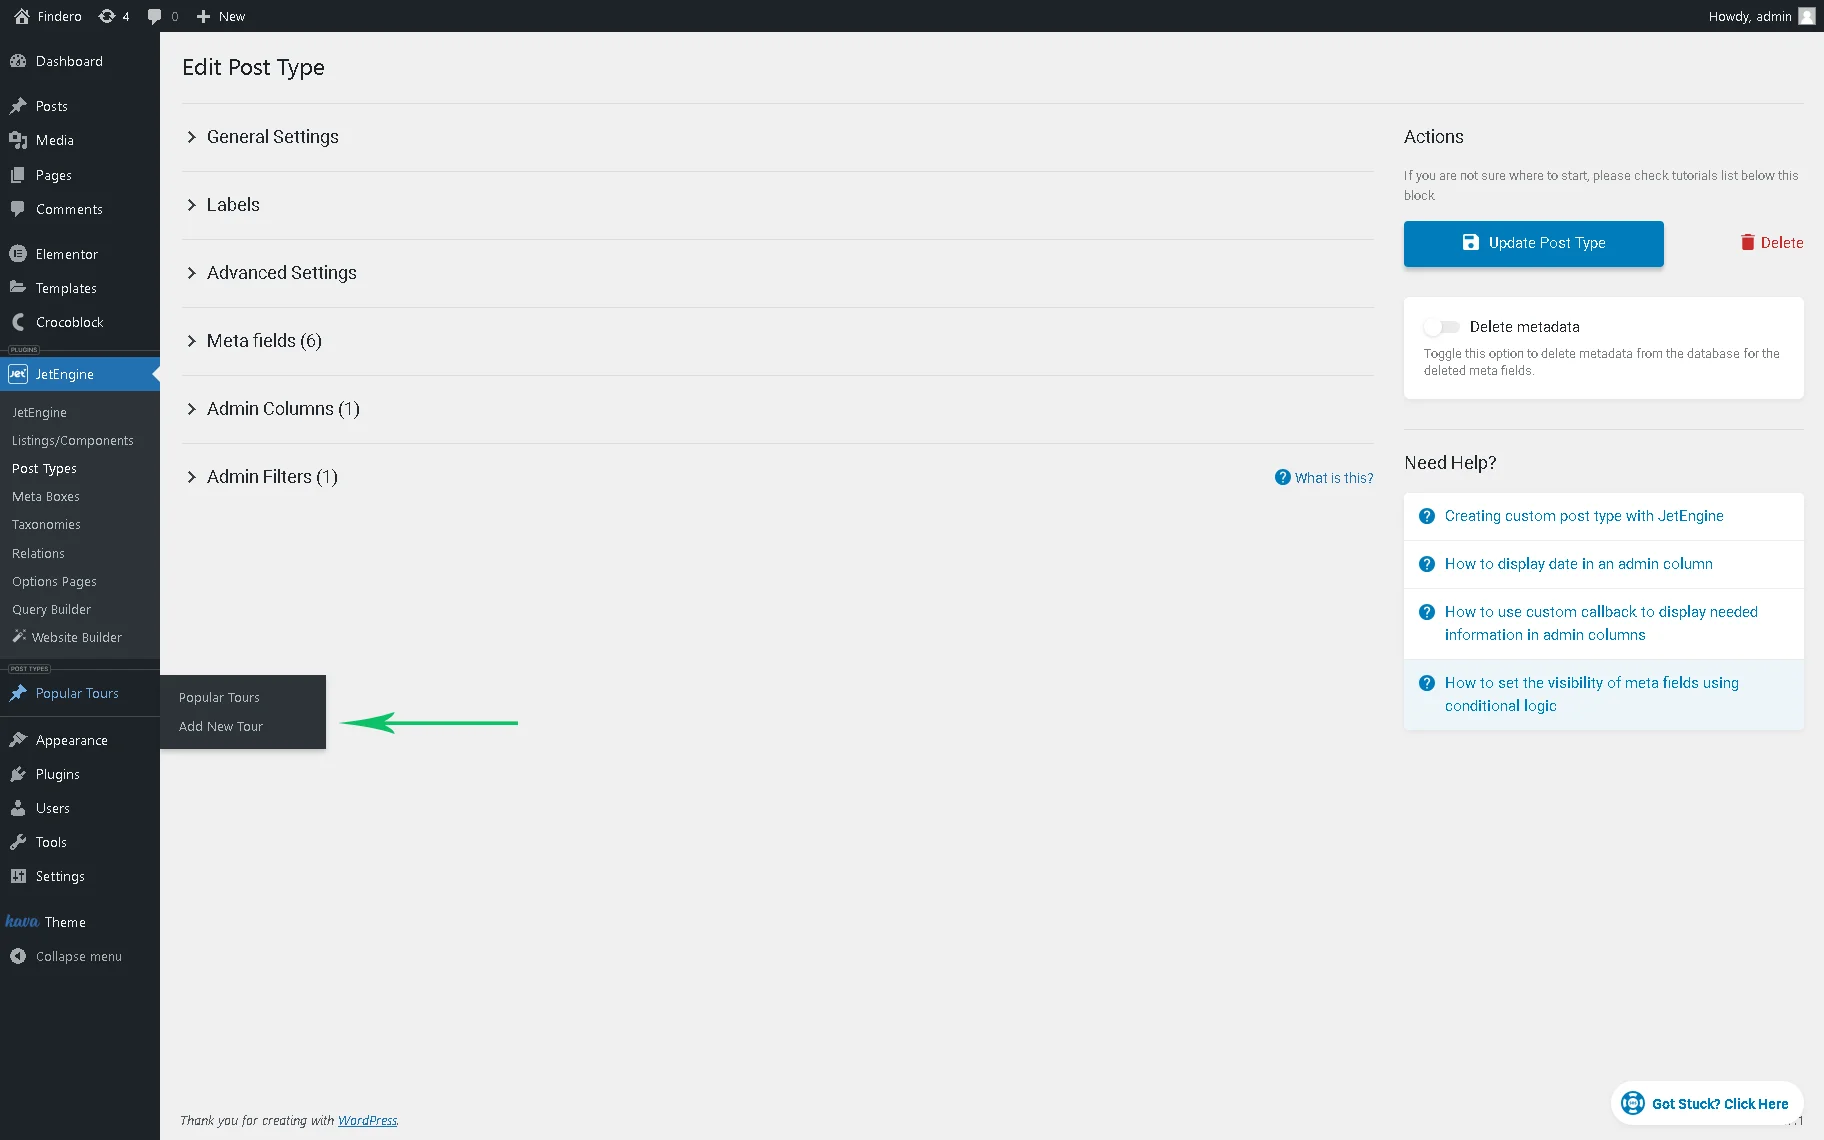
Finally, press the “Add Post Type” to create the CPT.
Add a New Post
Let’s check what our new Custom Post Type looks like.
Head to the WordPress Dashboard and press the name of the newly created post type. There are no posts created yet. Let’s add one now. As we have changed some labels, the button for creating new items is called “Add New Tour” in the described case. By default, it is displayed as “Add New Post.”
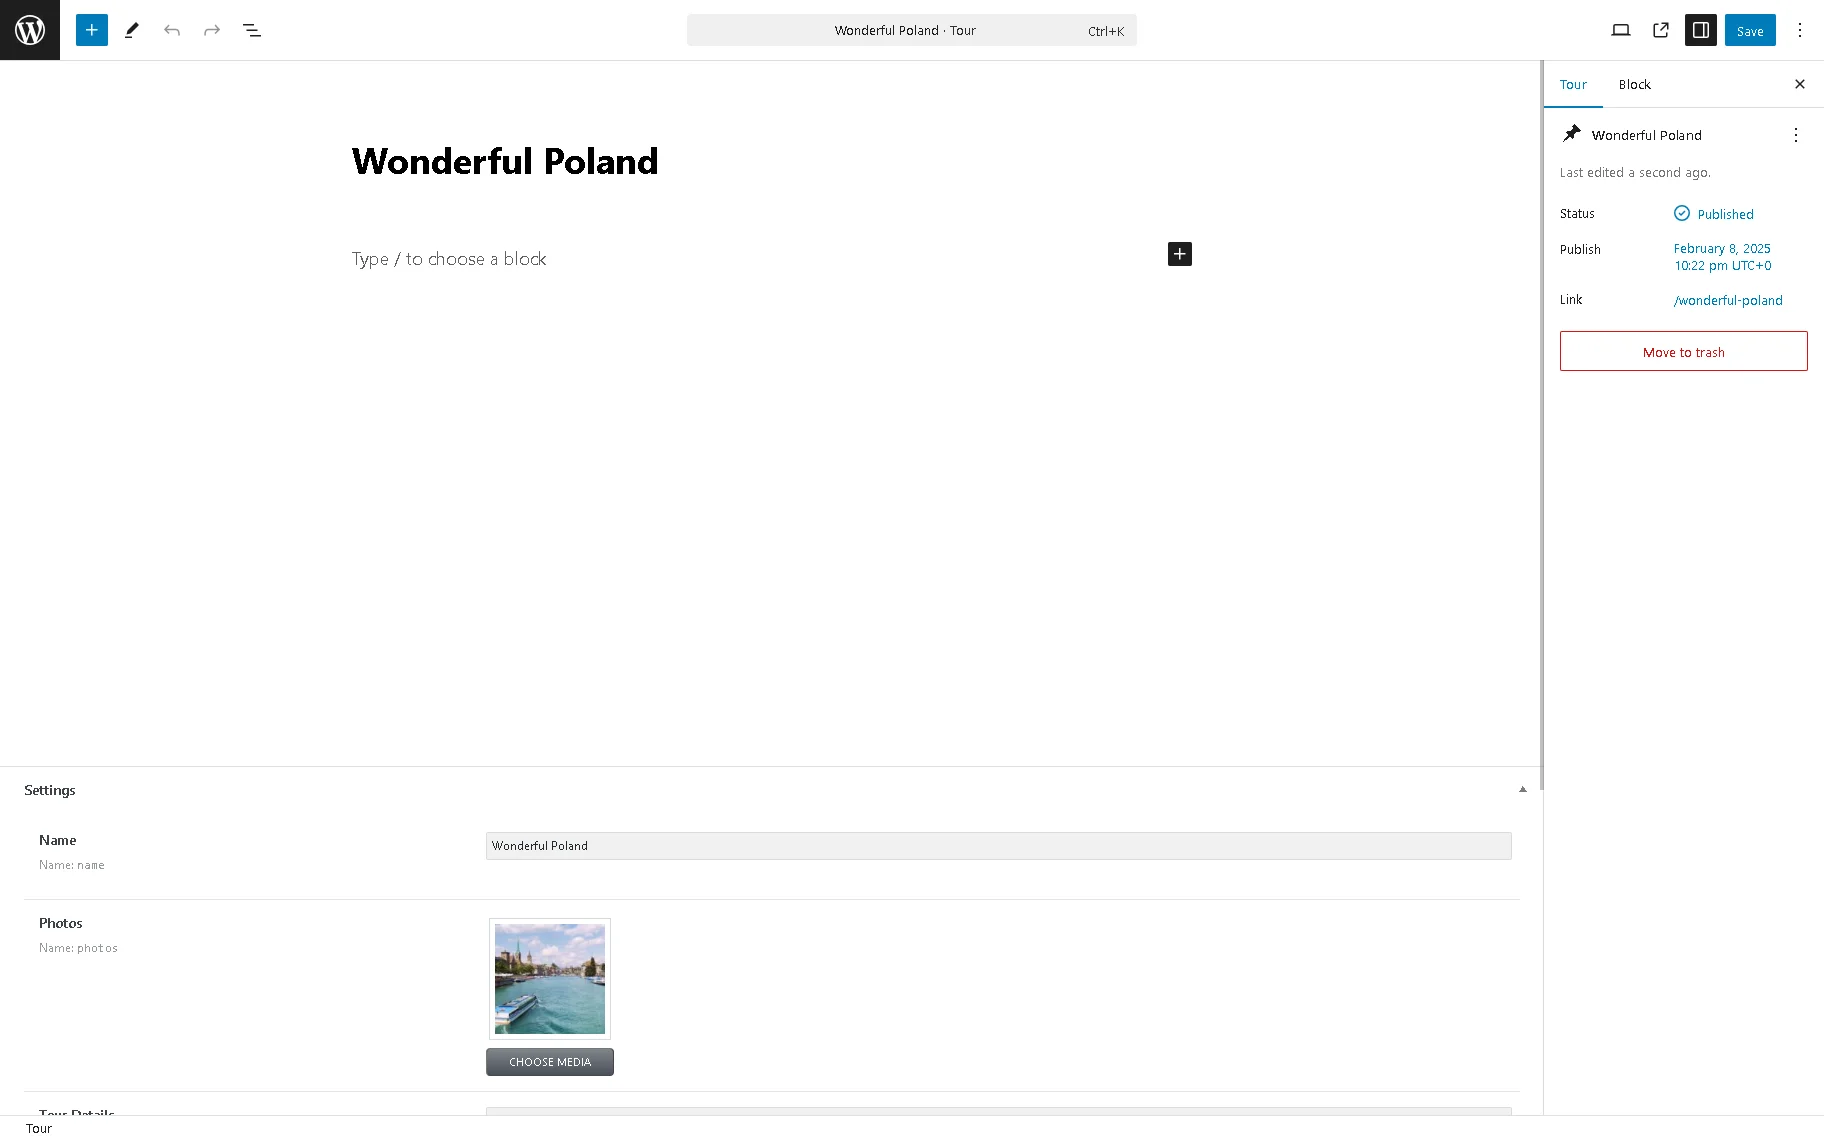
Press the corresponding button to open the editing page.
Fill out the added meta fields. Once completed, press the “Save” button to publish the post.
Also, you can read more about How to Add Custom Meta Fields to WordPress Post via Meta Boxes.
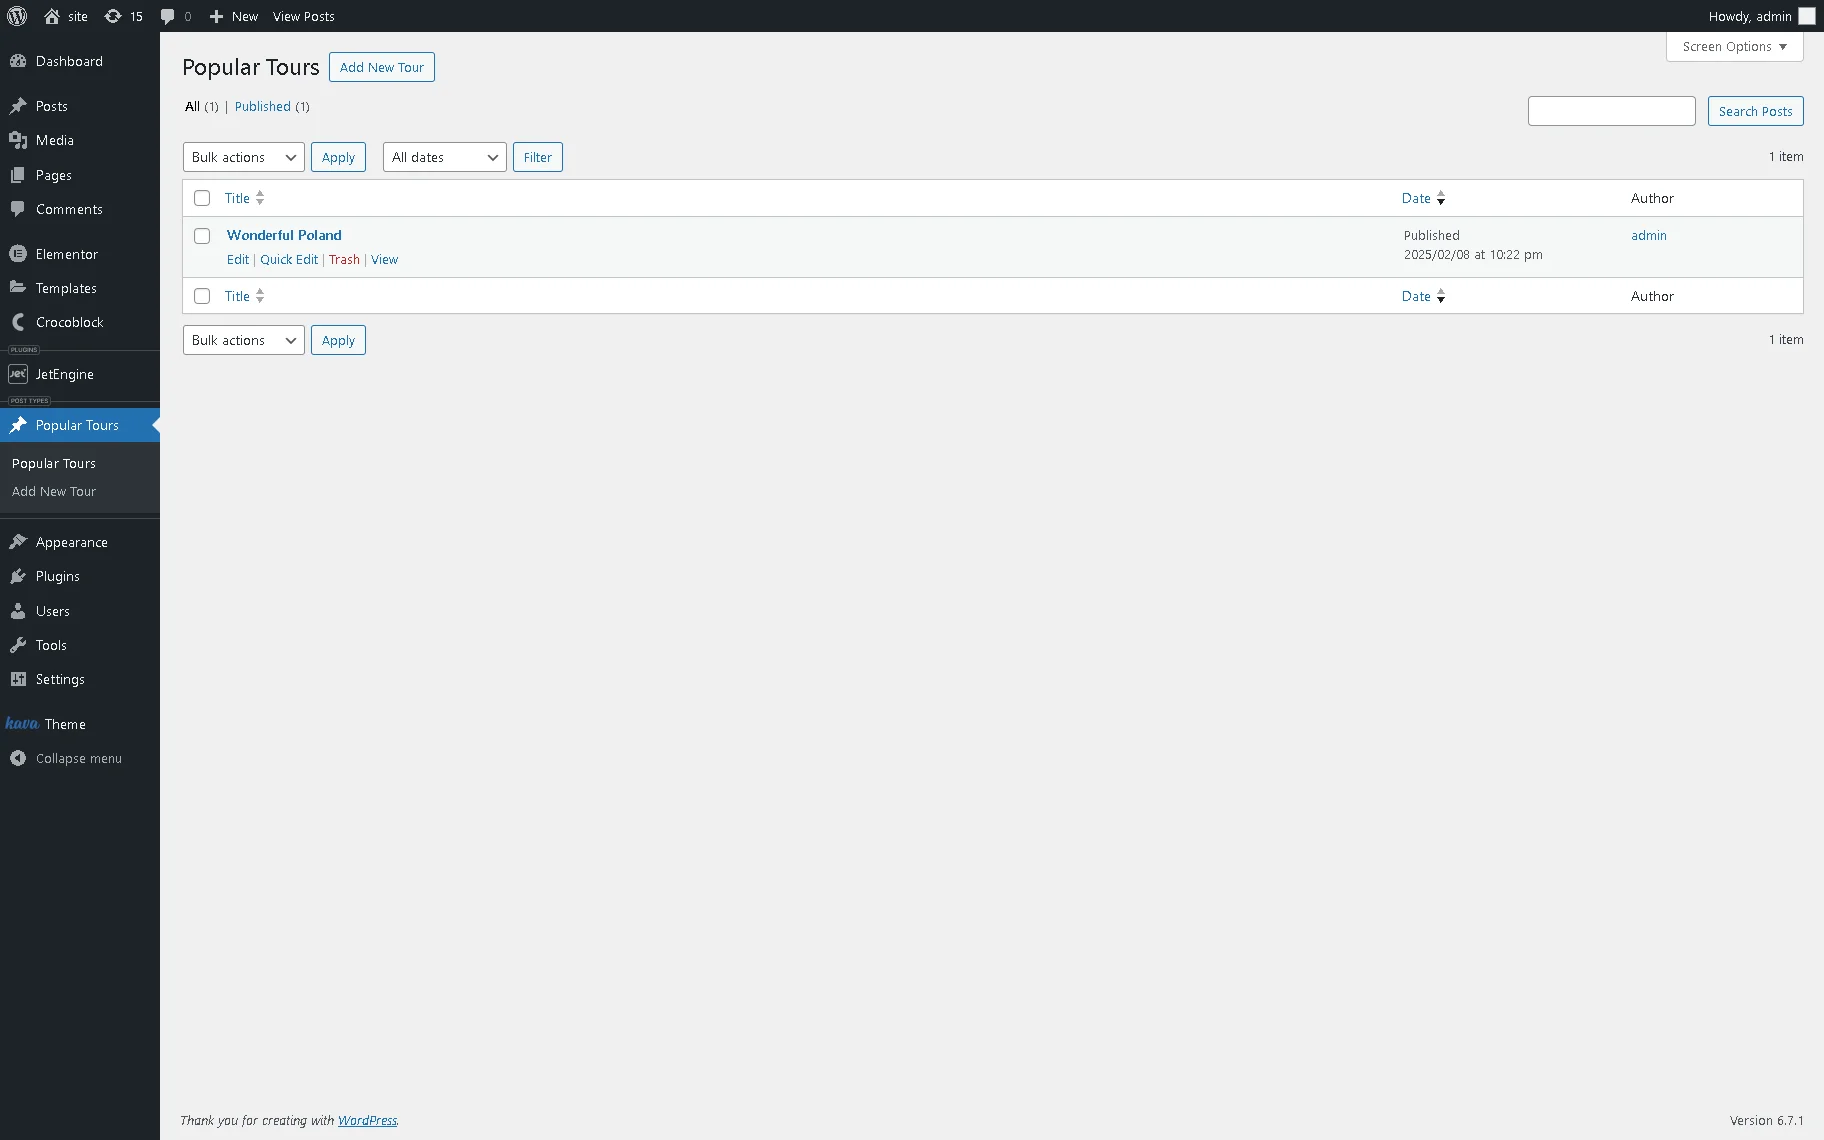
Manage the Post via the WordPress Dashboard
Once created, the post is displayed in the WordPress Dashboard. Here, you can manage the created posts, view them, or delete them. Also, if you have adjusted Admin Columns and Admin Filters in the settings, you can observe them here now.
That’s it; now you know how to create a custom post type with the help of the JetEngine plugin for WordPress.