How to Add a Menu to a Header Template
This tutorial will guide you through the steps needed to add a menu to the header template added with the JetThemeCore plugin, perfect for managing header templates.
In case your header template is made in Elementor, and you need to add a new menu to it, you definitely should know the way to do it properly. Let’s get started.
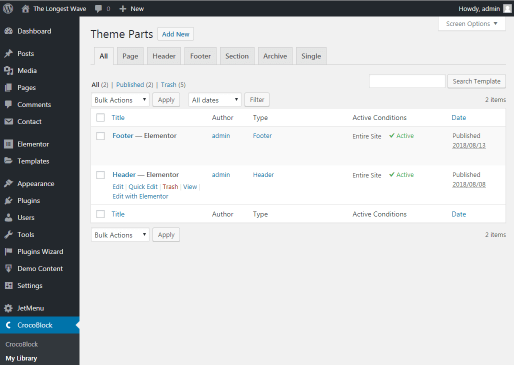
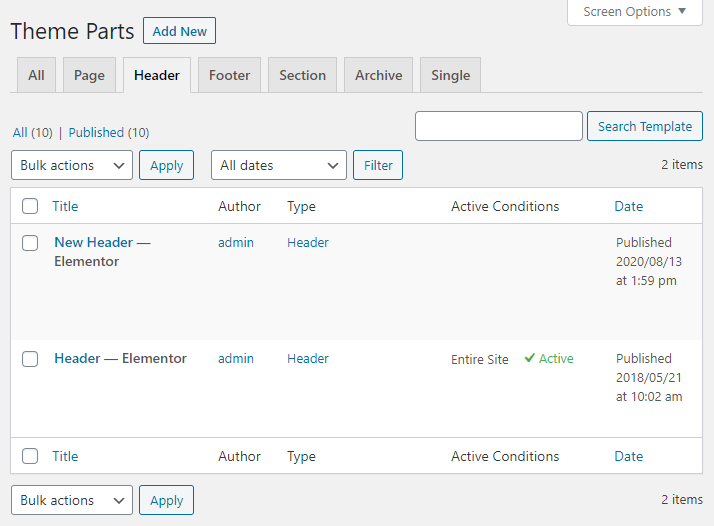
If you’re using Elementor Pro version, you can build a header template within the header added with Elementor Pro. To add a header template, open Elementor > My templates and here click Header tab and hit Add New Header button.
You can also open one of the existing header templates for editing by hovering over the needed header template to which you want to add a menu, and clicking the Edit with Elementor option.
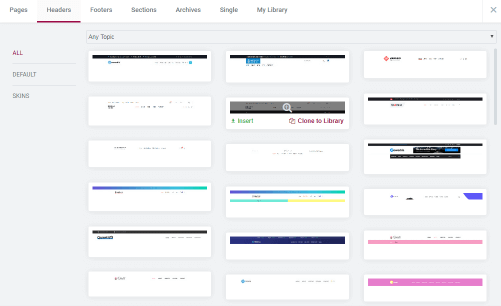
Now you are redirected to Elementor page builder. Click the Magic Button option and insert the preferable header template in the page.
In case you’ve already got the header template, skip the previous step, and find an appropriate widget for displaying a menu. It can be Nav Menu, Mega Menu or Vertical Mega Menu.
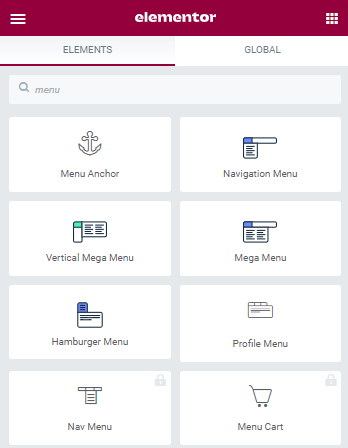
Drag the needed widget to your menu. Select a menu you’ve created earlier in the dropdown. E.g., in the Mega Menu widget you can select the created menu in the Select Menu dropdown option. The same dropdown is available in the Content block of the Nav Menu widget.
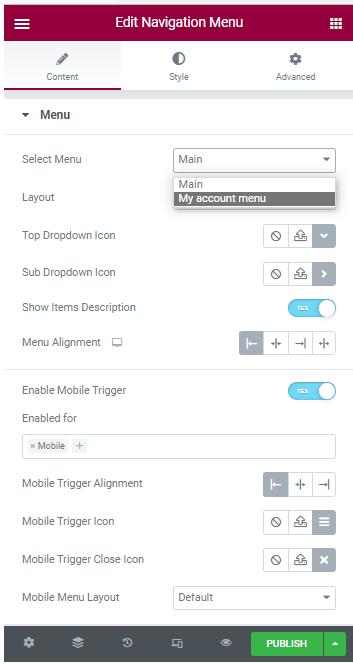
Feel free to style the appearance of the menu according to your tastes and needs.Then, click the Publish button to save the changes. Click the Preview Сhanges and enjoy the results of your work.
Well done! Use varied Jet widgets for showing a menu in the header.