How to Create a WordPress Menu
In this guide, you’ll learn how to create a WordPress menu, so users can access any page from one spot by organizing a simple-to-navigate menu for the website.
Why Use Menus?
A menu functions as a site map, so it must be simple for visitors to understand, navigate, and, most importantly, find the items they’re looking for.
Additionally, a well-designed menu enhances the user experience and leads to conversions, as you may have already figured out. If users can find their desired location, they will likely stay on a website and view more material.
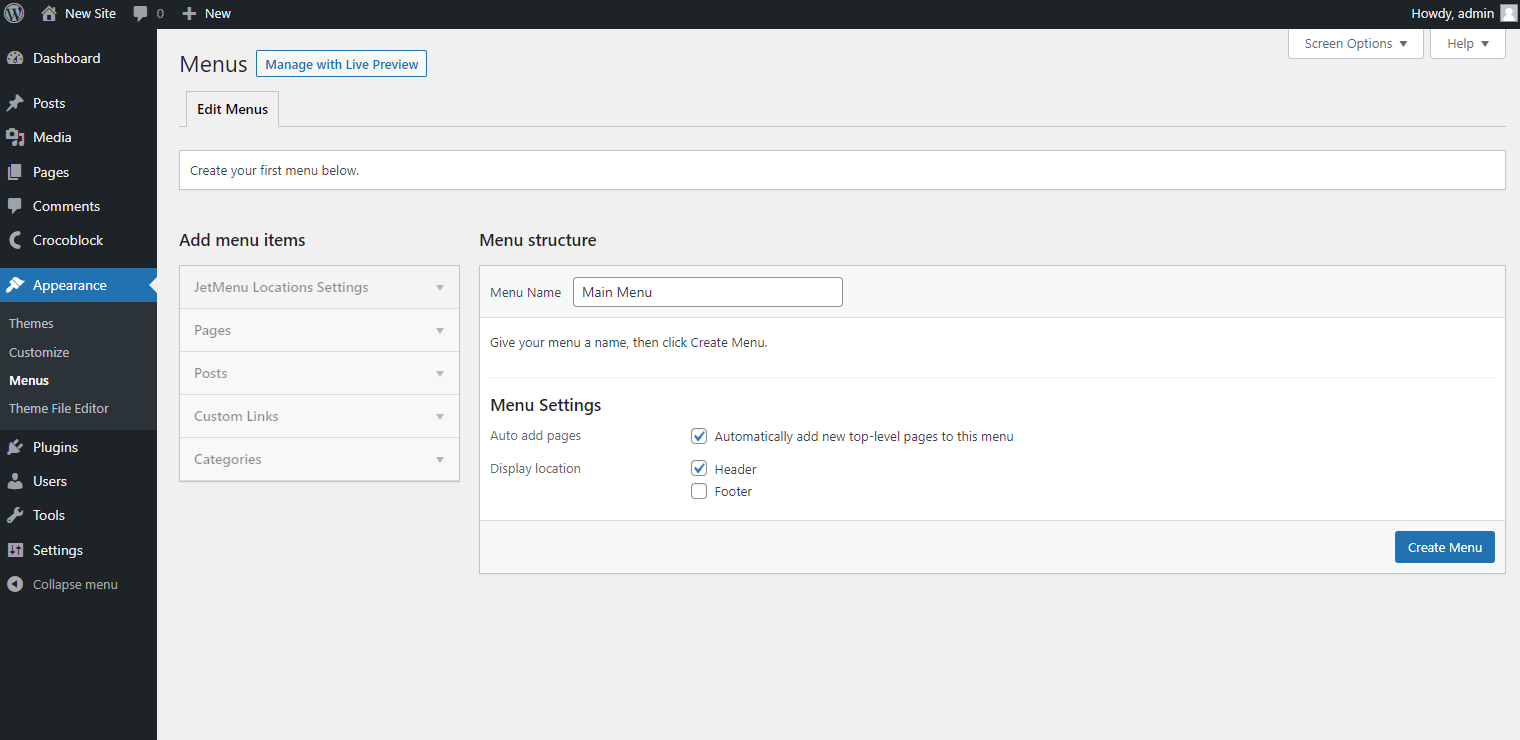
Create a New Menu in WordPress
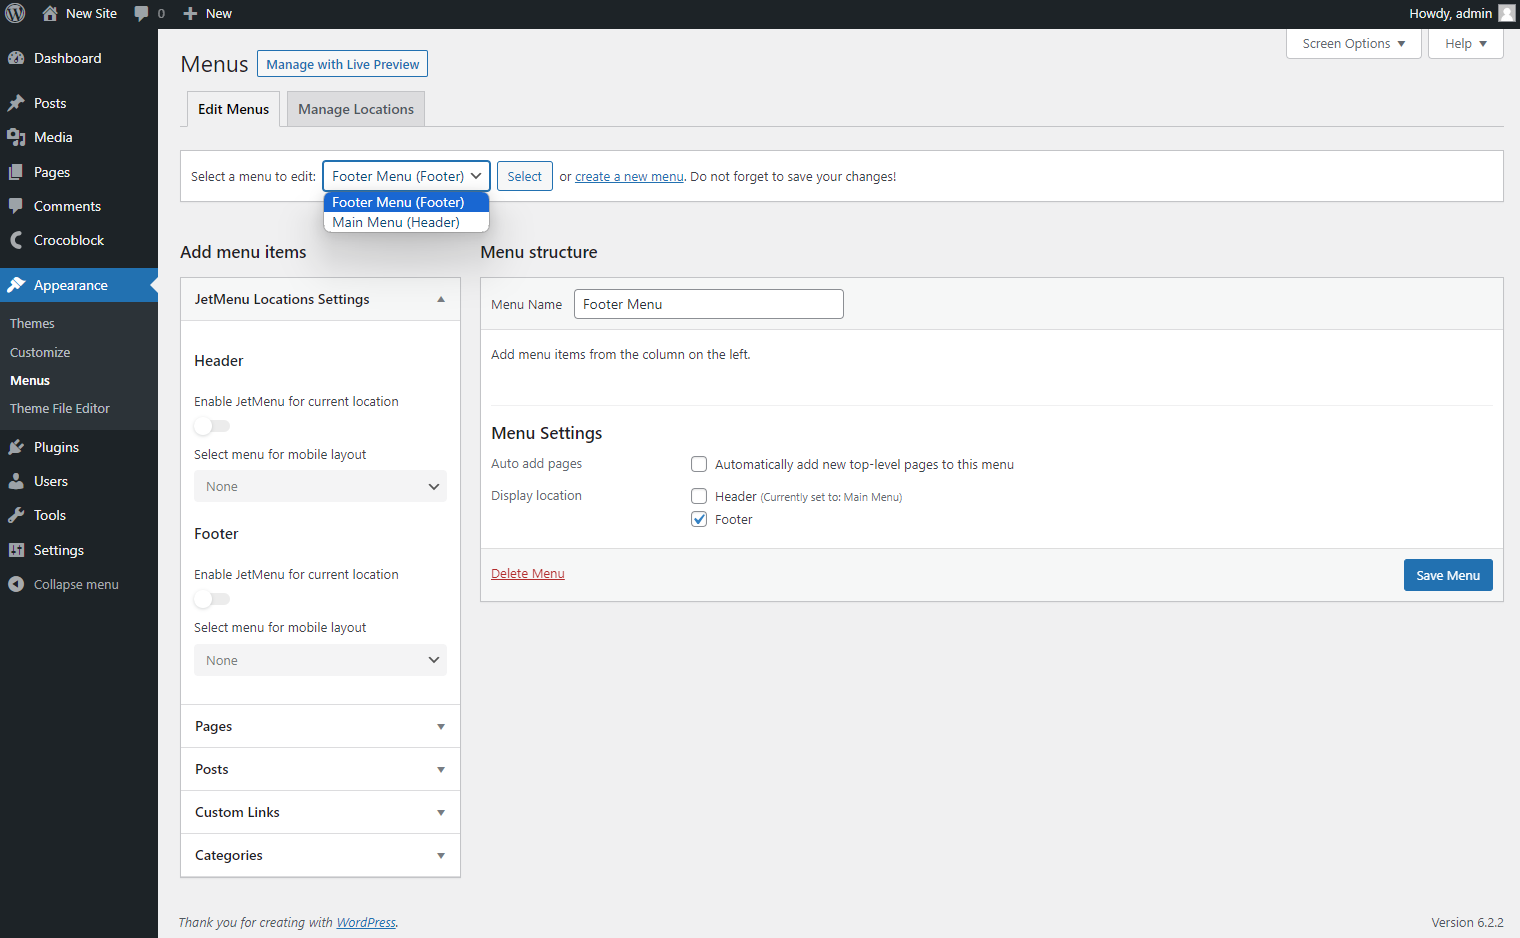
Navigate to the WordPress Dashboard > Appearance > Menus tab.
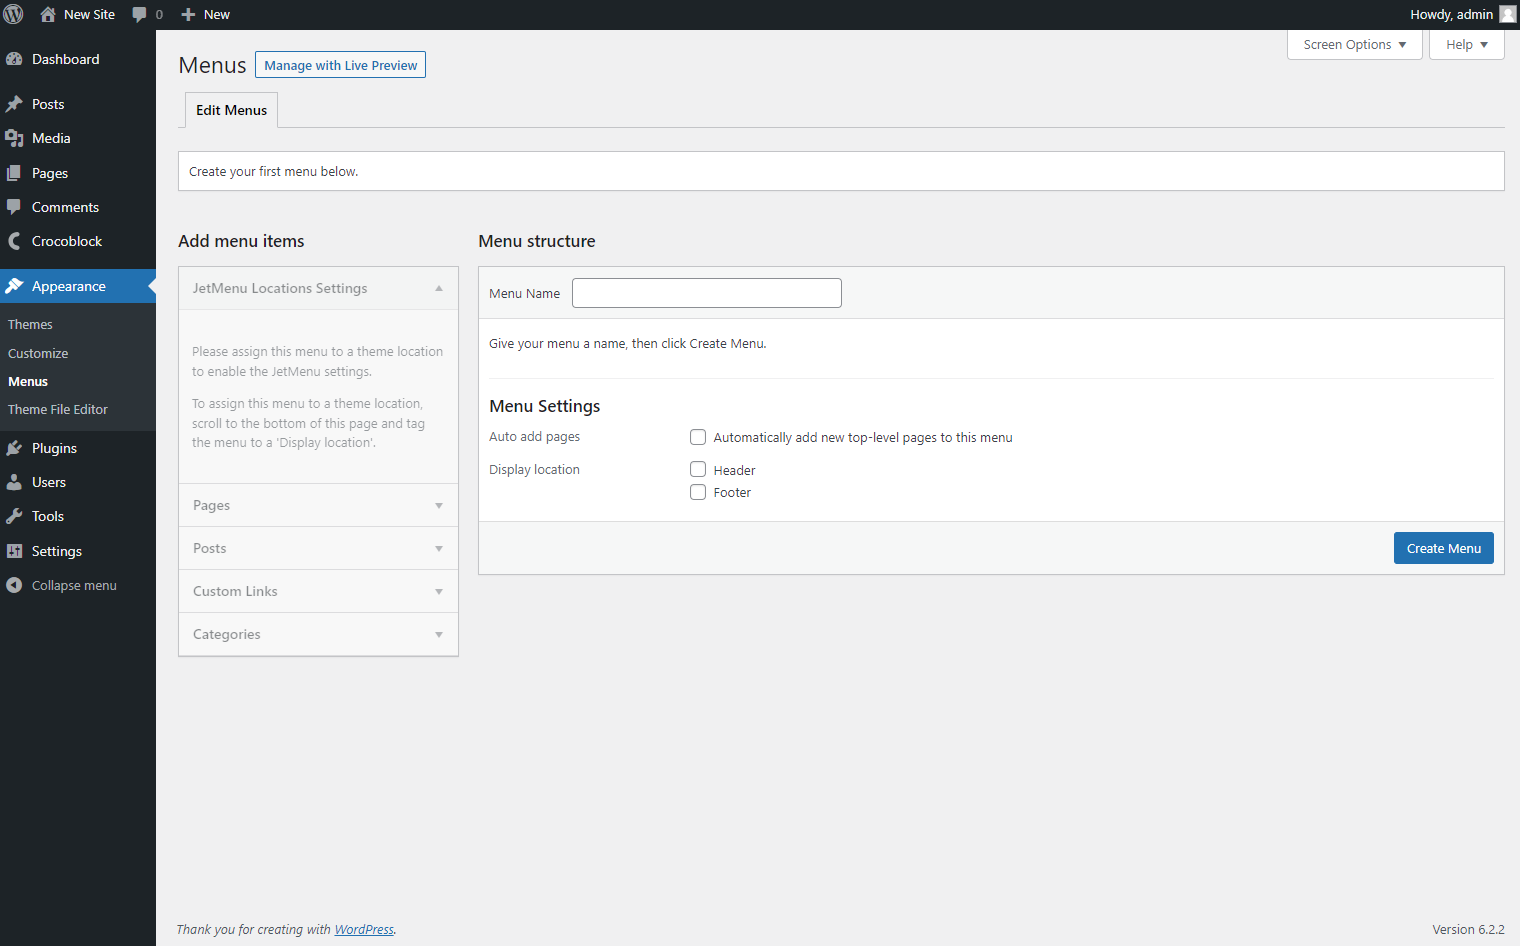
You can see a page where you can enter the Menu Name and customize some Menu Settings.
You can Automatically add new top-level pages to the menu and decide the menu location: whether it should be your header or footer. Different themes support different locations, so the settings may vary.
Finally, click the “Create Menu” button in the bottom right corner.
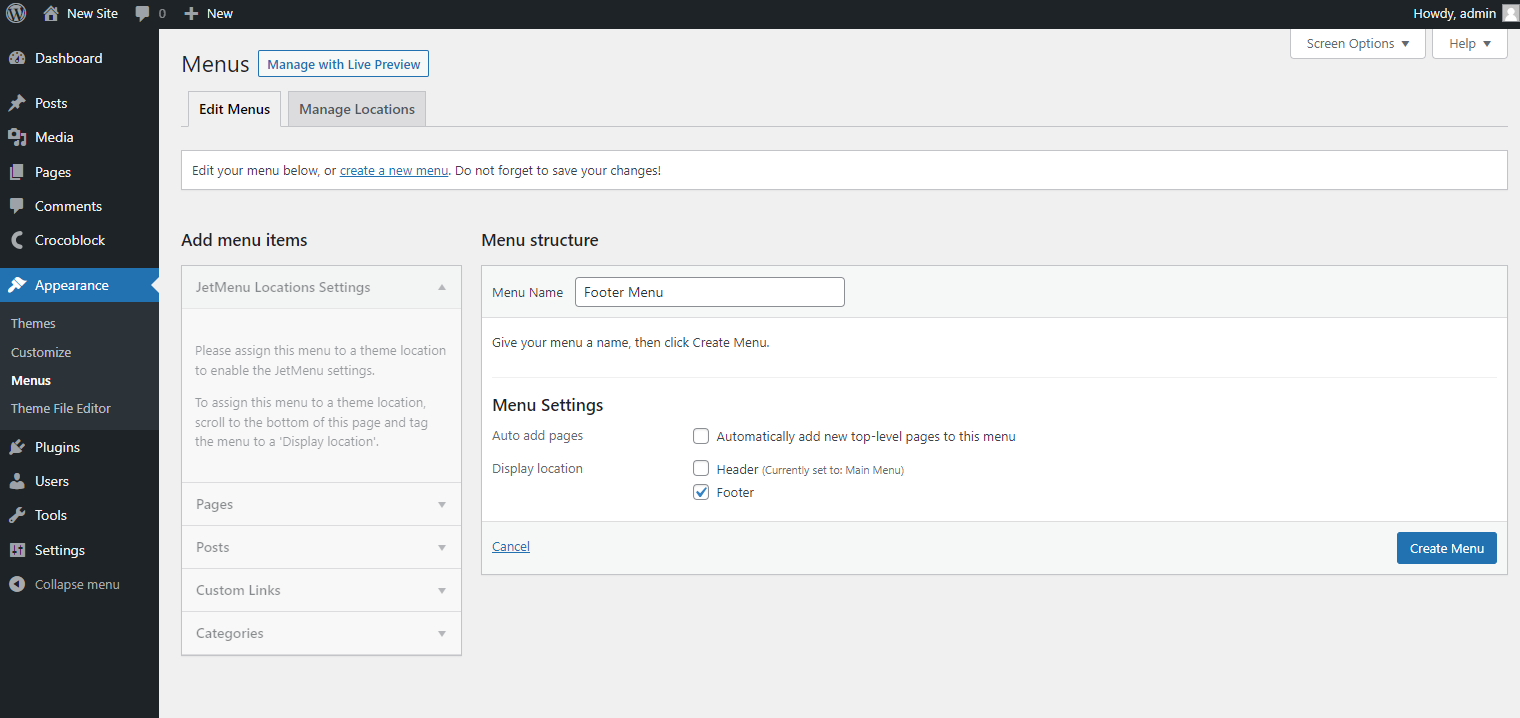
Create Another Menu
Click the “create a new menu” link to create another menu.
Manage the Menu Name and Menu Settings. When you finish, push the “Create Menu” button.
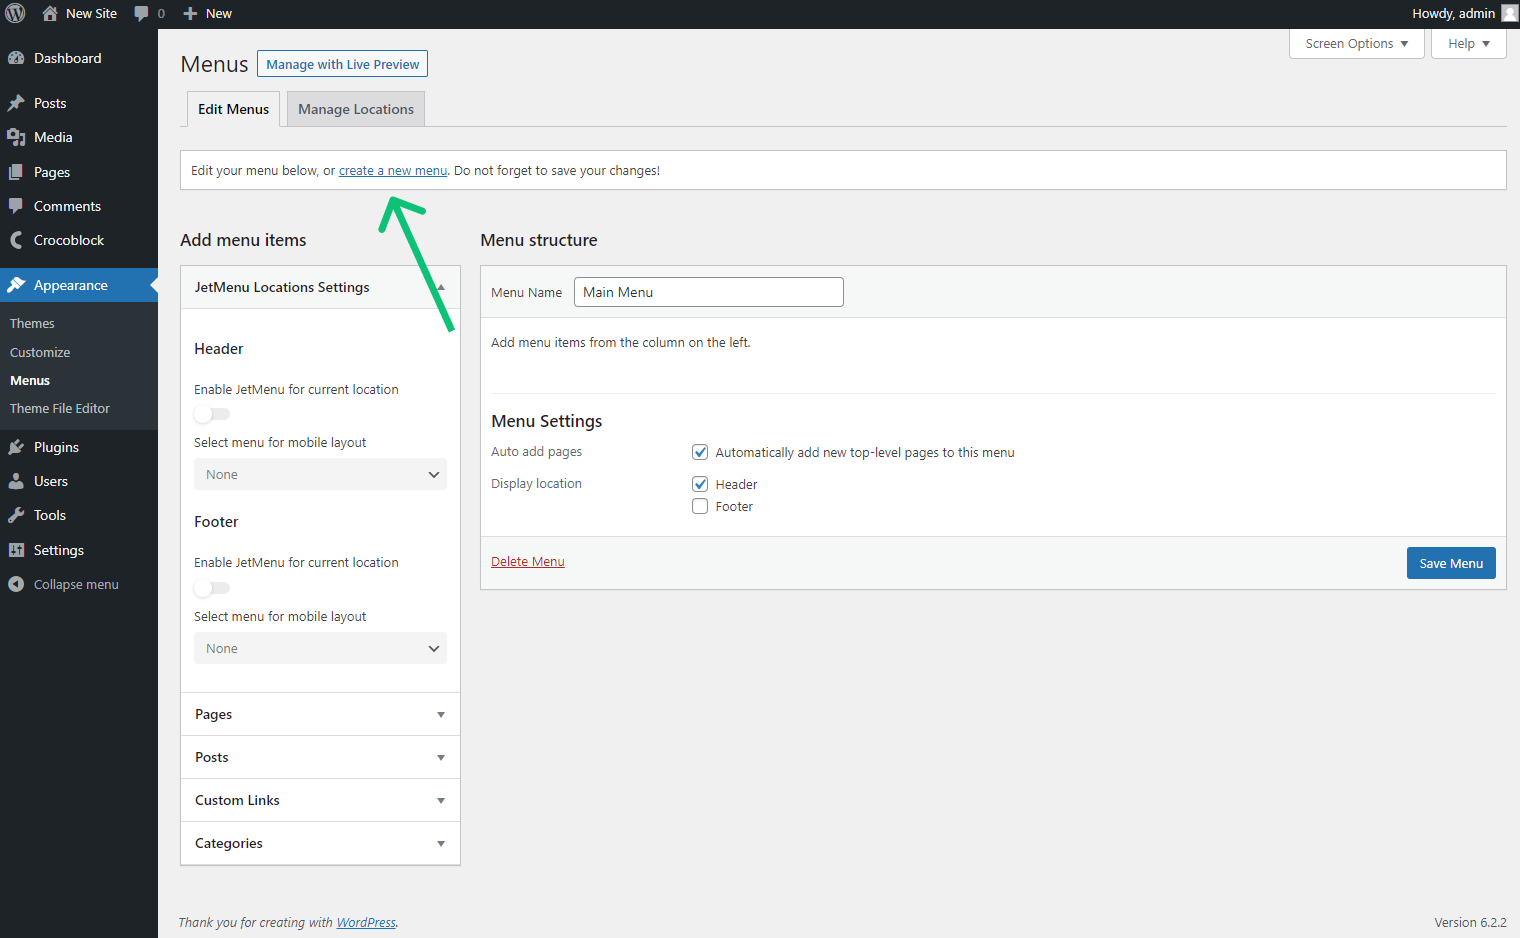
Edit Menus in WordPress
Now, if you want to edit a menu, you can select it in the dropdown box at the top. Click the “Select” button, and then you can change the menu name and settings.
Remember to click the “Save Menu” button once all changes have been made.
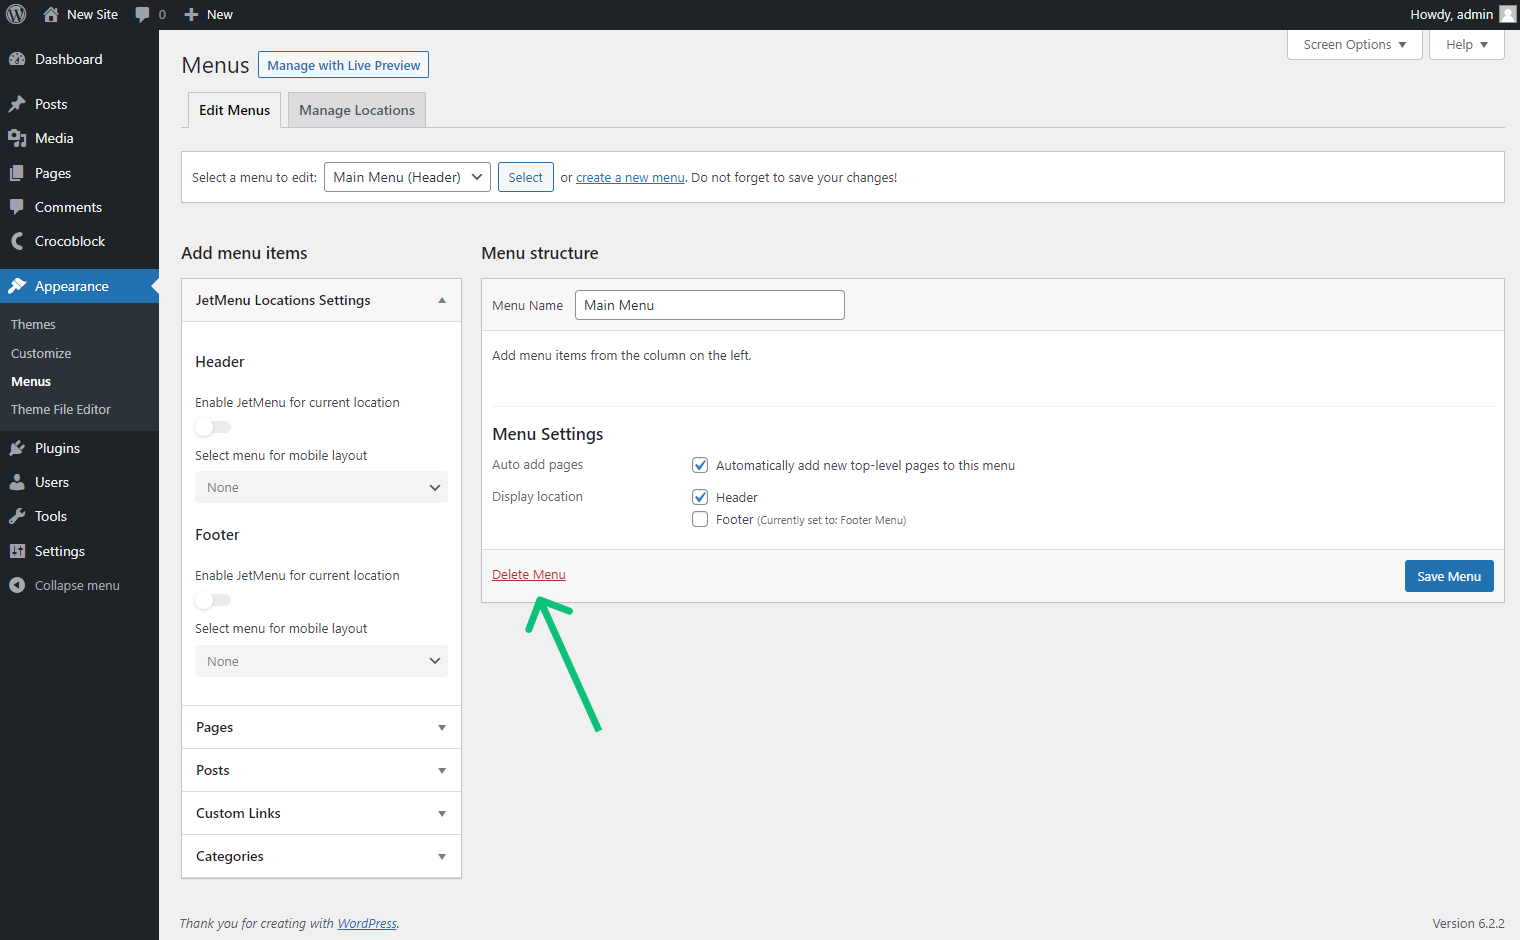
How to Delete a Menu in WordPress
Select the needed menu in the drop-down on the top, press the “Select” button, and click the “Delete Menu” link.
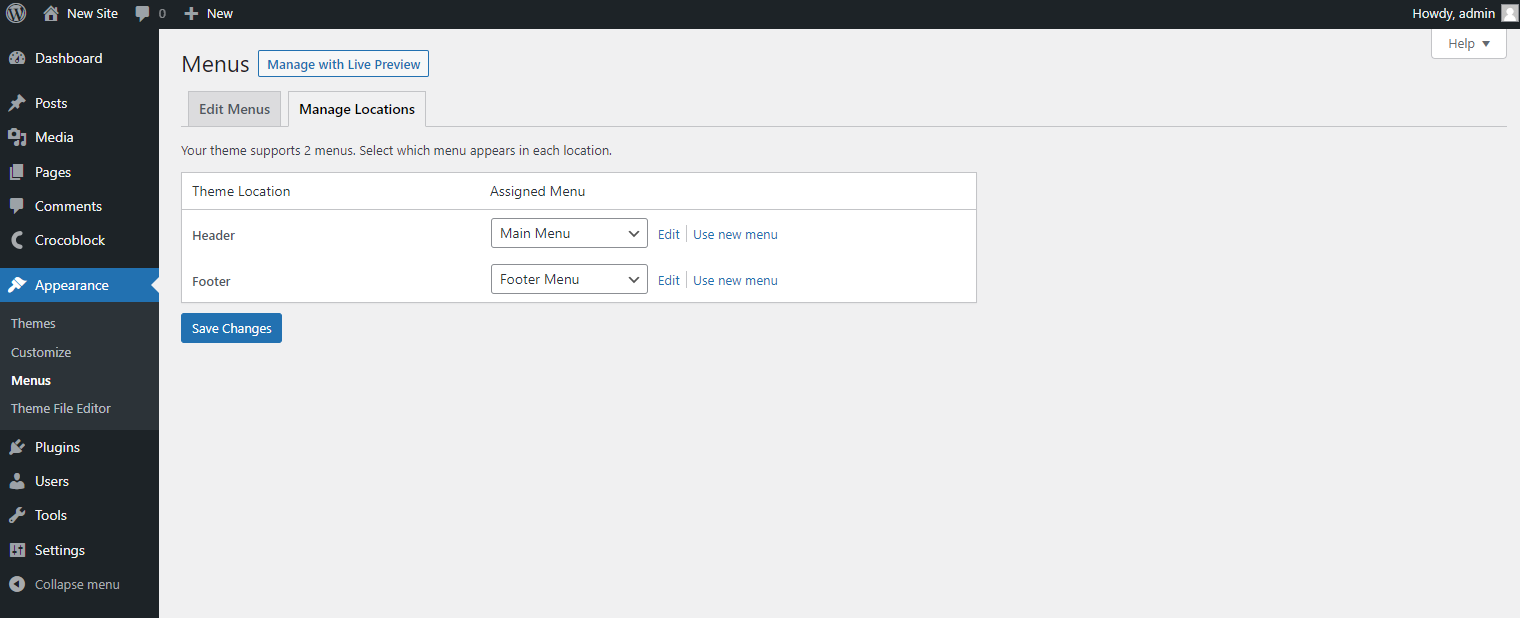
Manage Locations
If you proceed to the Manage Locations tab, you can quickly assign menus to different locations. If you hit the “Edit” button, you will proceed to the editing page to edit the menu assigned to the specific location, and if you press the “Use new menu” button, you can create a new menu.
That’s it. Now you know how to create WordPress menus, edit, and delete them.