How to Choose and Set Post Relations (Legacy)
From this tutorial, you can get information on how to establish the post relations (in Legacy Relationships) between different post types using the JetEngine plugin for Elementor. Plus, we'll explain what grandparent relations are.
JetEngine is the plugin addon for Elementor editor which allows adding the dynamic listing and grid layouts and provides a way to display the custom posts and taxonomies within any page templates.
Today we’ll show you how to choose the needed post relations and how to set them with the JetEngine plugin in Legacy Relationships.
Feel free to use Refactored Relations feature for more possibilities.
JetEngine provides you with 3 types of such relations, so let’s take a quick overview of them.
The Post Relations Types
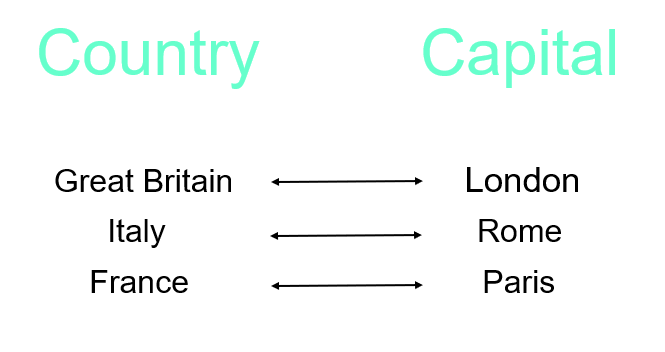
One-to-one posts relation
This relations type implies that one parent post type can be connected only to one child post type. E.g., one country has only one capital, and there are no capitals that are actually related to many countries at once. So the relation between the “Country” and “Capital” post types should be “one-to-one”.
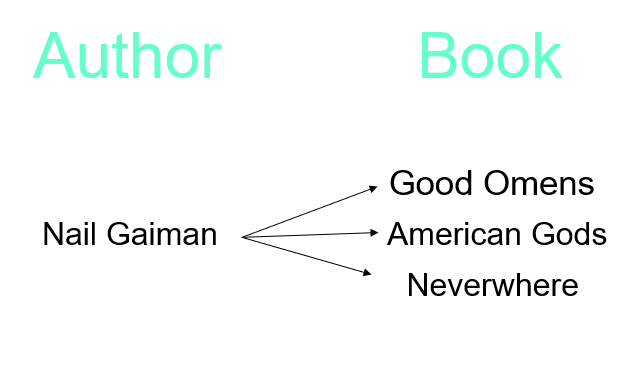
One-to-many posts relation
This means that one parent post type can be related to many other child post types. E.g., one book has only one author, however, one author could have written multiple books. So the parent “author” post type should have “one-to-many” relations type with the “book” child post type.
Many-to-many posts relation
Allows linking a lot of parent post types to many child post types at once. E.g., the is a “product” child post type, which is related to the “shop” parent post type. However, there are many products in each of the shops, and there are different shops where each of the products can be sold. So, the relations are “many-to-many”.

How to Create a Post Relation
Open the JetEngine > Post Relation directory in the WordPress Dashboard. Click the “Add New” button and start filling in the fields.
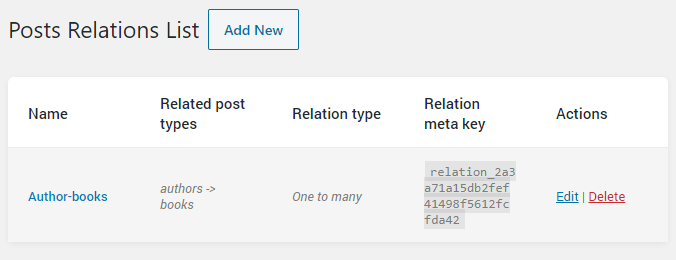
Provide the title for post relation in the Name field. After that, select the post type both for parent and child posts in the Parent post type and Child post type drop-downs. Afterward, set the needed posts relation in the Relation type dropdown.
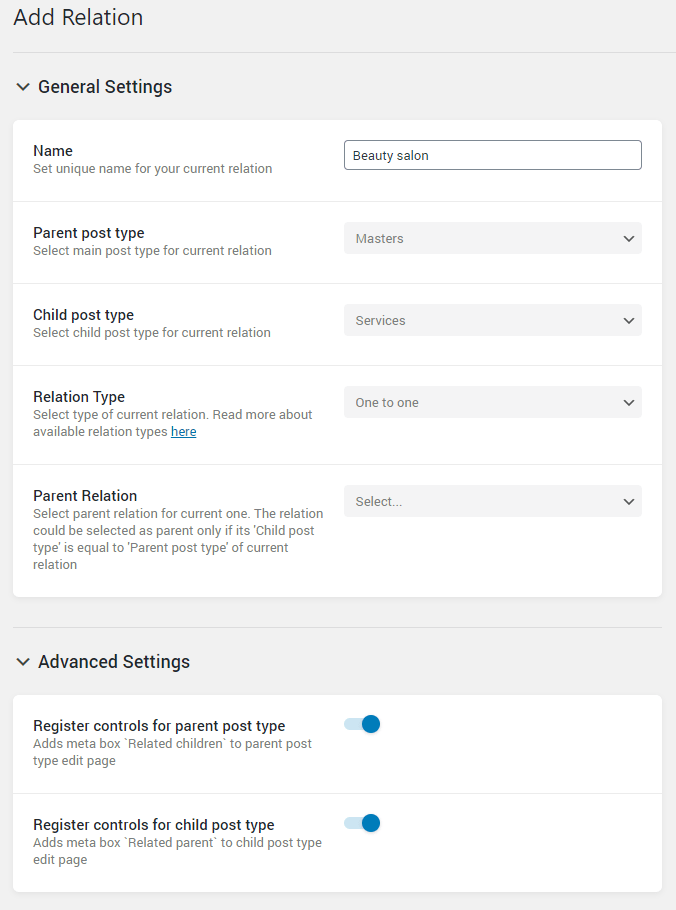
In the Advanced Settings section, you can also see two toggles:
- Register controls for parent post type. Enable this option in order to add the Related children meta box to the parent post’s editing page;
- Register controls for child post type. If you want to add a Related parent meta box to the child post’s editing page – turn this option on.
Finally, click the “Add Relation” in order to save it.
Displaying the Related Posts of Different Type with JetEngine
Assign children to parents
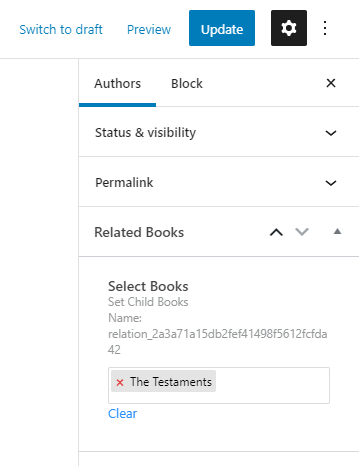
Go to the “parent” posts menu tab, open every parent post, and assign “child” posts to it. This can be done in the Related Posts (in our case, it’s Related Books) section of the right-side menu. Just type the titles of the “child” posts there. Don’t forget to click the “Update” button afterward.
Open the page in Elementor and customize it
Now open the Single Page template to which you’ve decided to add the related posts, in the Elementor editor. Find the Listing Grid widget and drop it into the page canvas. Choose the listing template in the listing drop-down menu and proceed to the Post Query section.
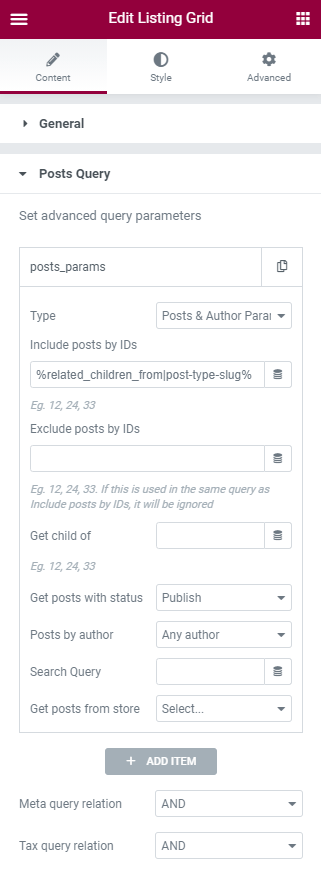
Add a new item and choose the “Posts&Author Parameters” option in the Type drop-down list.
Afterward, paste the %related_children_from|post-type-slug% or %related_parents_from|post-type-slug% macros into the Include posts by IDs field. The macro code depends on the relations between the posts, as well as the type of post template you are working with.
Don’t forget to replace the “post-type-slug” with an actual slug of the post type and click the “Update” green button at the bottom of the menu.
Grandparents Relations
This relation type allows you to make a hierarchical path between two separate relations.
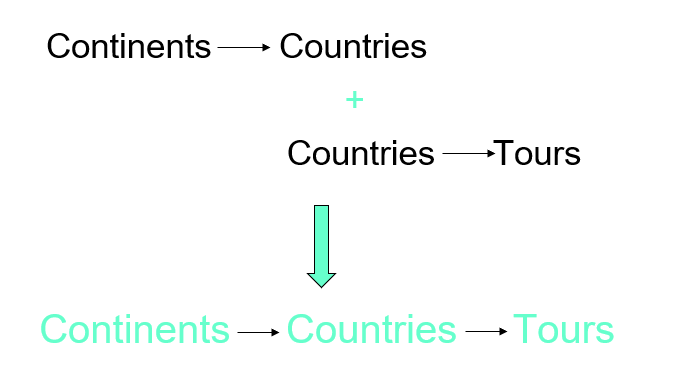
Let’s puzzle it out on the example. As an example, we took such post types as Continents, Countries, and Tours. It is possible to create two relations Continents > Countries and Countries > Tours and connect these two relations in one path.
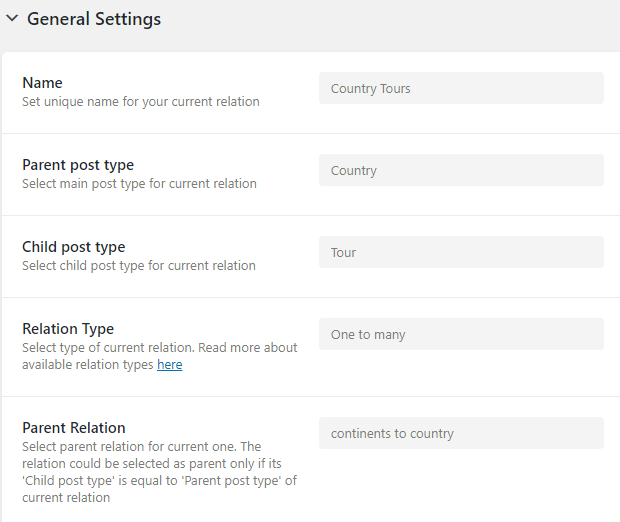
So, to create a grandparent relation, you need to have two relations. Create them and open the relation that has the lower hierarchy. In our case, it will be the Continents > Country relation.
In the Parent Relation block type “grandparent_name to parent_name”. In our case, it will be “continents to country”.
To display this type of relationship you will also need a macro code. Add the Listing Grid to the page and choose the listing related to a certain Single post. Open the Post Query section and paste one of these macro codes:
%get_grandparent|from-post-type%— get the parent post for the current post type;%get_grandchild|from-post-type%— the search will go from the current post to the child’s one.
Instead of “from-post-type” you need to enter the slug of the post type.

It is a little overview for you to have an idea about this type of relation. To get to know more, kindly take a look at the full tutorial.
Now you’ve created the post relations and learned to display them on the Single Page.