How to Create a Page with Products Comparison
JetCompareWishlist plugin provides an opportunity to display a comparison table of products. This tutorial will show you how to do it.
Before you start, check the tutorial requirements:
- JetCompareWishlist plugin installed and activated
When the customer is in doubt about which of several products to choose, he would want to compare them. The JetCompareWishlist plugin gives you all the tools to add the “Compare” button to the product’s single page and create a page where the comparison table will be shown. This tutorial will lead you through all the steps of creating a comparison page.
Create a Page
If you want to have a separate page for the compare list, you should add a default WordPress page first. Open your website’s Dashboard and go to the Pages tab. Click the “Add New” button and create a page for comparison tables.
Enable Comparison Settings
To be able to use comparison functionality, you have to enable it first. Go to JetPlugins > JetCompareWishlist Settings and turn the Compare functionality on. In the Compare Page field, choose the page you created for comparison tables. For more details, follow the How to Enable Comparison Functionality guide.
Add Some Products to the Comparison Table
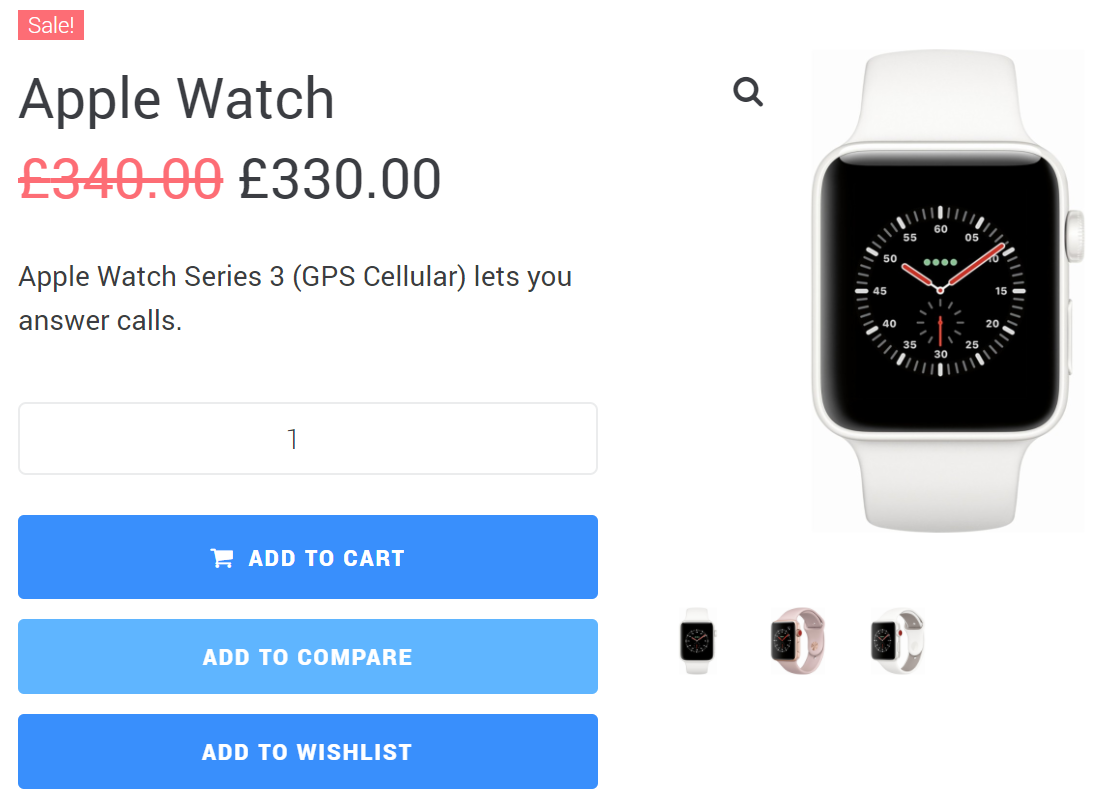
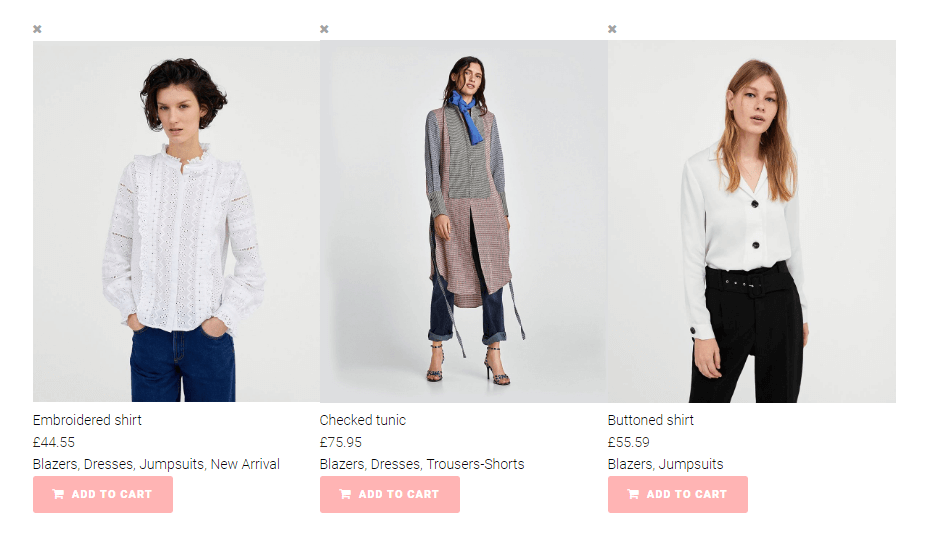
If you turn the Add default Compare Button toggle on, all the WooCommerce products on our website now have the default “Compare” button. Open the front end of your website’s shop page and add some products to the comparison list by clicking on the “Compare” button. That’s necessary because otherwise, you won’t see the compared products later in the table.
Add the Compare Widget and Customize It
Open the page that you’ve created previously and hit the “Edit with Elementor” button. Seek the Compare widget and drop it to the page.
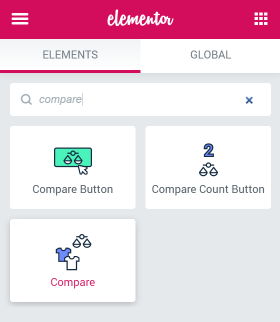
There are three comparison widgets that allow making your shop page more profitable and user-friendly. They are the Compare Button, Compare Count Button, and Compare widgets. You can find out more about their functionality from the Compare Widgets Overview.
Customize all the settings in the Content tab according to your taste and needs. It refers to each widget for product comparison.
In the Style settings block, you can change the appearance of every item of the table according to the design of your shop.
When all customizations are done, click the “Update” button.
Now you know how to create a page with the Product Comparison on it.