How to Make Changes in the Blog Settings via Customizer
This tutorial will help you explore the changes that can be done via Customizer to improve your blog.
The Customizer provides you with plenty of options for changing the appearance of the single blog post pages. Besides, it allows changing the general blog settings.
You’d be able to test out different blog page layouts while working with the default blog page’s template in the Kava theme. Also, it’s possible to change the appearance of the default Single Post page.
Changing Blog Settings via Customizer
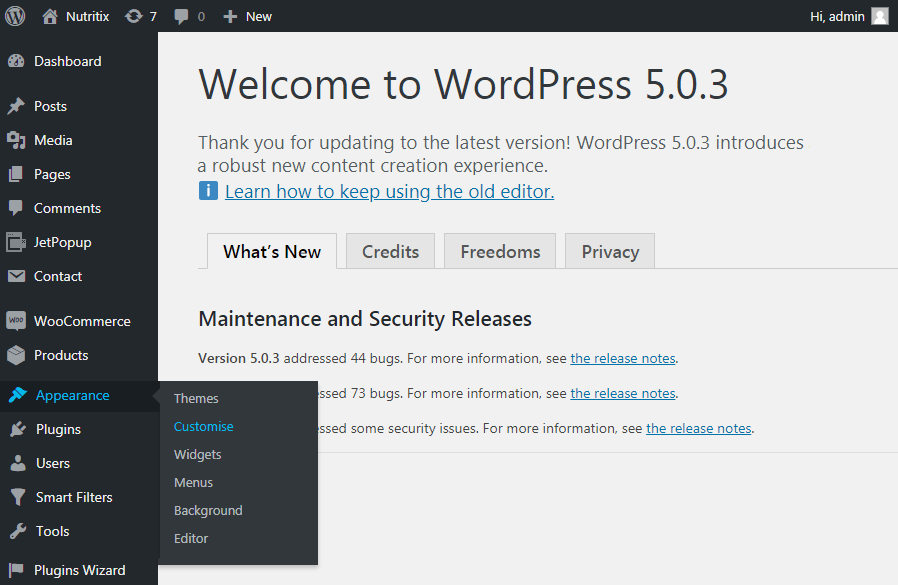
First of all, make sure that a page you’re currently customizing shows the blog posts. For this purpose, open the Appearance > Customize section in the WordPress Dashboard.
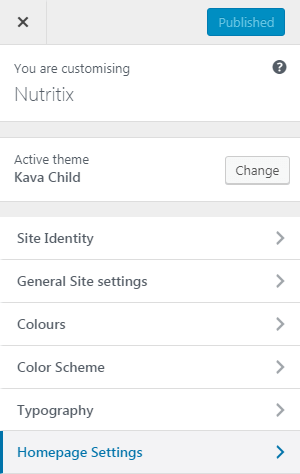
Secondly, click the Homepage Settings menu.
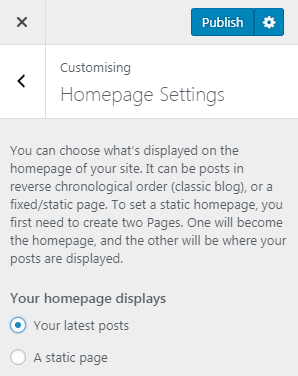
Then, tick the Your latest posts option and your homepage will display the posts from your blog.
In case you don’t want to replace the home page with the blog post archives, open the blog page directly in Customizer.
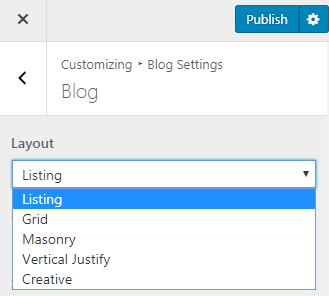
Afterwards, navigate to the Blog Settings > Blog directory.
You are able to select one of 5 layouts of your blog page template from the Layout dropdown in the Blog Settings tab.
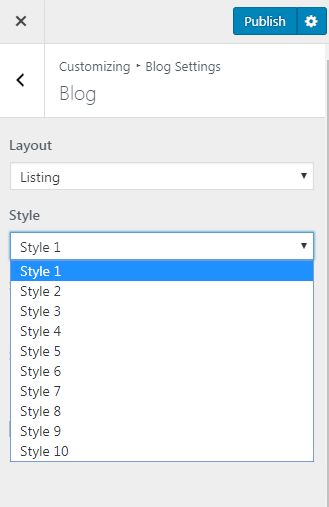
Each layout has 10 available styles. Select the one you like the most from the Style dropdown.
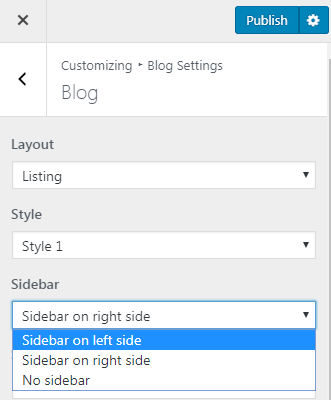
Depending on the layout you have chosen, you would be able to add a sidebar with various widgets. For this purpose, choose the needed sidebar location from the Sidebar dropdown.
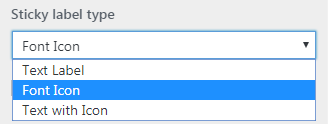
Another curious option allows sticking the desired post in order to keep it always on top of the other posts. You can specify the text label, the font icon, or the text with an icon in the Sticky label type dropdown.
Besides, if you want to show the author’s name for each publication, tick the Show post author box.
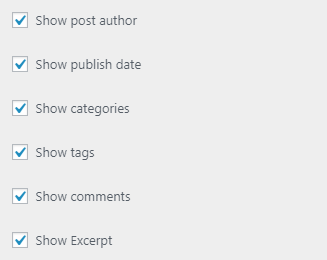
In order to add a date to each of your posts, tick the Show publish date box.
Moreover, you can classify the posts by ticking the Show categories box.
You can also enable the readers to find your posts by tags if you tick the Show tags box.
In order to display the comments count for each of the posts, tick the Show comments box to.
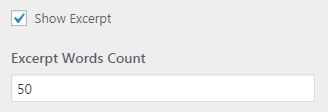
the Show Excerpt box allows displaying the custom post excerpt. So, if you’ve got the excerpt fields filled for all the posts, just to enable this option.
In addition, you are able to select the length of the text that will be shown (using the words count). In order to do so, select the number of words using the Excerpt Words Count spinner.
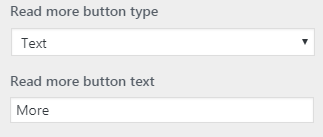
Furthermore, you can set up the type of the Read More button. Also, you are able to speicify the text of the Read More button.
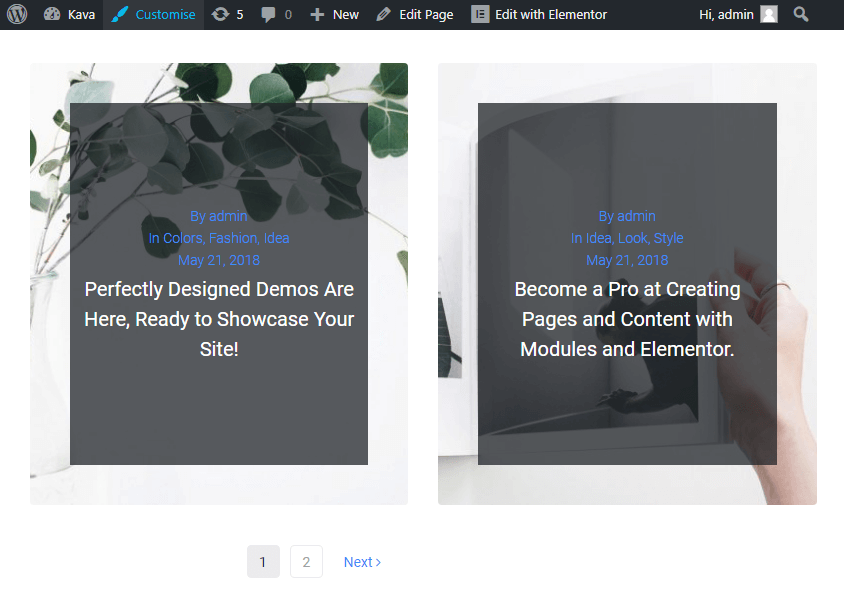
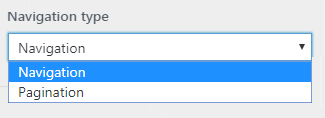
If there are already loads of posts, you might want to use the navigation in order to make it more easy for the visitors to look through the posts feed. There are two available navigation types in Customizer’s Blog Settings: pagination and navigation. You can choose one of them in the Navigation type dropdown.
Finally, click the Publish button to save all the changes.
That’s pretty much it. As you can see, the blog settings customization doesn’t take much time. Feel free to customize your blog in case you’re using the default Blog page template.