How to Set Time Picker in the Appointment Calendar
This tutorial teaches you to set the Time Picker feature in the Appointment Calendar in the WordPress form.
With the Time Picker feature, users can book an appointment at any available time.
Proceed to Crocoblock > JetPlugins Settings > JetAppointments > Working Hours, and select the “Time Picker” option in the Schedule Type field.
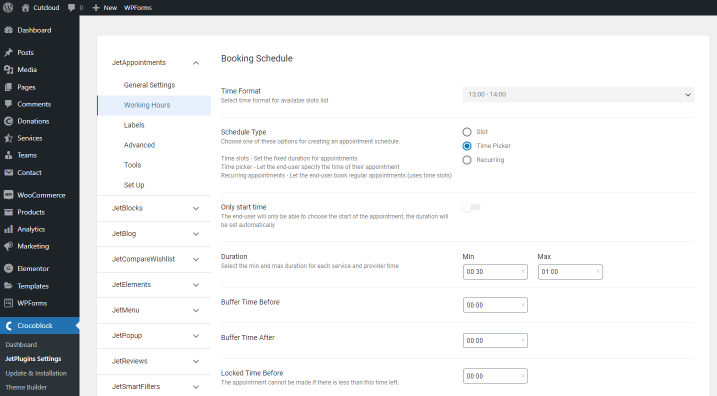
If you enable the Only start time toggle, it turns off the second time picker, and the appointment time will be set automatically according to the Duration option. For example, if a customer selects the start of the meeting at 12:15 p.m., and the Duration is set as 1 hour, the end of the meeting will be at 1:15 p.m.

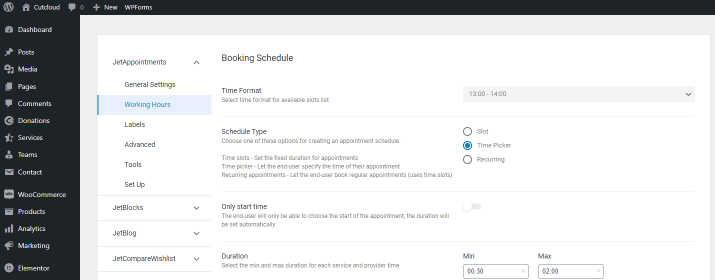
If the Only start time option is toggled off, customers can set the start and end times of the meeting. Also, you can set the minimum and maximum Duration of meetings.
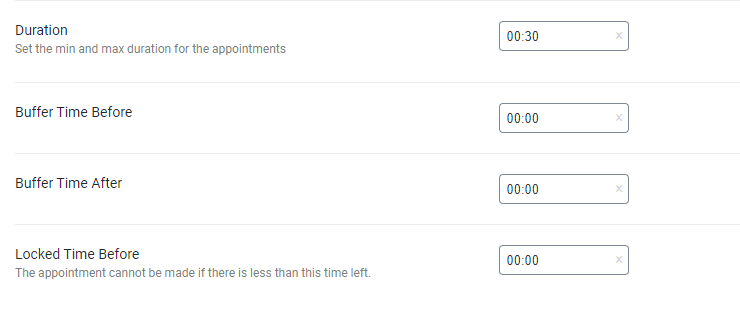
Be aware that Buffer Time is also added to booking time when a customer books the appointment. You can find out about others JetAppointment Dashboard settings here.
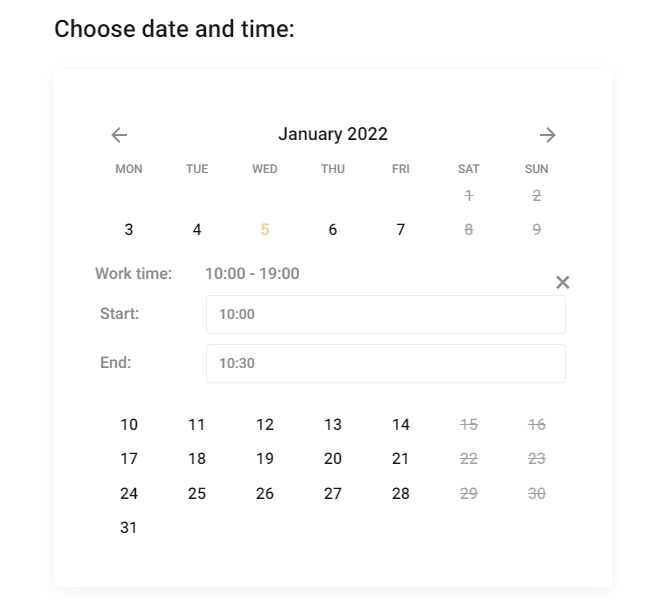
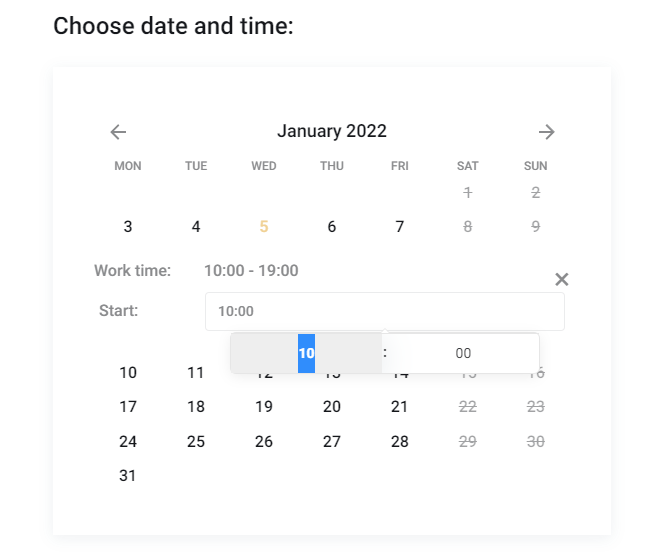
Then, open the page with the appointment form. After you select the date, you will see the information about Work Time, and you can set the start and end times of the meeting.
There is only a start time picker in the form with the Only start time option.
That’s it. You know now how to set the Time Picker in the JetAppointment plugin settings, and you have seen how it works on the front end.