How to Add Pagination to the Listing Grid Widget
From this tutorial, you will learn how to connect the Pagination widget of the JetSmartFilters plugin and the Listing Grid widget of the JetEngine plugin properly in order to make your page look neat.
If you have a large number of posts in your listing grid, but you want only several of them to be seen at a time on your page, you can attach the Pagination widget from the JetSmartFilters plugin to the listing you have. The visitors of your website will be able to switch between the posts using pagination instead of scrolling down non-stop. It will take only a few steps, so let’s go through them.
Adding Widgets to Page
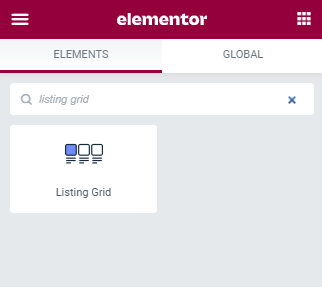
Go to your website’s dashboard and find the page where you would like to place the Listing Grid with Pagination. Open it in the Elementor page builder. Find the Listing Grid widget in the left-side widget menu and drop it on to the page.

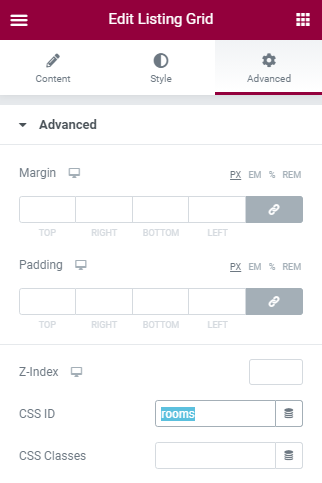
Choose the needed listing in the Listing drop-down and do all the other necessary customization. If you need a hint – go through this Listing Grid Overview. Afterward, open the Advanced tab of the left-side menu and fill in the CSS ID field. You will need that ID to link the listing Grid with the Pagination widget.

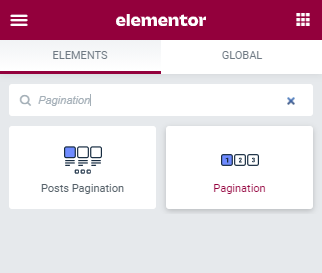
Next, find the Pagination widget and drop it next to the Listing Grid widget.

Set Connection between Widgets
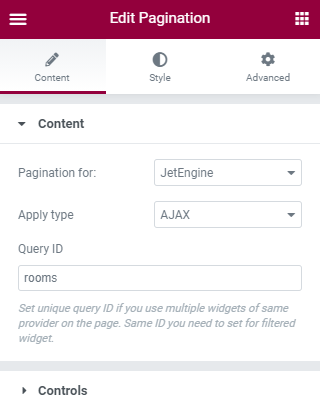
In the Content settings block, navigate to the Pagination for: and select the “JetEngine” option. In the Apply type drop-down list choose “AJAX” option.
If there is a single JetEngine item on the page, then you don’t need to fill the Query ID field. However, if there are several Listing Grids on the page you have to specify which one to apply the Pagination to. Copy the ID you typed into the CSS ID field of Listing Grid previously and paste it into the Query ID field.

Do the necessary customization and styling and click the “Publish” or “Update” button on the bottom of the menu.
Now you can click the digits below the listing in order to switch the posts in a click.