Listing Grid Overview
Learn how to use JetEngine’s Listing Grid widget to dynamically display CPTs, taxonomies, products, and more in customizable layouts on your WordPress website.
Listing Grid is a JetEngine plugin widget intended to display dynamic data from Meta Fields of Custom Post Types (CPT), Custom Content Types (CCT), default WordPress pages and posts, terms, taxonomy, or WordPress User data. Additionally, if additional plugins are installed and activated, this widget can be used to display WooCommerce products, JetAppointment service and provider data, and more in the listing form.
Inserting the Listing Grid Widget
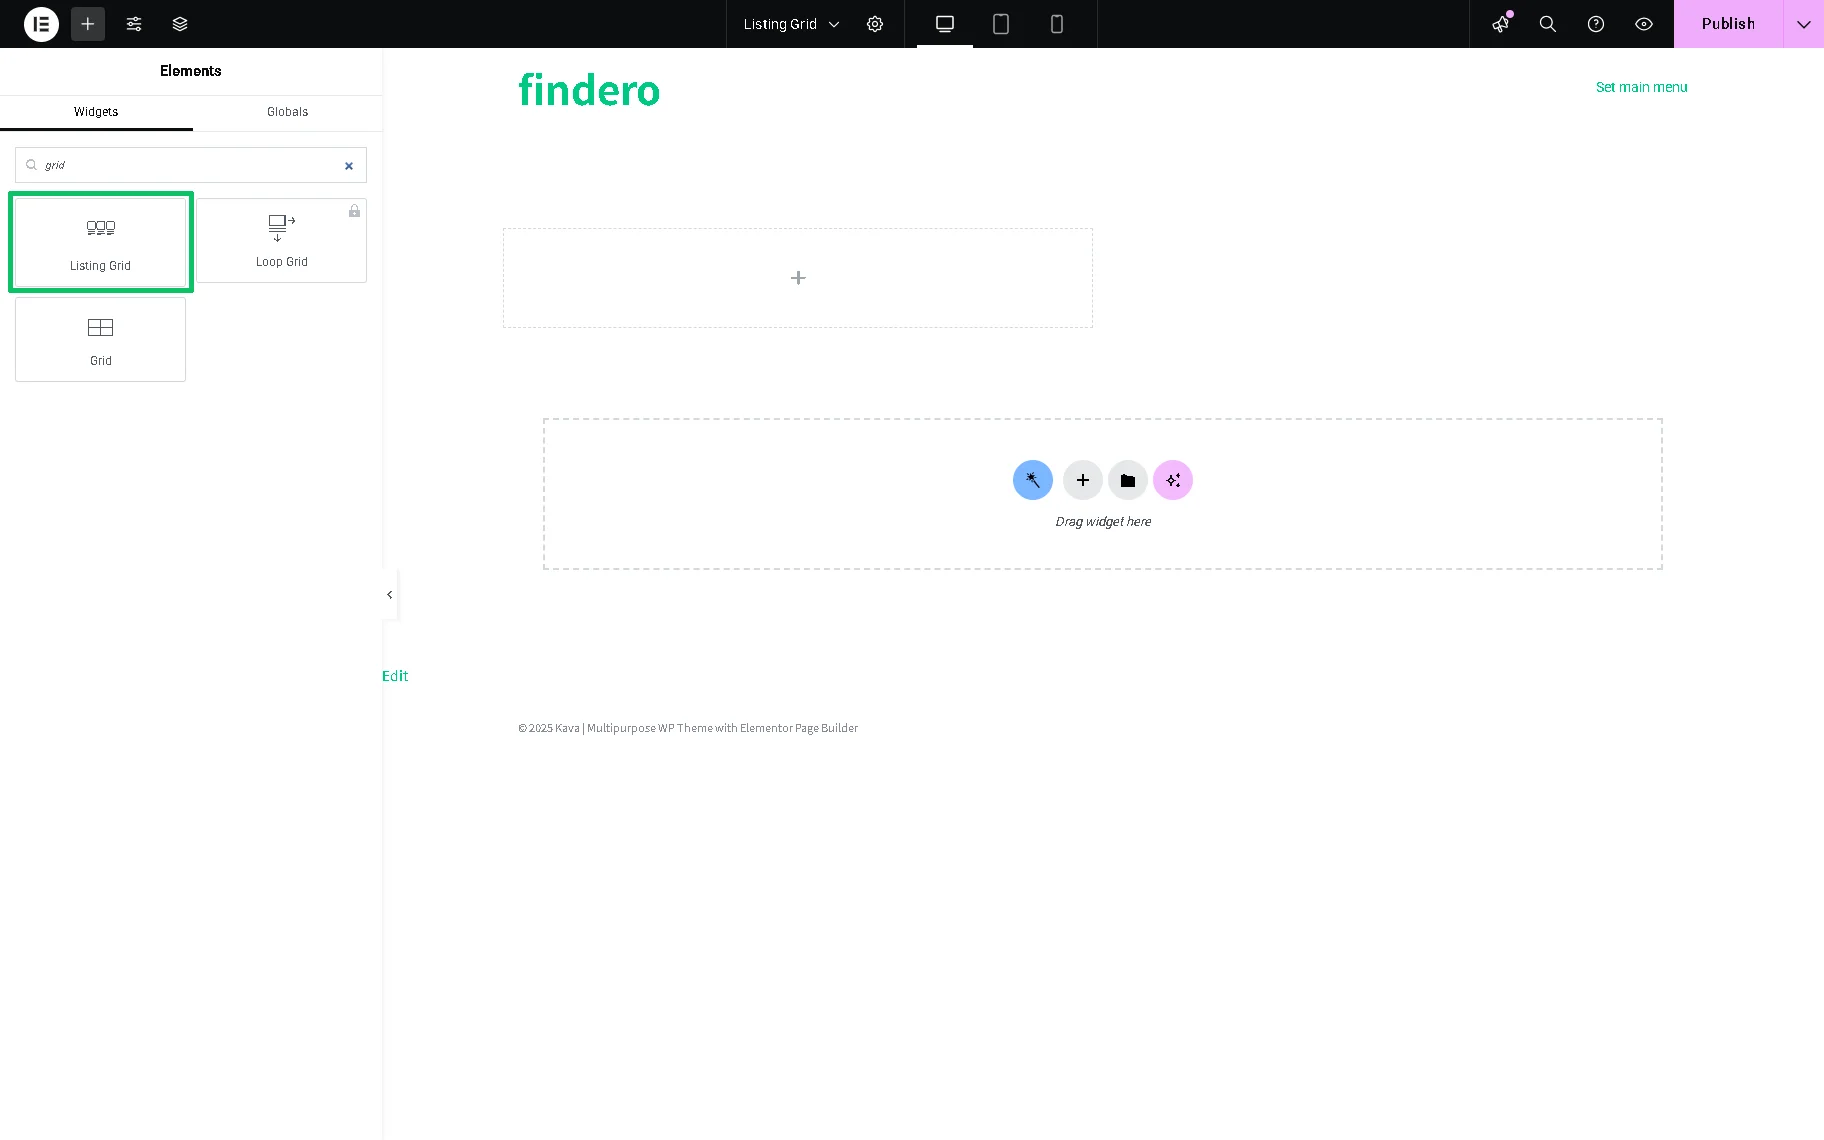
The widget can be inserted as an Elementor widget by searching for it in the search bar and dragging and dropping it where needed.
Like any widget for Elementor, the widget has three setting tabs: Content, Style, and Advanced. The General settings of the Content tab are unrolled by default.
General Settings
The General settings are presented by the following fields:
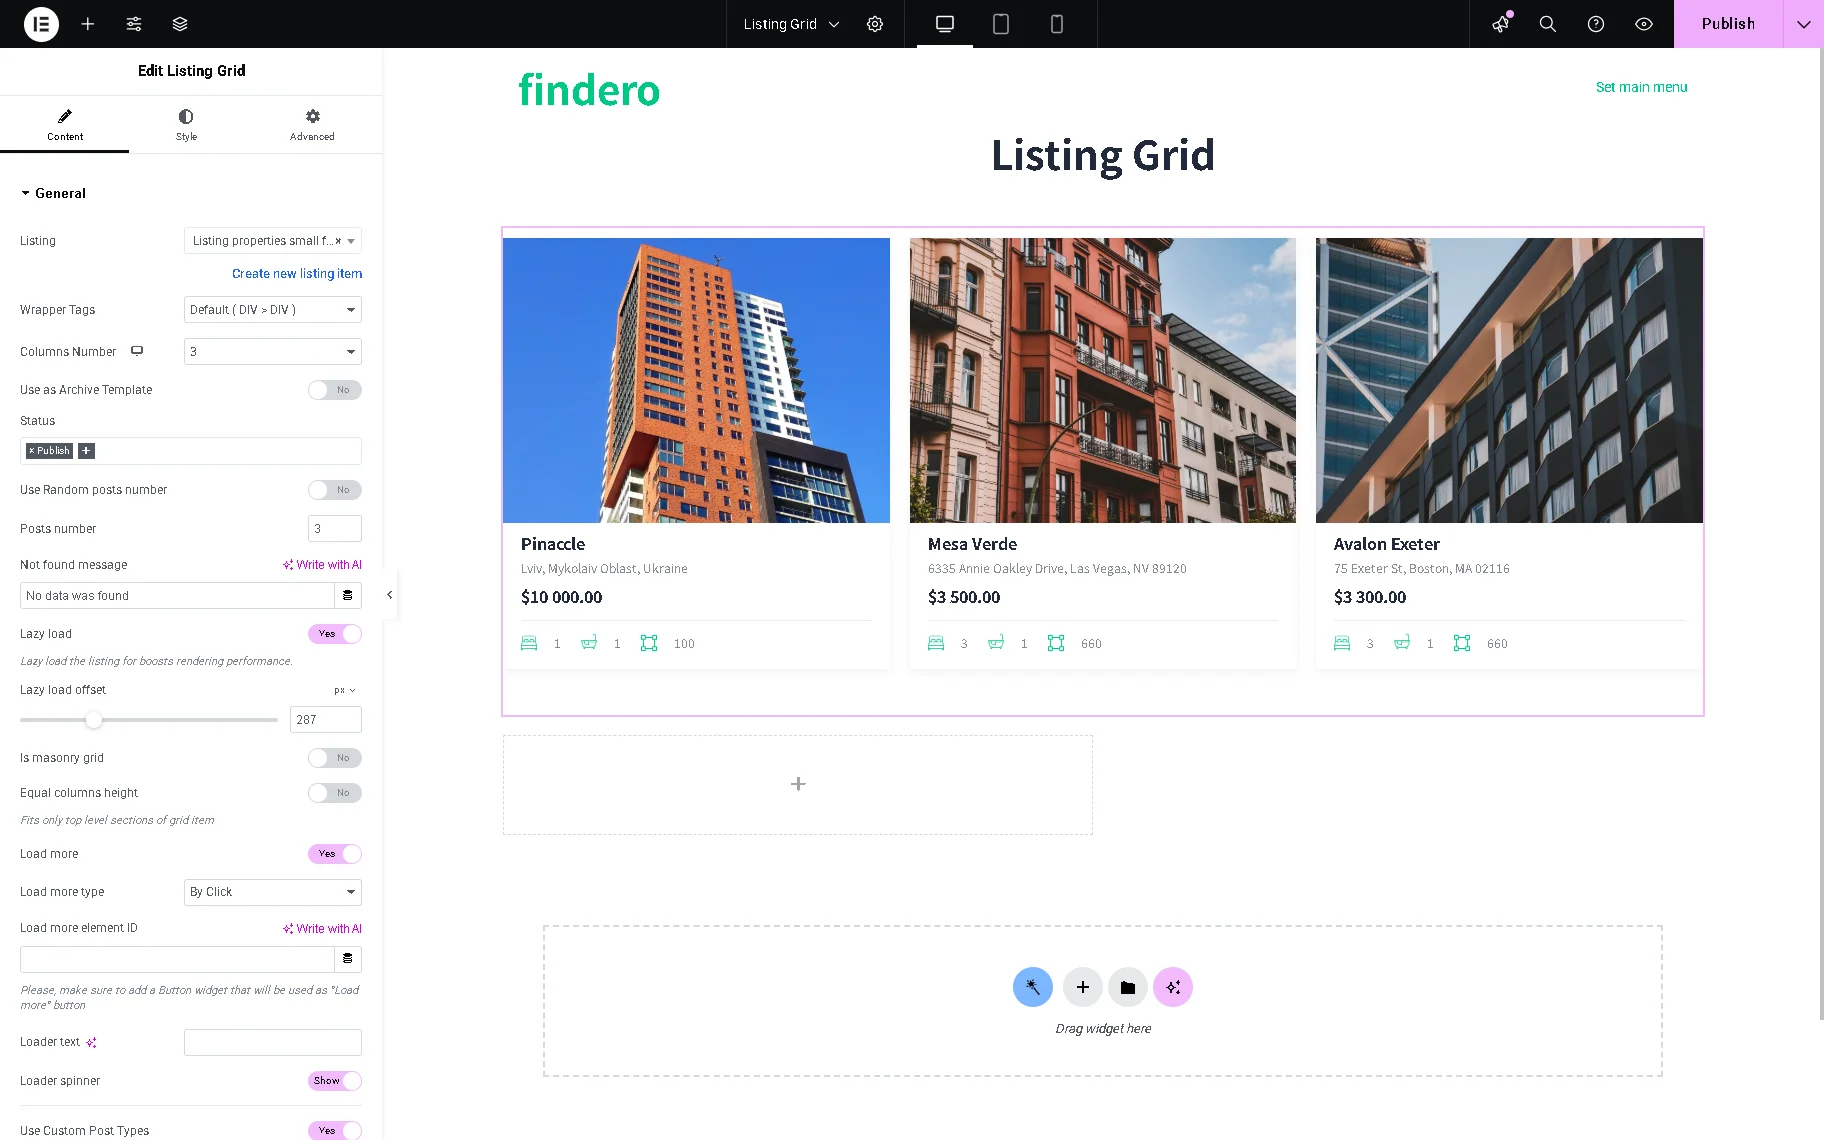
- Listing — a drop-down menu where the listing template can be selected, the one that was previously created in the WordPress Dashboard;
- Wrapper Tags — is intended for more semantic HTML markup in listings and has three options: “Default (DIV>DIV),” “OL>LI,” “UL<LI”. These options allow implementation compatibility with third-party plugins (e.g., the CartFlows Variation Swatches plugin). More details on using the Wrapping tags options in listings can be found in the How to Use CartFlows Variations Swatches Inside Listing tutorial.
- Columns Number — allows setting the number of columns displayed in the Listing. It ranges from “1” to “10” options, and there is also one called “Auto.” If the “Auto” option is picked, the Column Min Width setting is shown. It is not the exact width of the column; the option sets a minimum needed value for the column width. The actual width will slightly exceed the minimum value, and that width will be required to fill up the selected container with columns.
- Use as Archive Template — a toggle to use the page where the grid is placed as an archive template. In this case, the number of posts will be taken from the Blog pages shown in most fields that can be found in WordPress Dashboard > Settings > Reading window;
- Status — a field that allows selecting the needed status of posts to be displayed in the Listing Grid:
- Publish — shows the published posts only;
- Future — shows the posts scheduled to be published at a later time;
- Draft — shows the drafts;
- Pending Review — shows the posts that need some revision;
- Private — shows the posts that are visible only to the admin;
- Inherent — shows the status of child posts similar to the parent’s one.
- Use Random posts number — a toggle that can be enabled to show a random number of posts each time the user reloads the page. After switching it on, the minimum number of posts can be set in the Posts number bar, and the maximum number of posts in the Max Random Posts number bar;
- Not Found Message — specifies what text will appear when the data is not found;
- Lazy load — improves page rendering performance by loading the grid content only as the user scrolls, rather than on initial page load. If enabled, the Lazy load offset switcher sets the corresponding offset in px;
- Is masonry grid — a toggle to present the Listing in the form of a masonry grid;
- Equal columns height — unifies all the columns by their height;
- Load More — a toggle that, if enabled, allows perfect organization of the listing and saving page space in case there are a lot of posts to show. In this case, the defined number of posts, along with additional ones, will be shown upon the user’s demand. Additionally, an Infinite Scroll functionality can be used on the page, which means new posts in the grid will be loaded as the user scrolls through the page. If enabled, the toggle activates the following settings:
- Load more type — a drop-down list where the “Load More” behavior should be picked. Additional items can be loaded on click or via an infinite scroll;
- Load more element ID — a field for the ID of the button that will be attached to the listing. It should be a separate widget added to the page with the specified ID in its settings. Then this ID should be pasted in this field;
- Loader text — a text field for inserting the text that will be displayed when items are loading;
- Loader spinner — a toggle that enables a loader spinner when posts are loading.
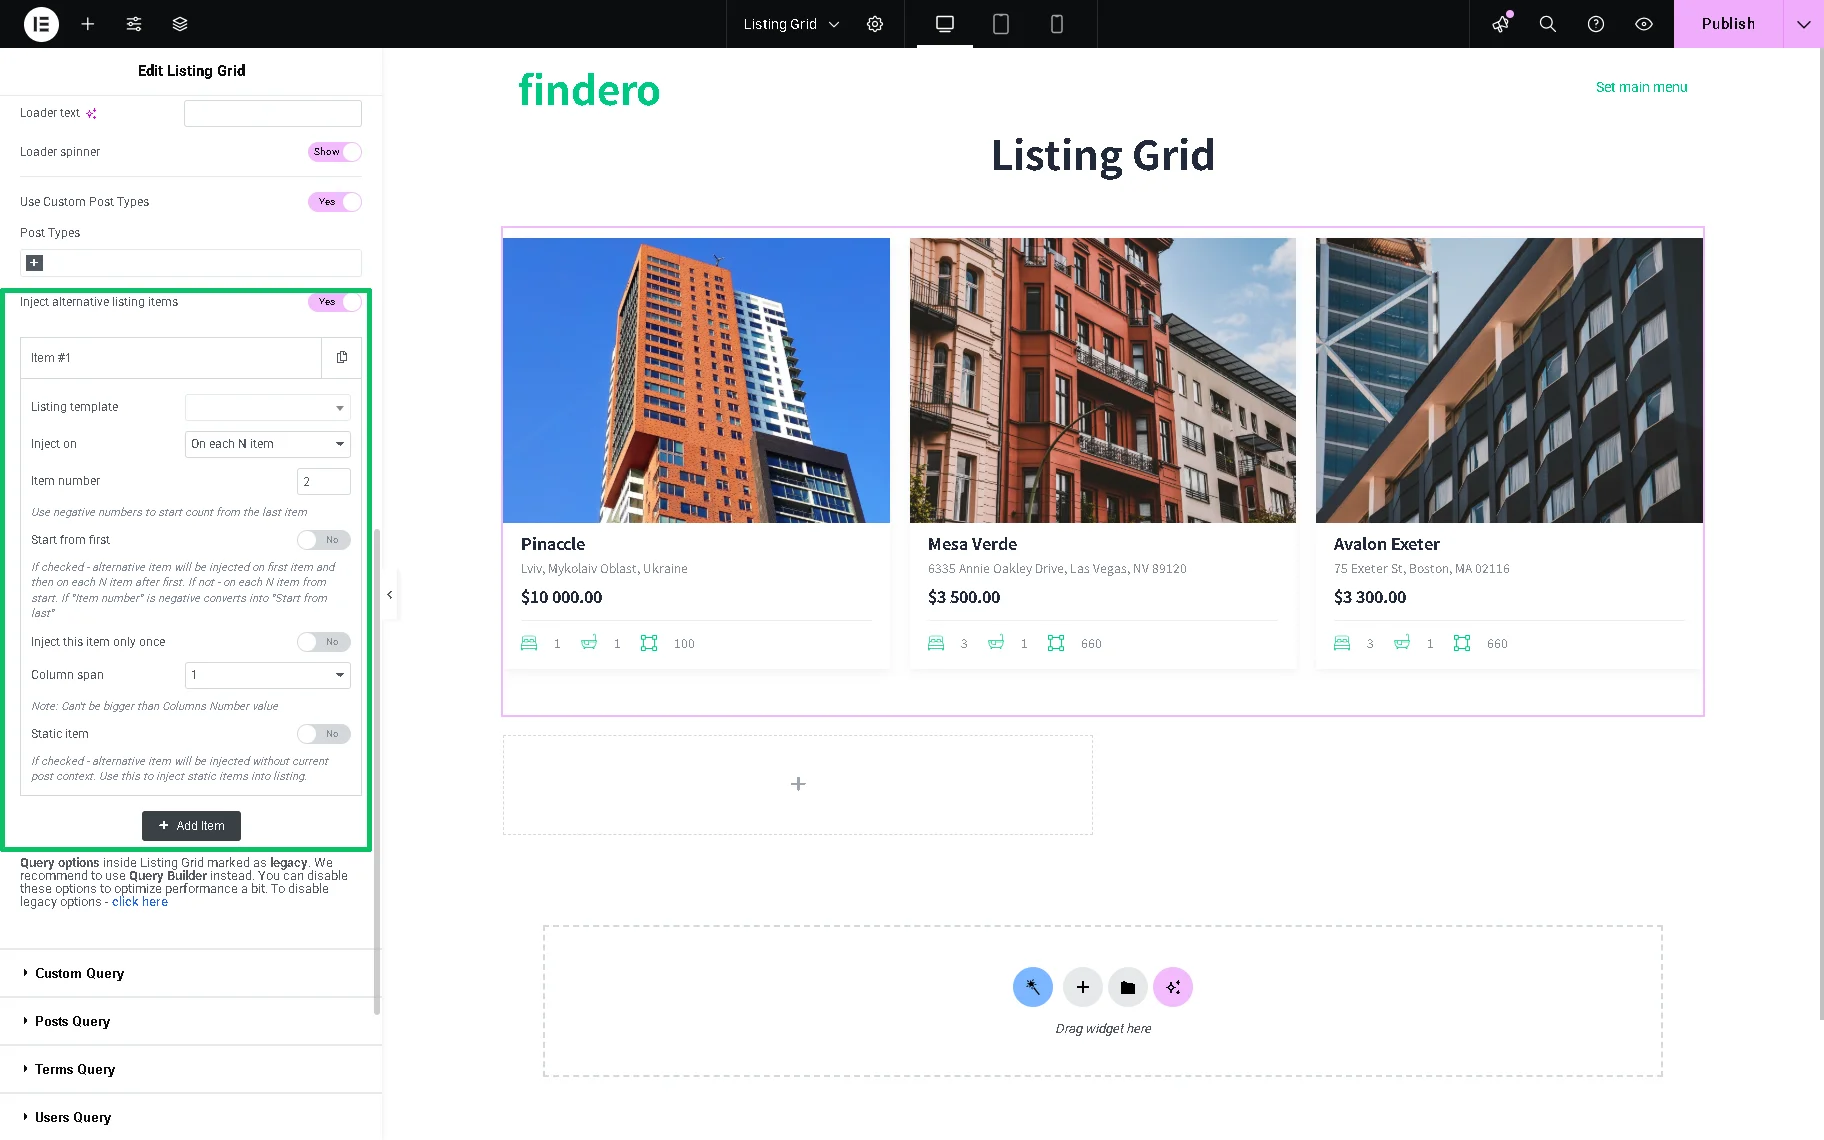
- Use Custom Post Types — a toggle that, if enabled, allows selecting two or more CPTs to display via the Listing Grid. In this case, the toggle should be enabled and the needed Post Types should be specified in the corresponding drop-down list. The explanation of how to configure the necessary settings to display certain CPTs is presented in the Listing Grid Widget Overview tutorial.
- Inject alternative listing items — a toggle that allows inserting other listing items. The feature is available if the Listing grid injection module of the JetEngine plugin is activated. To customize the new item, click the “Add Item” button to display settings related to the new listing. Simply put, if there are Listings that are customized differently, it is possible to use them in the same listing grid. More about this function can be found in the How to Use Alternative Listing Template Injections in Listing Grid Widget tutorial.
Custom Query
This section allows using a query built with the Query Builder functionality. The setting is presented by the Use custom query toggle, which, if enabled, activates the Custom Query drop-down list to select the needed query.

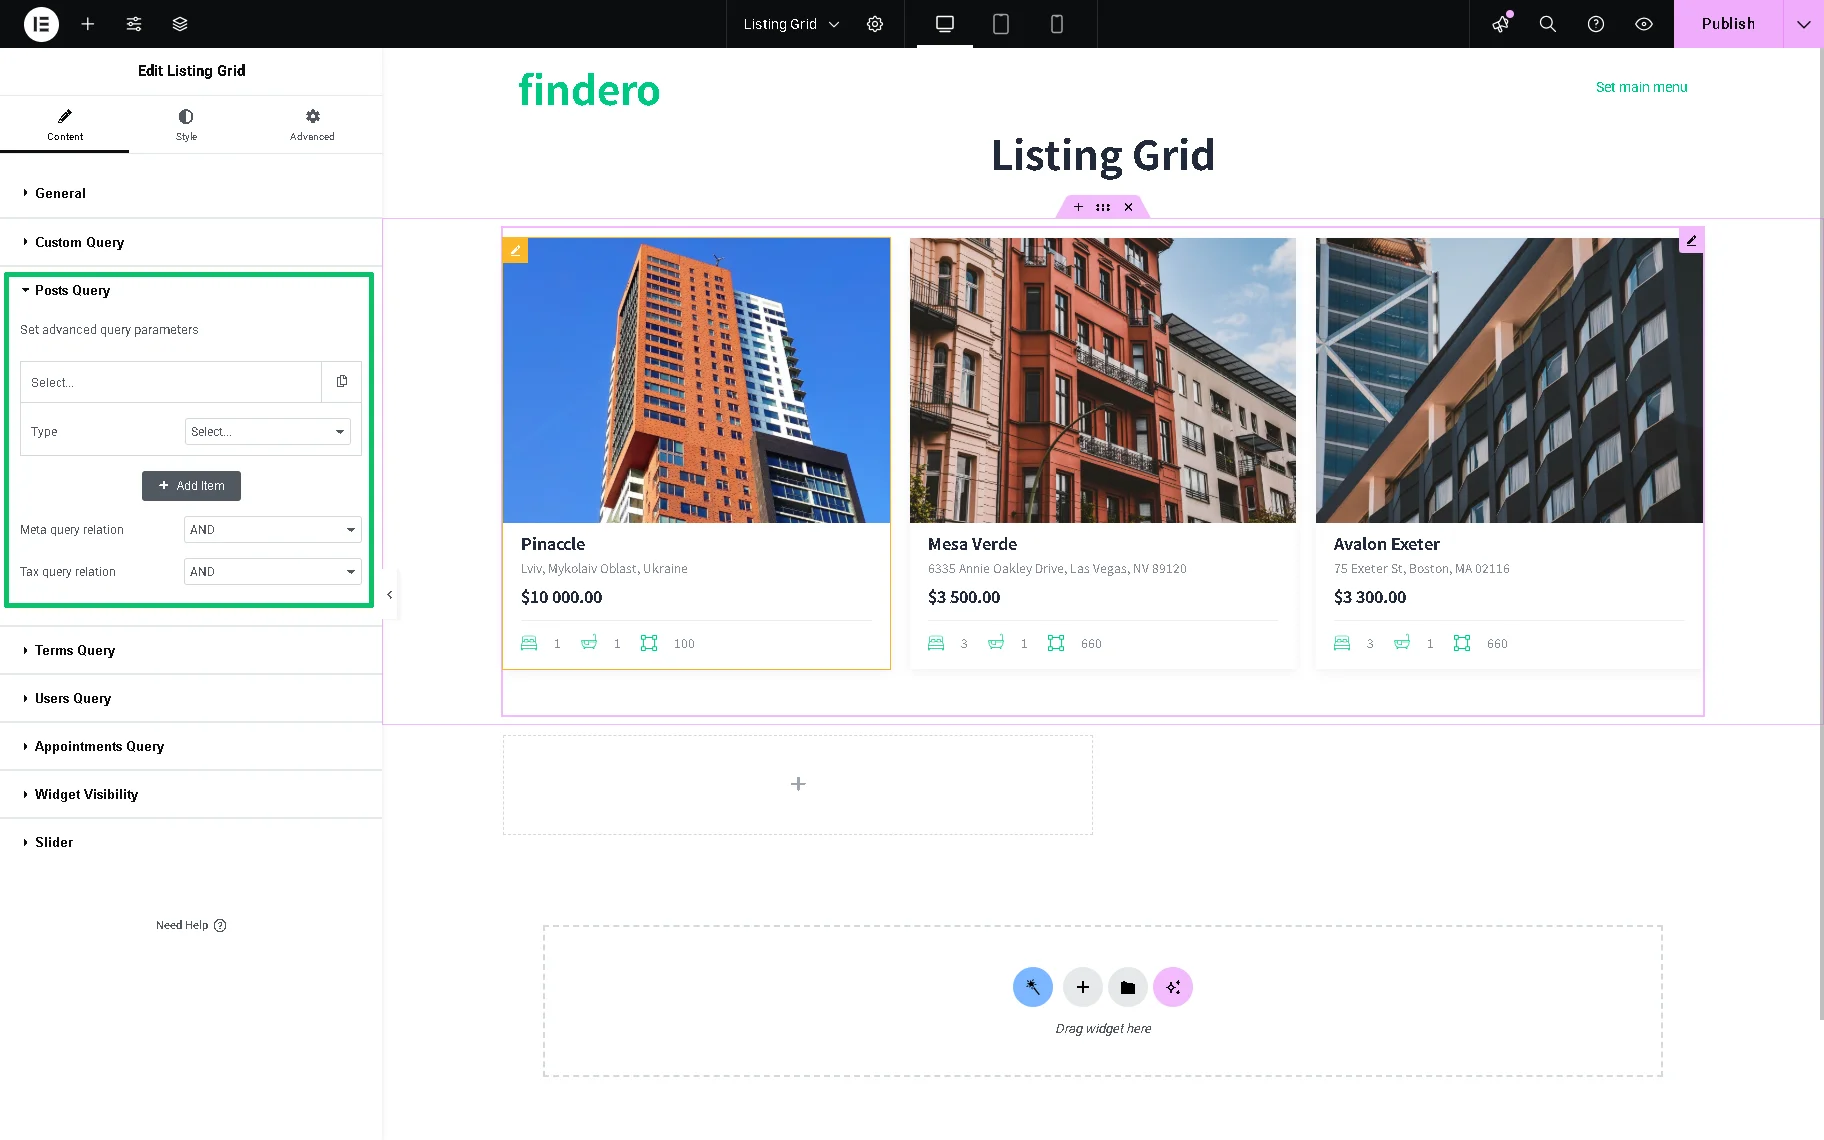
Posts Query (Legacy)
Posts Query is meant to include or exclude some posts in the listing by post IDs and other advanced parameters. Once unrolled, the following settings are available in this tab: Set advanced query parameters, Add Item, Meta query relation, and Tax query relation.
More information can be found in the Posts Query tutorial.
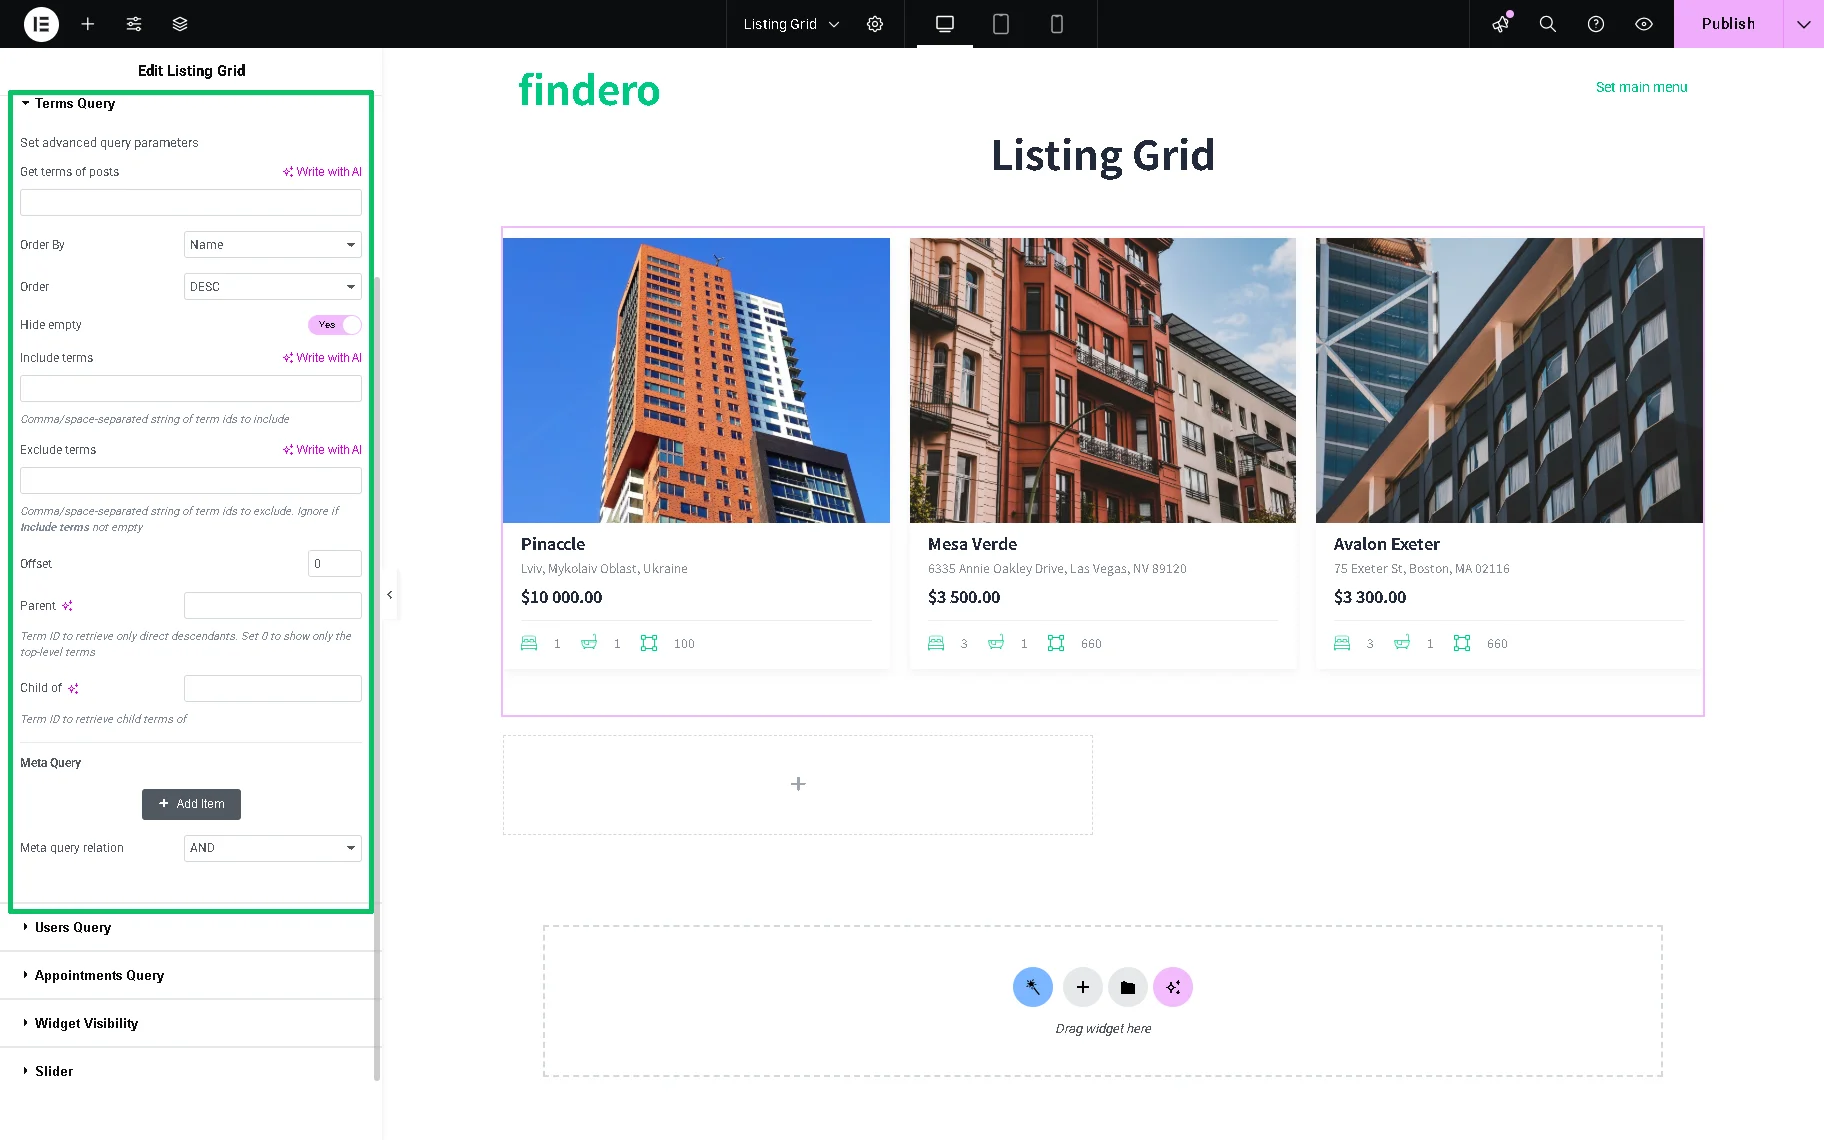
Terms Query (Legacy)
The Term Query can be used to specify the shown terms and not just display all the terms connected to a certain taxonomy. The following settings are available: Get terms of posts, Order By, Order, Include terms, Exclude terms, Offset, Parent, Child of, Meta Query, etc.
More details are presented in the Listing Grid Terms Query Overview tutorial.
Users Query (Legacy)
As for these settings, if there are some lists of the website users, such as Authors, Admins, Editors, etc., that help to maintain it, the Users Listing Grid can be created and advanced parameters set to display it, for example, by Roles, Exclude or Include some of them by Users ID.
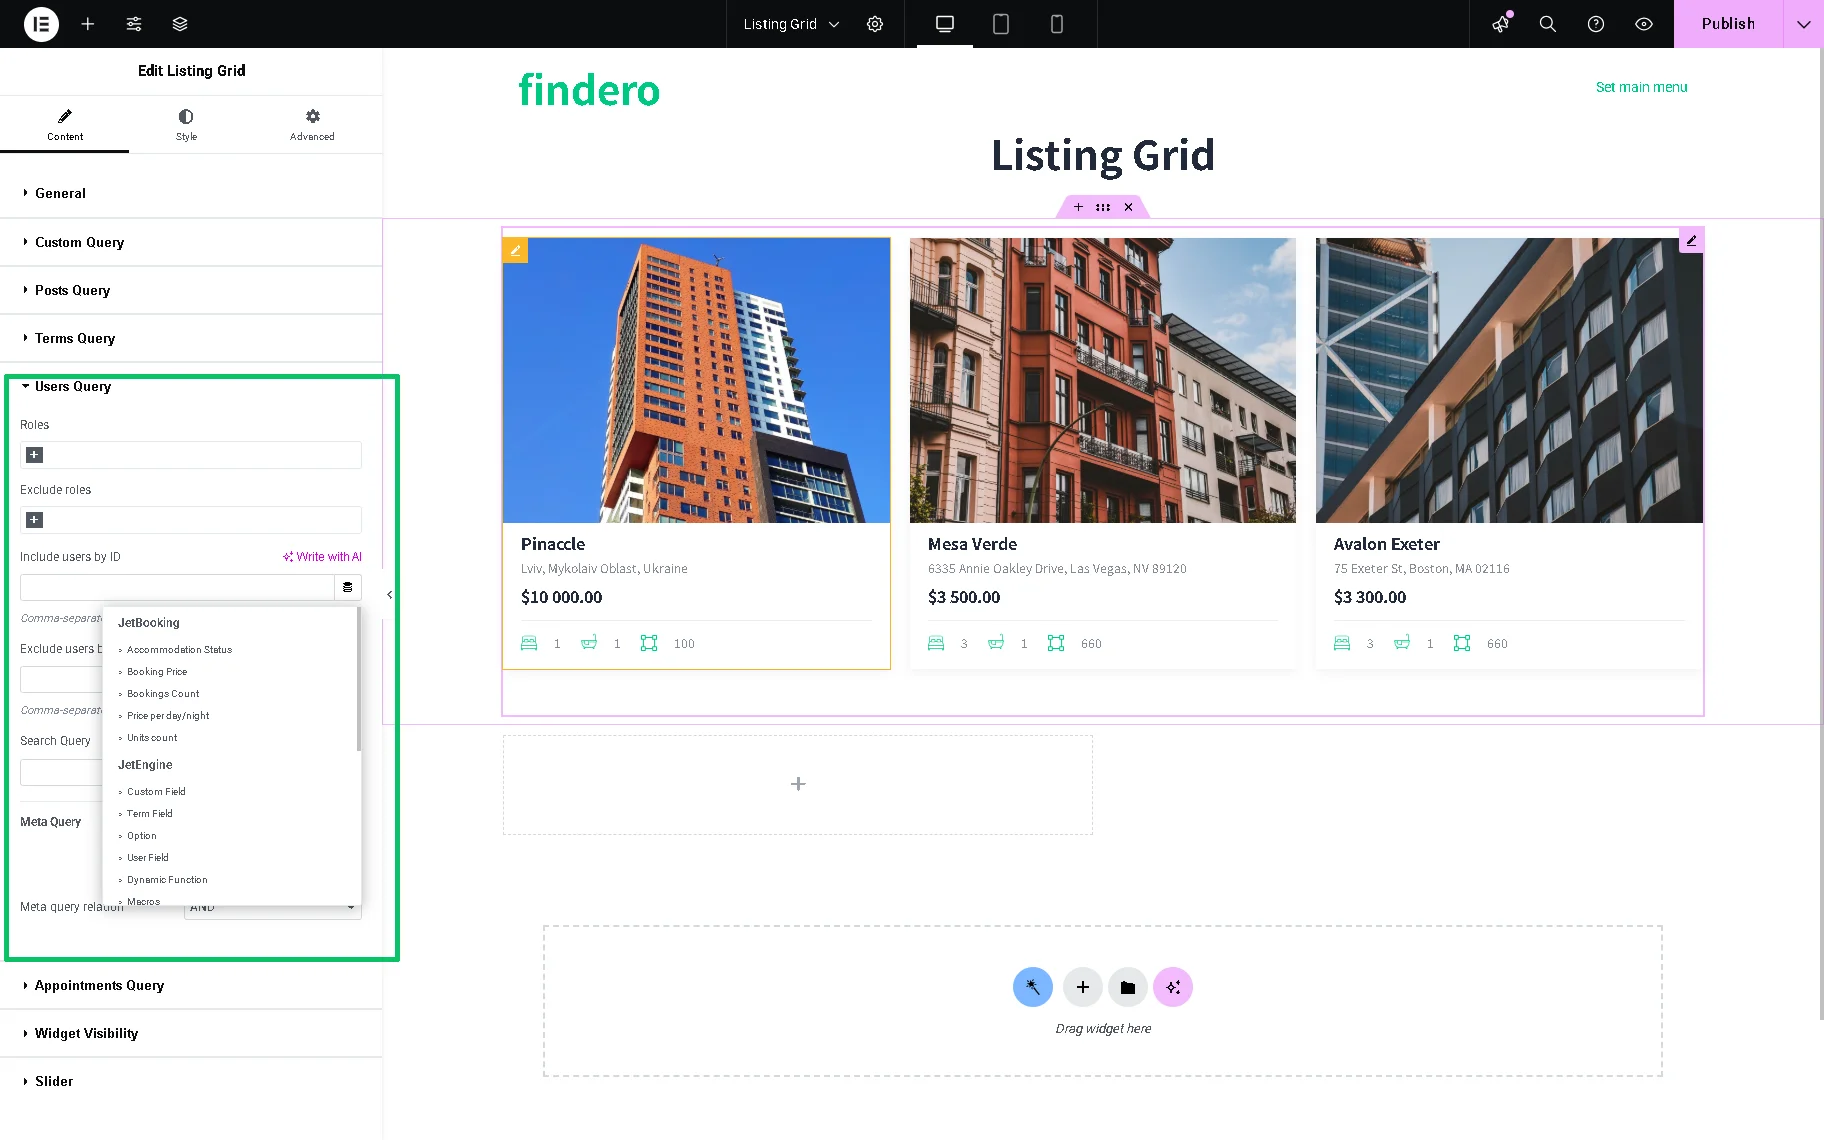
More details can be found in the How to Use Users Query Settings in Listing Grid tutorial.
Appointments Query
This tab is available if the JetAppointment plugin is installed and activated:

- User — a drop-down list that allows specifying who the widget will display items: “All,” “Current Use,” “Specified User ID,” “Querified User;”
- Status — a field that allows setting the needed status of the appointment, e.g., “Pending payment”, “On hold, “Any status,” “Completed,” and more;
- Date — a field that allows specifying which appointments referring to a date should be displayed.
Widget Visibility
With the Widget Visibility settings section, it is possible to set the widget always to be shown or hide it when the query is empty.

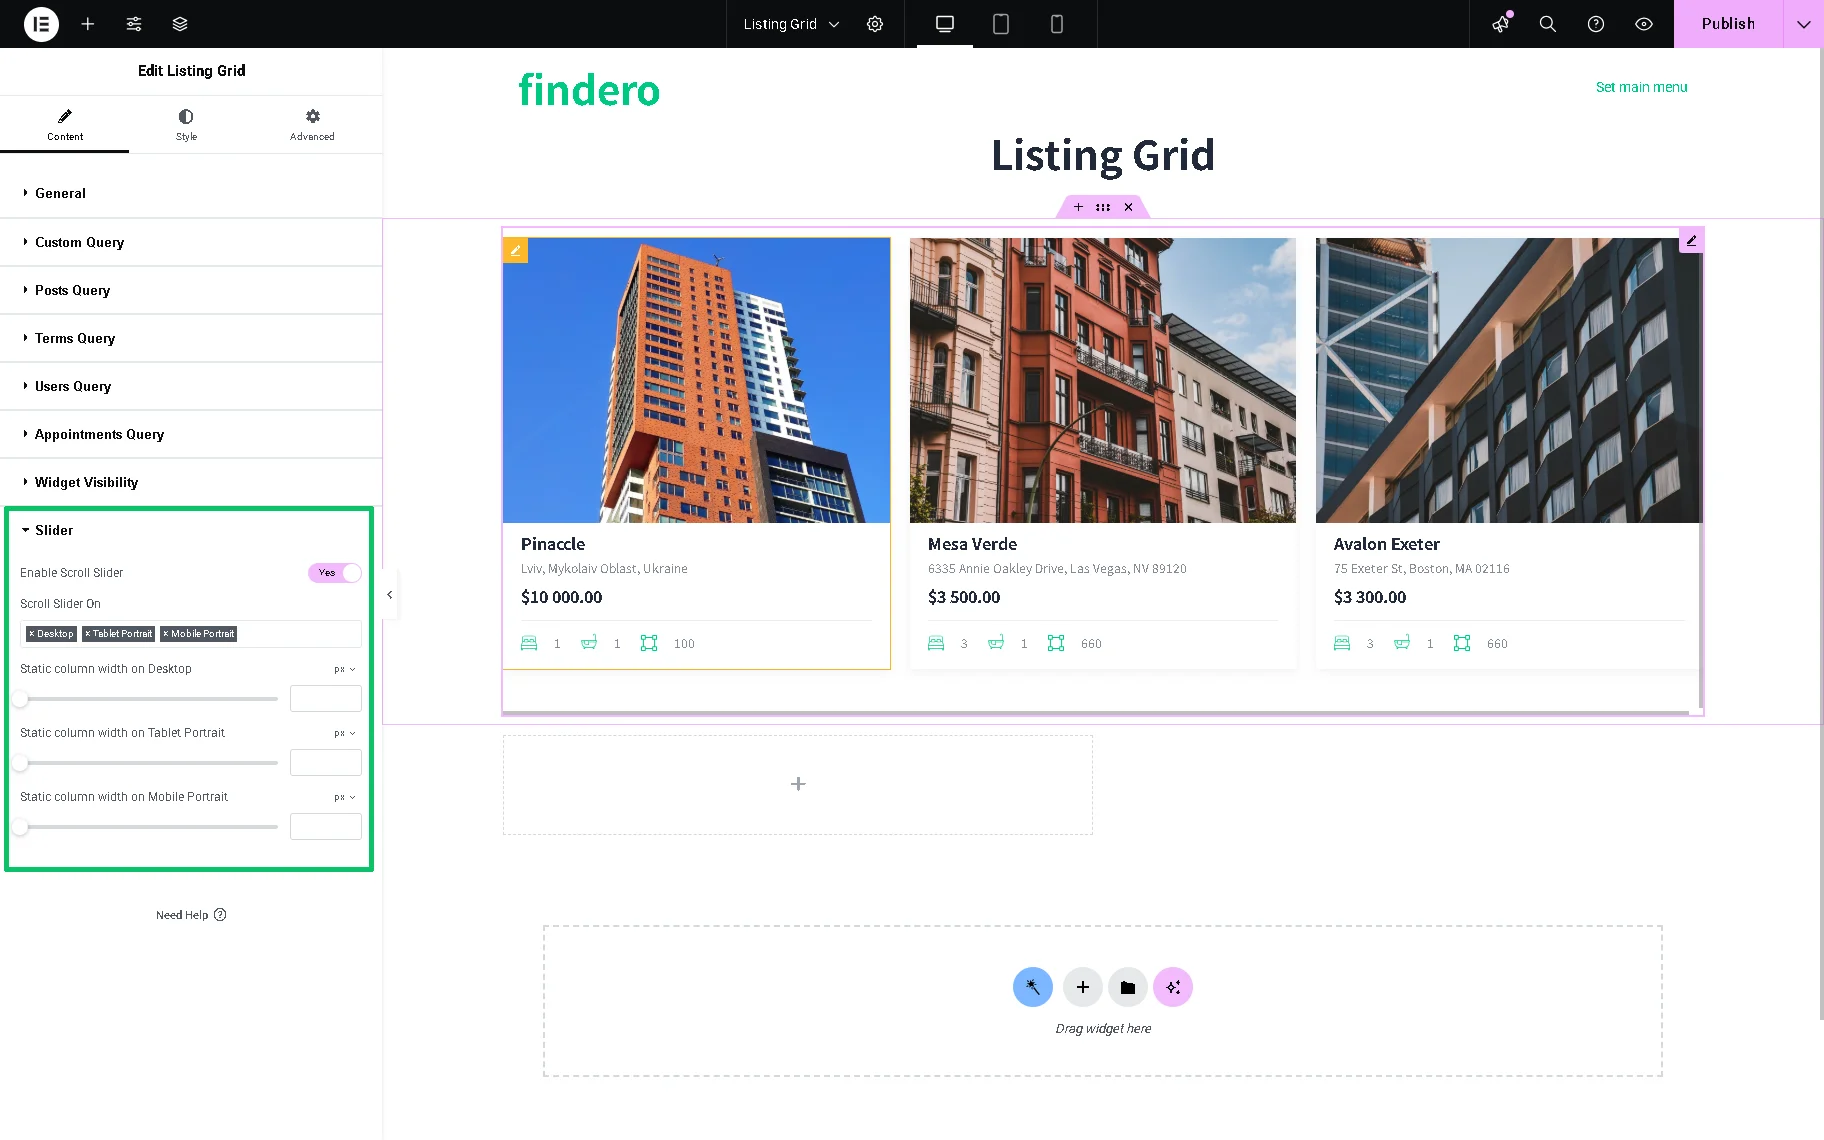
Slider
There are two settings here: the Enable Slider and Enable Scroll Slider toggles.
If the first one is activated, the following options will be shown:
- Slides to Scroll — a field to decide how many posts will be shifted to the side in one click;
- Show Arrows Navigation — a toggle to be activated so the arrows will be displayed on each side of the slide, and choose the Arrow Icon;
- Show Dots Navigation — a toggle to add the dots navigation to the bottom of the slider block;
- Autoplay — a toggle to activate the Autoplay Speed field to set the slider speed if one does not want users to slide the listing manually;
- Infinite Loop — a switcher to be enabled for slides to repeat from the first one after the last one is shown;
- Center Mode — a toggle that makes items centered and other items pre-shown at sides;
- Animation Speed — a field to specify the speed of the slider animation.
The second switcher in this section, the Enable Scroll Slider switcting, is intended to add a horizontal scroll to the grid. On a mobile device, such a slider can be moved by just swiping it with fingers. That can sufficiently reduce the length of the page and improve the UI. If enabled, it activated:
- Scroll Slider On — a drop-down list that allows setting the device on which the scroll slider will be enabled. That could be the desktop, tablet, or mobile;
- Static column width — a field to set some static widths of the grid for different devices.
That’s all about the Listing Grid available as part of the JetEngine plugin functionality for your WordPress website.