How to Use Default Callback to Display Date in the Admin Columns
This tutorial describes the process of displaying the date in the Admin Column of the Custom Post Type in the WordPress Dashboard using predefined callbacks and the JetEngine plugin.
Before you start, check the tutorial requirements:
- Elementor (Free version) or Block editor (Gutenberg)
- JetEngine plugin installed and activated with Custom Post Type created. If you have not done this yet, please follow this tutorial
We will provide a step-by-step guide on how to show the custom post date in an admin column in the WordPress Dashboard with the JetEngine plugin based on the example of the “Team” custom post type. You can create an additional admin column with the data from the meta field for any JetEngine custom post type.
Add the Date Meta Field
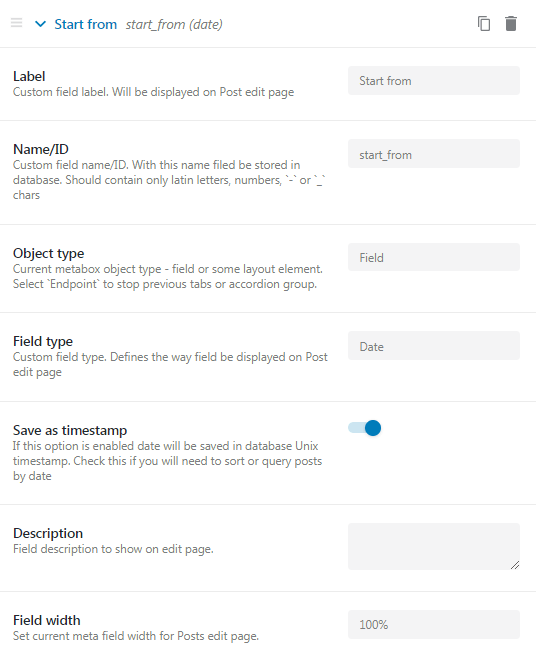
In the WordPress Dashboard, go to the JetEngine > Post Types section and open the custom post type you want to work with. In the Meta Field section, add the Date meta field.
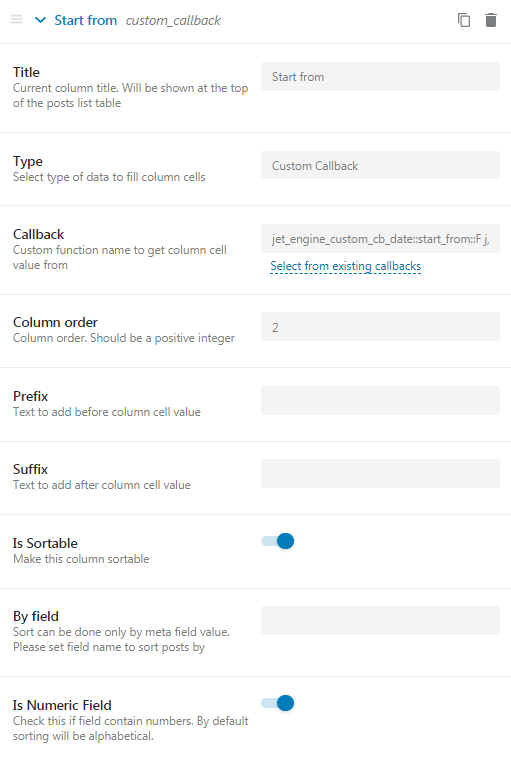
Scroll the page down to the Admin Columns block. Click the “Add New” button and fill in the fields with appropriate data:
- In the Type field, choose the Custom Callback option from the drop-down list;
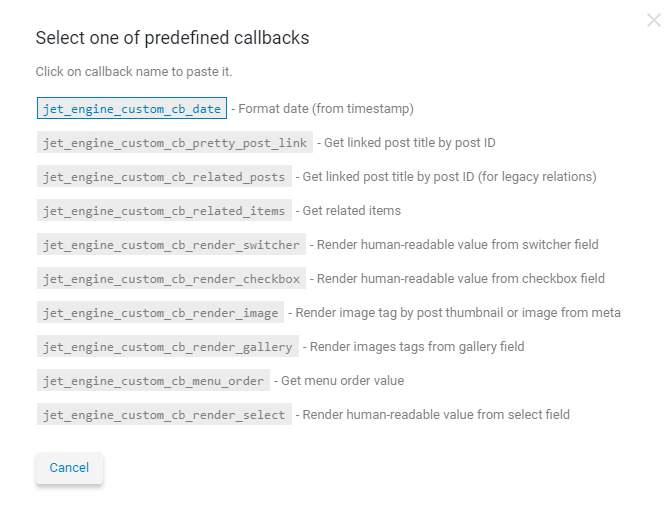
- In the Callback field, click the “Select from existing callbacks” line. In the appeared window, you need to choose the first callback, jet_engine_custom_cb_date.
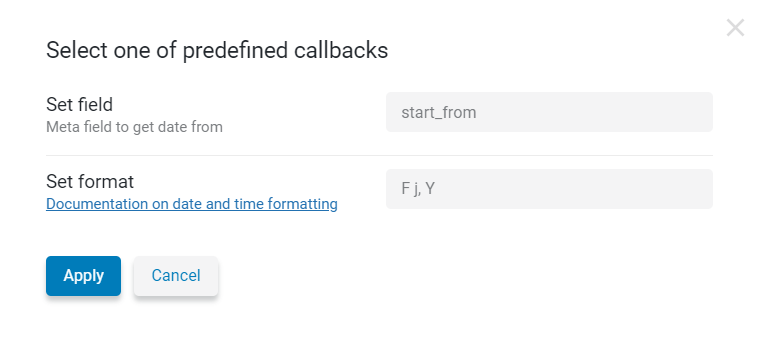
- In the Set field text area, you should type in the name of the meta field from which to get the date. After that, set the Format.
- Also, if you want to make the admin column sortable, move the toggle next to the Is Sortable field.
Add a Post
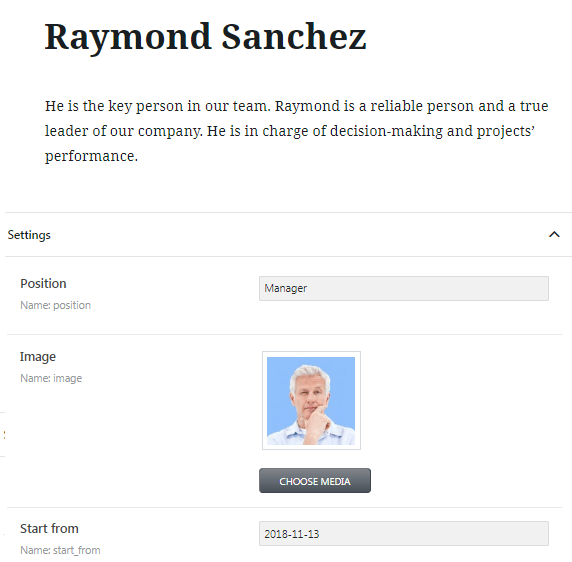
In the chosen custom post type in the WordPress Dashboard, edit a specific event and specify the date of the work beginning.
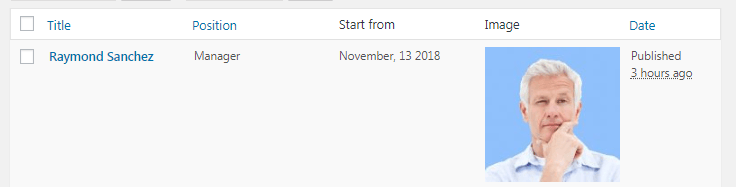
Now you can see the date in the admin column.
Now you know how to display a date in the admin column for the custom post type using JetEngine functionality.