How to Build Relations Between Custom Content Types
From this overview, you will learn how to create a relation between JetEngine Custom Content Types and relate the desired items on your WordPress website.
Before you start, check the tutorial requirements:
- JetEngine plugin installed and activated with two Custom Content Types created
JetEngine allows setting different types of relations, including those for Custom Content Types. Let’s check how to set the relation between the CCTs.
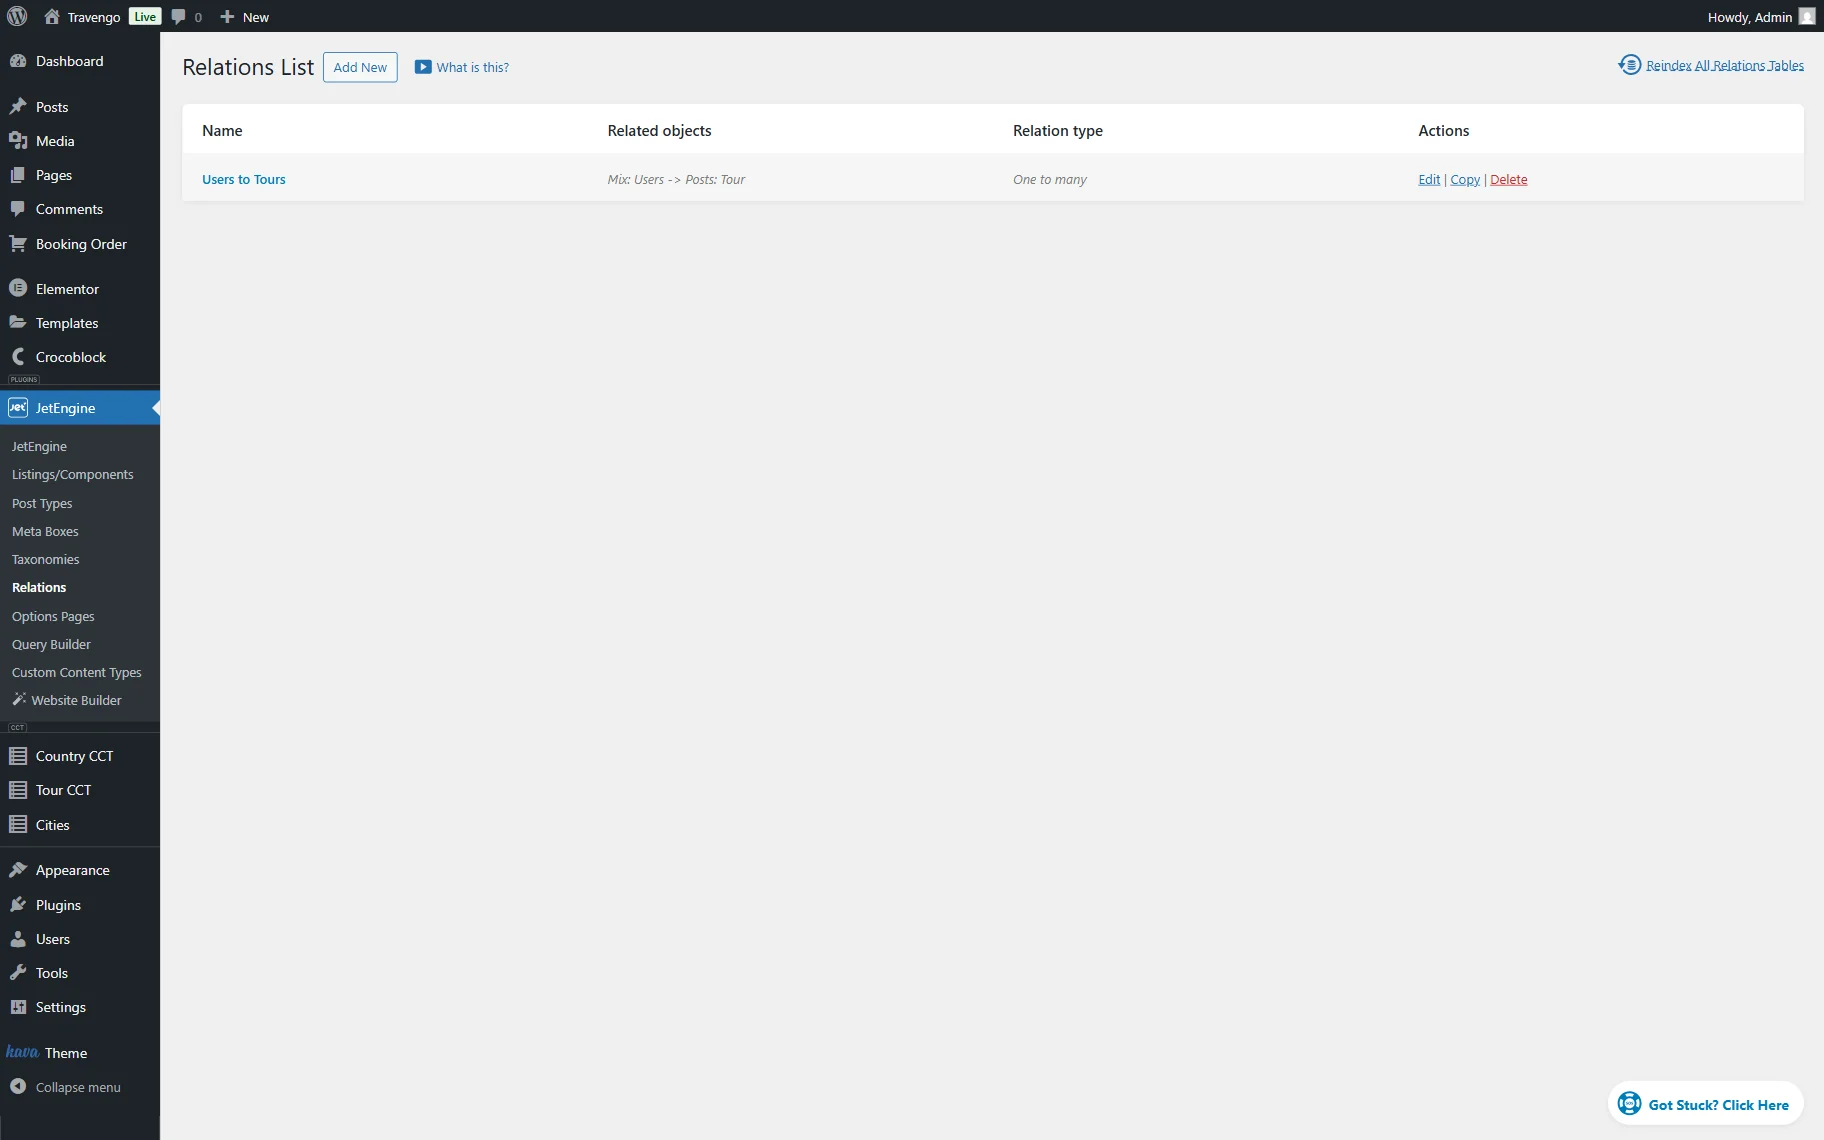
Firstly, head to the WordPress Dashboard > JetEngine > Relations directory to build a new relation.
Push the “Add New” button to open the editor.
Once the page is opened, begin with the General Settings.
General Settings
Set a Name for the relation and define the Parent object (here, “Country”) and the Child object (here, “Tour”).
Mind that the CCT options are located under the corresponding Custom Content Types subtitle.
Set the Relation type suitable for the relationship you create.
Define the grandparent relation by selecting the desired relation in the Parent relation drop-down menu if needed.
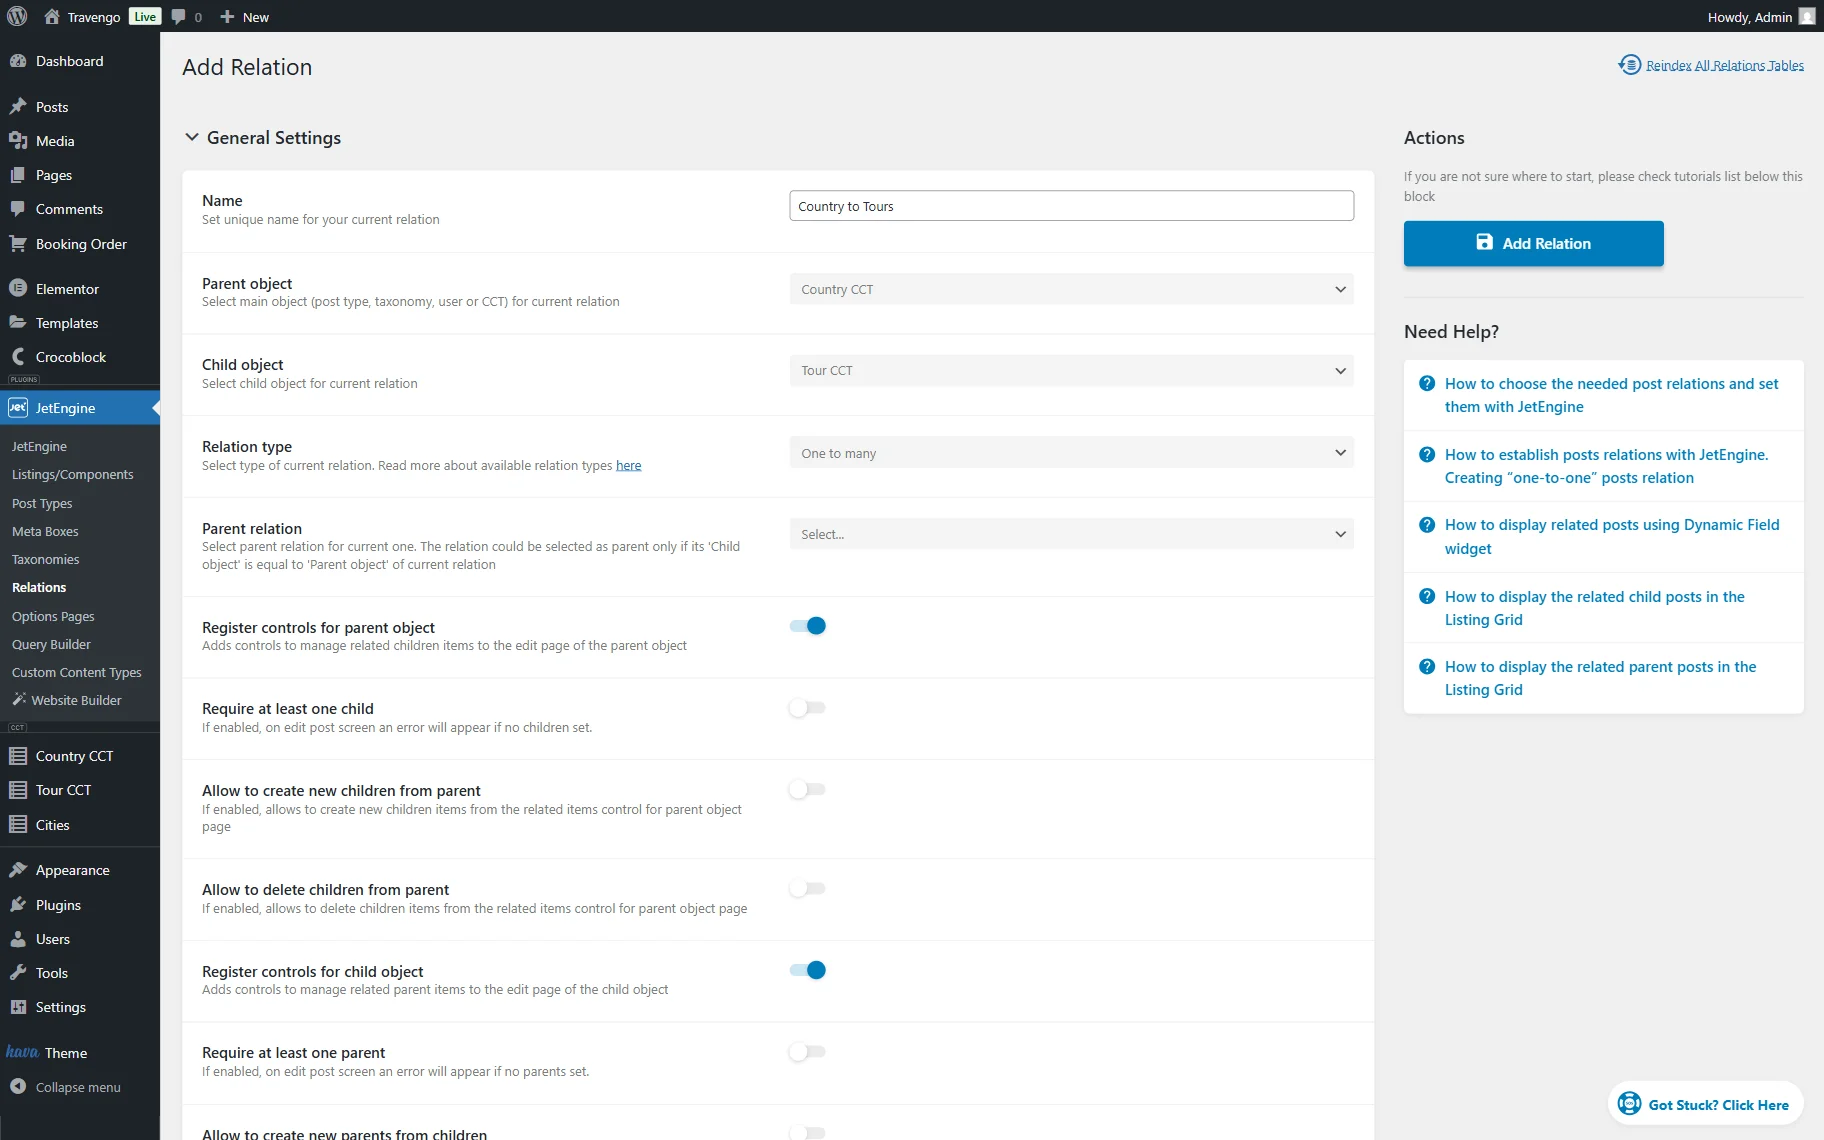
Enable the following switchers to widen the editing possibilities:
- Register controls for parent object — enable to show the related items controls on the parent object editing page;
- Require at least one child — activate the toggle so at least one child is required to be connected to the parent. If not connected, the parent post will not be saved;
- Allow to create new children from parent — toggle to enable the ability to build new related child items from the parent object editing page;
- Allow to delete children from parent — toggle to enable the ability to delete child items from the parent object editing page;
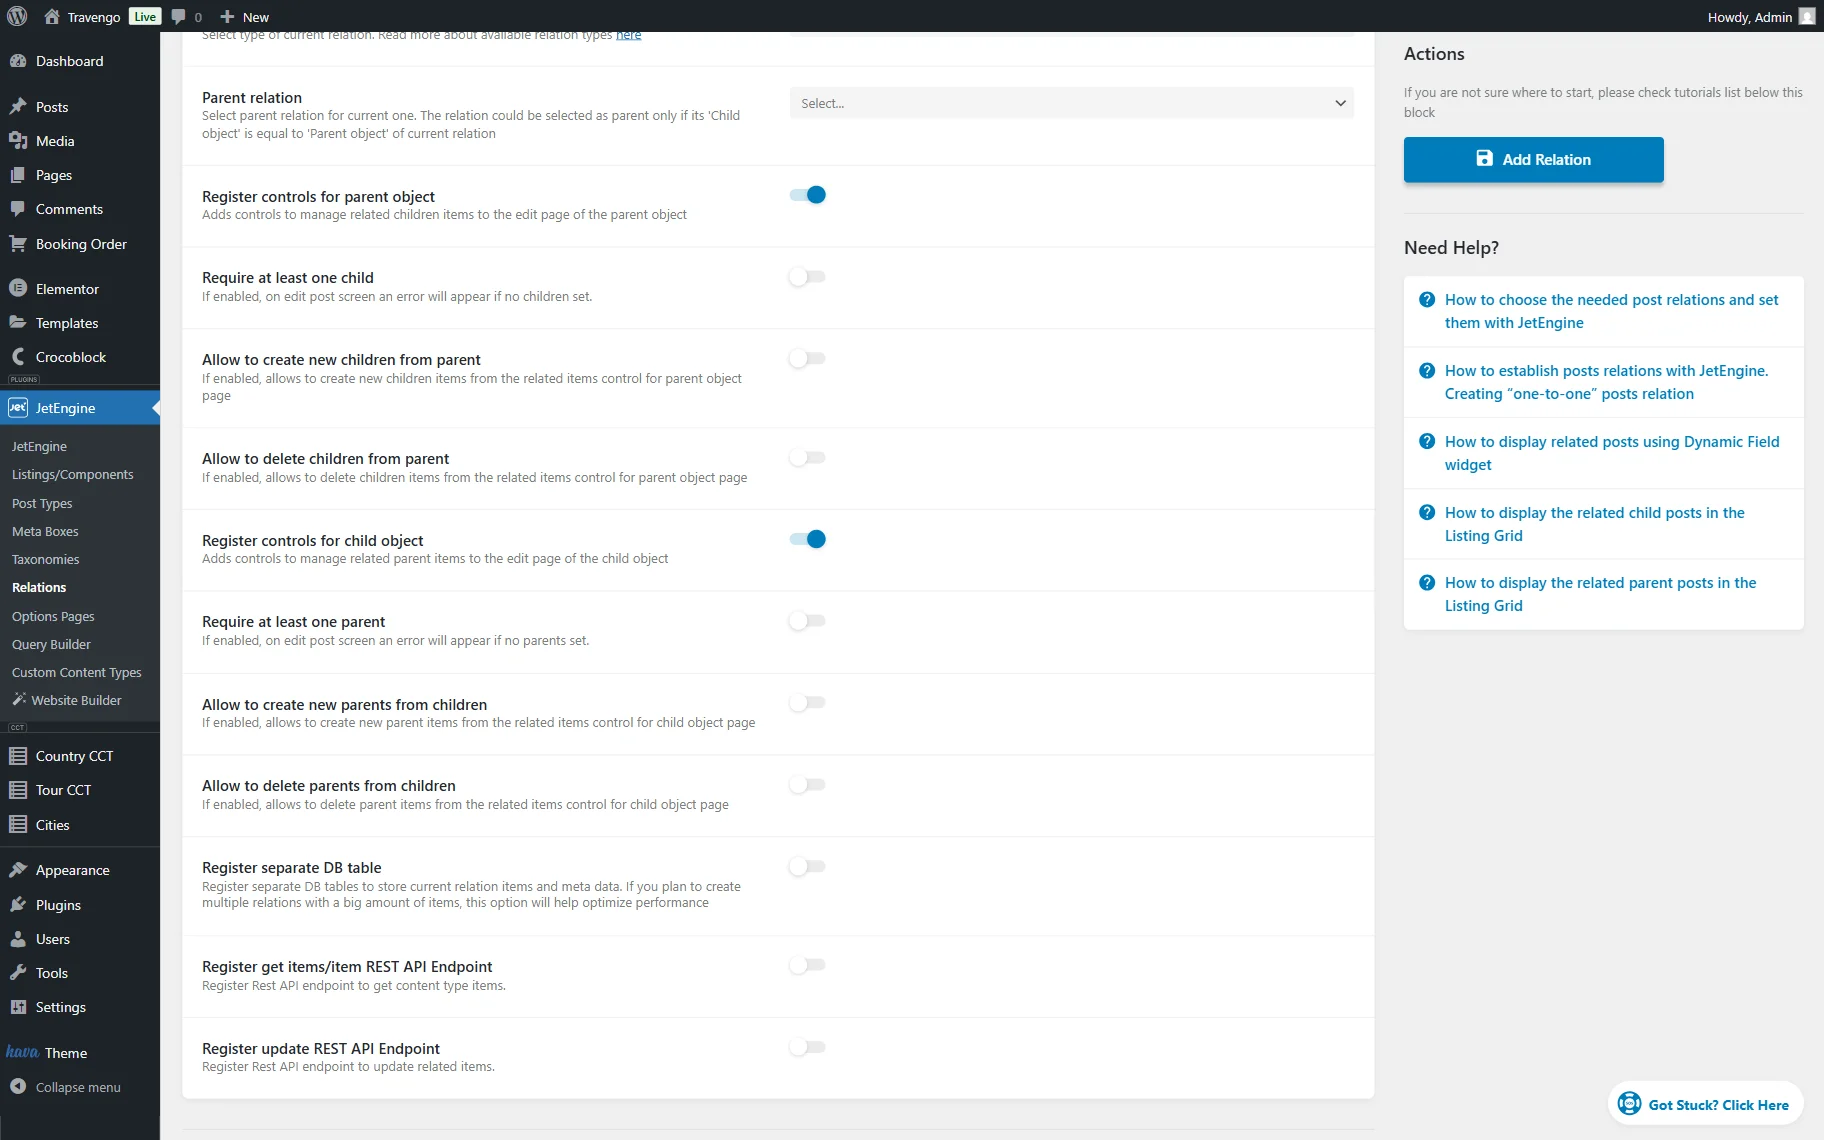
- Register controls for child object — enable to show the editing controls on the child object editing page;
- Require at least one parent — activate the toggle so at least one parent is required to be connected to the child. If not connected, the parent post will not be saved;
- Allow to create new parents from children — toggle to allow new related parent items to be created from the child object editing page;
- Allow to delete children from parent — toggle to enable the ability to delete parent items from the child object editing page;
- Register separate DB table — switch to register a separate database table for this relation. If disabled, the related items will be held in the general relations table;
- Register get items/item REST API Endpoint — activate to register REST API endpoint to get content type items;
- Register update REST API Endpoint — activate to update REST API endpoint to get content type items.
Content Type Related Settings
Once the General Settings are adjusted, move to the Content Type Related Settings.
Here, two more fields appear if the CCT has been picked as one of the objects, either parent or child.
Besides, if two CCTs are defined as the Parent object and a Child object, these fields will be doubled for each CCT.
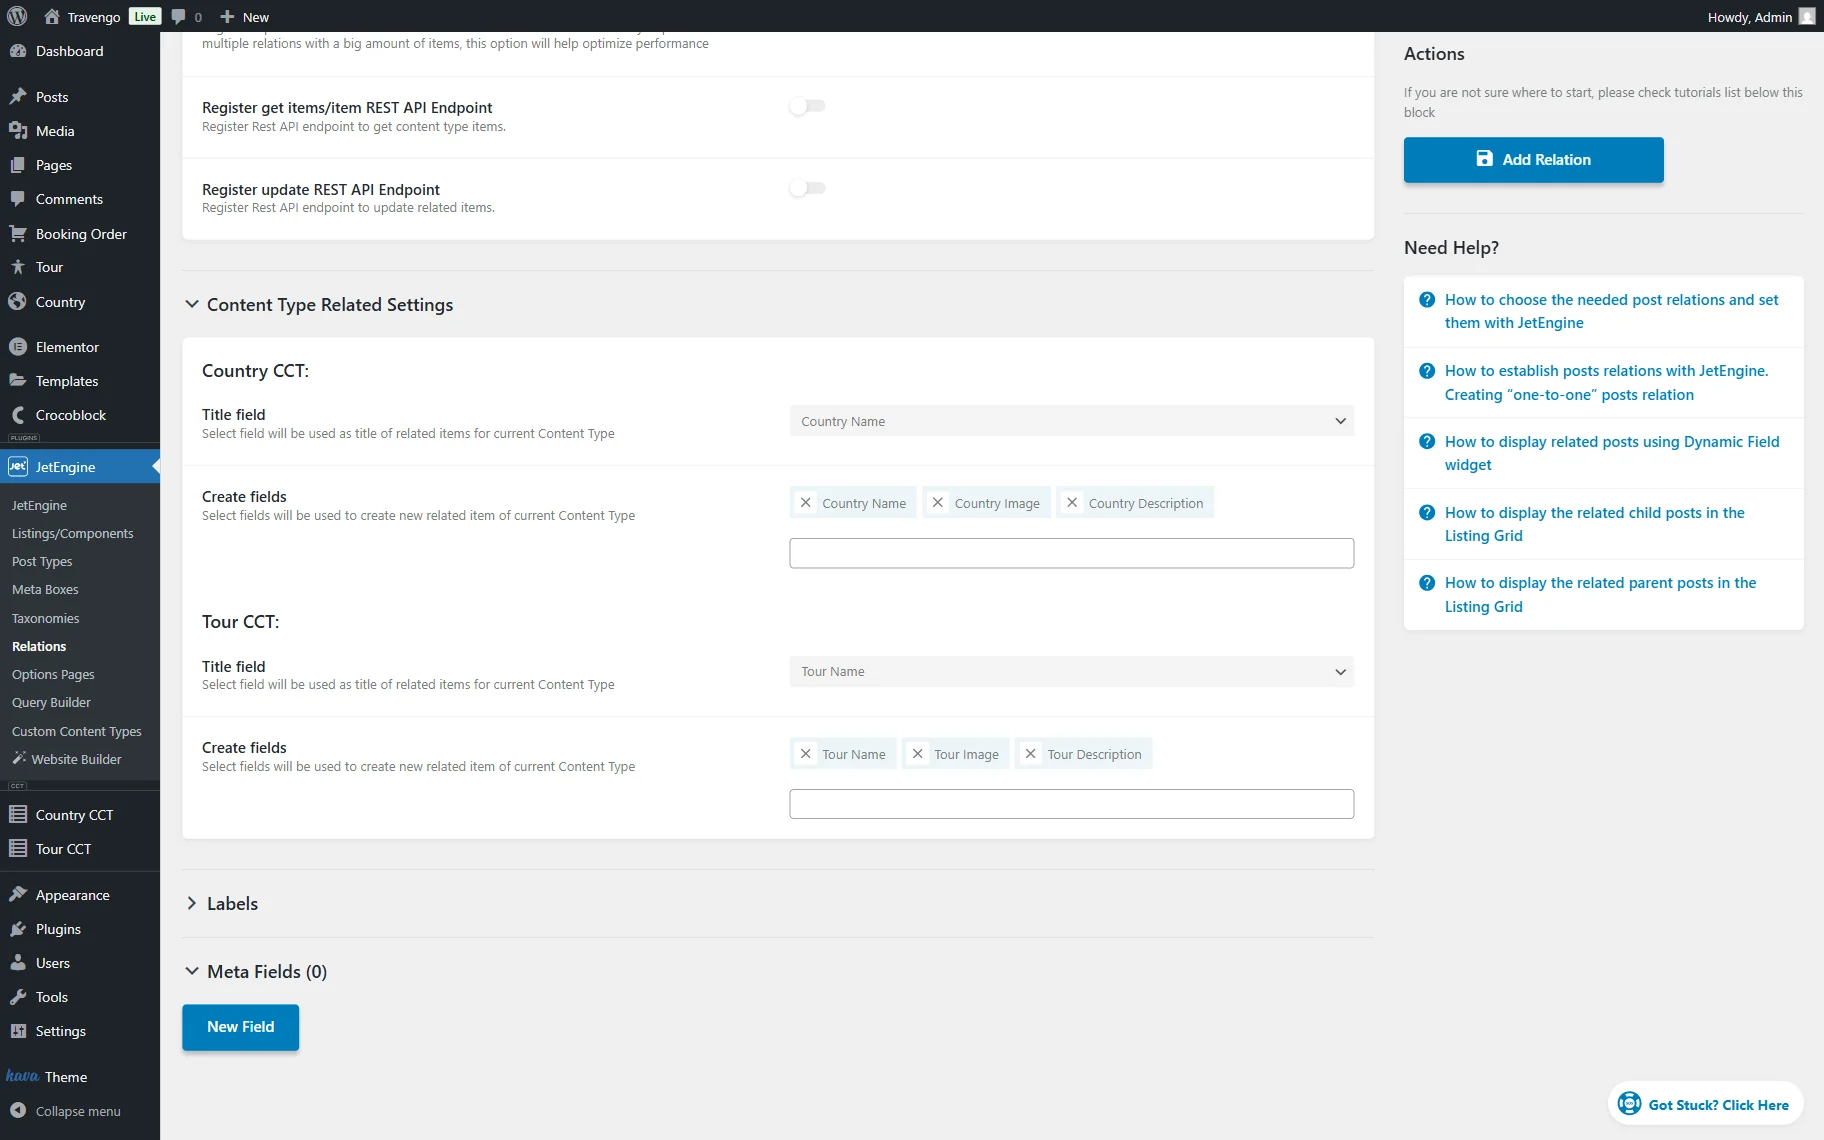
- Title field — choose which field will be used as a title of a related CCT item;
- Create fields — select fields displayed in a pop-up that appears once the “Add New…” button is clicked in the related posts editor.
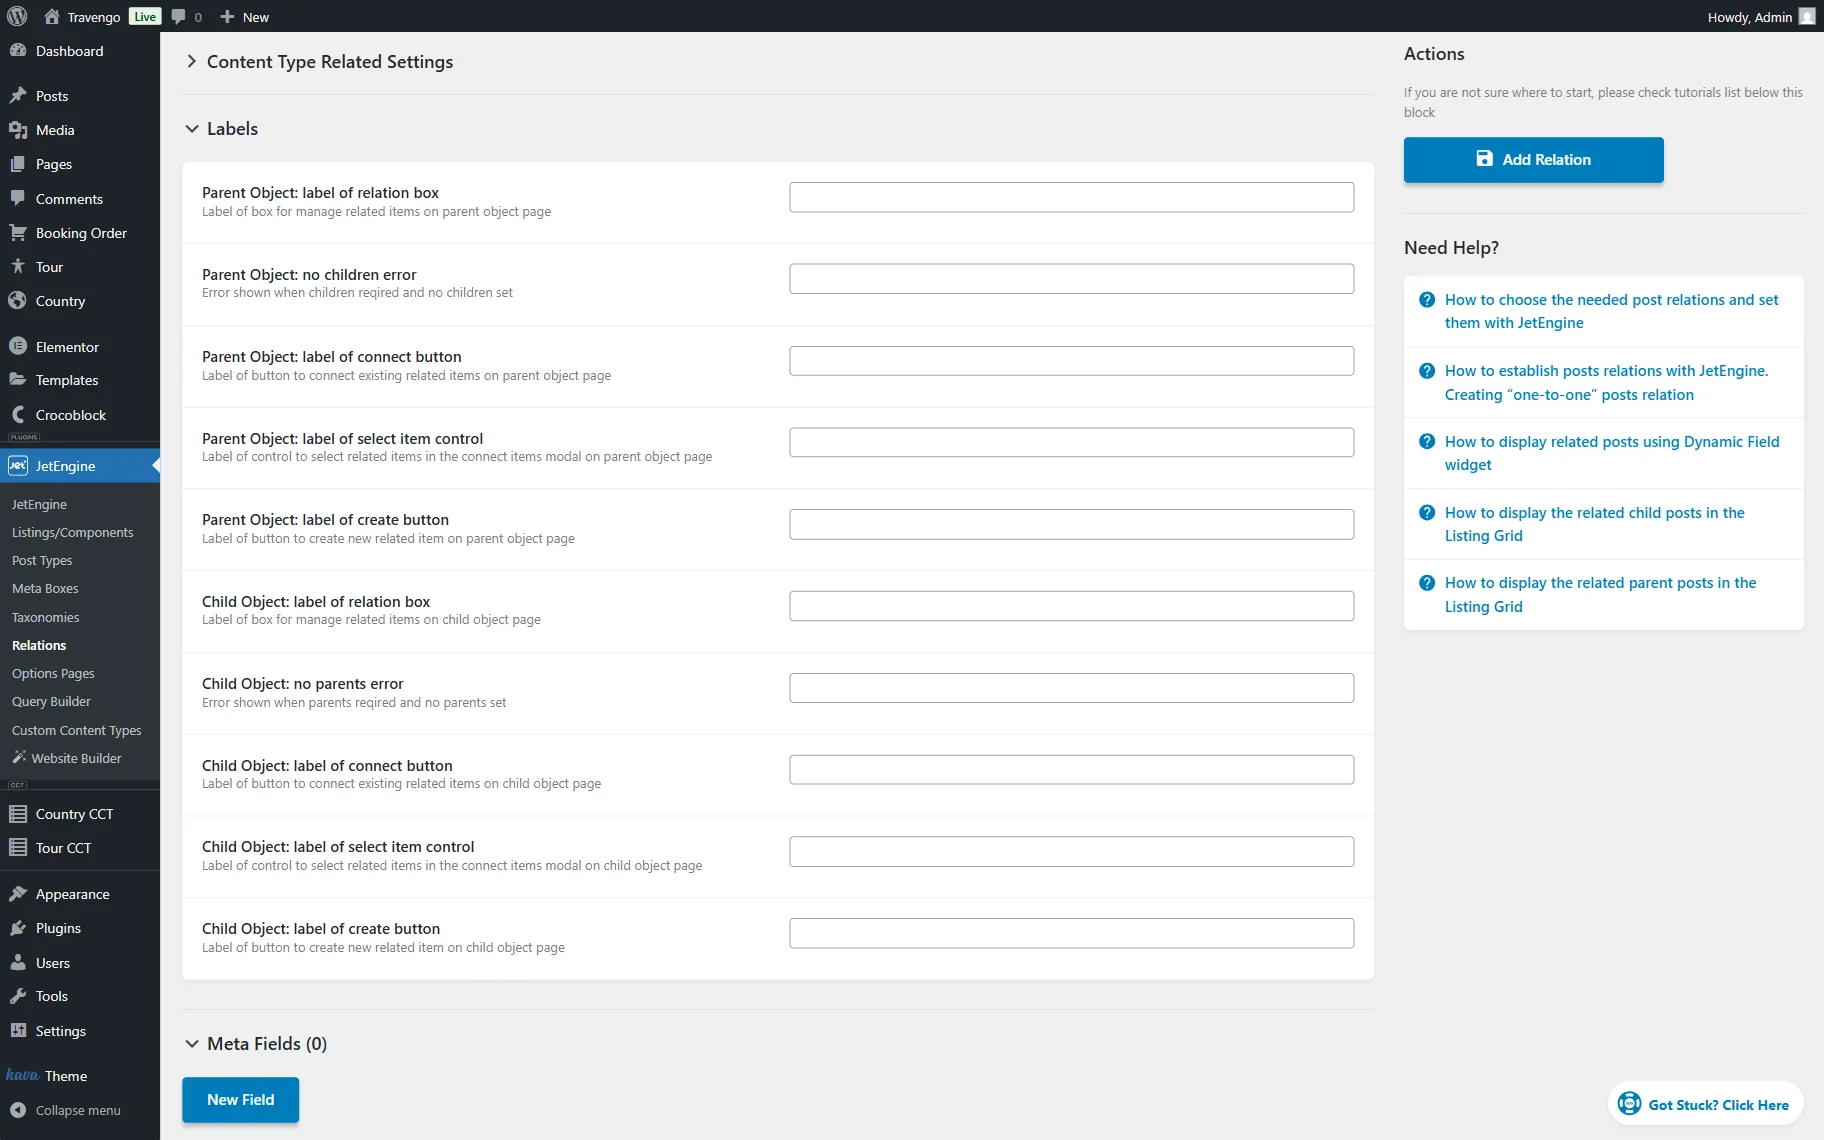
Labels
Complete the Labels tab fields to change the default labels displayed while editing the related items.
Meta Fields
One more tab called Meta Fields allows you to connect the desired meta fields to the relation.
If you do so, the corresponding column will appear while editing.
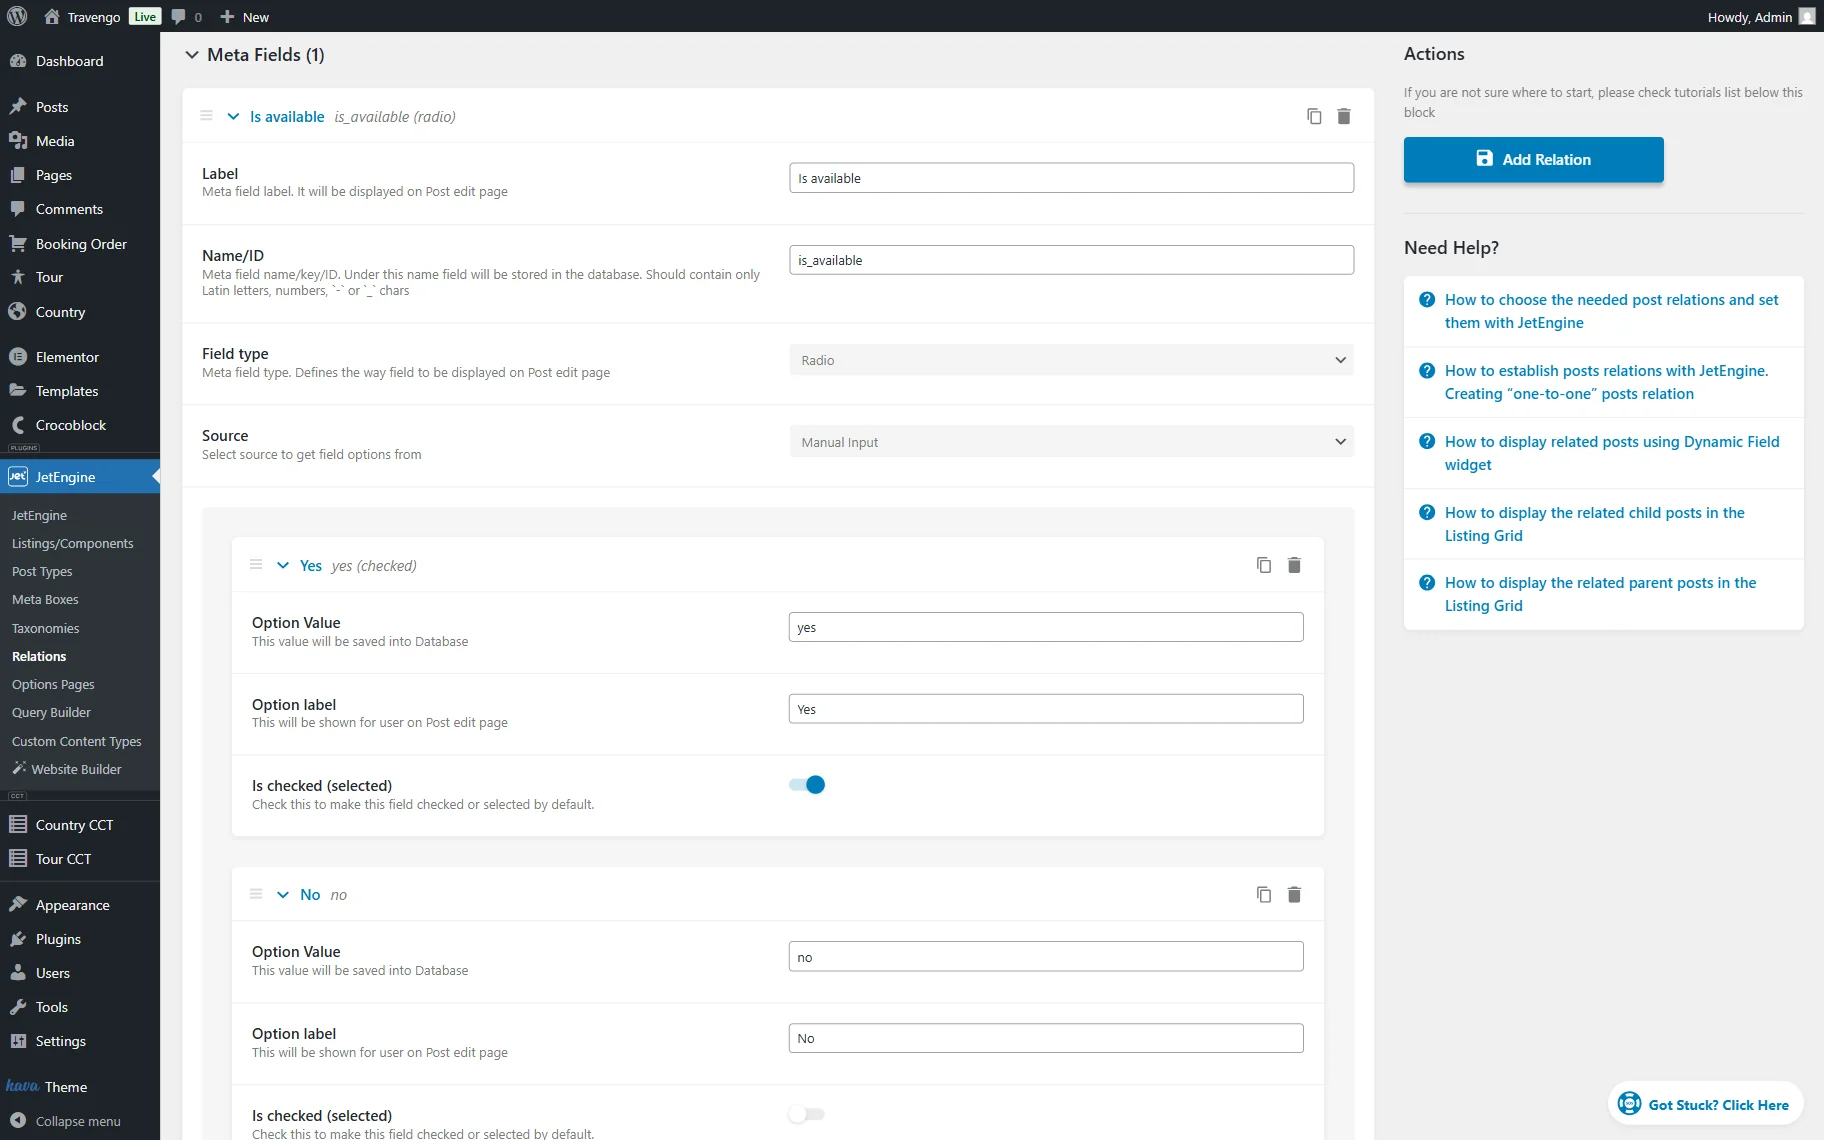
Press the “New Field” button every time you want to add a new meta field.
For instance, we build the “Is available” field of a “Radio” Field Type with the “Yes” and “No” options.
Once you have added the needed meta fields, click on the “Add Relation” button to save the result.
CCT Items Editing
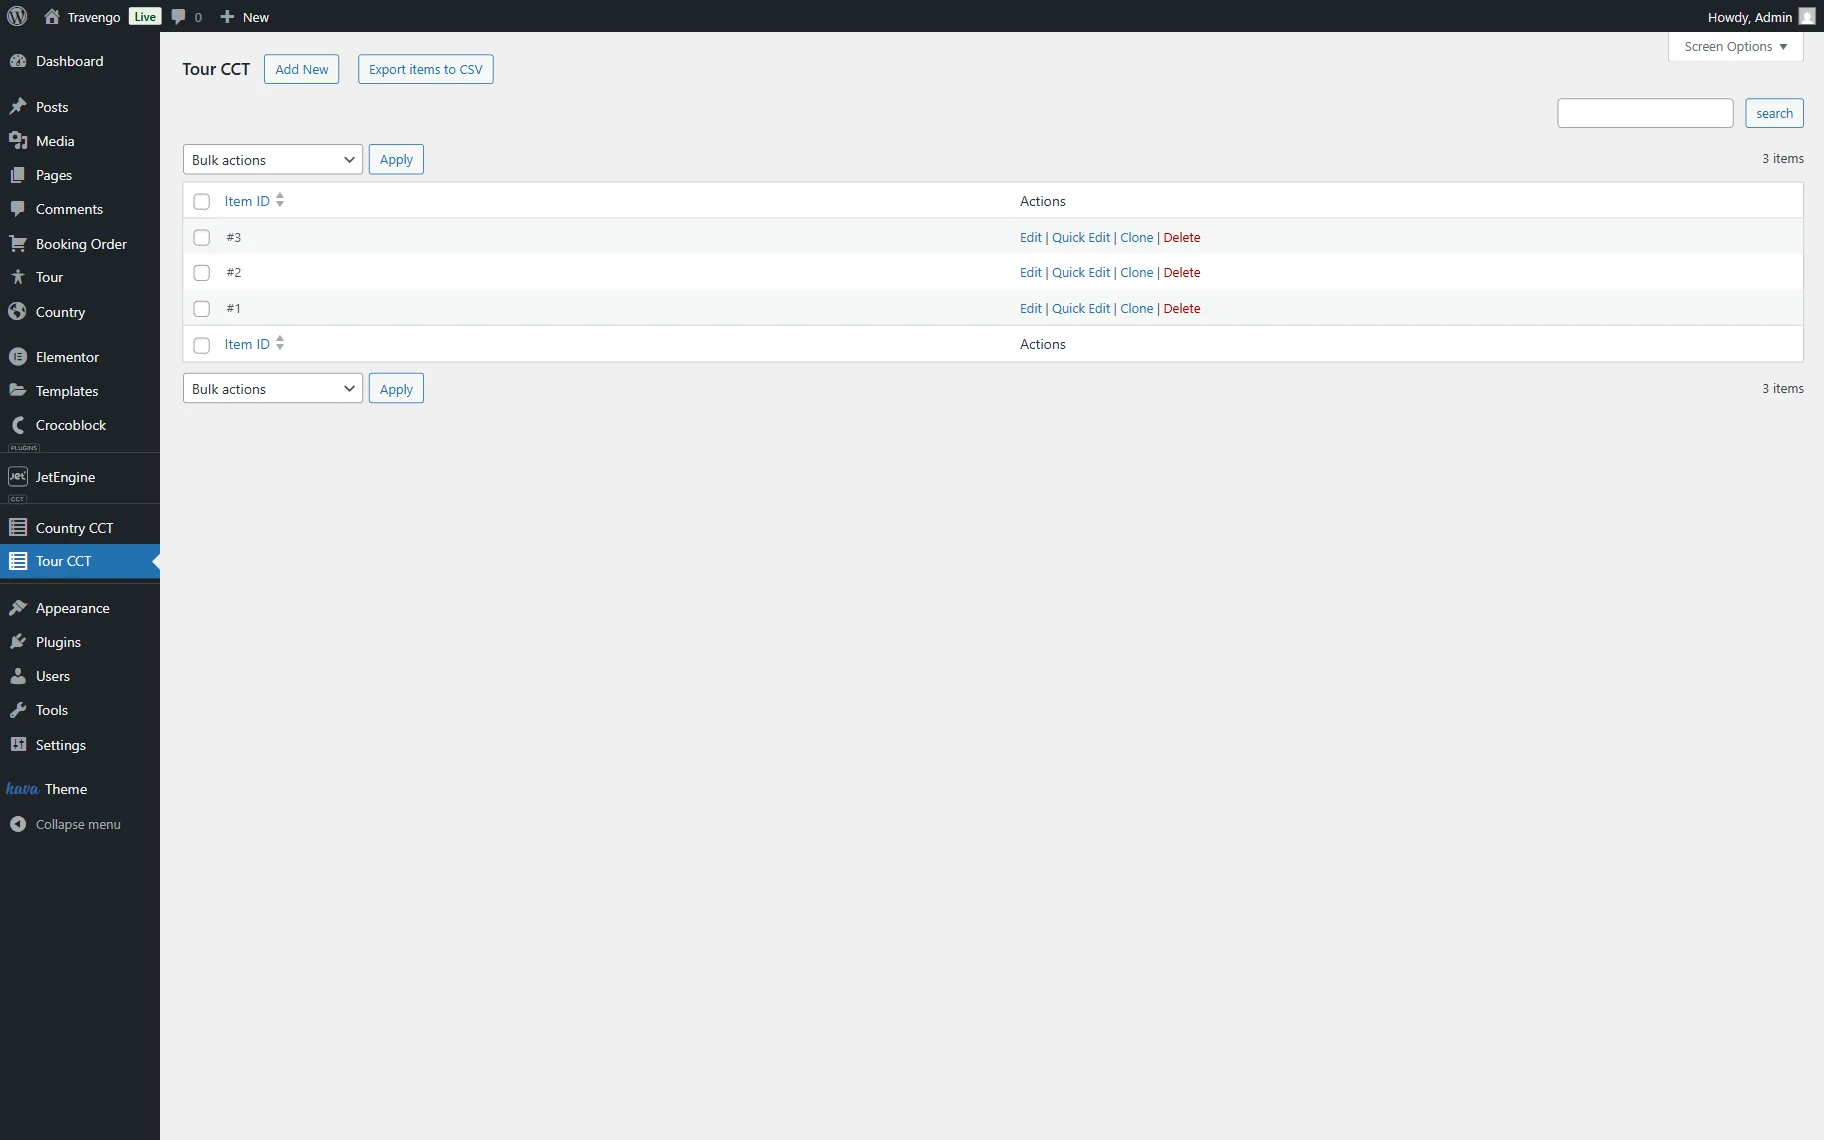
Head to the parent or child object to review the relation editor. For instance, let’s check the parent content type.
Once the list of items is opened, click the “Edit” button next to the desired post to relate some items to it.
Except for the CCT meta fields editing, one more tab appears that is responsible for the parent/object items editing.
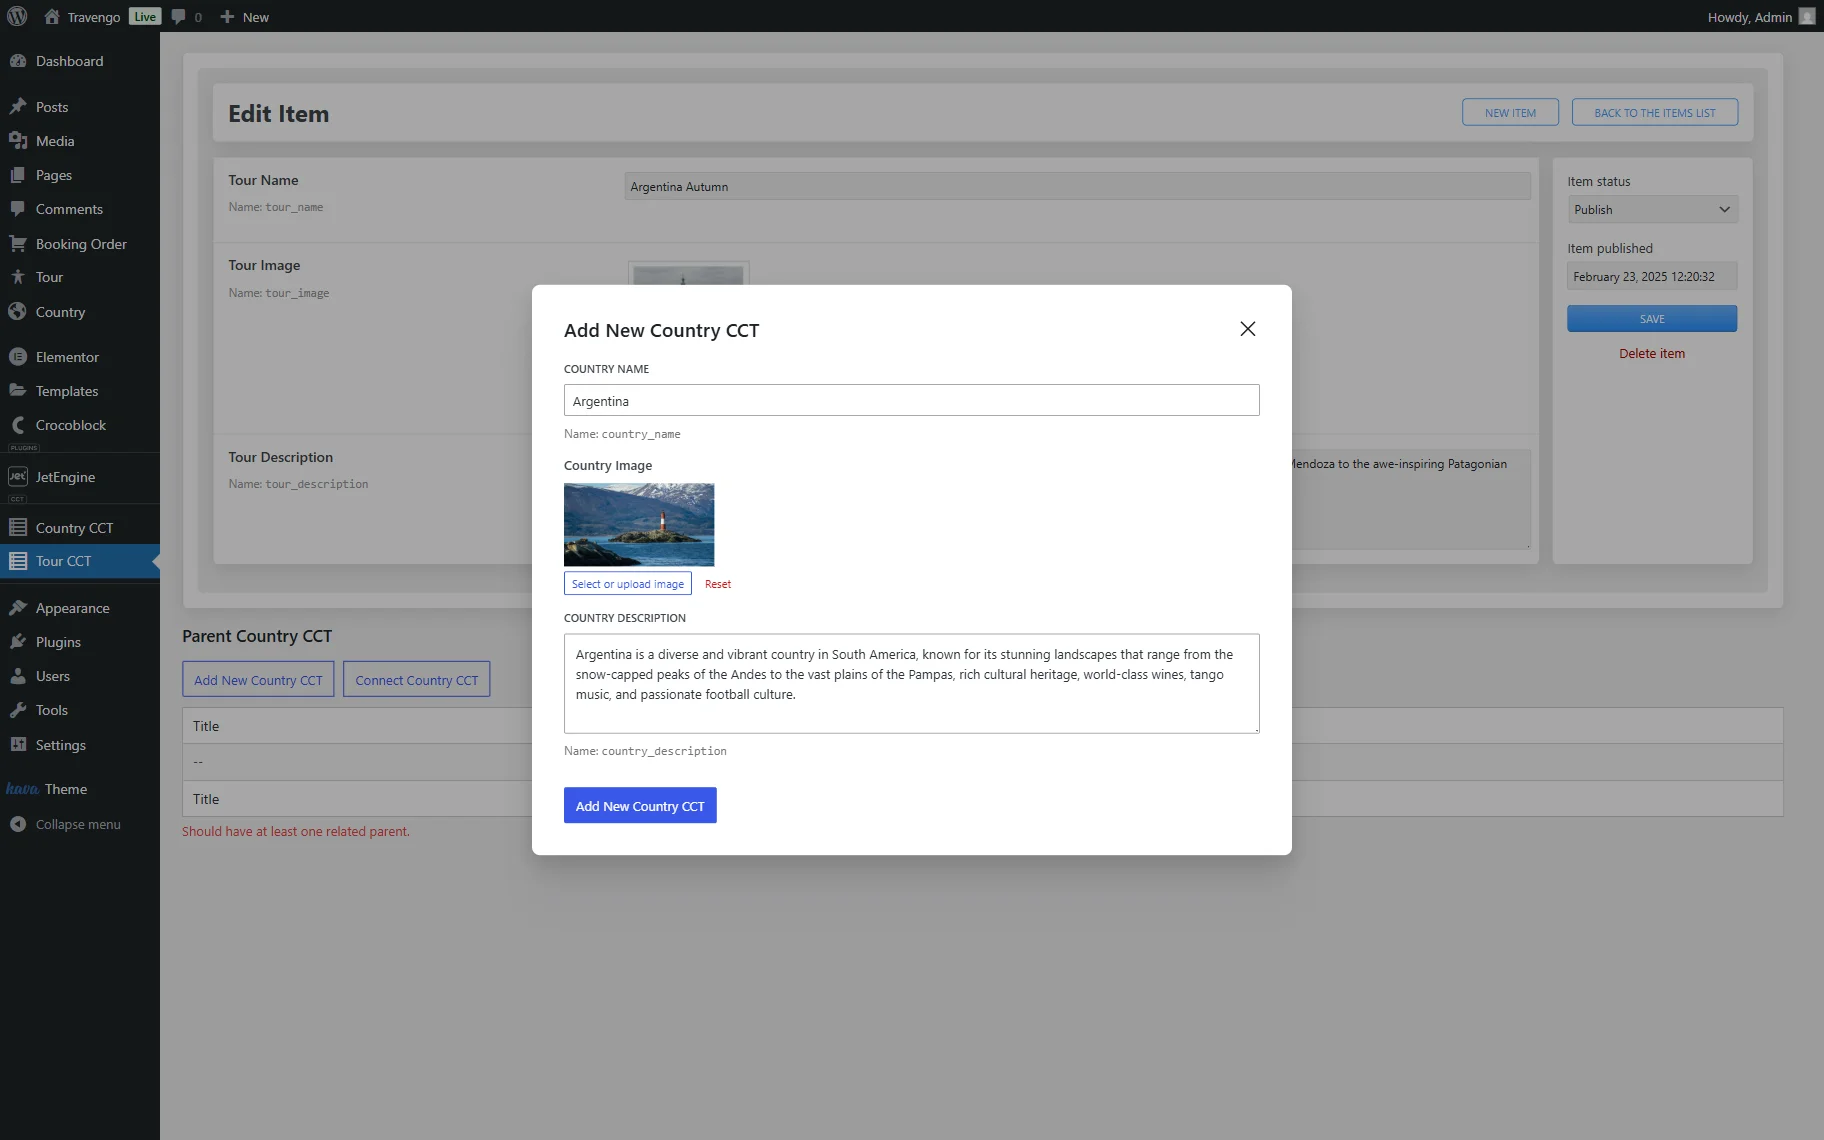
There are no items yet; let’s add some by clicking on the “Add New…” button.

As you can observe, there are fields we have selected earlier in the Content Type Related Settings.
So fill in the desired fields and hit the “Add New…” button to save the changes.
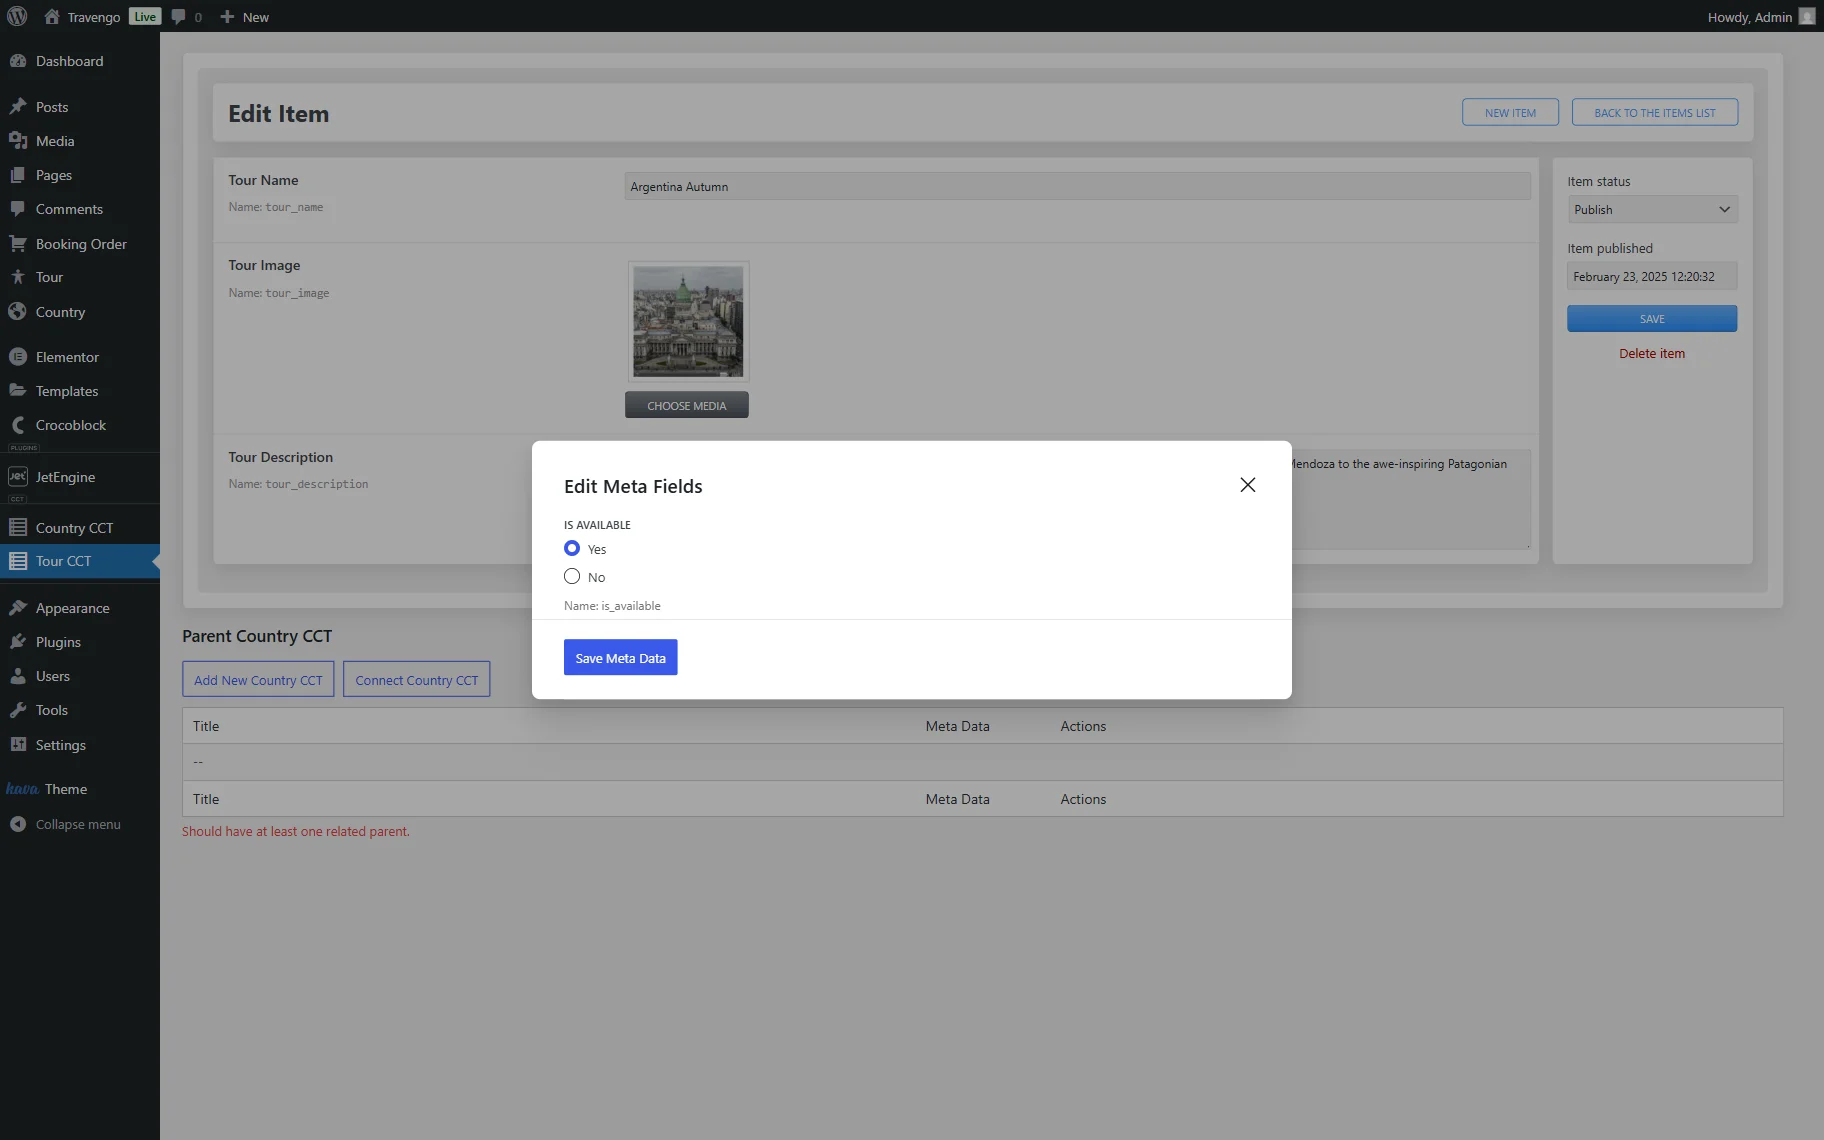
The new pop-up with meta fields editing will be displayed if some meta fields have been added to the relation.
Adjust the meta fields or leave them empty and hit the “Save Meta Data” button.
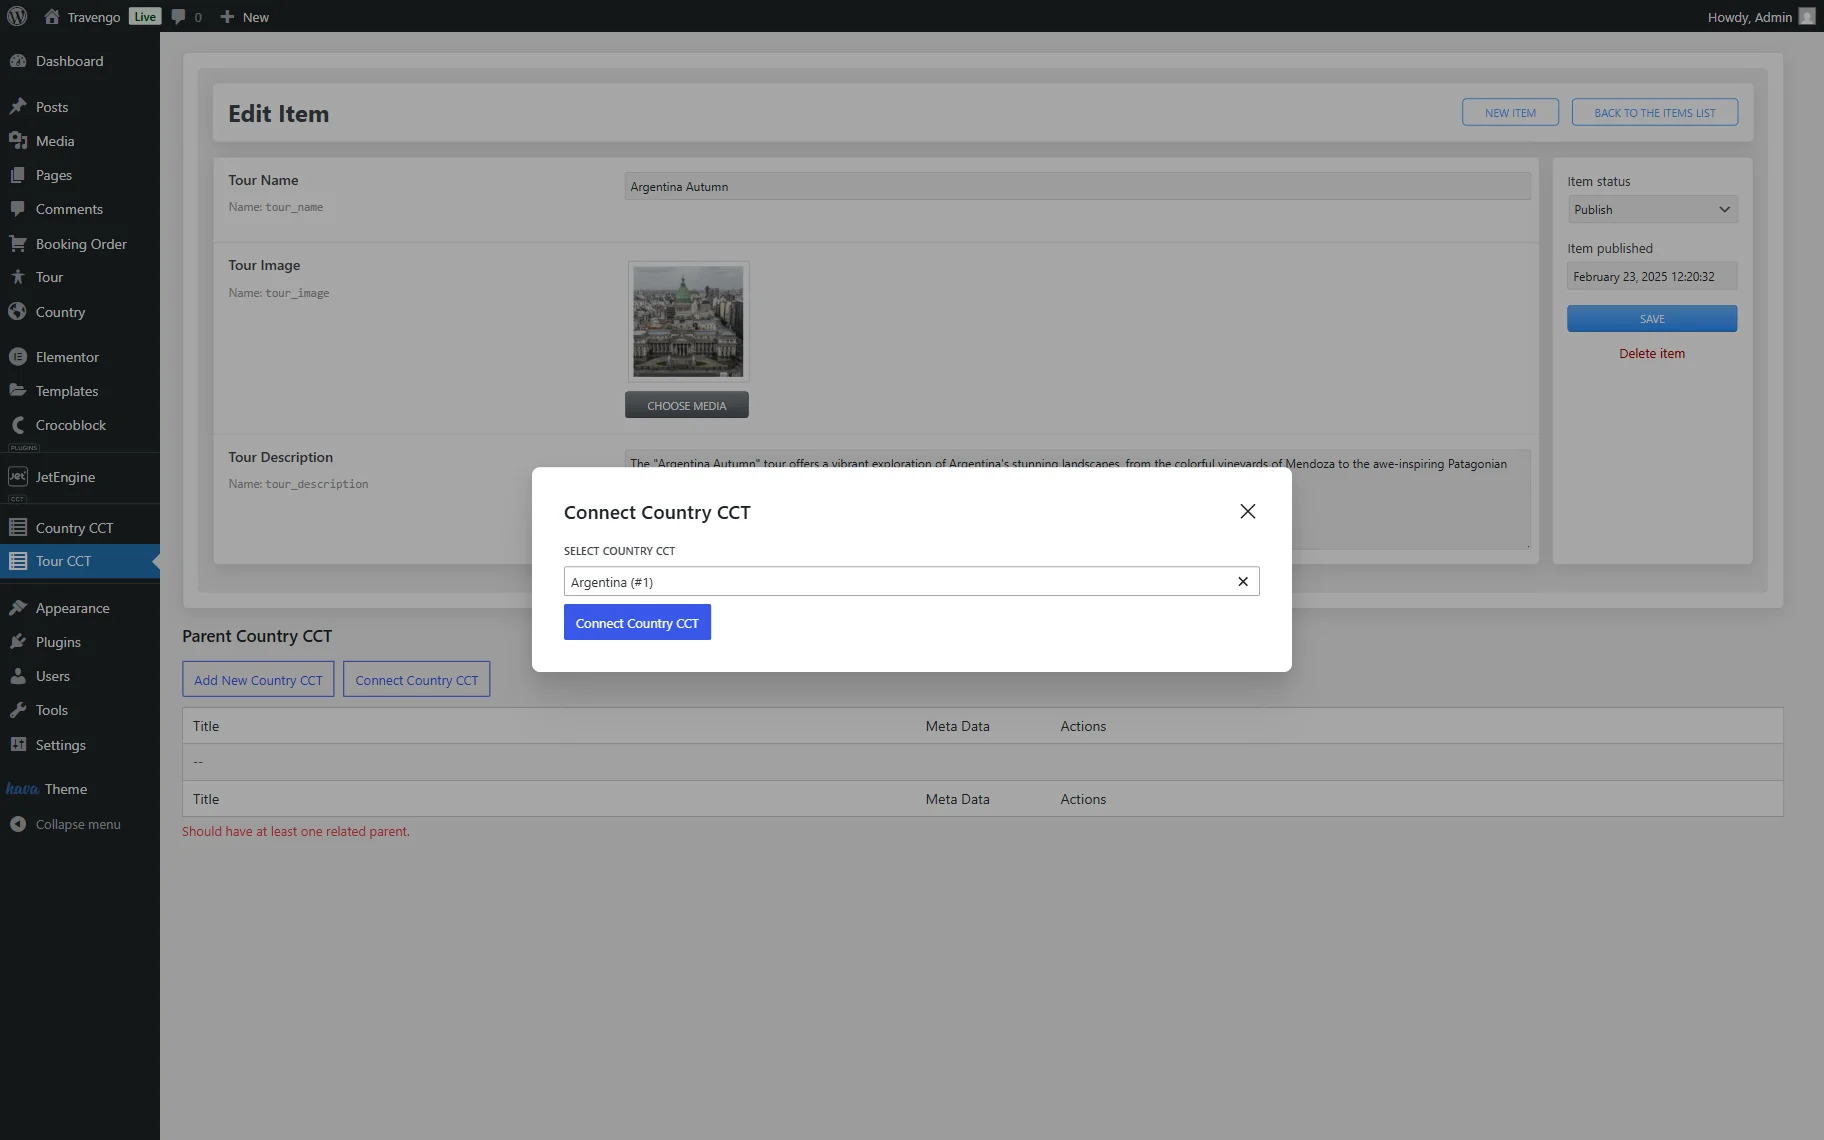
Besides, you can connect the existing items by clicking on the “Connect New…” button.
In the selector, choose the desired option and press the “Connect New…” button.
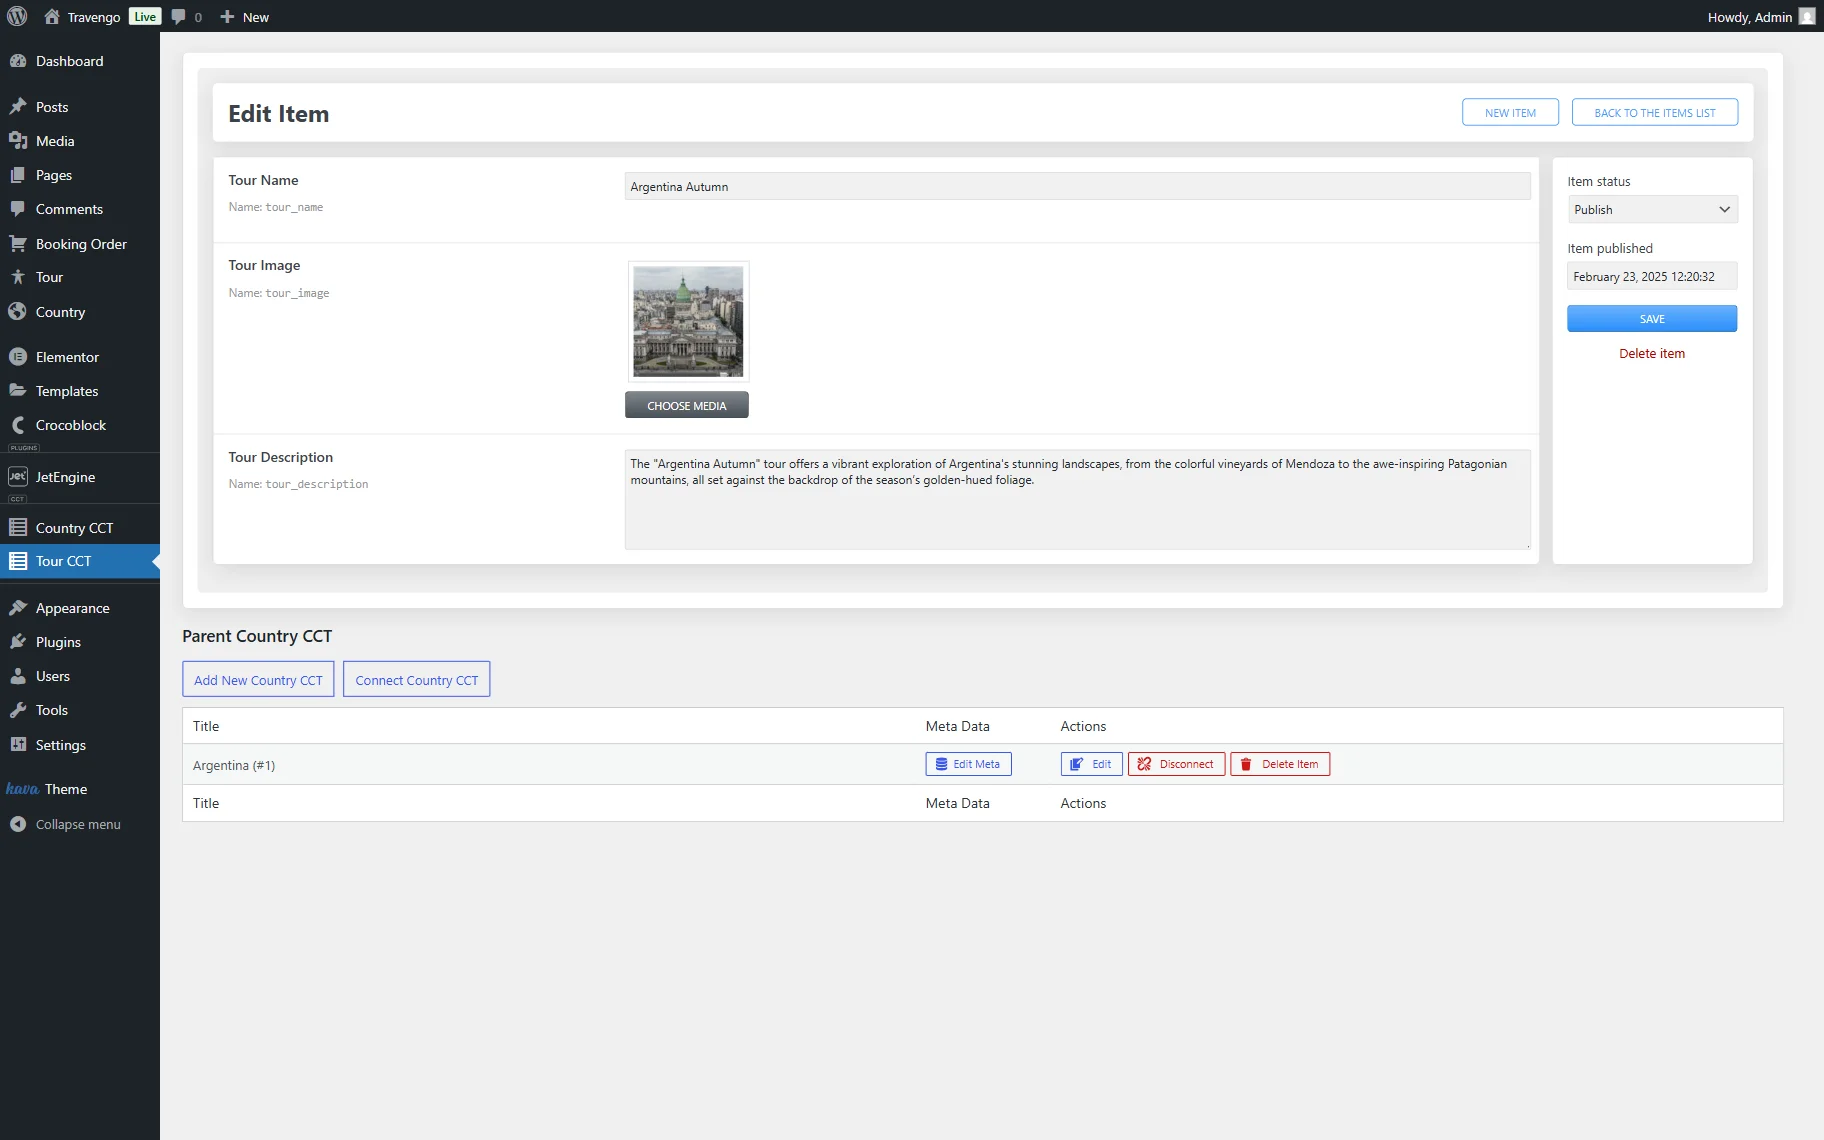
If you have added some meta fields to the relation, they will be displayed in the following pop-up.
Update the meta fields information if required.
Once the editing is done, push the “Save” button.
There you go. Now you know how to set a relation between CCTs on the WordPress website with the help of the JetEngine plugin.