How to Post User's Recent Comments on the User's Account Page
Build a custom query to display the WordPress user’s recent comments on the account page using JetEngine.
Before you start, check the tutorial requirements:
- Elementor (Free version) or Block editor (Gutenberg)
- JetEngine plugin installed and activated with Profile Builder activated and set up with the user’s account page created
Create a custo
m query that will fully meet your needs of displaying recent WordPress comments on the user’s account page. Find out several ways of querying the user’s comments.
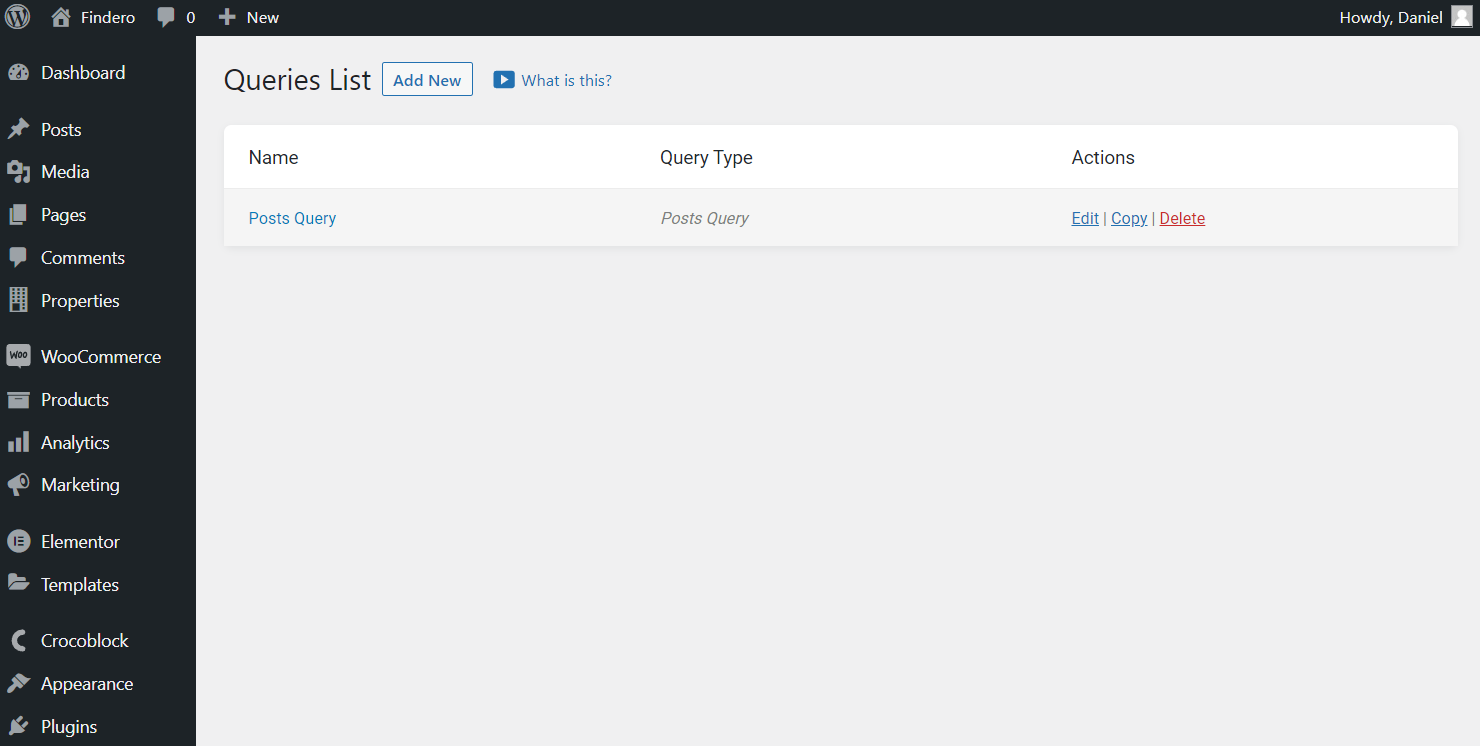
Build a Query
Head to the WordPress Dashboard > JetEngine > Query Builder and press the “Add New” button.
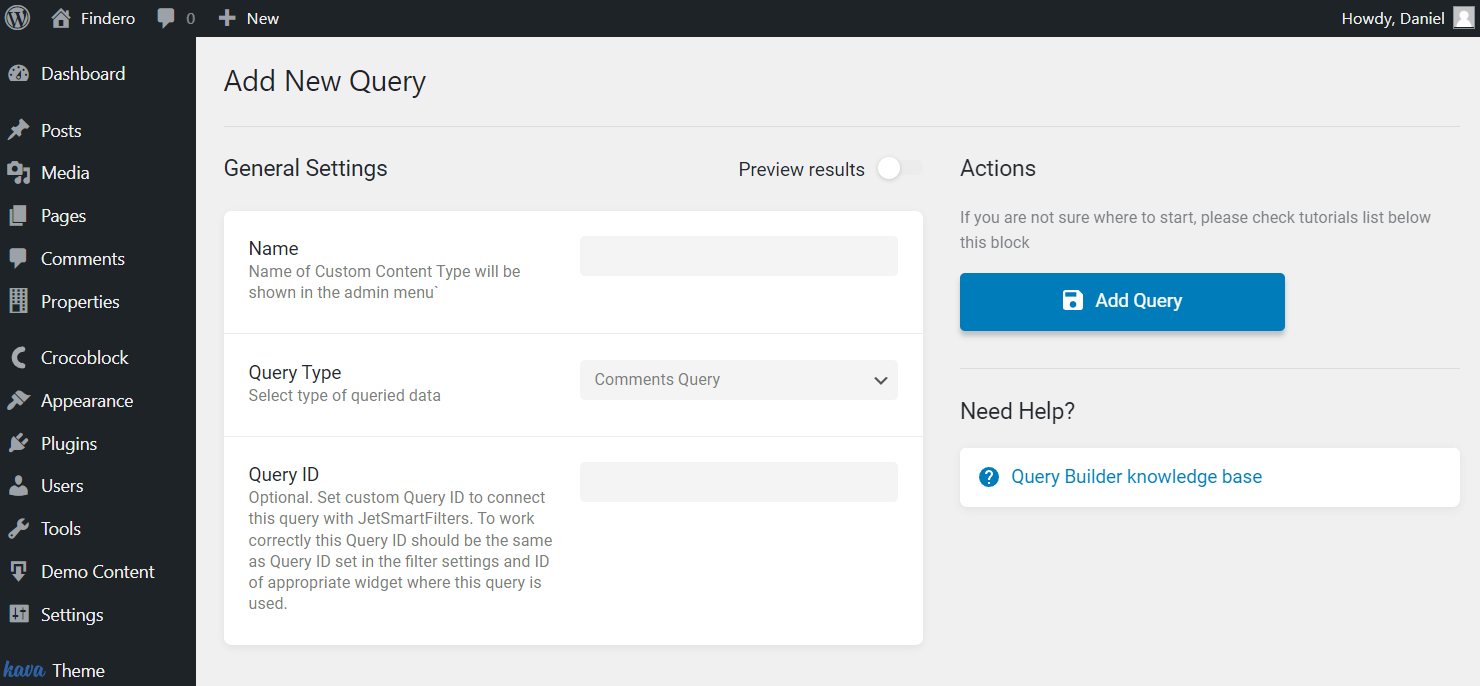
Once the editing page is open, look at the General Settings section. Complete the Name field, select the “Comments Query” Query Type, and leave the Query ID field blank as it is not required in the described case.
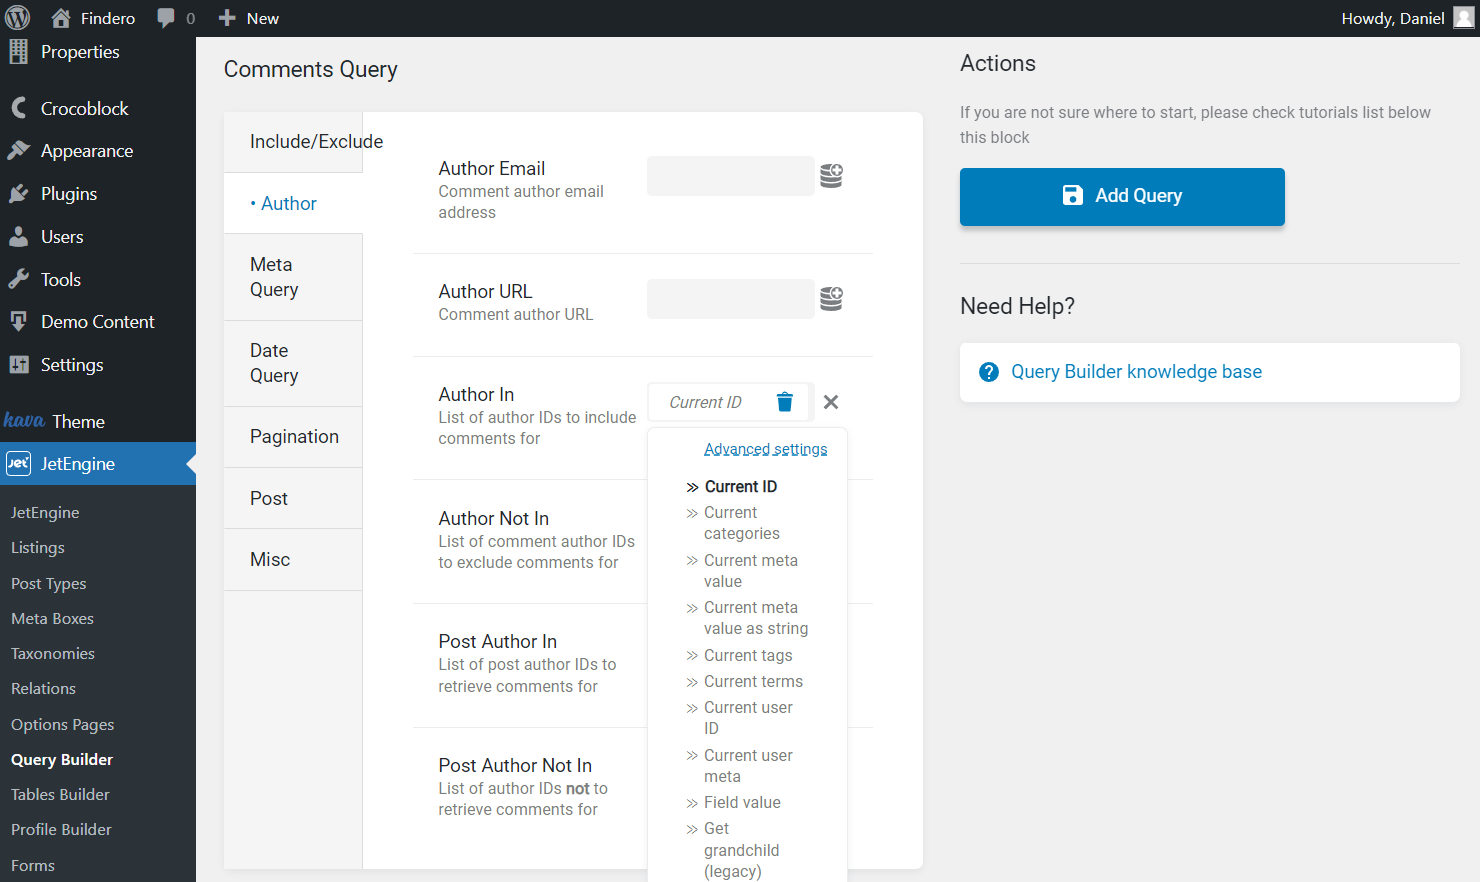
Scroll down to the Comments Query section and open the Author tab. Find the Author In field and press the “Dynamic Tags” button next to it.
Choose the “Current ID” option from the appeared list.
The next tab we open is the Misc one. Here we type the “approve” value in the Status field to display only the approved comments.
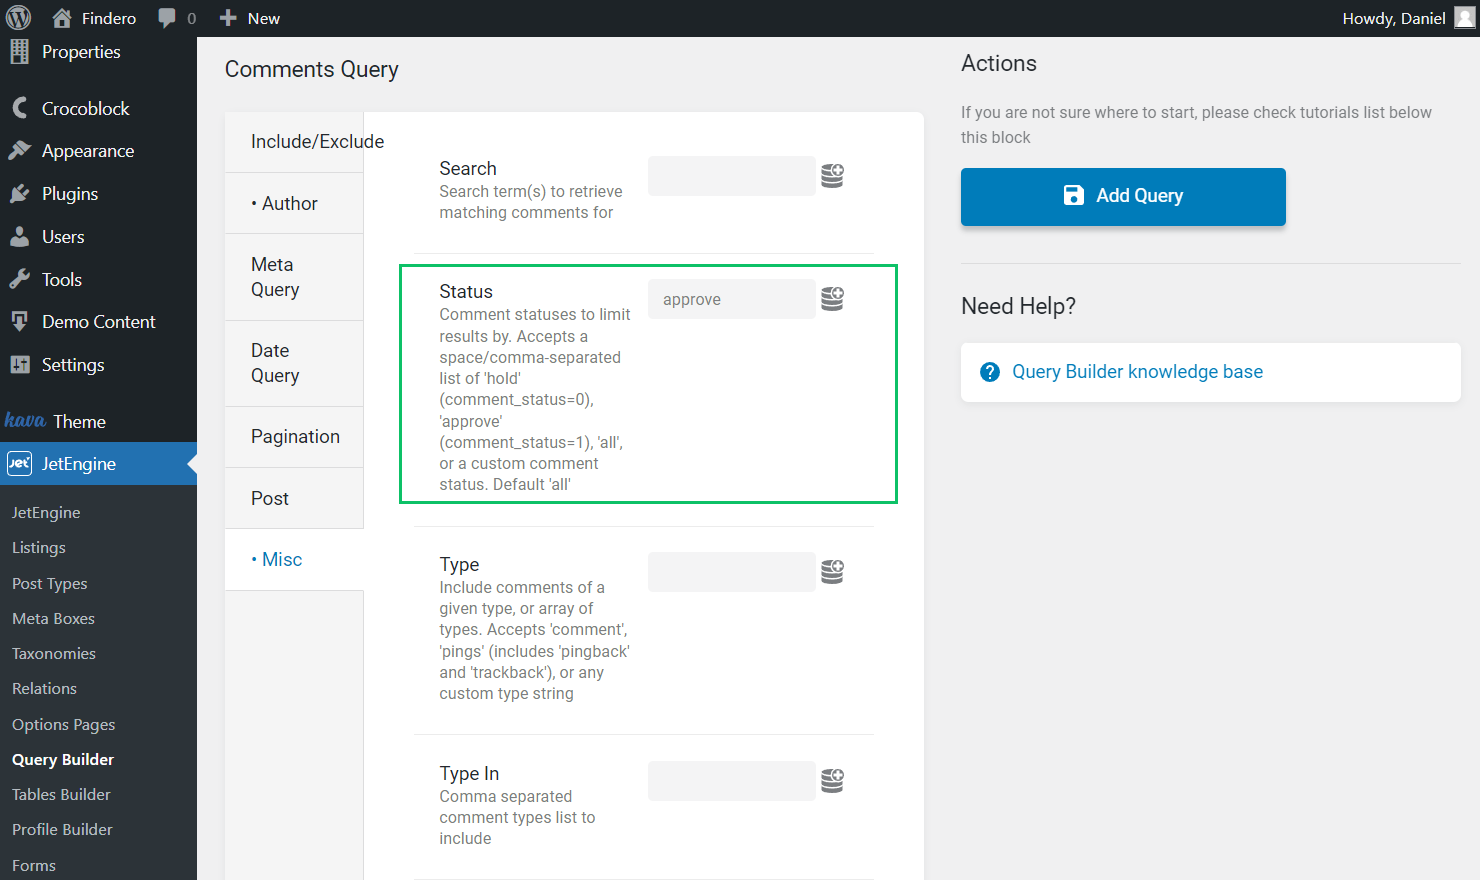
Now you can push the “Add Query” button.
Create a Listing
Open the WordPress Dashboard > JetEngine > Listings directory. Press the “Add New” button.
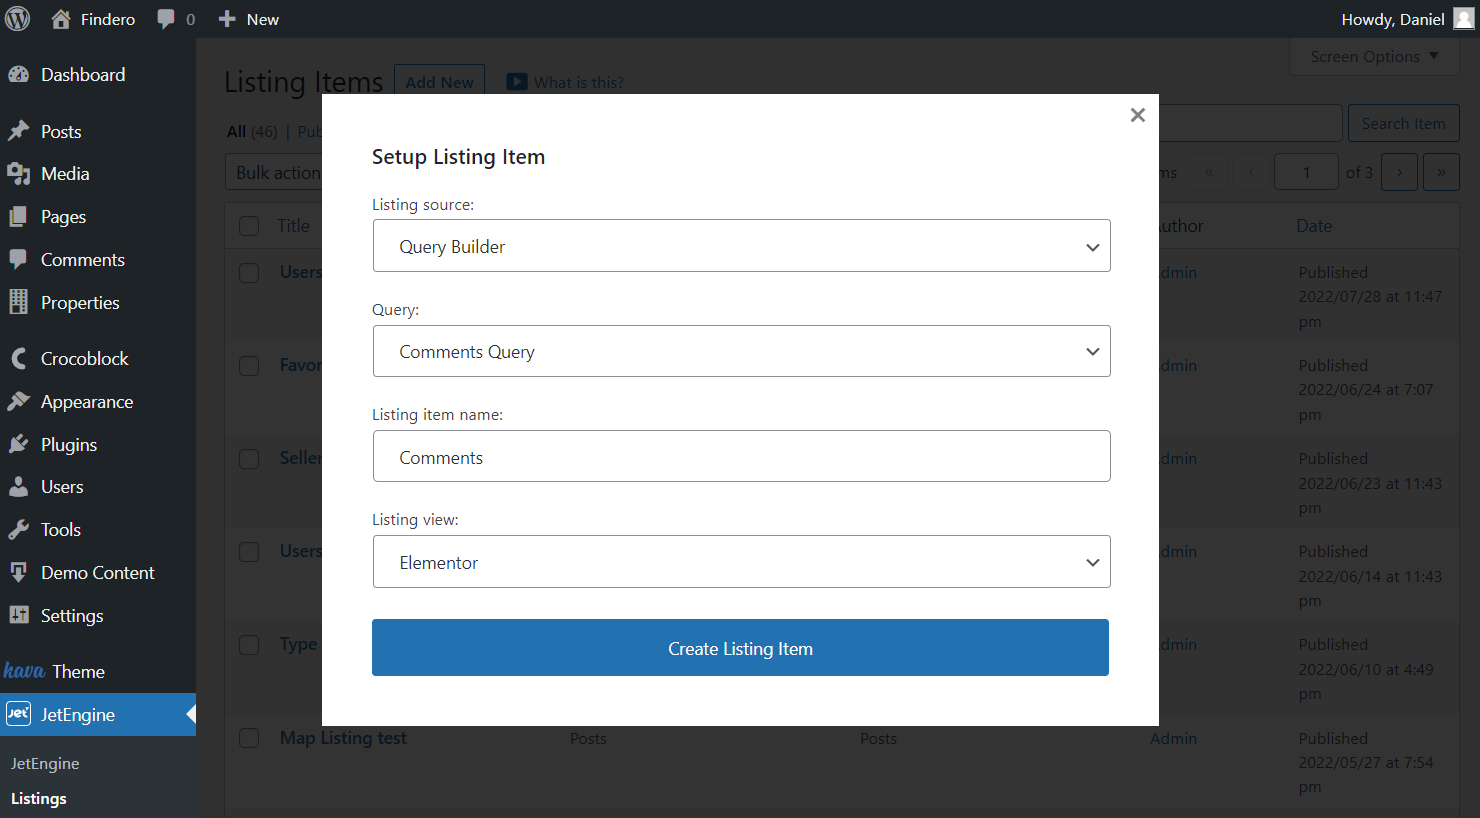
Pick the “Query Builder” Listing source and find the needed Query from the list.
Also, you can set the Listing item name and select the desired Listing view.
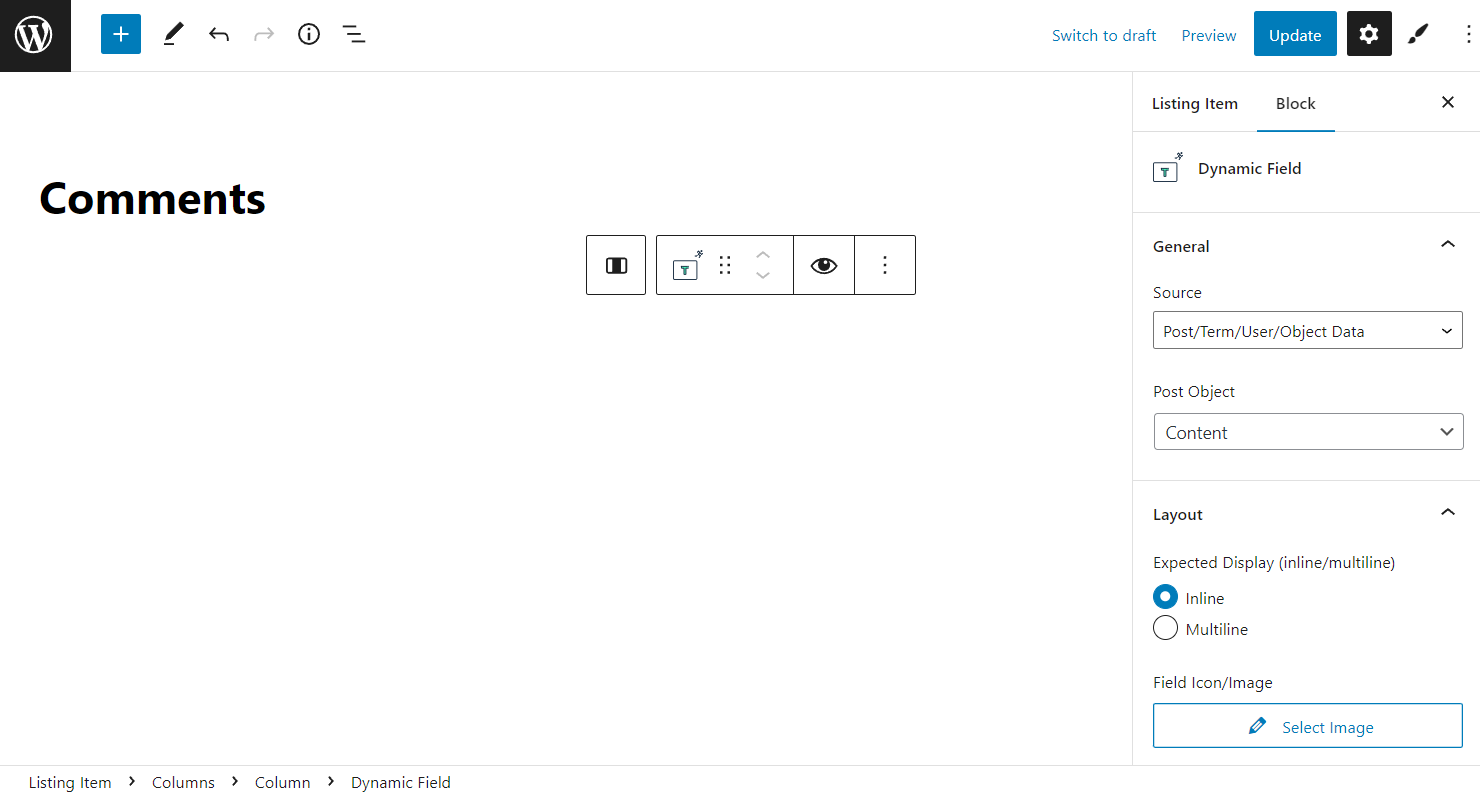
Initially, we added a section with two columns. In the first column, we put the Dynamic Field widget.
We showed the posting date of the comment by selecting the “Post/Term/User/Object Data” Source and “Date” Object Field (“Date” from the Comment part of the list) in the Content tab of the widget.
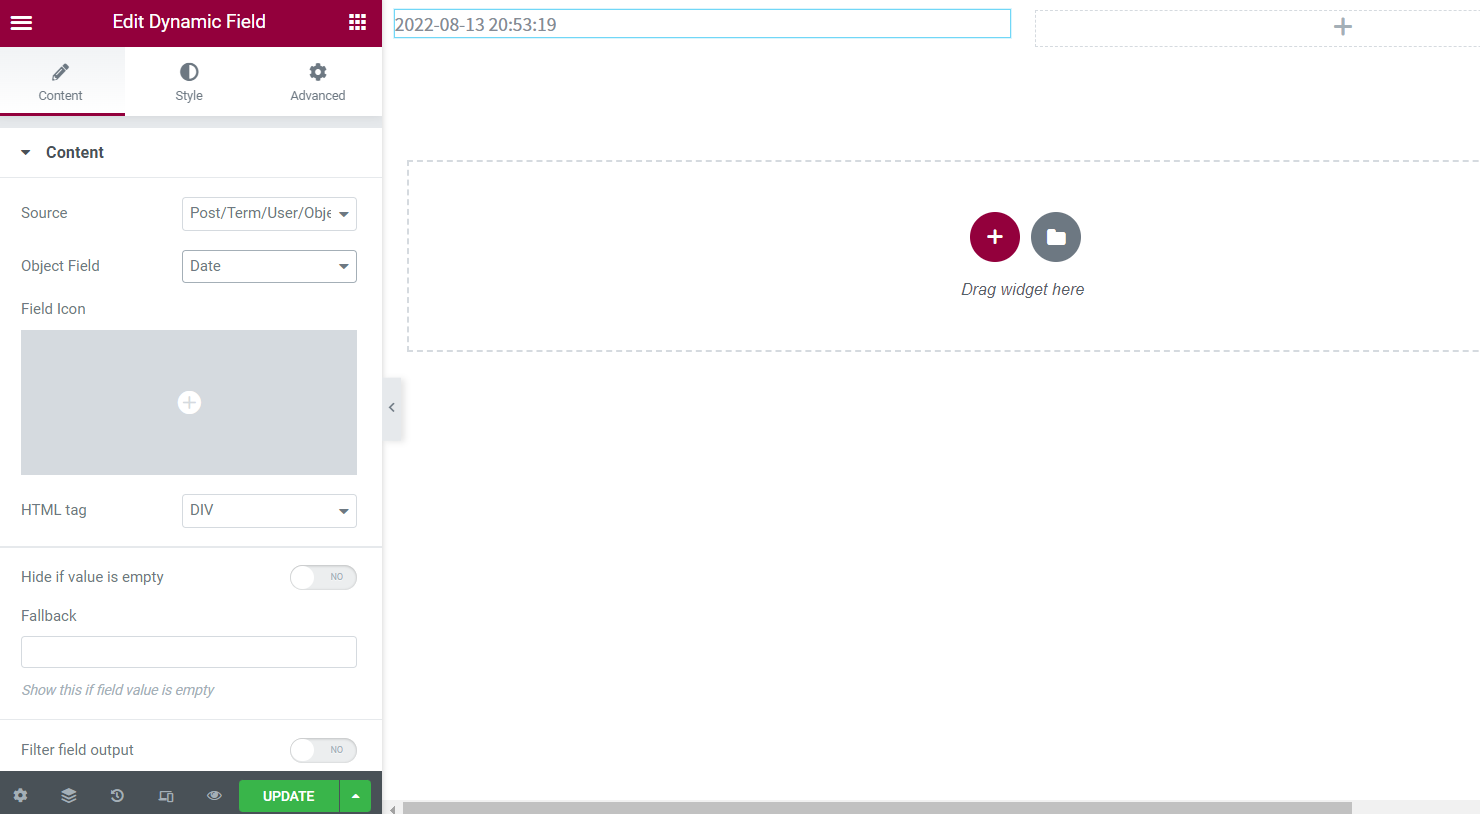
Activate the Filter field output and select the “Format date” Callback; then, you can set the desired Format.

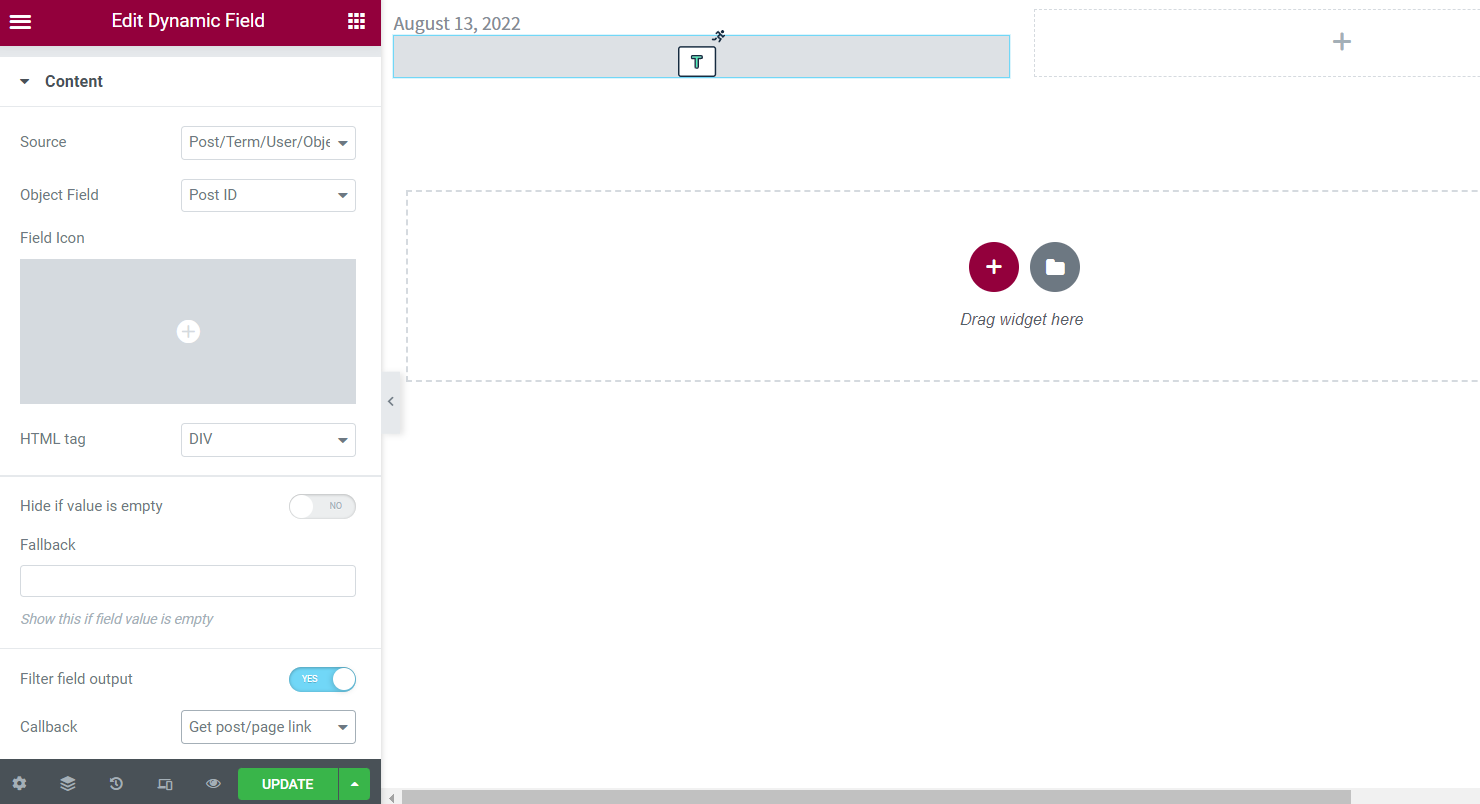
Set the following Dynamic Field to have the “Post/Term/User/Object Data” Source and “Post ID” (under the Comment part of the list) Object Field.
Activate the Filter field output toggle for this widget and set the “Get post/page link” Callback.
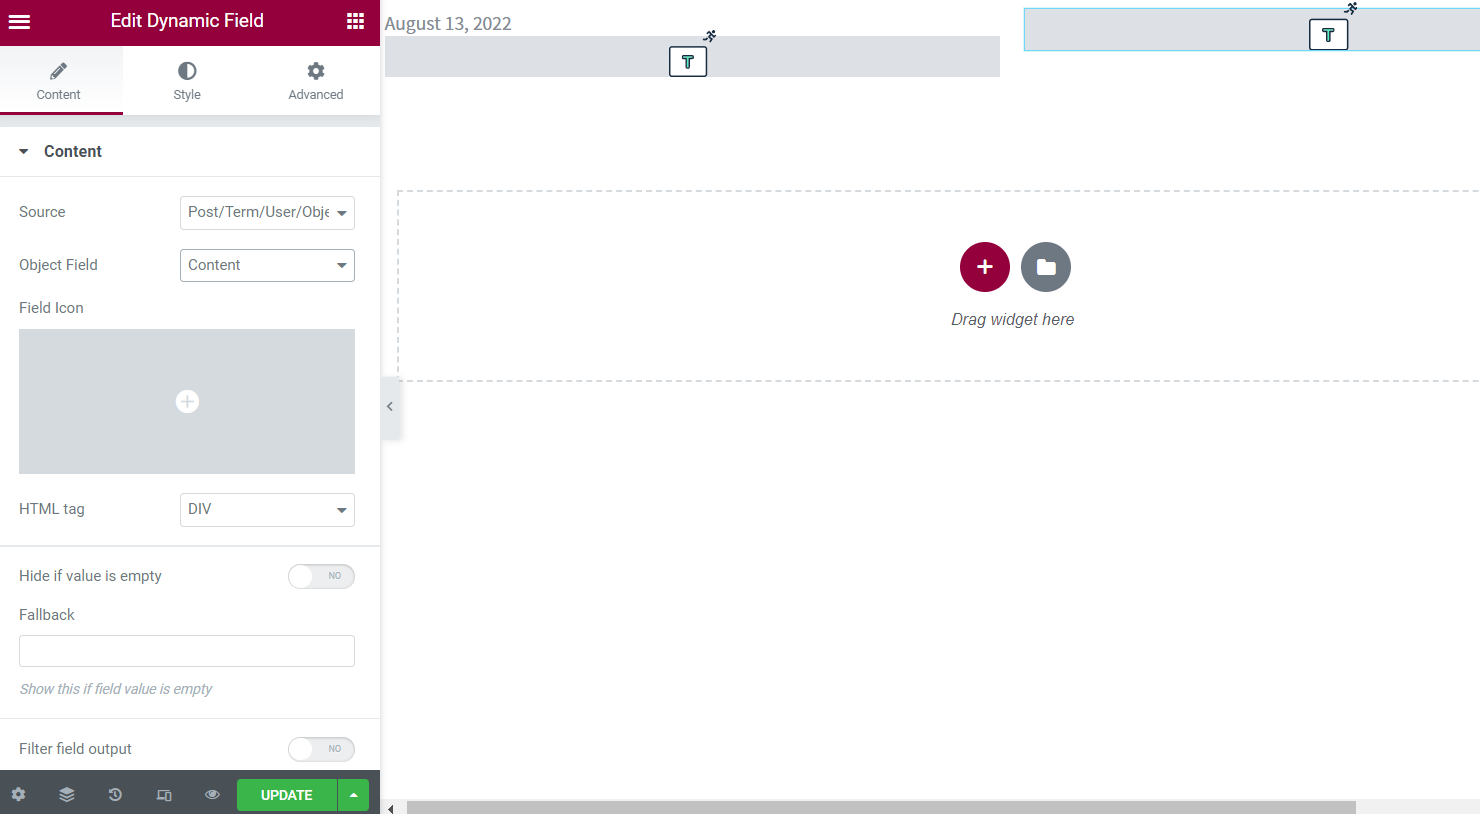
Add one more Dynamic Field to the second column. This time leave the same Source and choose the “Content” (under the “Common” title of the field option list) option from the Object Field list.
Click the “Publish/Update” button to save the editing.
Add Listing to Account Page
As you remember, we have already set up the Profile Builder and created the user’s account page.
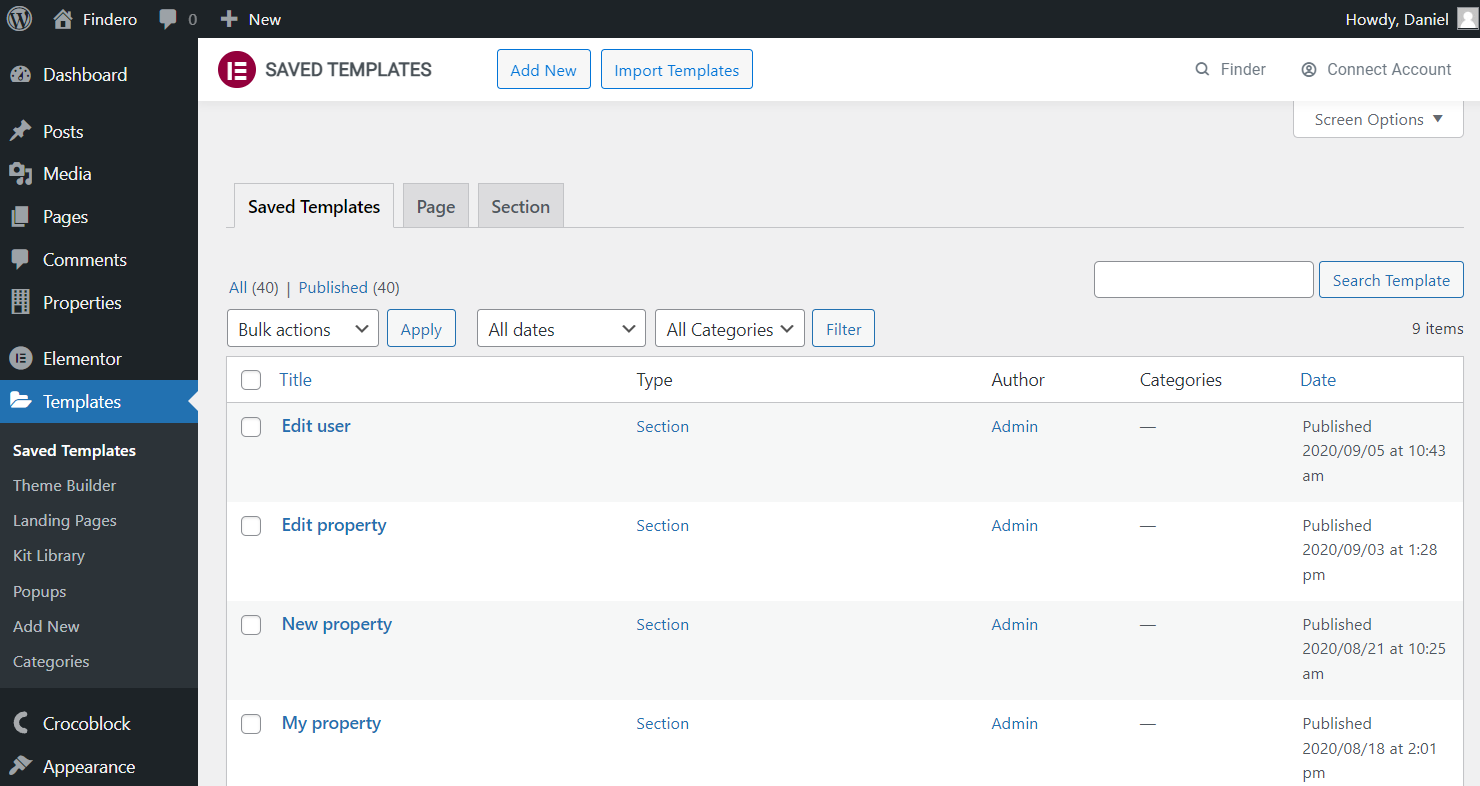
Let’s create a separate template for the comments. Navigate to WordPress Dashboard > Elementor > Saved Templates.
Hit the “Add New” button to create a new template.
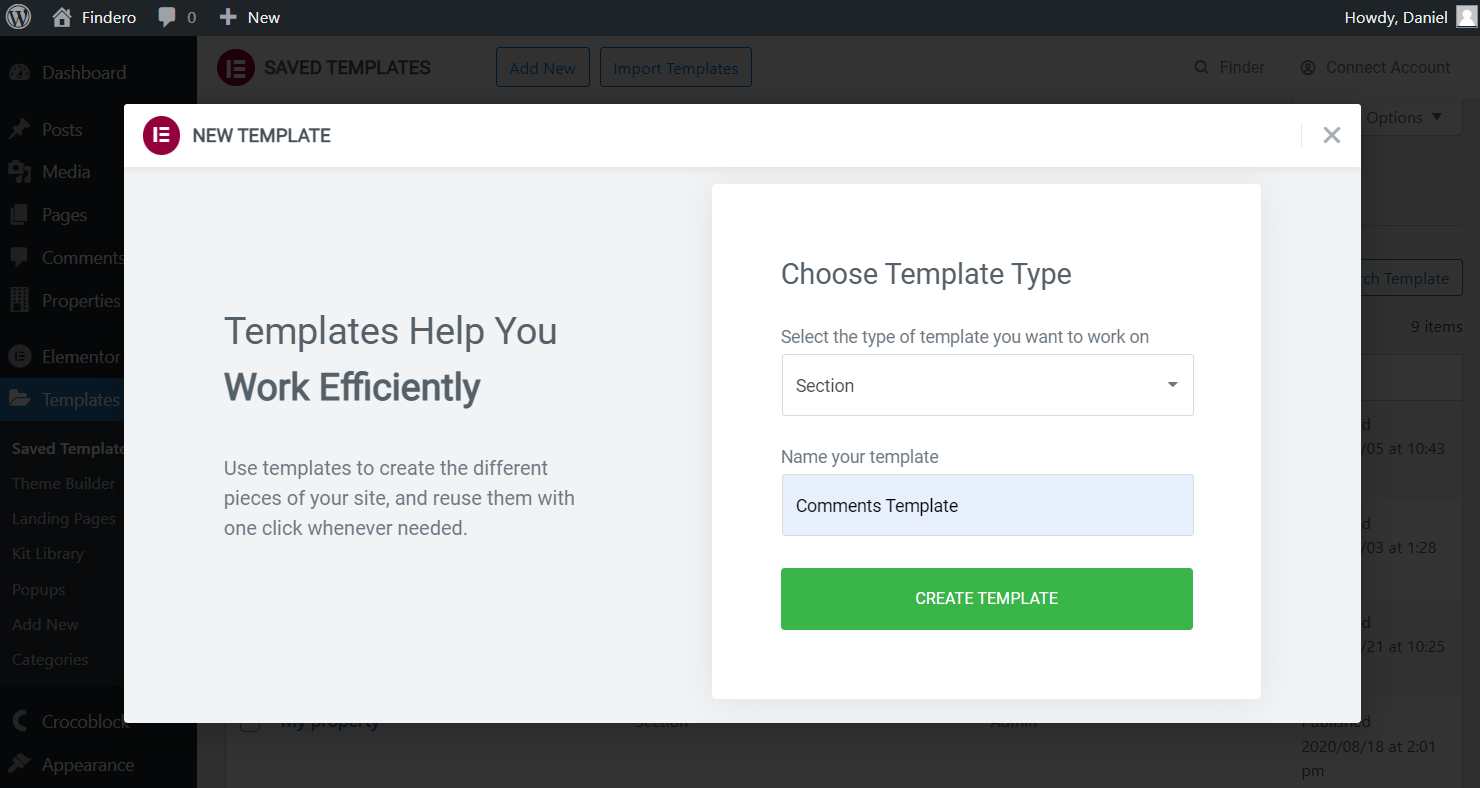
Now we select the “Section” template type, complete the name, and push the “Create Template” button.
Once you open the template, add the Listing Grid widget. Pick the newly built Listing.
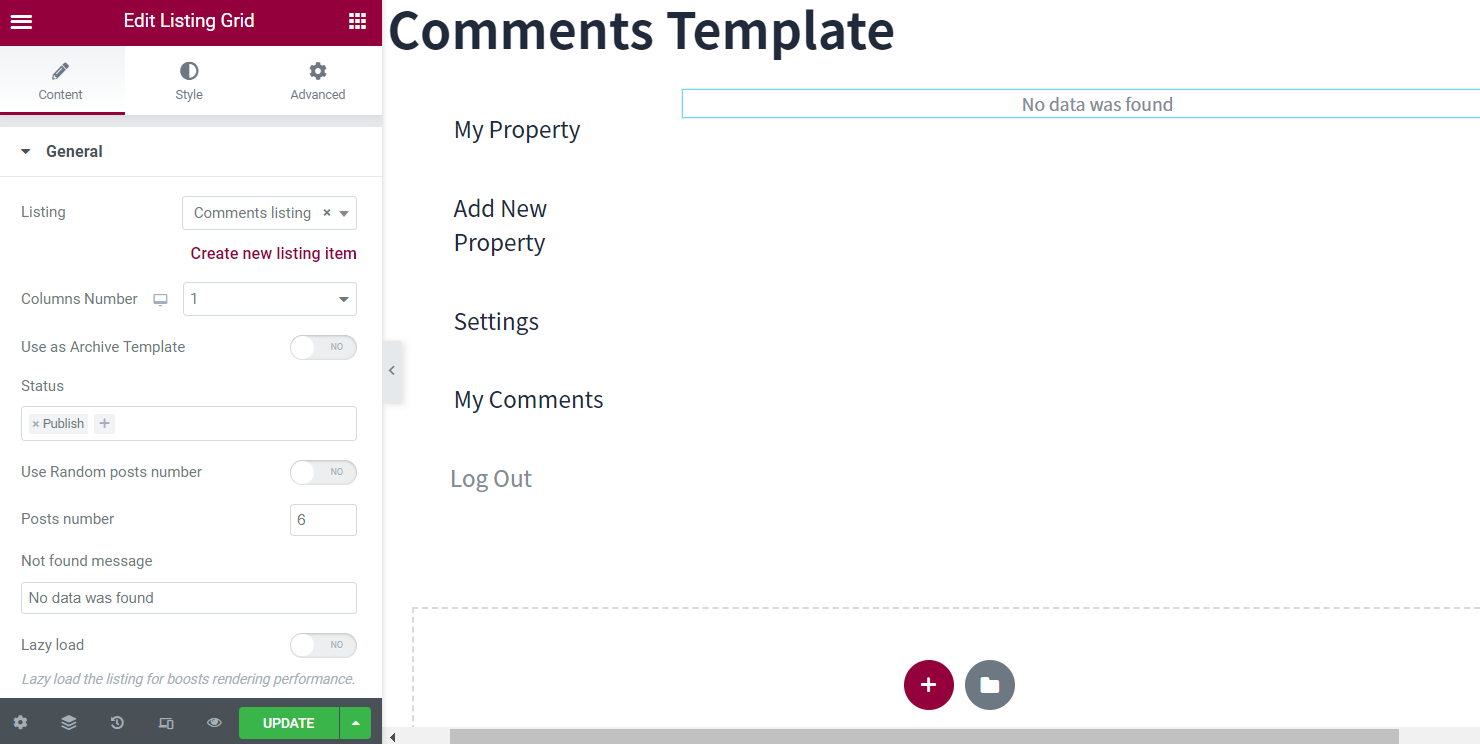
Move to the Custom Query tab and enable the Use Custom Query switcher.
Pick the Custom Query you have created beforehand.
Click the “Publish/Update” button.

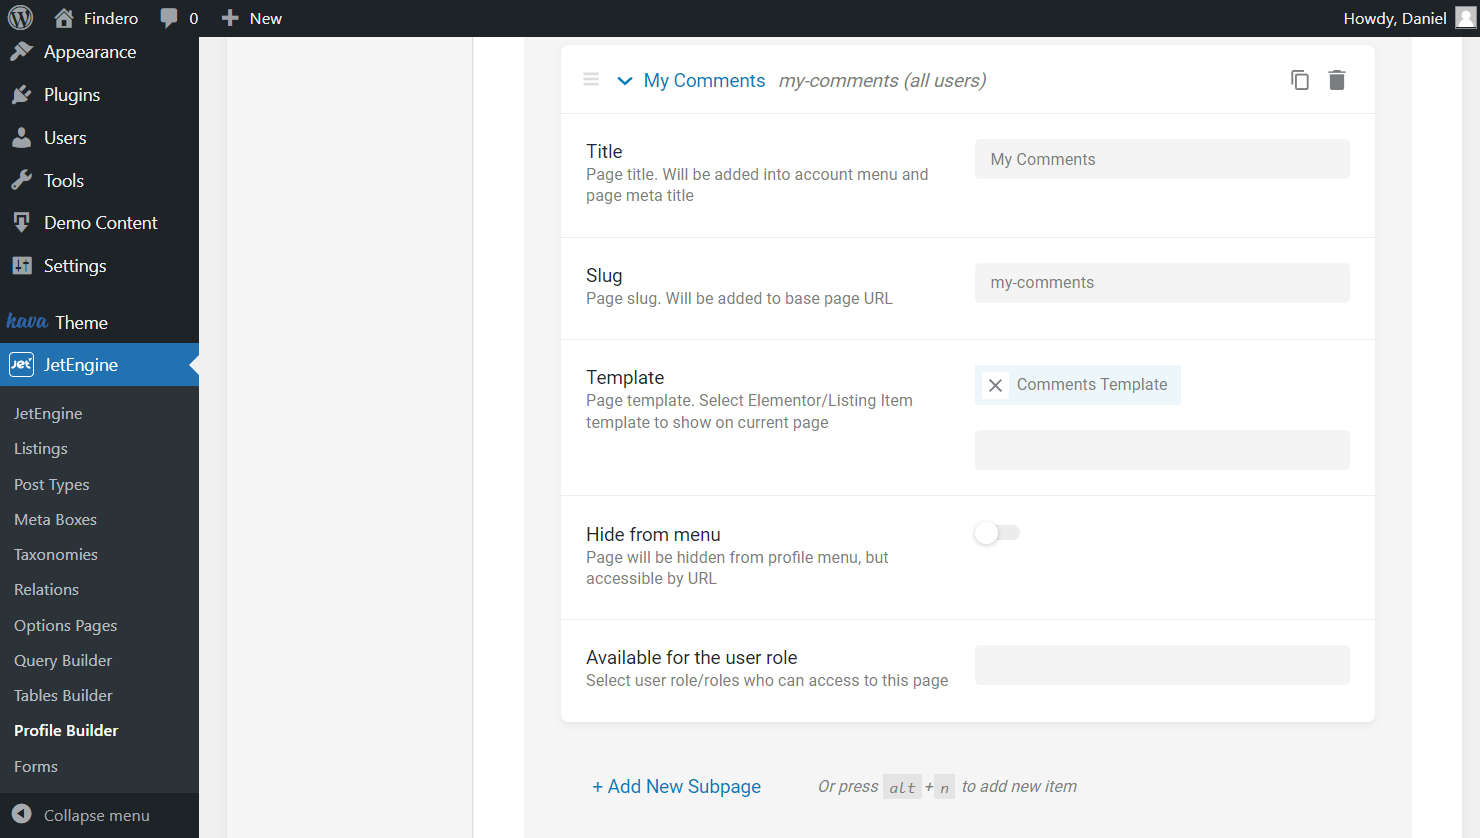
Head to WordPress Dashboard > JetEngine > Profile Builder and open the Account Page tab.
Hit the “Add New Subpage” button to add a new section to the account page.
Assign a Title to the subpage and complete its Slug.
Then select the Template you created earlier and that’s it. Don’t forget to click the “Save” button.
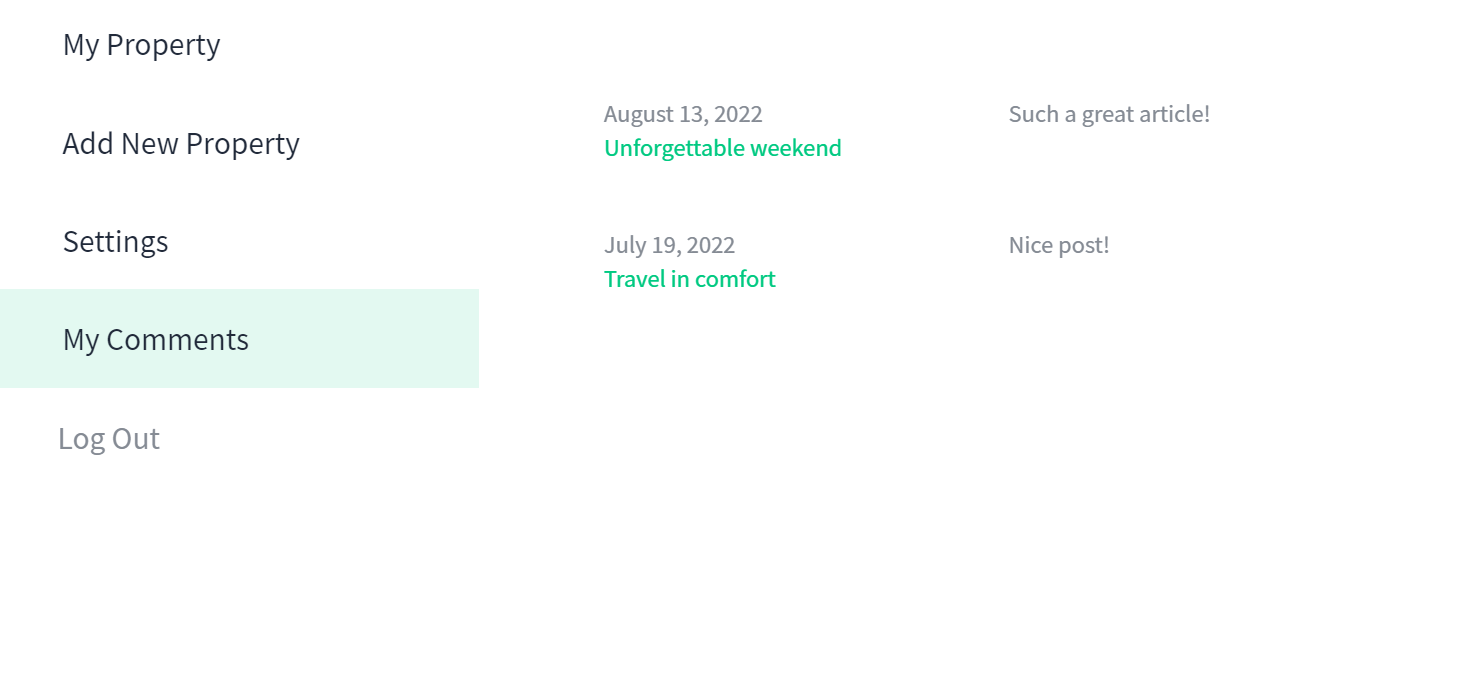
Check the Result
Open the User’s Account page on the front end. As you can see, all the user’s comments are displayed now.
See Other Use Cases
We can customize the displayed comments in many ways. Let’s check them out, and you can pick the one you like the most.
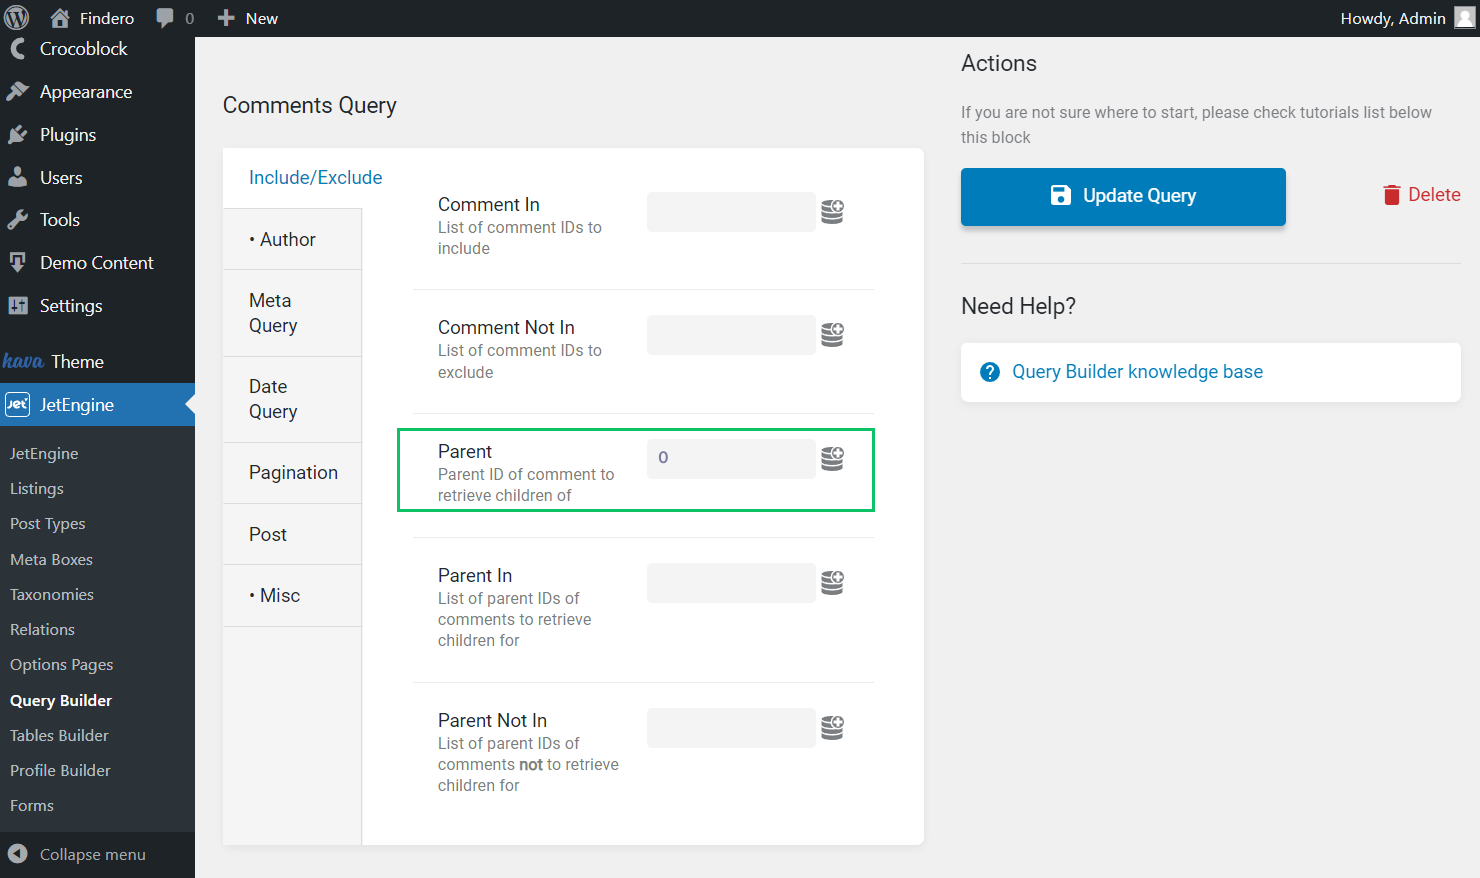
Display only parent comments
This time we will show only parent comments. Return to WordPress Dashboard > JetEngine > Query Builder and open the built query.
Head to the Include/Exclude tab and complete the Parent field with the “0” value.
Push the “Update Query” button.
Now the result will look like this.
Show comment status
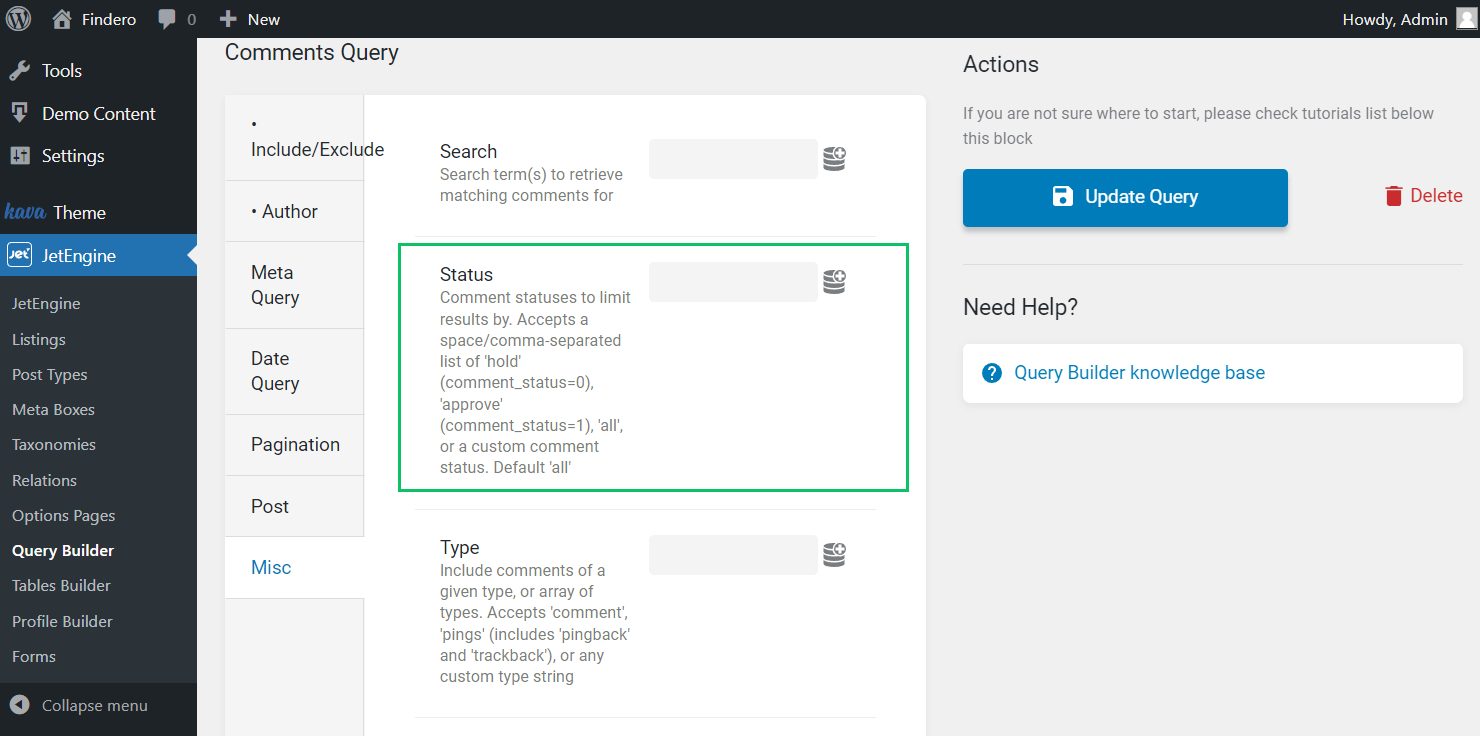
Head to WordPress Dashboard > JetEngine > Query Builder and open the created query.
In the Misc tab, find the Status field. Leave it empty and delete the “approve” value if you have added it before.
Click on the “Update Query” button.
Go to WordPress Dashboard > Elementor > Saved Templates and open the template you have created before.
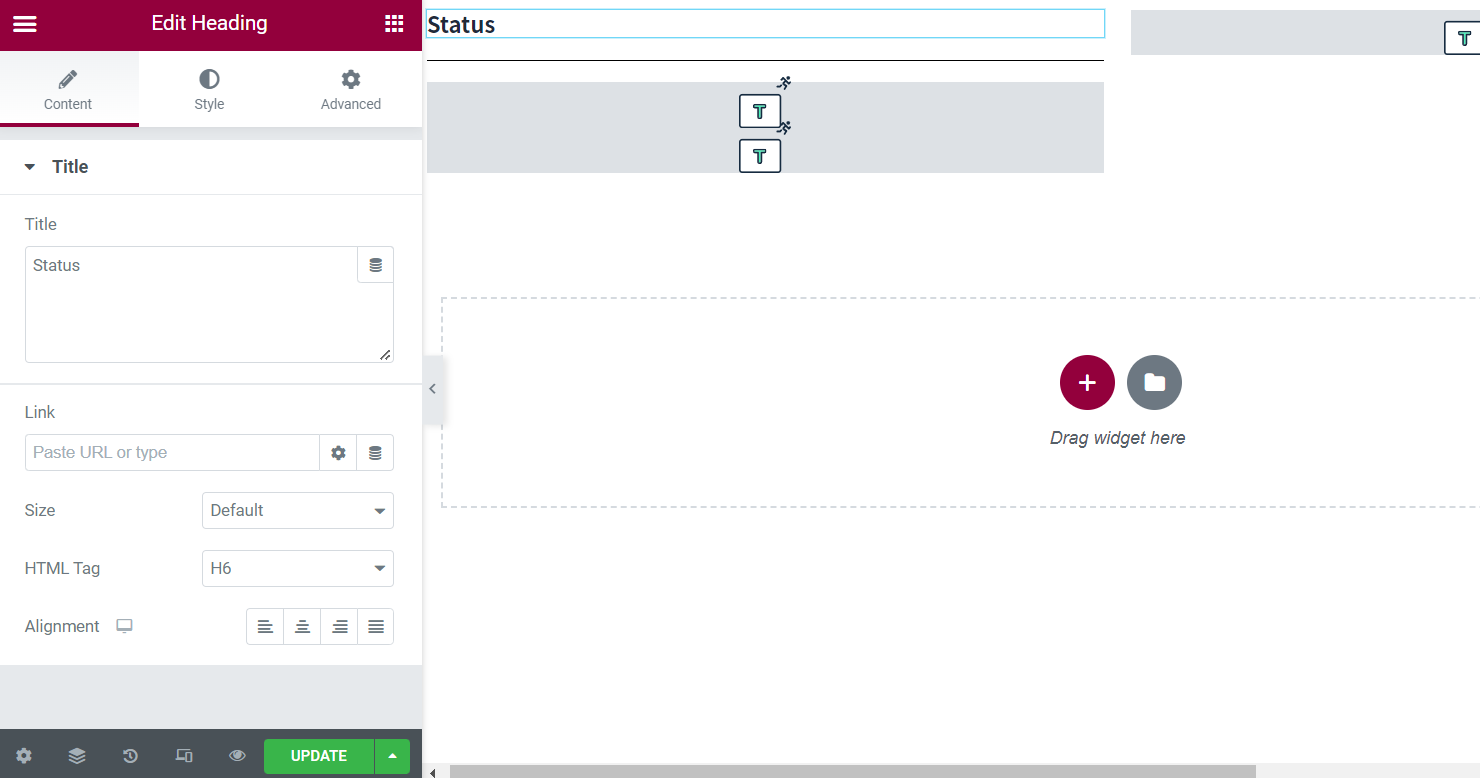
We add the Heading widget to the first column and type the “Status” value as the Title.
In addition, we add a Divider widget to style the template look.
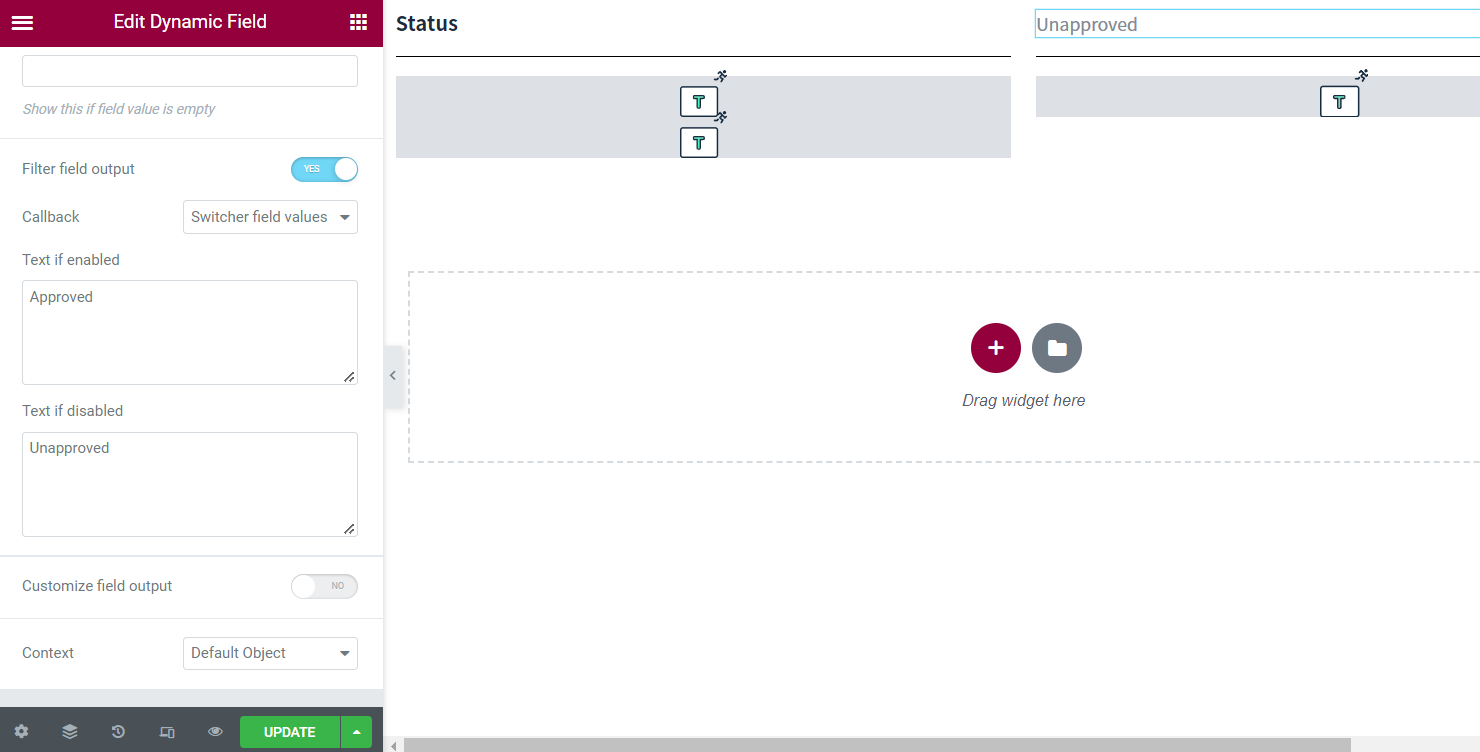
In the second column, we add one more Dynamic Field widget. Leave the default Source and select the “Approved” Object Field.

The next important step is activating the Filter field output toggle and selecting the “Switcher field values” Callback.
Customize Text if enabled and Text if disabled fields. We type “Approved” and “Unapproved” items in the described case.
And we add a Divider widget here as well. Mind that it is optional; you can style the template as you wish.
Press the “Update” button once ready.
Check the achieved result on the account page.
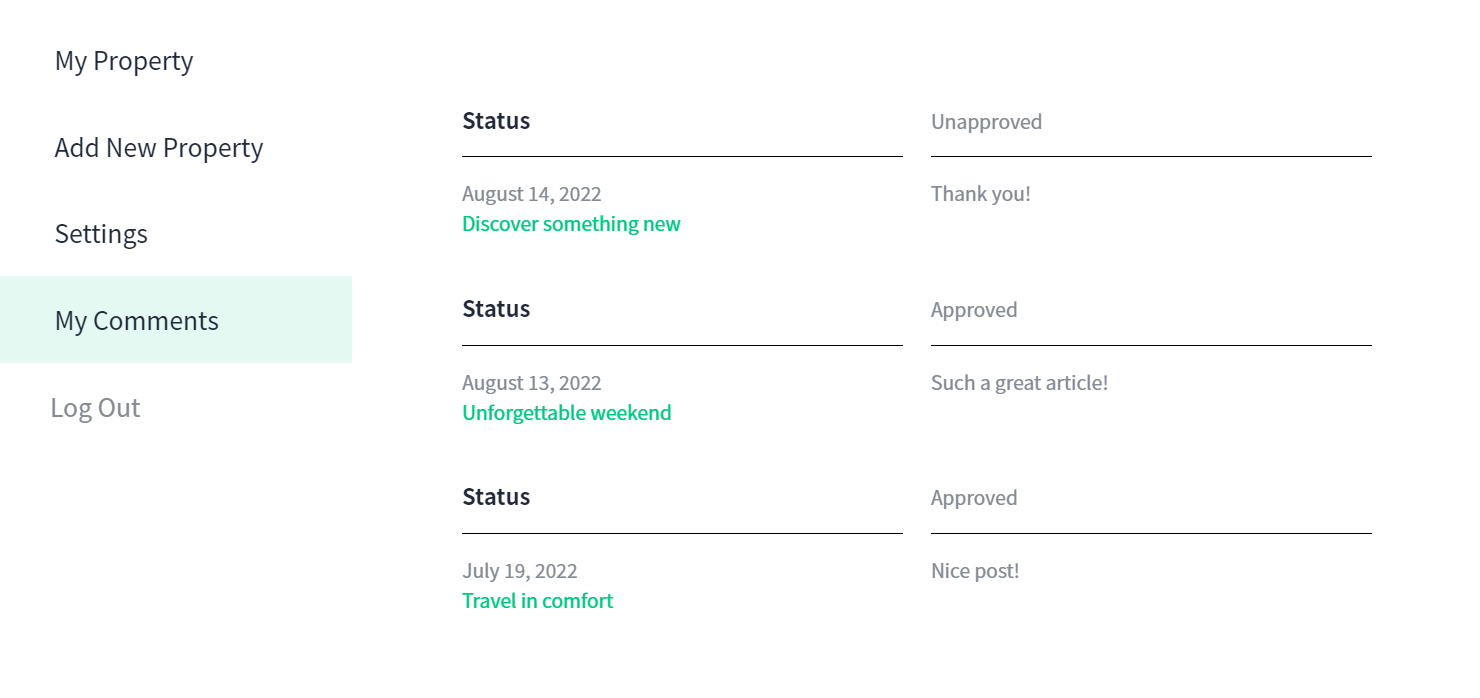
Now you know how to show WordPress comments on the user’s account page with the help of the JetEngine plugin.