How to Showcase Custom Posts via Listing Grid with Bricks
Discover how to showcase the custom posts on the WordPress page via the Listing Grid element with the Bricks builder theme and JetEngine plugin.
Bricks is a WordPress theme that lets you visually build sites. With Bricks and the JetEngine plugin, you can render dynamic data on your website.
With the Listing Grid feature, you can display posts, terms, users, products, etc., in the listing form. In this tutorial, I will show you how to showcase custom posts on the page.
Preparations
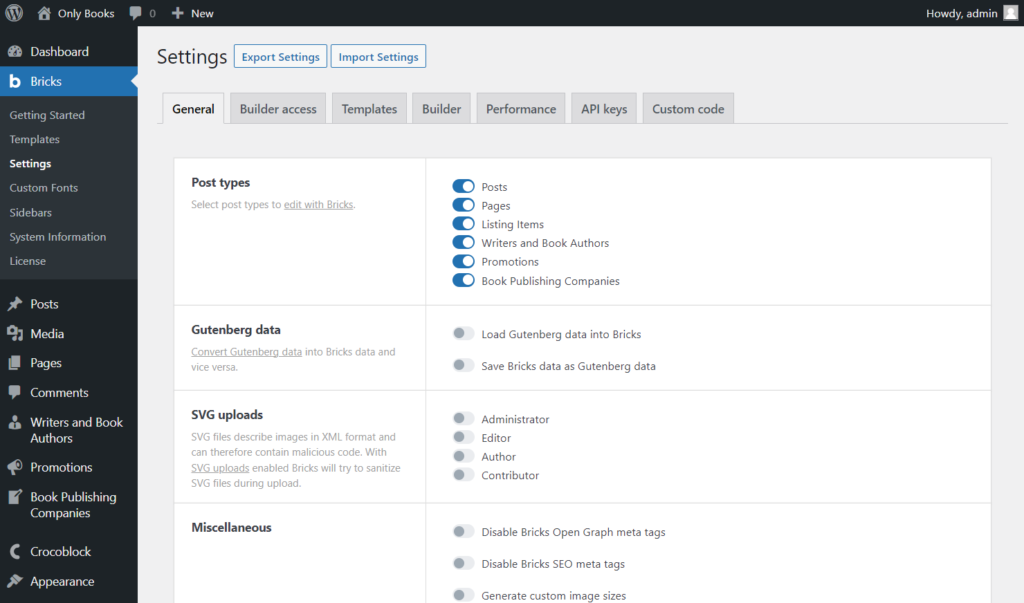
Move to the Pages tab on the WordPress Dashboard and click “Edit with Bricks” on the page you created earlier.

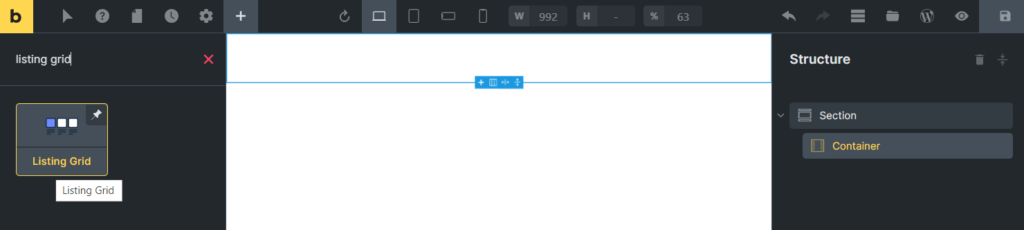
Add a new Section and drag-n-drop the Listing Grid element.
General Settings
Open the General tab in the Content settings section of the Listing Grid element and pick the Listing created with Bricks.
Let’s go through other features:
- Columns. Here, you can decide how many columns will be displayed in the listing;
- Turn the Use as Archive Template toggle to use the page where you placed the grid as an archive template. In this case, the number of posts will be taken from the Blog pages that can be found in WP Dashboard > Settings > Reading tab;
- Status. Only the posts with a status you choose in this drop-down menu will be shown in the Listing Grid:
- Publish — published posts;
- Future — posts scheduled to be published in some time;
- Draft — drafts;
- Pending Review — the posts that need some revision;
- Private — the posts that are visible only to you;
- Use Random posts number. Turn it on if you want to show a random number of posts each time the user reloads the page. After switching it on, you can set the minimum number of posts in the Post number bar and the maximum number of posts in the Max Random Posts number bar;
- Post number. Here, you can set how many posts will be shown in the listing;
- Lazy load. This option boosts the rendering performance of the page. When this toggle is enabled, the grid loads as the user scrolls the page and not when the page is opened;
- Activate Is masonry grid to present the Listing in the form of a masonry grid;
- Turn on the Equal columns height toggle to unify all the columns by their height;
- Load More. When this option is enabled, the grid shows a defined number of posts and loads more on the user’s demand. To learn more, check the How to Create Load More Button tutorial;
- Use Custom Post Types. Enable this toggle if you want to show posts from two or more different post types.

Enable Listing Grid Injections
This option allows you to use different Listing Items within one Listing Grid. To learn more, move to the How to Use Alternative Listing Template Functionality in Listing Grid tutorial.
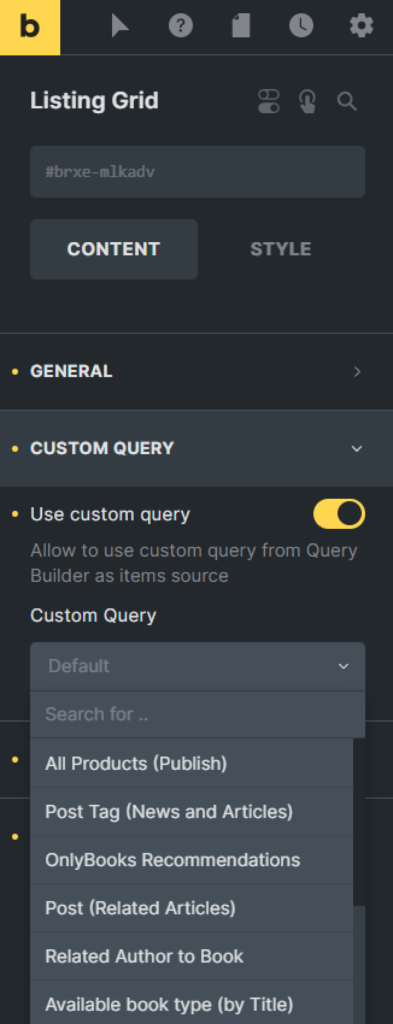
Custom Query
Query Builder is the JetEngine feature that allows you to display only those items in the list that are corresponded to the created conditions. You can create the custom query for posts, terms, users, etc., and apply it to the Listing Grid in the Custom Query settings tab. To learn more, proceed to the Query Builder Overview.
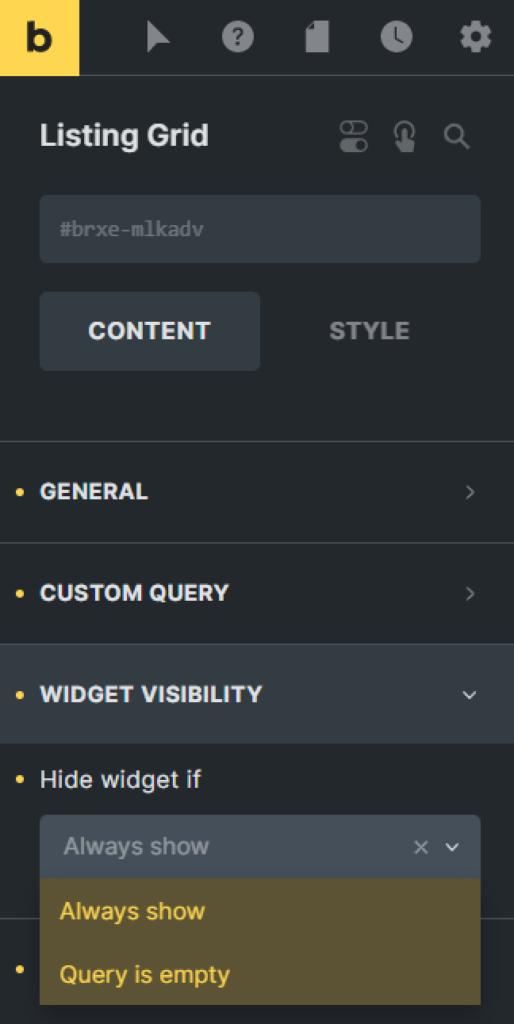
Widget Visibility
With the Widget Visibility settings section, it is possible to set the widget always to be shown or hide it when the query is empty.
Slider
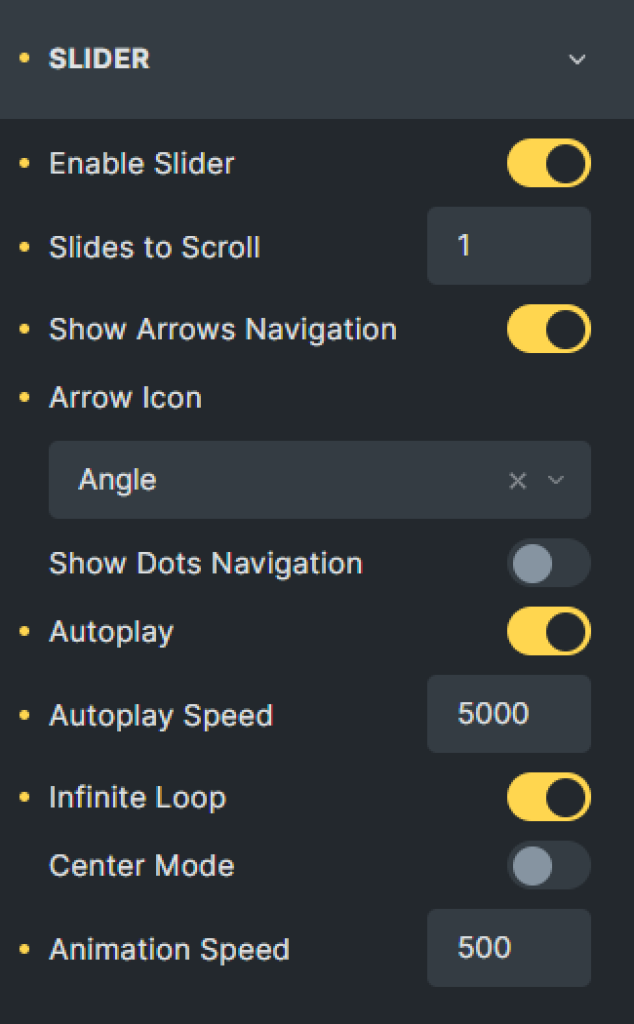
There are two options: the Enable Slider and Enable Scroll Slider toggles. If you enable the first one, you will see such settings:
- Slides to Scroll. Choose how many posts will be shifted to the side in one click;
- Enable the Show Arrows Navigation toggle if you want the arrows to be displayed on each side of the slide and choose the Arrow Icon;
- Turn the Show Dots Navigation toggle on if you want to add the dots navigation to the bottom of the slider block;
- Set the Autoplay and Autoplay Speed with the Slider function if you do not want users to slide the listing manually;
- Enable the Infinite Loop for slides to repeat from the first one after the last one is shown and set an appropriate Animation Speed.
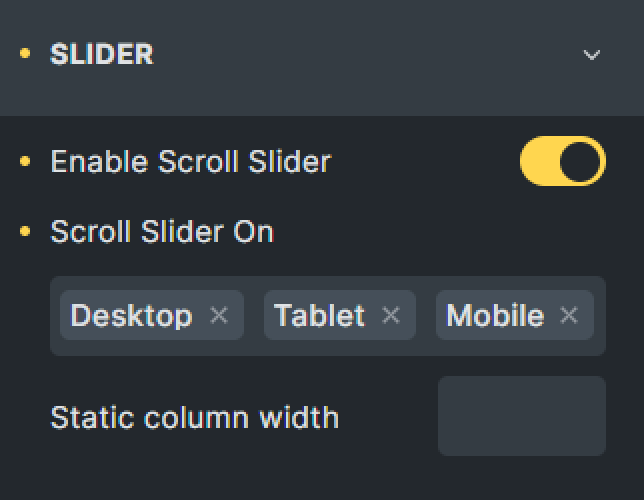
The Enable Scroll Slider option adds a horizontal scroll to the grid. On a mobile device, such a slider can be moved by just swiping it with fingers. That can sufficiently reduce the length of the page and improve the UI.
- Scroll Slider On. Here you can choose the device on which the scroll slider will be enabled. That could be Desktop, Tablet, or Mobile;
- Static column width. With the help of this field, you can set some static width of the grid for different devices.
After you finish customizing the Listing Grid and page, hit the “Save” button.
Listing Grid on the Front End
Proceed to the page with Listing Grid on the front end. To do this, you can hit the “Preview Mode” button.
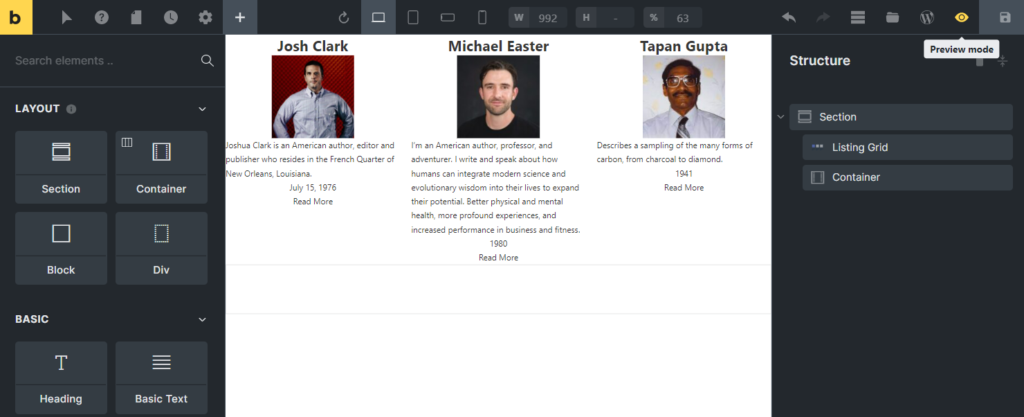
If needed, you can also push the “View on frontend” button. It will open the page on the front end in the new browser tab. Click the “Back to builder” button to return to the builder and make new changes.

That’s all. Now you know how to showcase the custom posts on the WordPress page via the Listing Grid element with the Bricks theme and JetEngine plugin.