How to Use Alternative Listing Template Injections in Listing Grid Widget
This tutorial introduces injecting the alternative listing items within one Listing Grid widget using JetEngine functionality.
Before you start, check the tutorial requirements:
- Elementor (Free version)
- JetEngine plugin installed and activated with source for listings defined.
You can style the listings and present them in an eye-catching manner on the pages. However, the Listing Grid uses a single listing template for the whole grid. If you want to create a more sophisticated grid layout by combining several different listing templates in the Listing Grid widget of the JetEngine plugin, this tutorial will show you how.
You can also watch our video guide on combining different layouts within one loop with the help of the JetEngine’s Listing Grid.
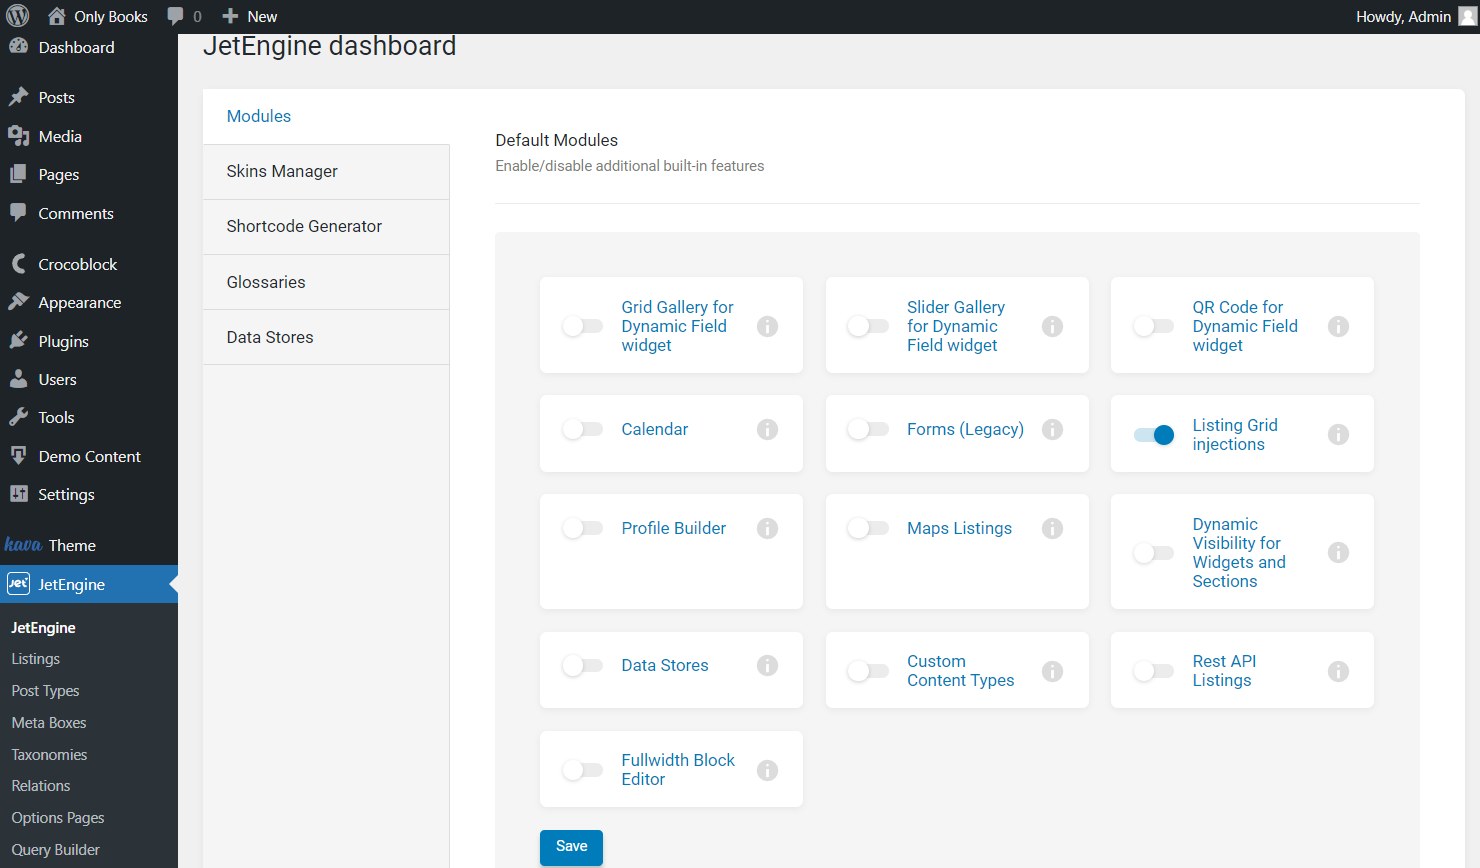
Enable Listing Grid Injections
First of all, you need to enable the Listing Grid injections option. Go to WordPress Dashboard > JetEngine > JetEngine Dashboard > Modules, and tick the Listing Grid injections checkbox. Press the “Save” button.
Build Two Listings
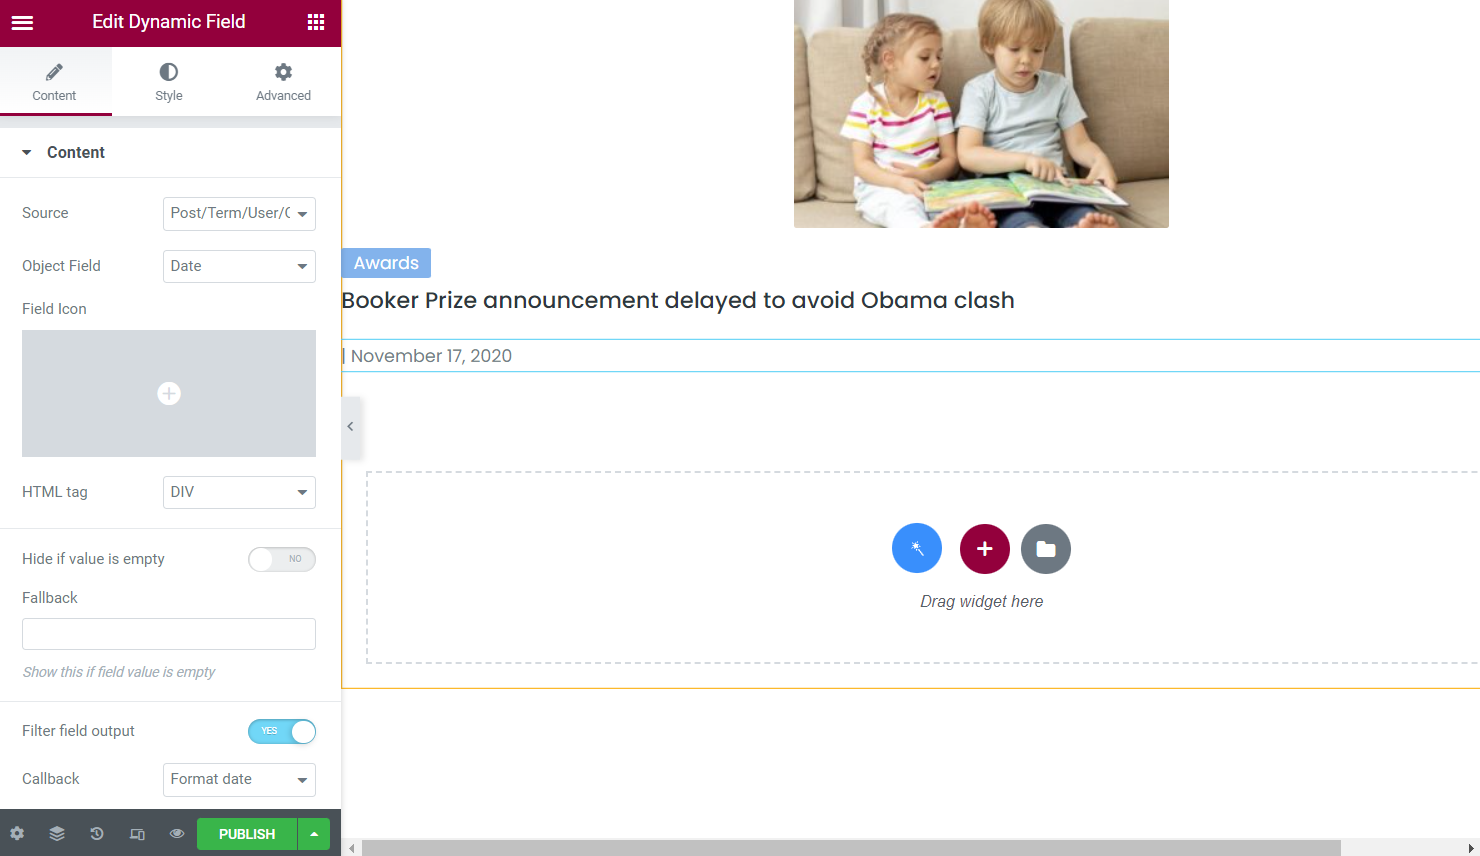
You can create a Listing template in Elementor Page Builder or Gutenberg. Now we will use Elementor. You can build the listing of any needed type; now, we will use the post type ones and the other for taxonomy.
Don’t forget to hit the “Publish/Update” button once all the desired widgets are added.
Afterward, go to the WordPress Dashboard > JetEngine > Listings section and create a new alternative listing with the same dynamic widgets used in the main listing. Click on the “Publish/Update” button.
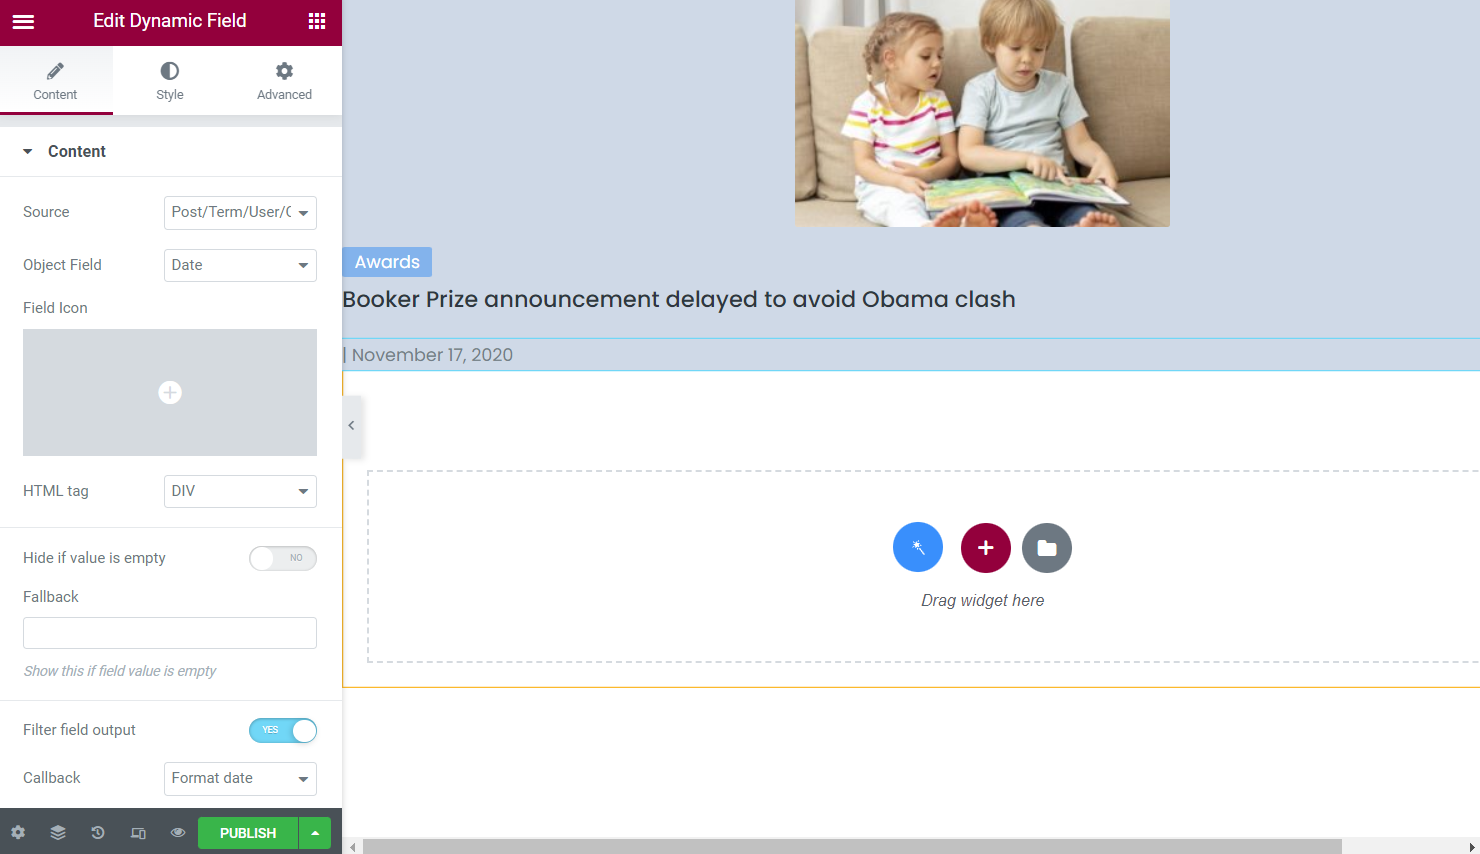
In our case, we utilize JetEngine Dynamic Field and Dynamic Image widgets to showcase information about the room and its features.
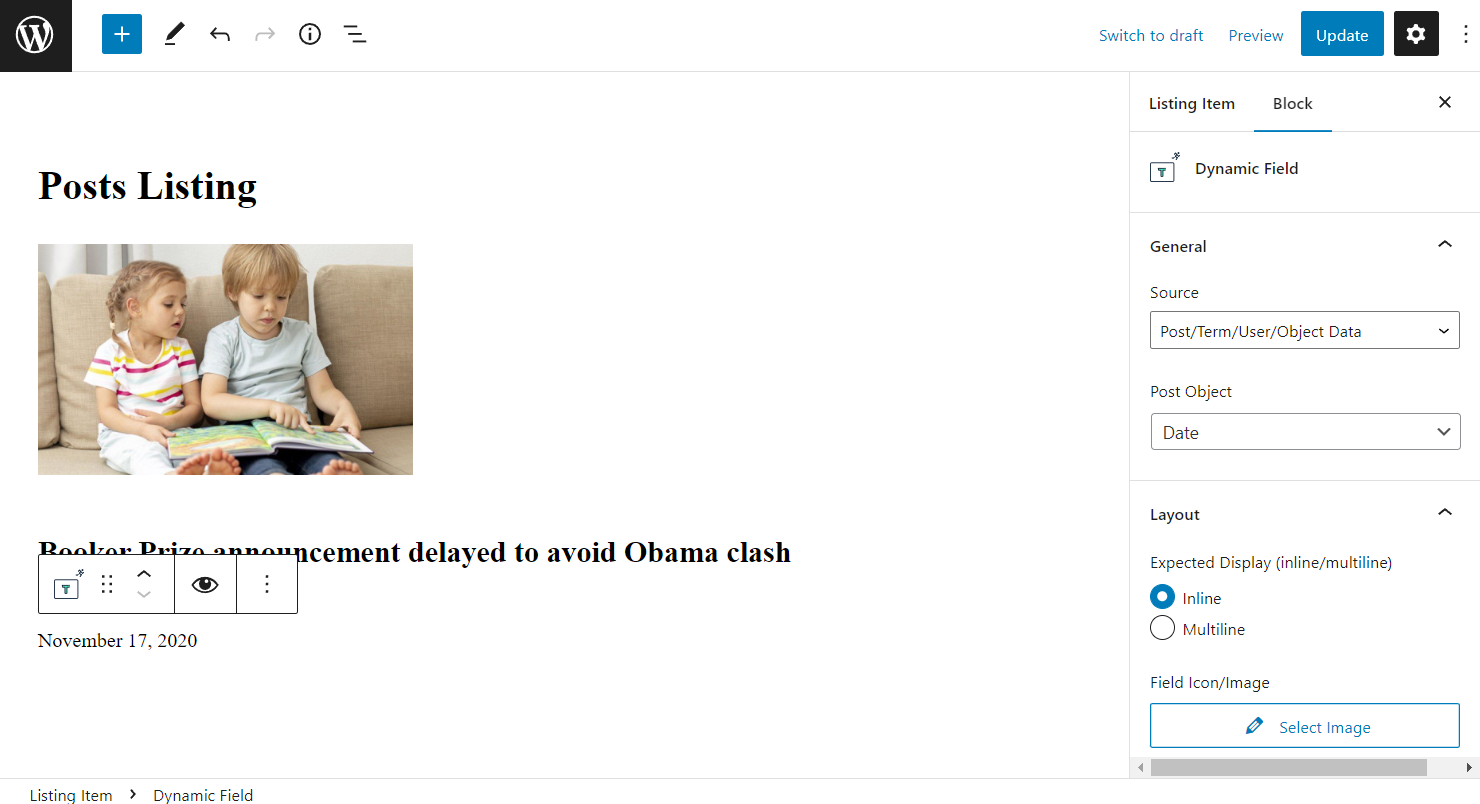
Remember that you can also use Gutenberg to build the needed listing with the help of the same-named dynamic blocks we have used in Elementor.
Adjust the Listing Grid Widget
Open the page where the original listing is displayed via the Listing Grid widget (Elementor) or block (Gutenberg). We’ll observe Elementor settings.
Proceed to customize the widget in the settings panel. In the General section, enable the Inject alternative listing items option.
Click the “Add Item” button and set the item.
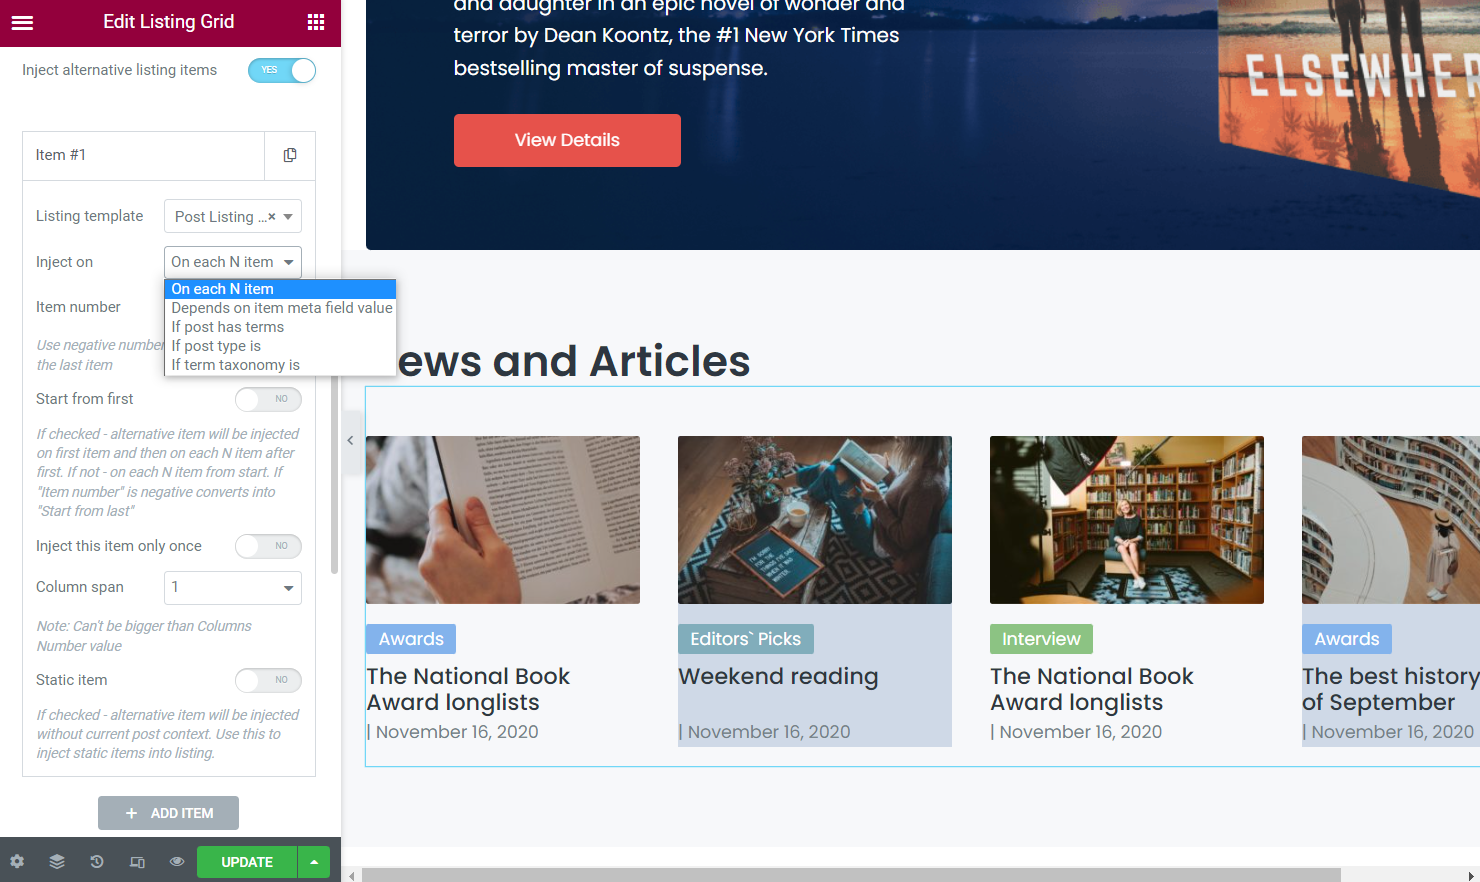
In the Listing template field, select the created alternative listing. Let’s go through the Inject on field options.
On each N item
Once this option is selected, the listing item will be displayed on the predefined number of posts. Check the available customizations.
Here we display the alternative listing on each second item.
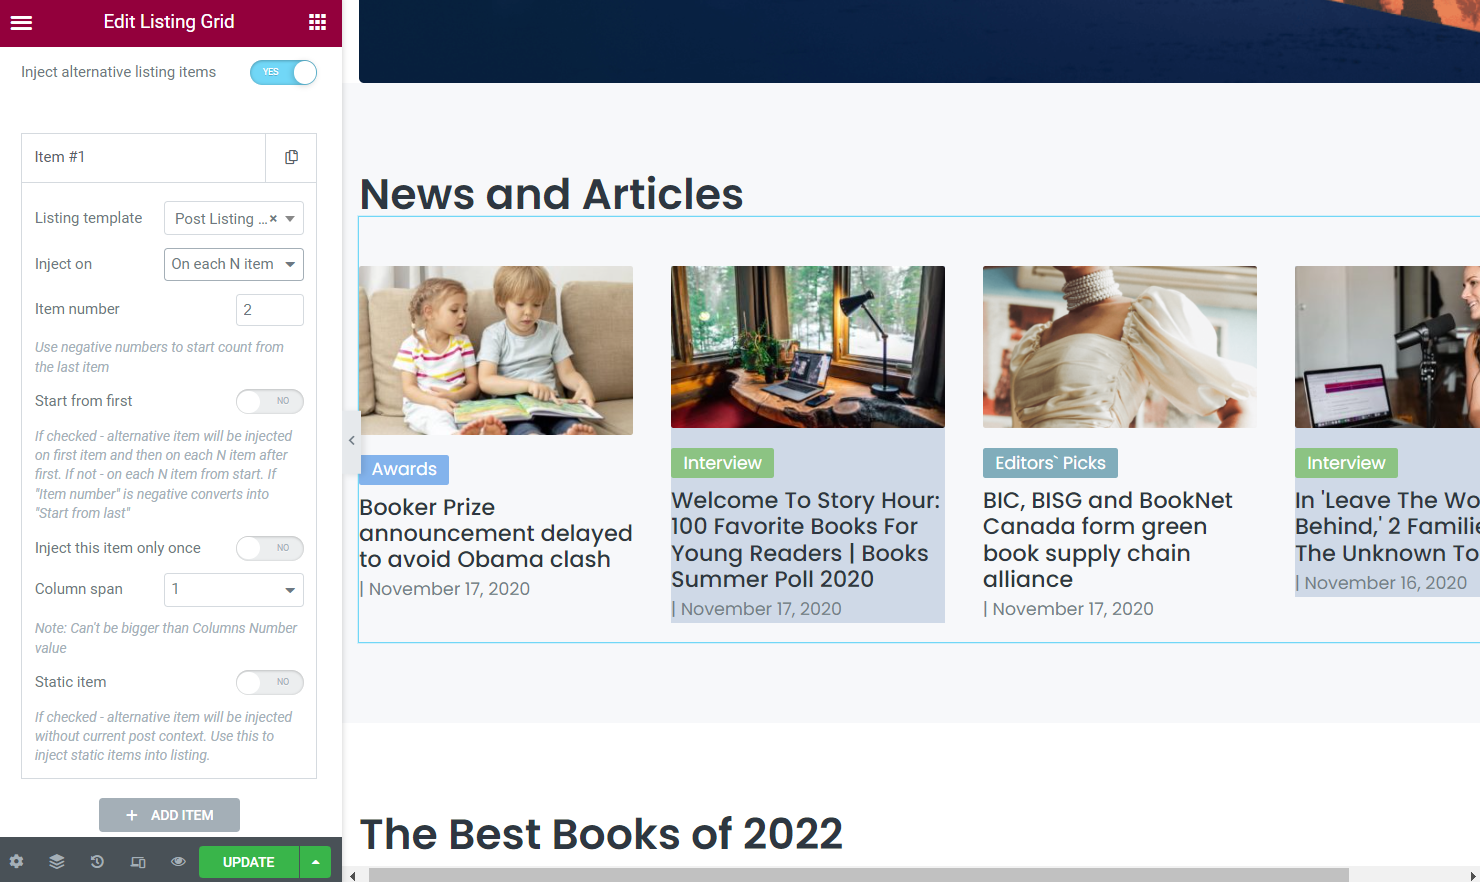
- Inject number — define the number on which to put the alternative listing items. For instance, if you put “2,” the alternative listing will be injected on each second item. If the value you place in the Item number field is negative, the alternative listing unit will be applied not from the first item but the last. For example, if you place “-1” there, the alternative template will be used for the last item in the grid;
- Start from first — enable to apply the alternative listing template to the first cell in the first row and each N item after that;
- Inject this item only once — toggle on and specify the item number. In this case, the listing template will be applied only to a single grid cell;
- Column span — define this value for customizing the listing layout according to your needs. But be aware that it can’t be bigger than the number of columns value;
- Static item — activate this feature if you want to inject static objects into the listing.
Depends on the item meta field value
Enable the listing item injection on the meta field value criteria. Adjust them with the help of the following settings.
For instance, you can set the alternative listing if an item has the “top” Value in the “Status” meta field.
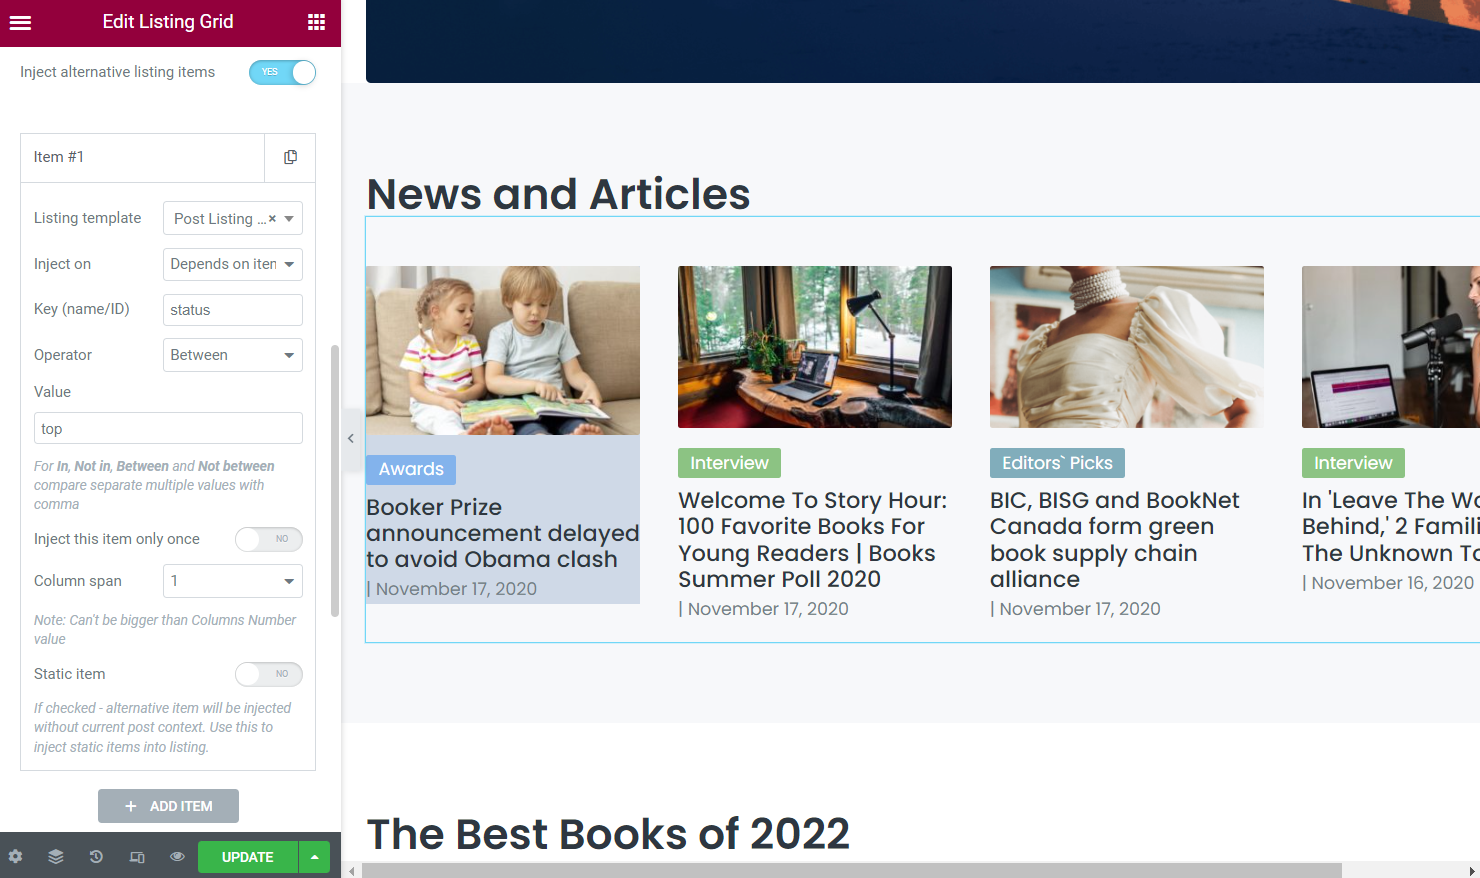
- Key (name/ID) — paste the meta field key that will act like a criterion for alternative listing item injection;
- Operator — pick the desired operator for comparison;
- Value — paste the value used for comparison.
Other settings are repeated as ones available once the “On each N item” option is selected.
If post has terms
Use this option if you want to set the alternative listing item depending on whether the item includes some term values.
For example, let’s put an alternative listing on each post that is included in the “Editor’s Picks” category.
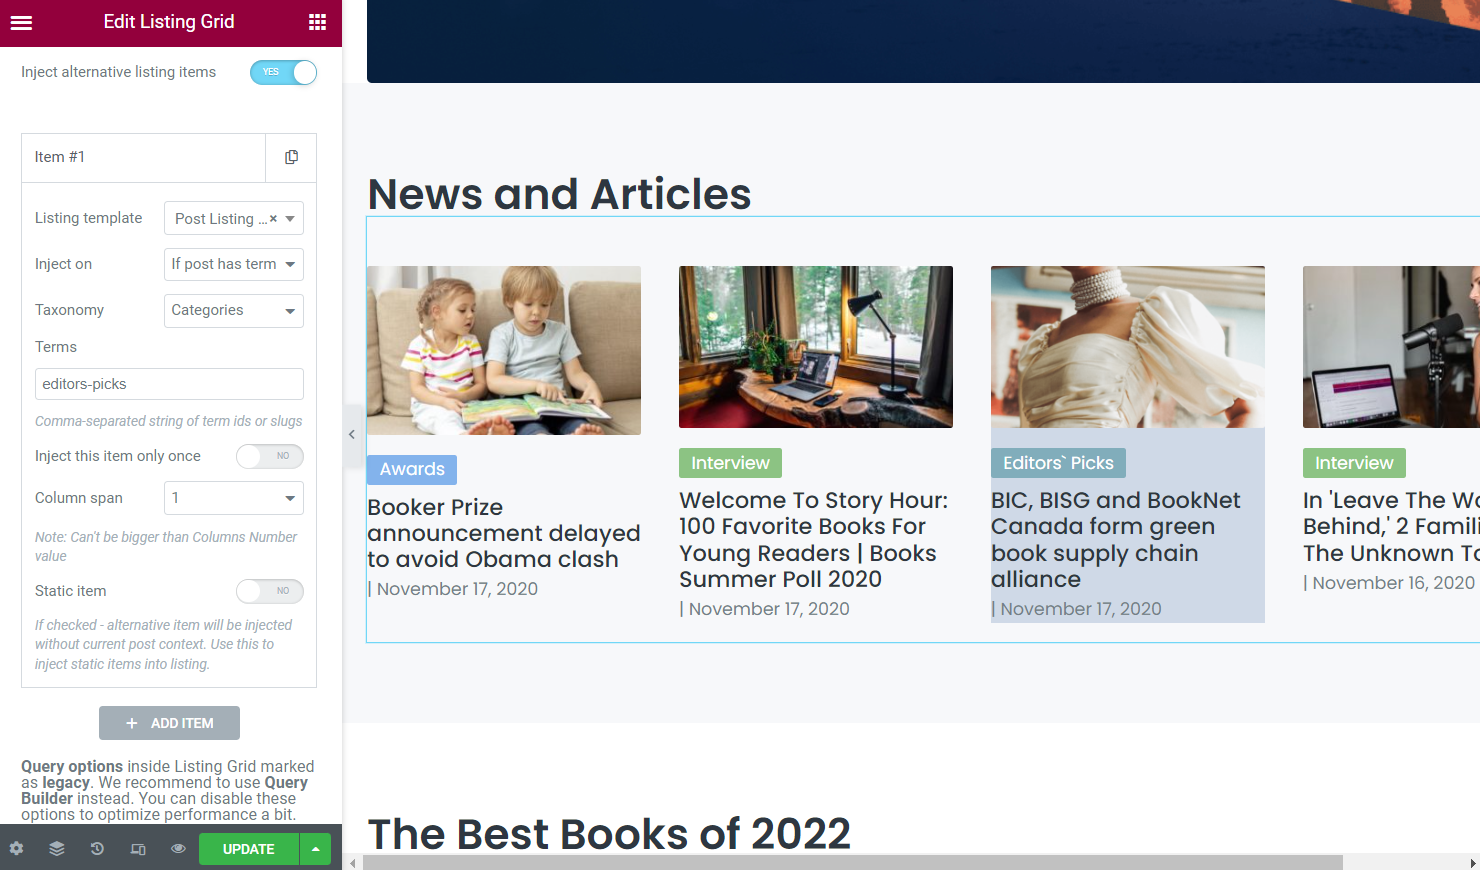
- Taxonomy — choose the taxonomy that includes the needed term;
- Terms — paste the term IDs or slugs separated by commas.
If post type is
Let’s check the following setting on the other listing example.
Set the Listing Grid to inject items by their post type. This time the listing includes two different post types. So, initially, enable the Use Custom Post Types toggle and set the Post Types displayed in the grid. Here we inject an alternative listing for the “Services” post type.
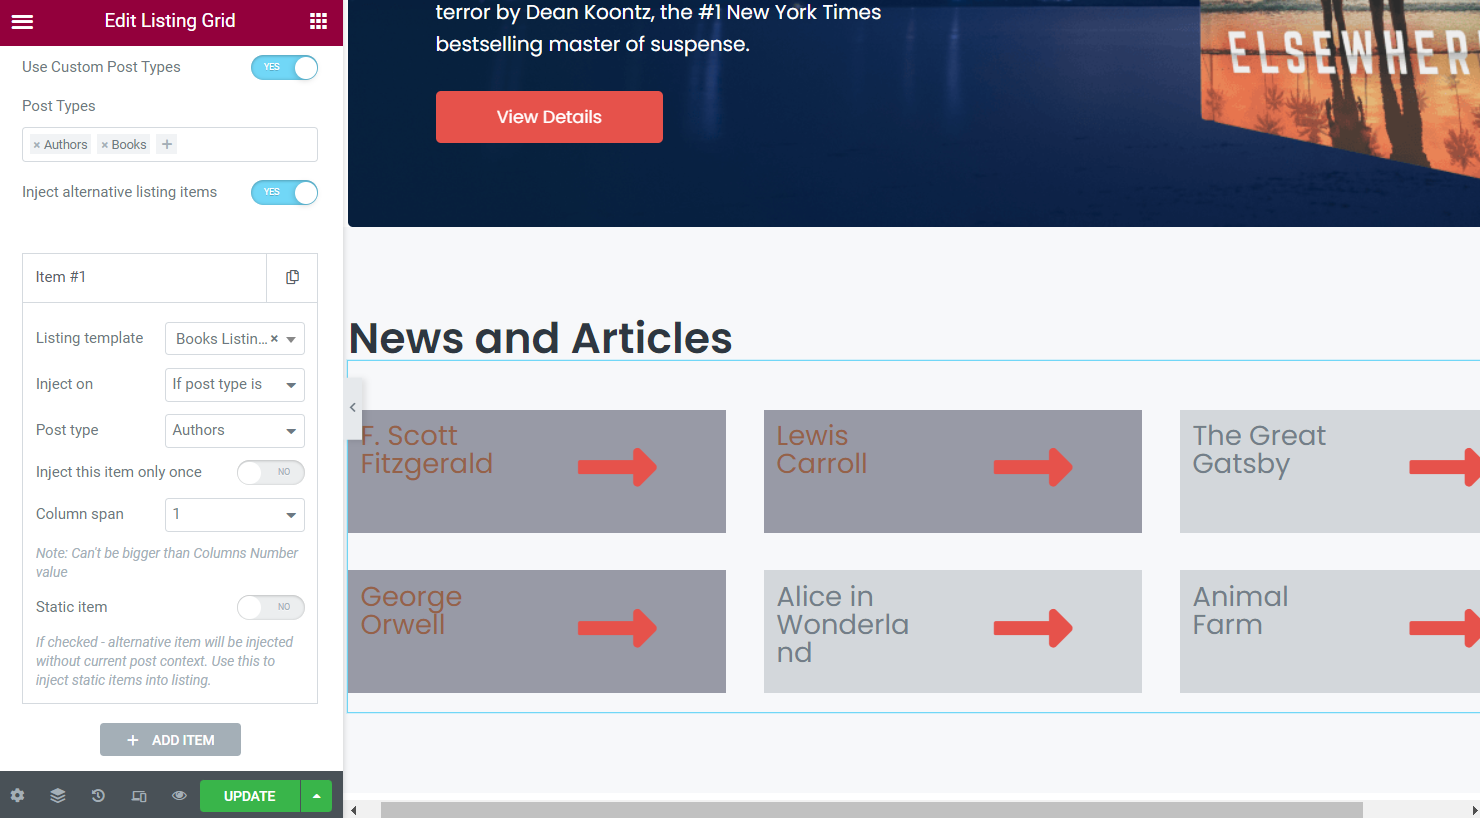
- Post type — pick the post type the listing item should be part of to be injected.
If term taxonomy is
As for now, you can use this feature as an alternative for already placed taxonomy items, so this time we use the terms listing. For instance, highlight the first item and make it featured.
Mind activating the Inject this item only once feature to inject an alternative listing only for the first item.
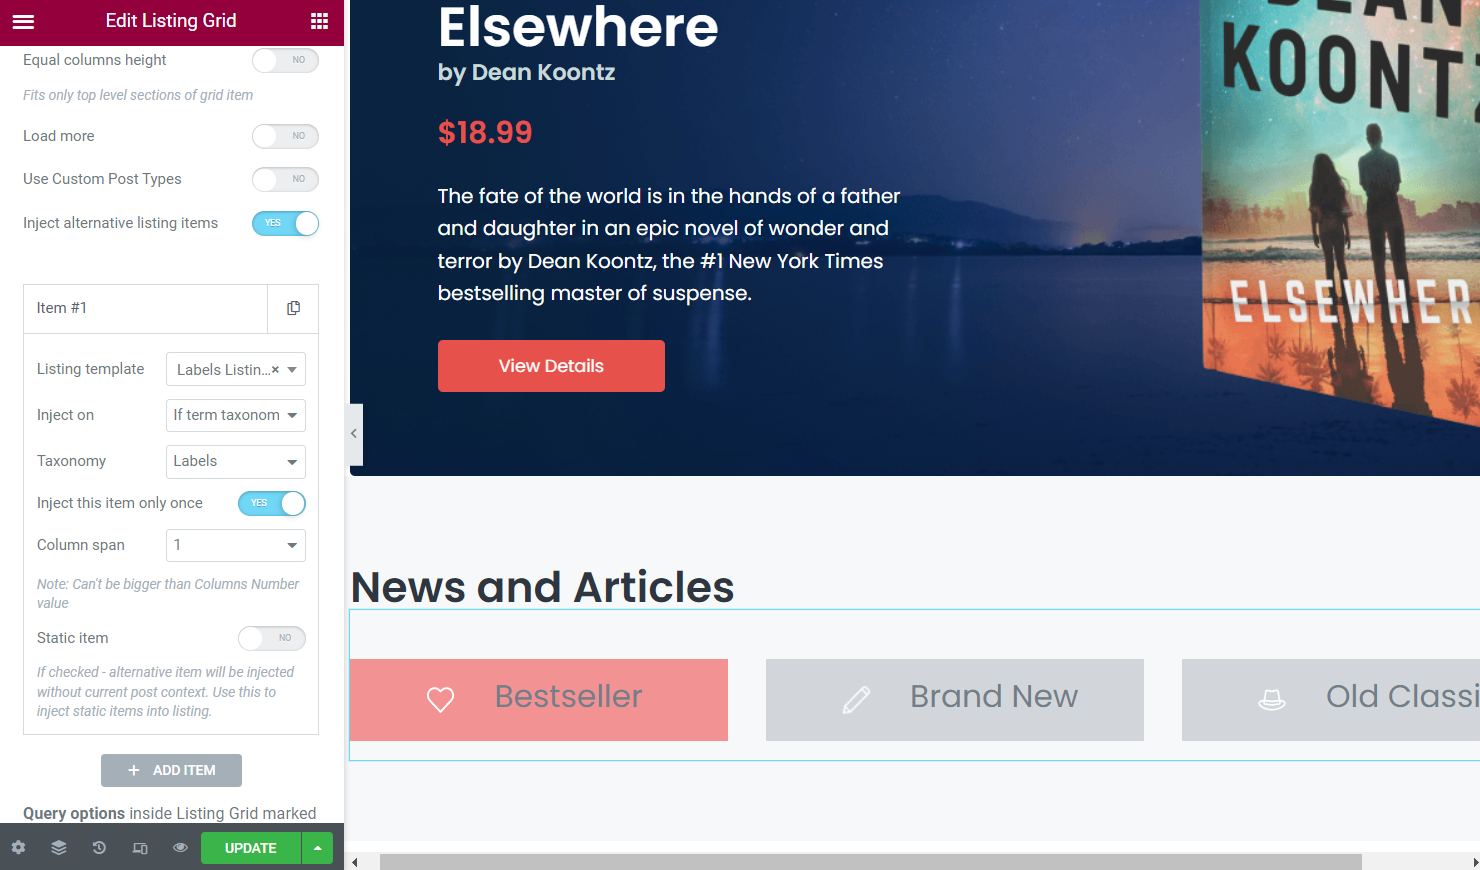
- Taxonomy — select the needed taxonomy of the term to be the criterion for injection.
It is possible to add as many custom items with different settings as you wish. When all settings are adjusted, click the “Update” button and view the listing on the front end.
Check the Result
Here’s what a simple listing grid with one listing template used will look like:

And this is the one where the alternative listing template was injected on each second item:

Don’t forget that you will get a different result depending on the feature you have selected as the Inject on option.
That’s it; now, you can display varied listings in one place and experiment with the layouts and style of the listings using the JetEngine Listing Grid widget.