Stand with Ukraine. Fight for freedom and democracy

Donate
Back to contents

Text Ticker Widget Overview


This tutorial explains using the Text Ticker widget of the JetBlog plugin to display posts’ titles as attractive tickers.

The Text Ticker widget is one of the six widgets for Elementor from the JetBlog plugin. This plugin showcases the different types of content (custom query, CPTs, and archive templates).

The video below details How to use the Text Ticker widget.

The Text Ticker widget allows displaying a specified number of post titles in a selected order as a slider with effects. It works with custom queries, CPTs, archive templates, and categories, includes/excludes posts, determines the mutual position of the posts, and shows or not detailed information about the displayed posts on different types of devices.

This tutorial explains how to use the Text Ticker widget to showcase the content with the post titles in the ticker form on different devices. 

Tutorial requirements:

  • Elementor free version;
  • the JetBlog plugin installed and activated;
  • a Page built with the Elementor Page Builder free version to place the Text Ticker widget;
  • posts to arrange using the Text Ticker widget.

Activation of the Text Ticker Widget

1 Step — Activate this widget to use it

To activate the Text Ticker widget, log into your WordPress dashboard, navigate to the Crocoblock plugins, and find the JetBlog plugin. Toggle on the Text Ticker widget to activate it.

text ticker widget activation

2 Step — Create a page or post where you want to add the widget

Then find the Text Ticker widget and place it on the page or post or add it to a previously built one.

text ticker widget for elementor

Customizing the General Settings of the Text Ticker Widget

1 Step — Customization of Widget’s Title and tags

Users can type the title of this widget. This title will be used as a heading. To do this, unroll the General Settings and navigate to the Widget Title field to type the name of this widget; and select the level of the heading’s level for this widget from the Title Tag drop-down menu.

text ticker widget title settings

Switch the appropriate toggles to Hide Title On Tablets or Hide Title On Mobile.

2 Step — Display the current date

The Show Current Date toggle, if enabled, turns on the following setting to display the dates of posts:

  • Date Format field to specify the date displaying format instead of the default l, j F, Y format.
  • Date Icon to upload or choose the icon for the date from the library.
  • Hide Date On Tablets and Hide Date On Mobile toggles turn on/off the displaying of the date on the appropriate devices.
text ticker widget date settings

3 Step — Name the filter

Switch the Use Custom Query toggle and select the query from the drop-down menu to use a custom query from the JetEngine Query Builder.

Learn more about  How to Use Query Builder from this tutorial.

4 Step — Choosing the posts for displaying

This group of settings allows you to choose post types, includes/excludes posts, and shows or not particular information of the displayed posts on different types of devices.

Read more about How to Use Text Ticker Widget to View Recent Posts in this tutorial. 

settings for posts displayed
  • Post Type is the drop-down menu to choose the post type to display, i.e., Posts, Pages, Forms, CPTs, etc.
  • Query Posts By is the drop-down menu to choose a category to display posts from, tags, id, etc.
  • Get posts from categories/tags to specify which posts have exact tags and categories to display.
  • Exclude posts by ID field to specify excluded posts by id for output. This field allows usage of dynamic tags to exclude posts by ID or macros. JetEngine allows excluding dynamic fields and functions via clicking on the Dynamic tag.
exclude post field of text ticker widget

This tutorial overviews Dynamic Tags and Dynamic Settings and explains how to use dynamic tags.

  • Posts Offset field to choose/type the number of the starting post to be displayed.
  • Filter by Custom Field toggle, if enabled, turns on the Custom Field Key and Custom Field Value fields to display posts containing the value of the field specified in these settings.

5 Step — Customization of Post Lengths

Type the post title length in the Post Title Max Length (Words) field. Setting the zero words shows the full title.

6 Step — Customization of thumbnails

The Show Post Thumbnail toggle, if enabled, turns on the following settings to customize the thumbnails:

  • Thumbnail Size field to type the thumbnail size in pixels.
  • If enabled, Hide Thumbnail On Tablets and Hide Thumbnail On Mobile toggles to allow displaying post thumbnails on the appropriate devices.
thumbnail settings of text ticker widget

7 Step — Customization of posts data

This group of settings allows Show Post Author and Show Post Date. If these toggles are enabled, users can add the appropriate icon from the library or upload it and hide these dates on tablets and mobiles.

post data settings of text ticker widget

Slider Settings

These settings are for adjusting the motion effects of the displayed posts.

slider settings of text ticker widget

These settings are:

  • Typing Effect toggle turns on the visual effect of post titles typing.
  • Typing Cursor Char field to type the possible cursor char while post titles appear.
  • Multiline Typing toggle to provide the effect of the post letters typing in some lines.
  • Autoplay Posts toggle, if enabled, turns on the possibility of posts autoplay.
  • Autoplay Speed field to type the speed of posts autoplay.
  • Show Controls Arrows toggle, if enabled, allows Select Control Arrows Type from the drop-down menu (i.e., Angle, Chevron, Angle Double, Arrow, etc.).

Style Settings

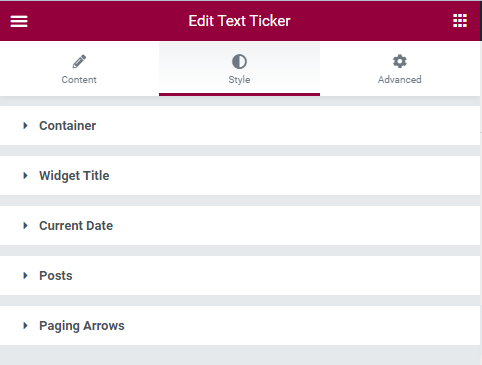
The Style settings customize the design options of Container, Widget Title, Current Date, Posts, and Padding Arrows. Mainly these settings include color (custom and standard), border settings (color, borders, radius, shadow, etc.), paddings (responsive setting), typography settings for texts (color, sizes, etc.), and more.

style settings of text ticker widget

1 Step — 
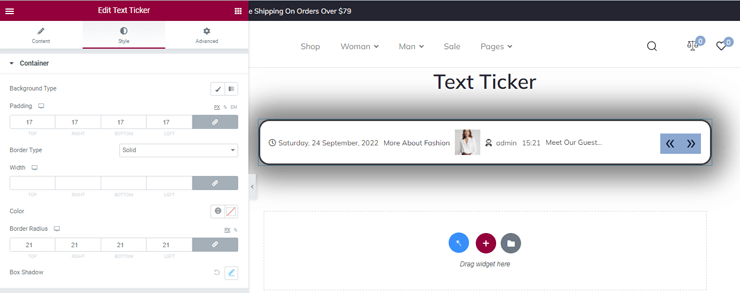
Customizing the Container

The settings to customize the container cover: Background Type, Padding (responsive), Border Type (drop-down menu), Color, Border Radius, and  Box Shadow.
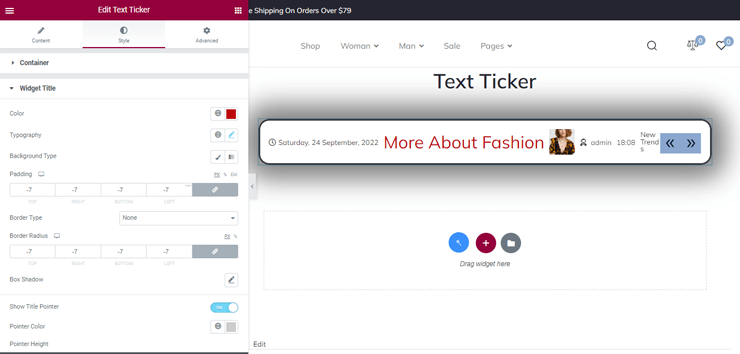
container settings of text ticker widget

2 Step — Customizing the Widget Title

Unroll this tab to customize the widget’s title and set the Color, Typography, Background Type, Padding, Border Type, Border Radius, Box Shadow, Show Title Pointer (toggle), Pointer Color, Pointer Height, and Pointer Width.

widget title settings of text ticker widget

3 Step — 
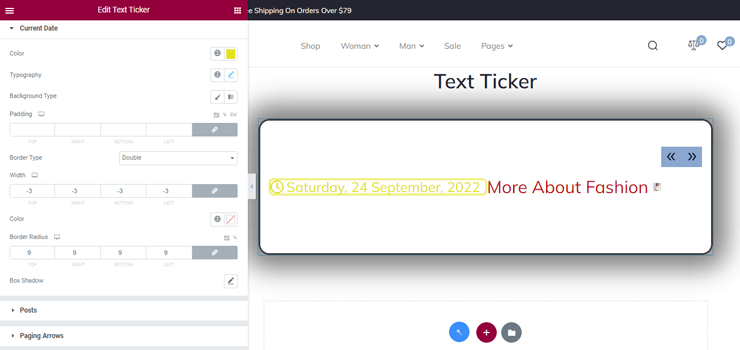
Customizing the Content Date

To customize the Content Date, unroll the tab and set Color, Typography, Background Type, Padding, Border Type, Width, Border Radius, and Box Shadow.

content date settings of text ticker widget

4 Step — Customizing the Posts

posts style settings of text ticker widget

5 Step — 
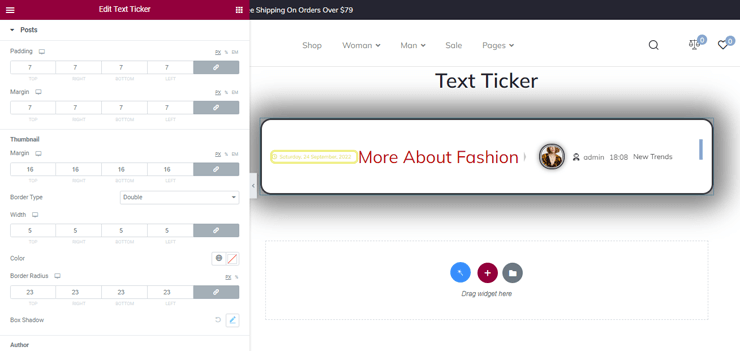
Customizing the Arrows Style

These settings are intended to make the arrows stylish, in particular, to customize the Prev Arrow Position and Next Arrow Positions (Horizontal/Vertical, and Indent refers to the position).

That’s all about the Text Ticker Widget of the JetBlog plugin.