How to Enable WooCommerce Integration for Appointments
Learn how to enable the WooCommerce integration for the JetAppointment plugin for WordPress to connect forms with the default WooCommerce pages (e.g., orders, payments, checkouts).
Before you start, check the tutorial requirements:
- Elementor (Free version) or Block Editor (Gutenberg)
- WooCommerce plugin installed and activated
- JetAppointment plugin installed and activated
- JetEngine plugin installed and activated with the “Service” and “Provider” type Custom Post Types (CPT) created
- JetThemeCore plugin installed and activated, with a single page created
Enable the WooCommerce Integration
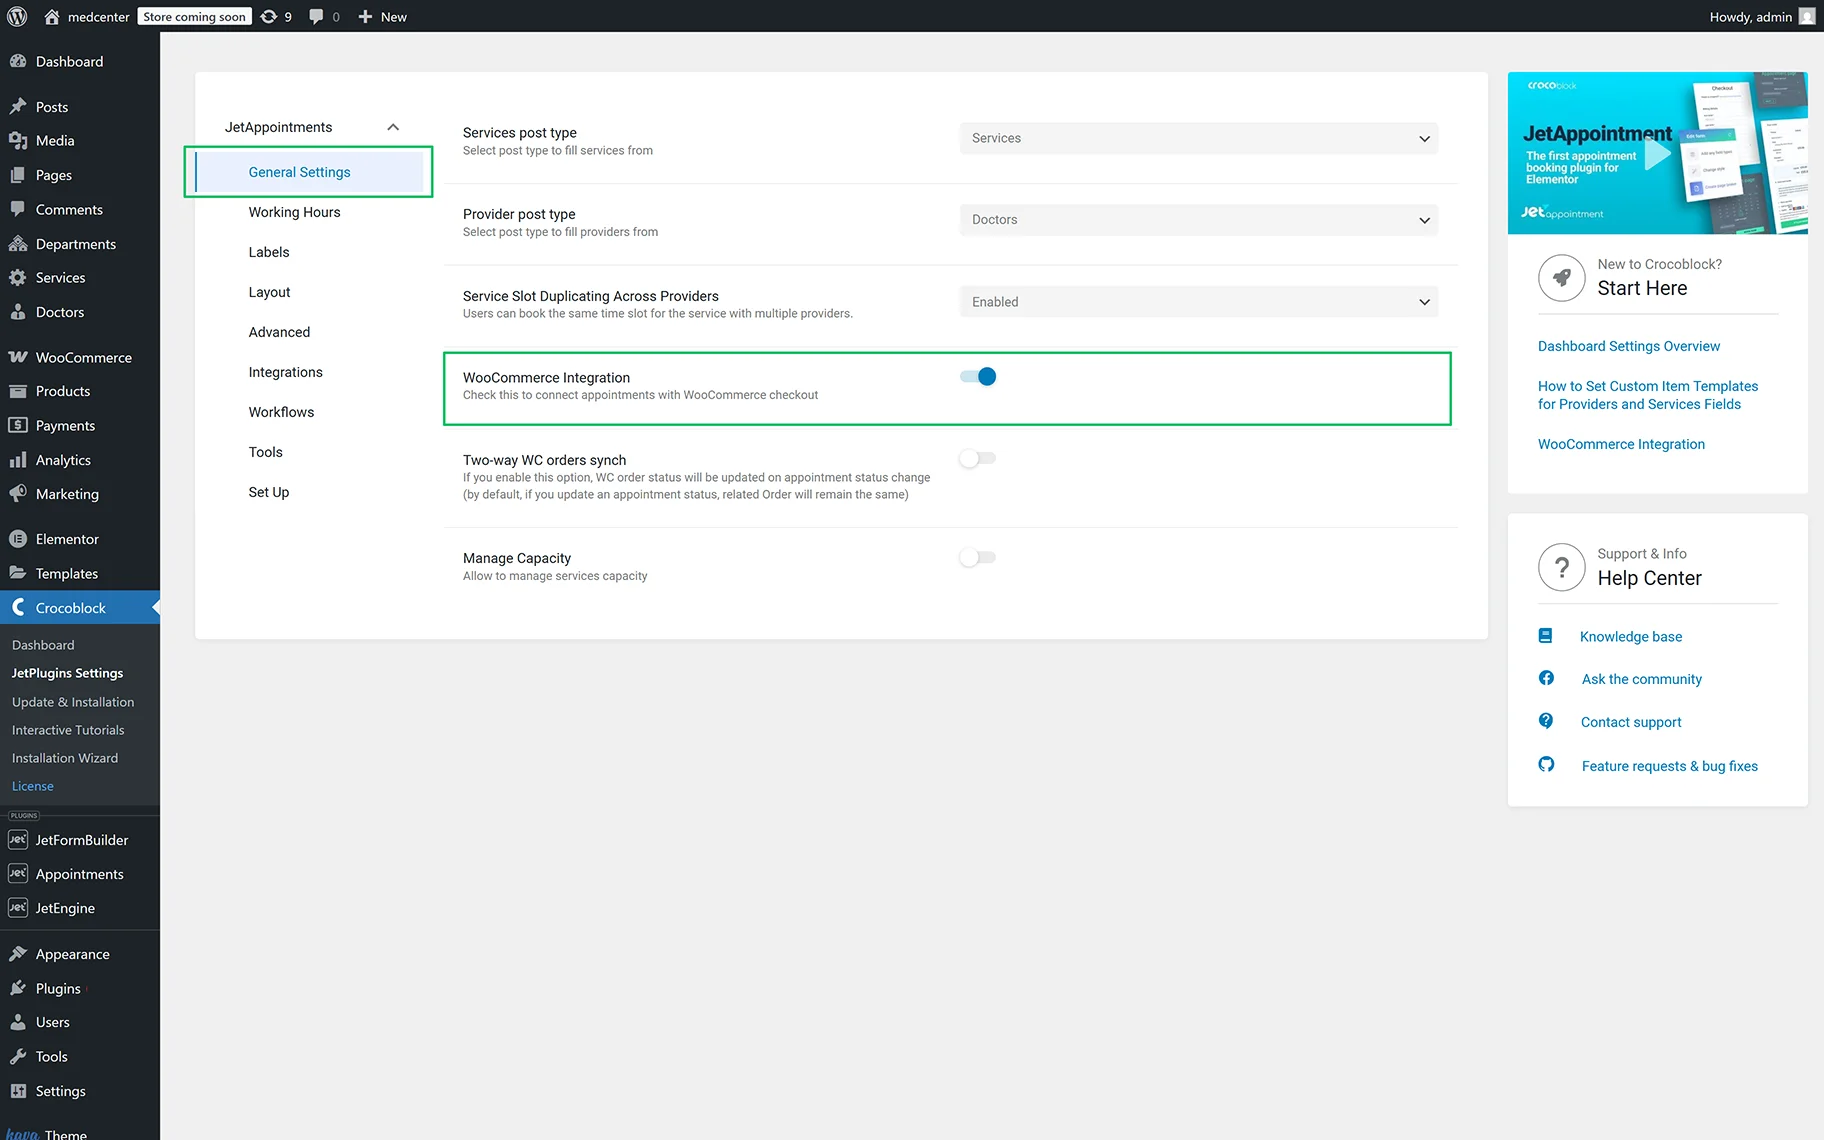
Navigate to WordPress Dashboard > Appointments > Settings and enable the WooCommerce Integration toggle.
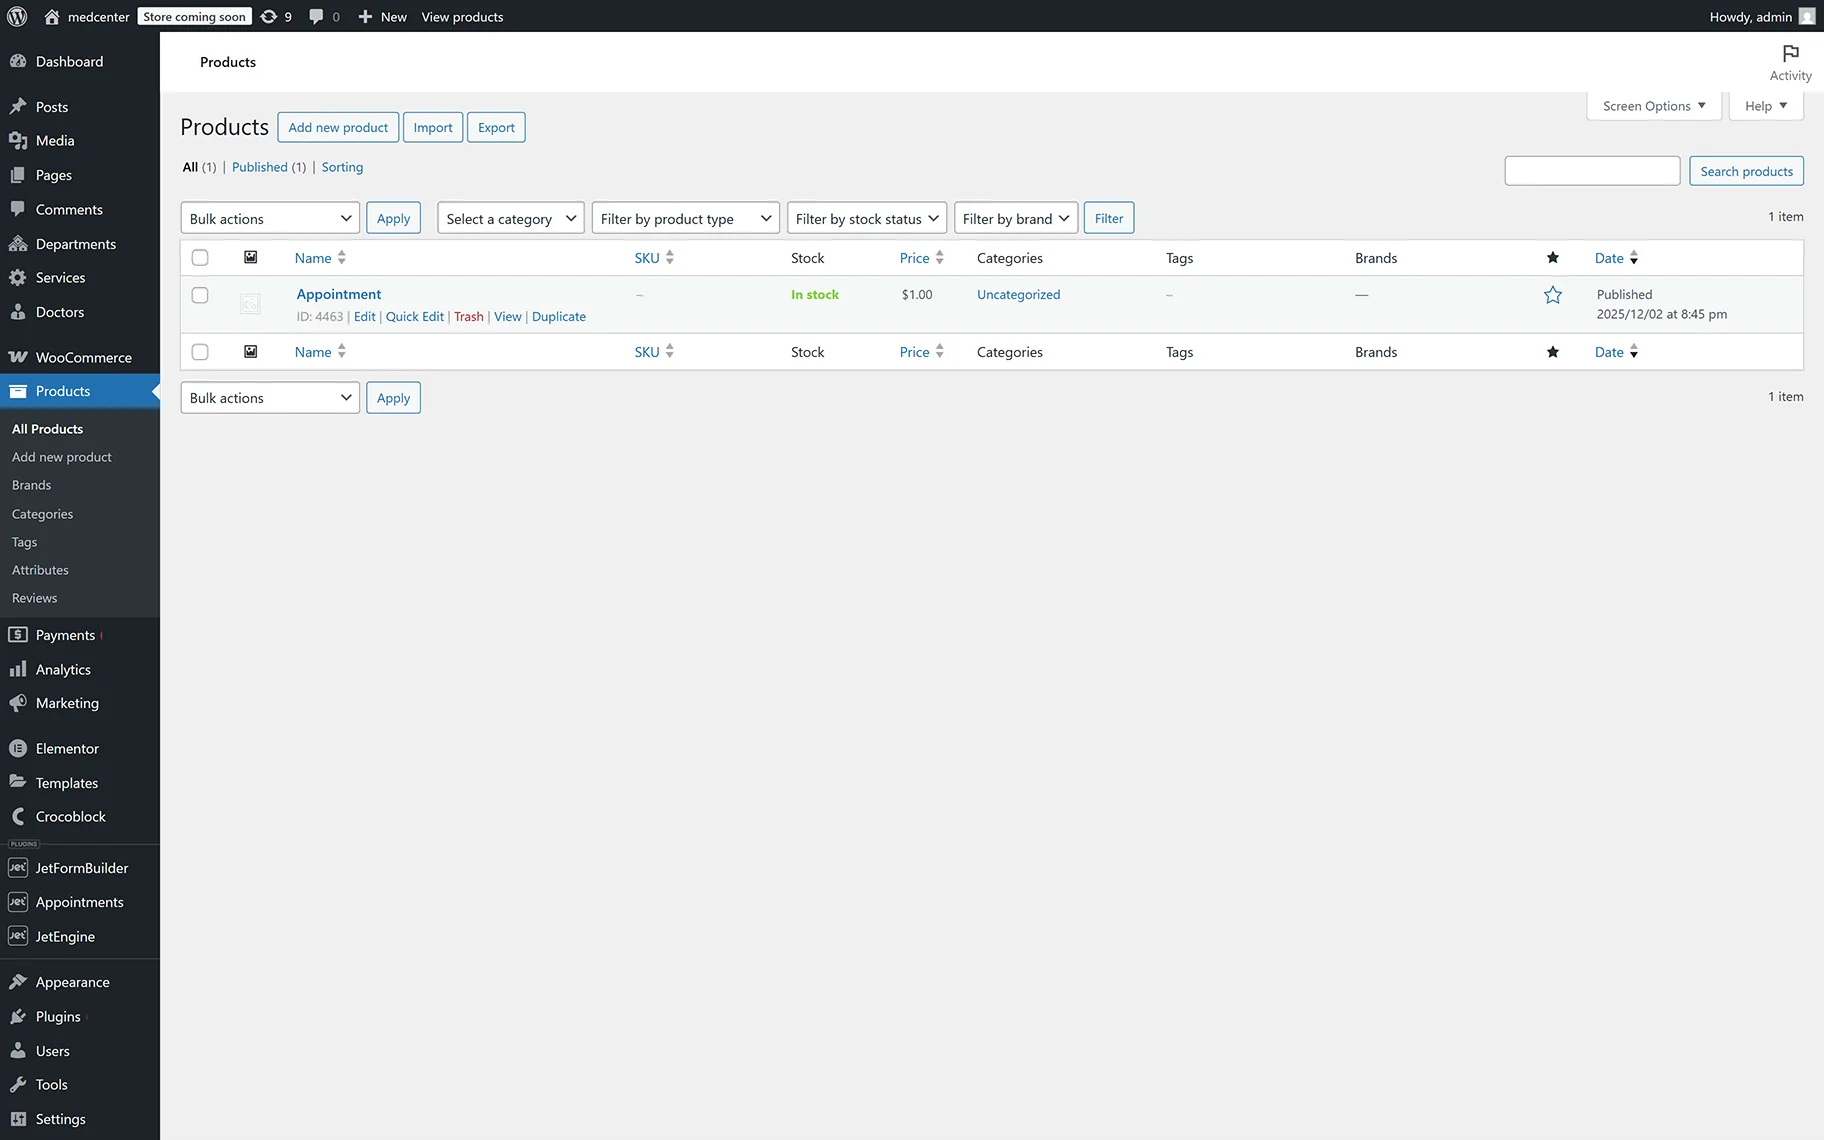
Then, in the WordPress Dashboard > WooCommerce > Products tab, the “Appointment” sample product will appear. Note that it should remain unchanged.
Set the Options for the Service Products
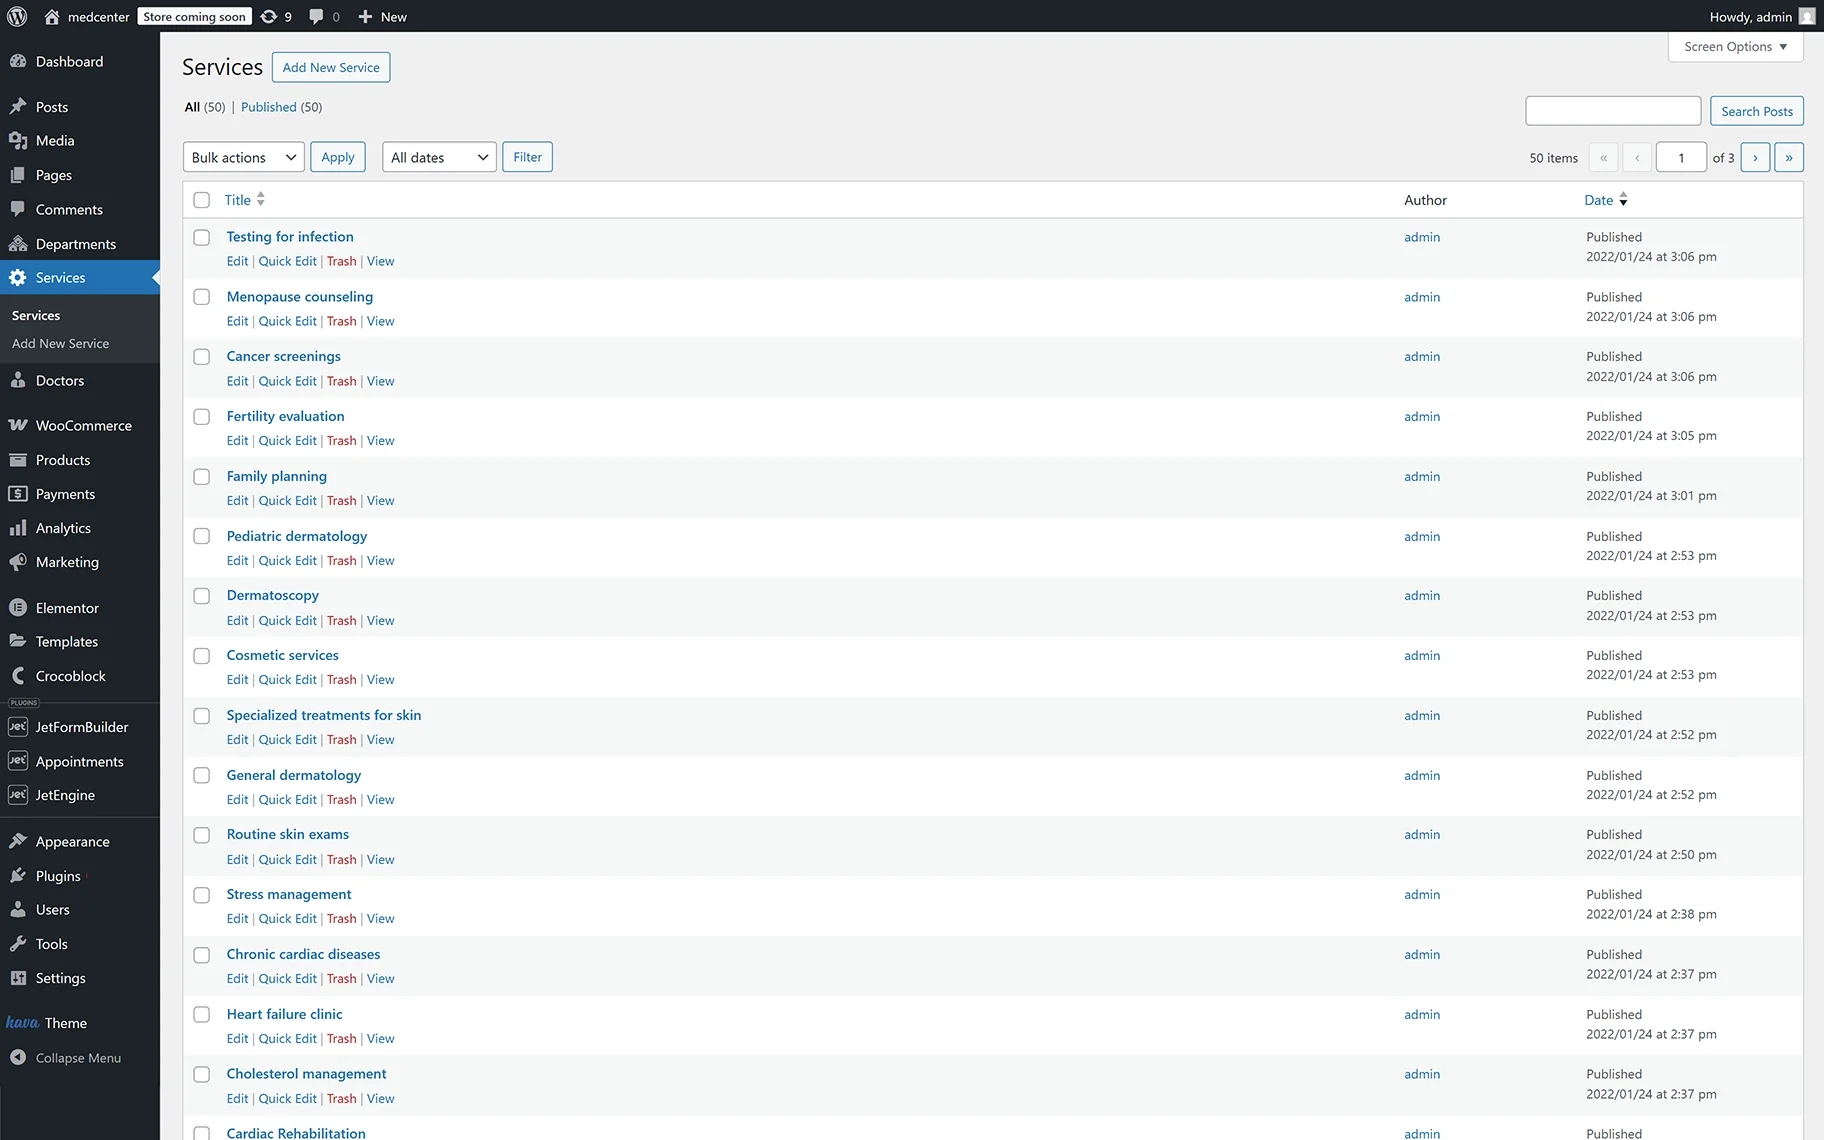
To specify the needed options of the “Service” type CPT posts (e.g., prices, schedule, etc.), navigate to the corresponding post type tab (the “Service“ CPT, in this case).
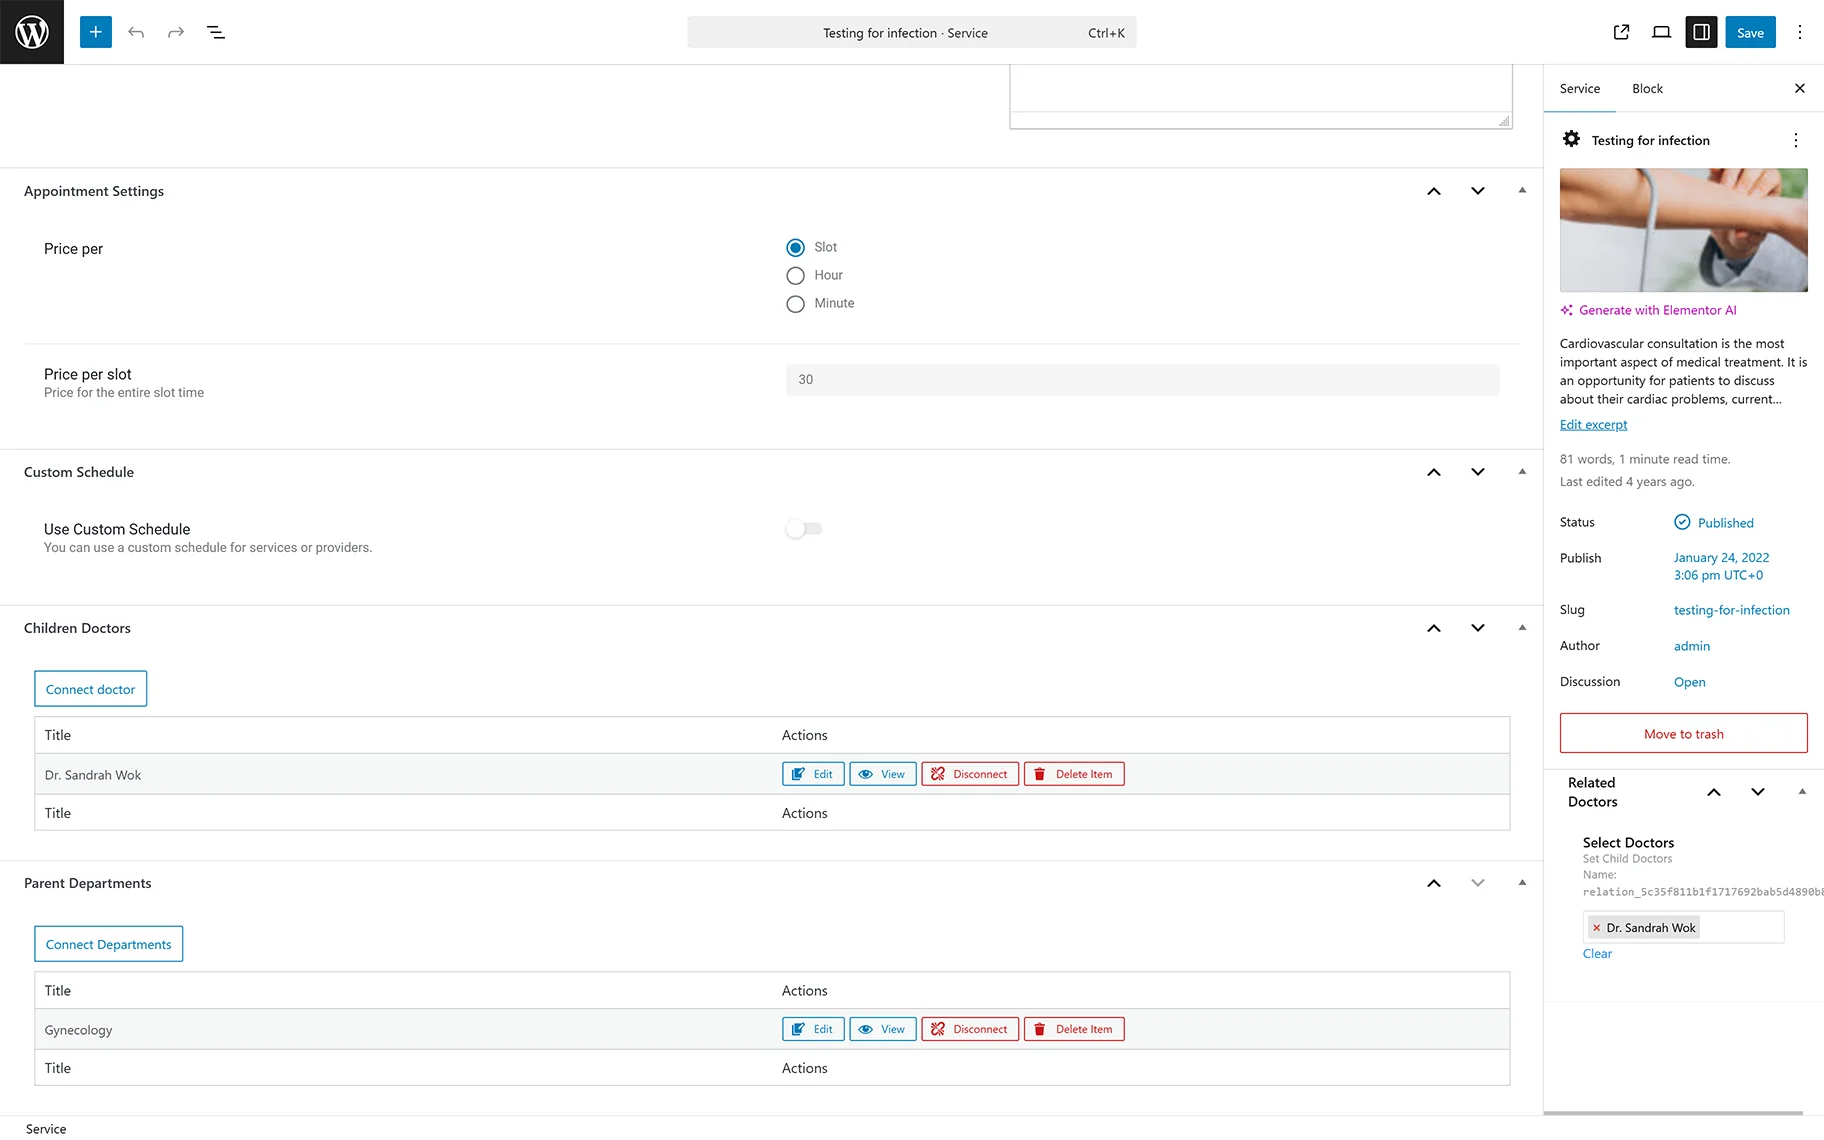
Then, unroll the needed post, scroll it down to the Appointment Settings section, and adjust the required values.
Also, you can set the common settings for all CPT posts using the JetAppointment Wizard Setup tutorial.
Create a Form
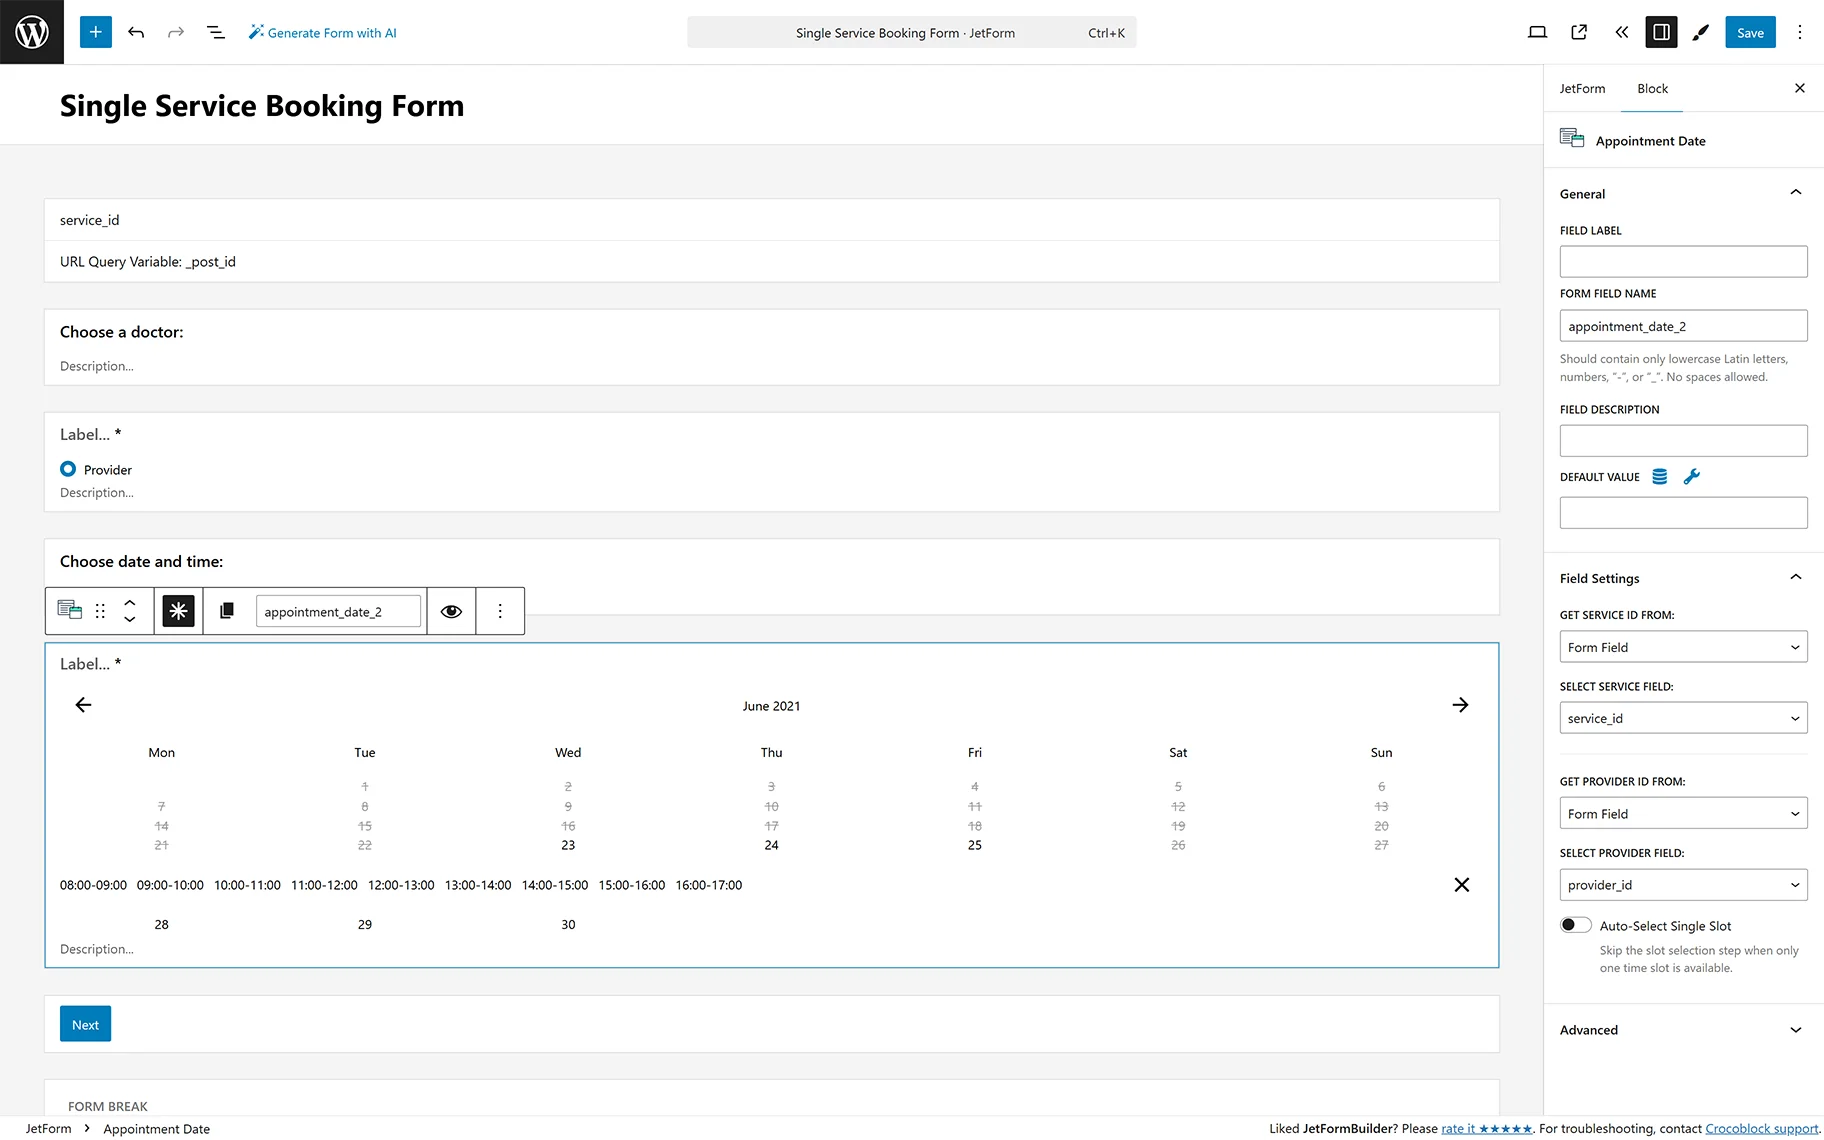
In this tutorial, we create the Single Service Booking Form, which, except for other fields, includes the Appointment Date block field specific to appointment forms. This field allows users to book a date during the booking hours of certain providers.
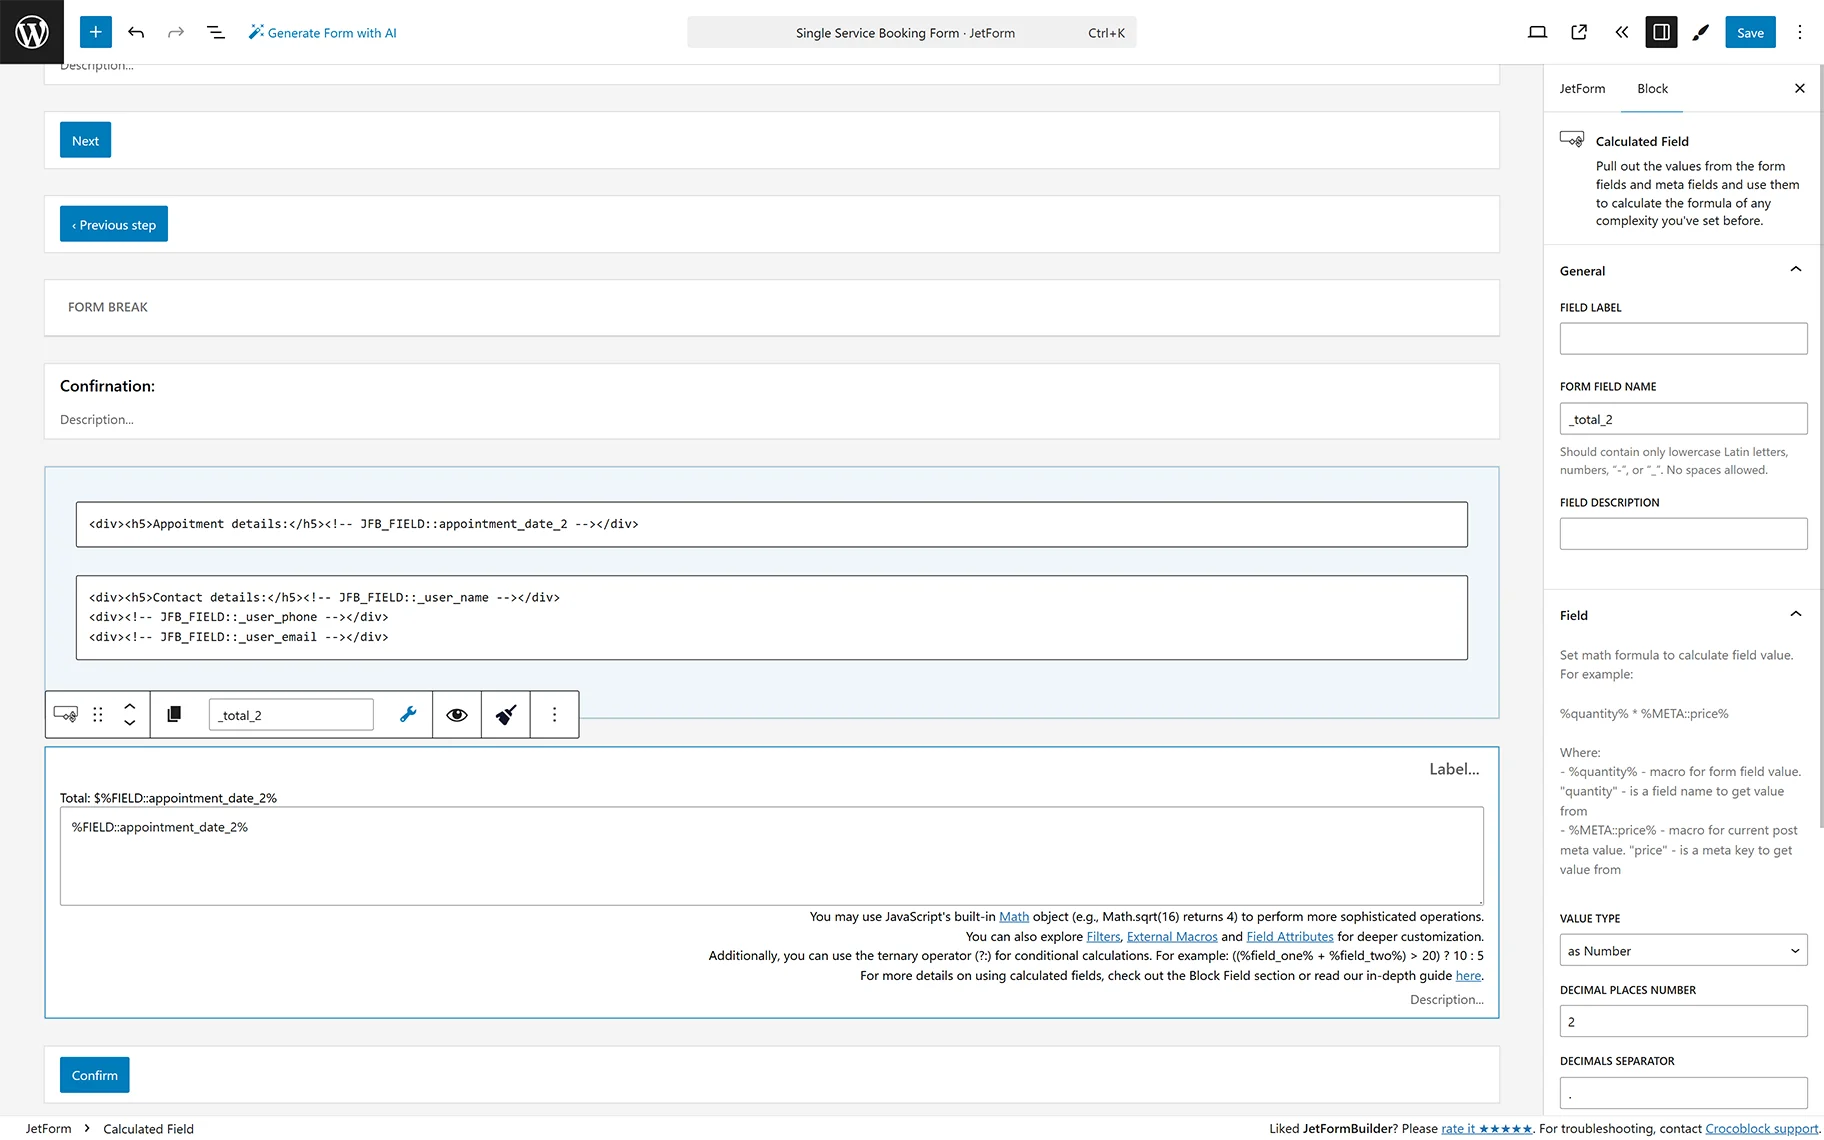
Also, we insert a Calculated Field, then define FIELD LABEL and FORM FIELD NAME, and paste the following calculation formula:
%FIELD::appointment_date_2% where ‘appointment_date_2’ represents the “Appointment Date” FORM FIELD NAME.
Read the How to Create Appointment Booking Forms for an in-depth understanding of the appointment settings and the WooCommerce integration options set.
Also, the “Insert appointment” Post Submit Action should be set. In this case, we press the “pencil” button and unroll the Edit Insert appointment pop-up. Here, specify the required fields (e.g., SERVICE_ID FIELD, PROVIDER_ID FIELD, APPOINTMENT DATE FIELD, and more). Next, move to the WOOCOMMERCE PRICE FIELD and set the field to get the total price from.
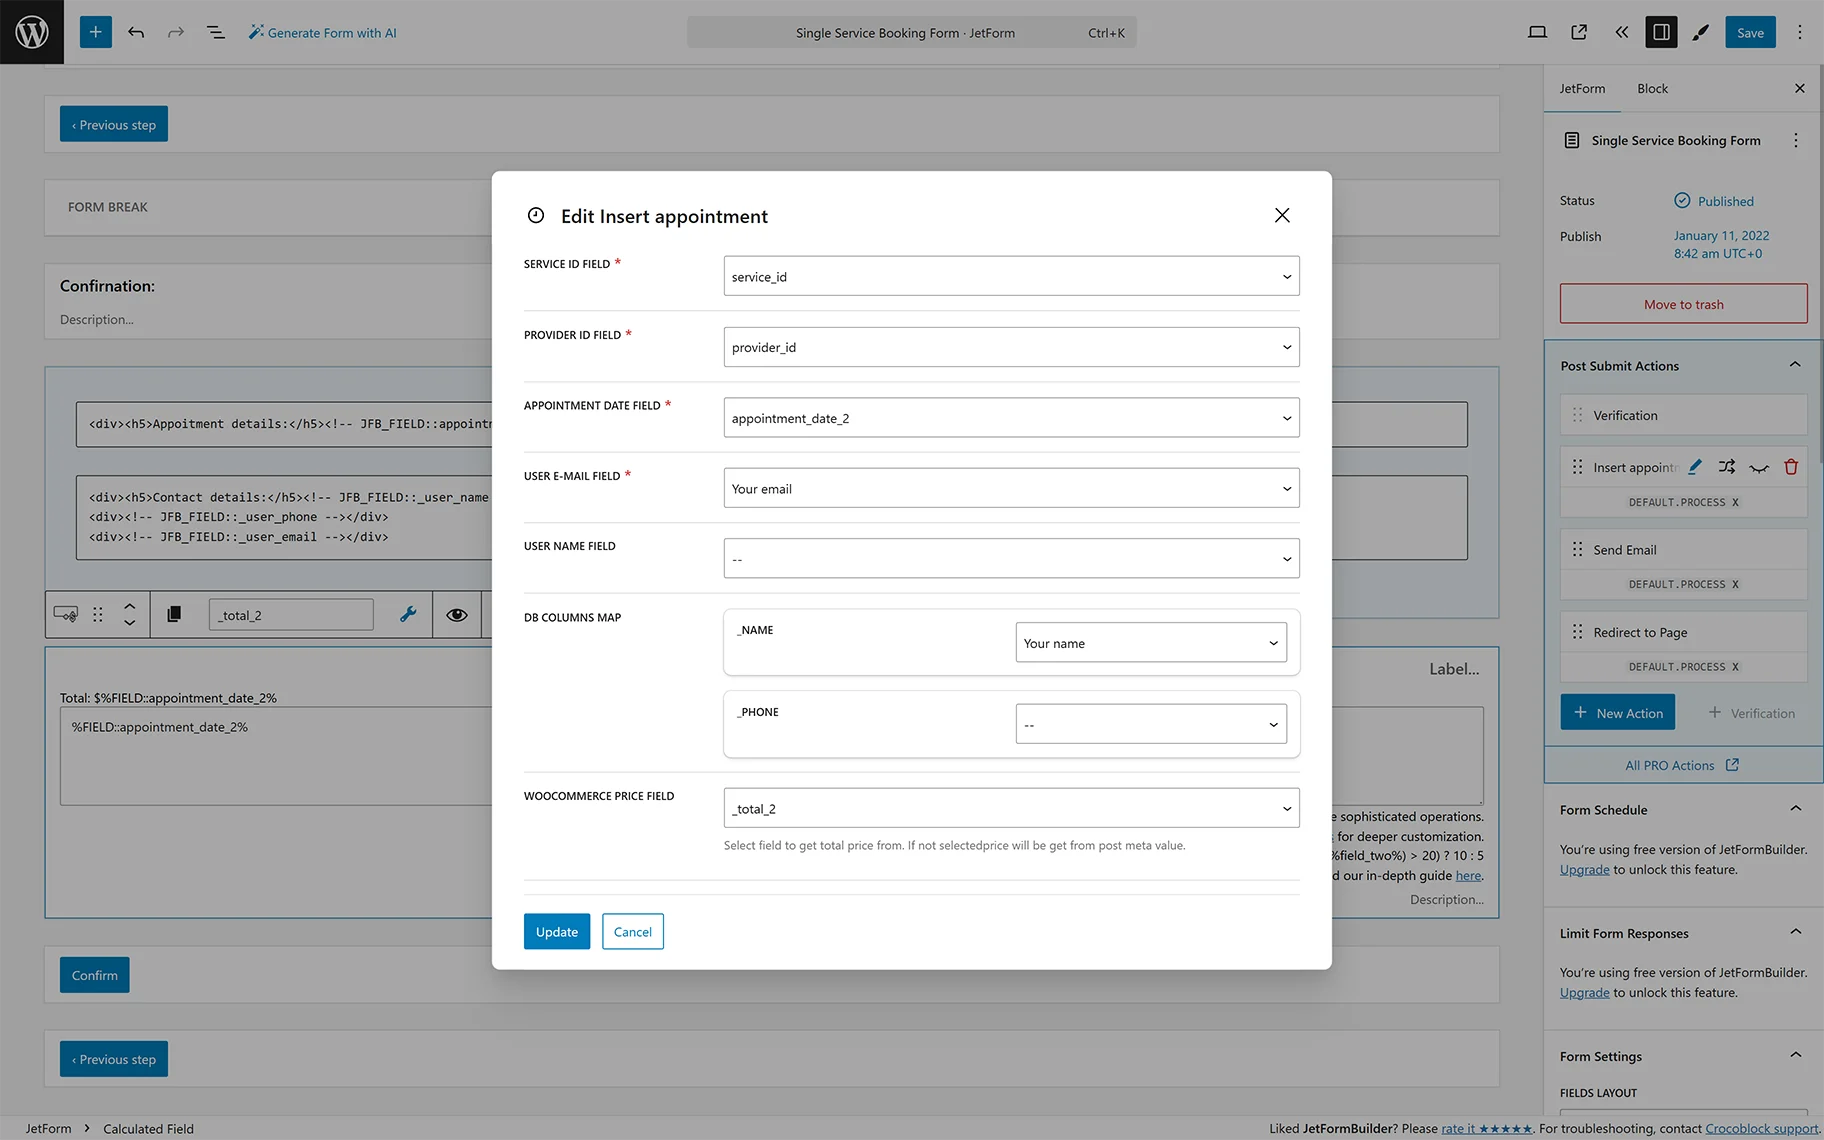
After that, scroll the pop-up to the WOOCOMMERCE ORDER DETAILS fields and press the “Set up” button to specify the booking-related info you want to add to the WooCommerce orders and e-mails.

Once completed, press the “Update” button in the pop-up, then return to the “Edit Insert appointment” pop-up. Here, navigate to the WooCommerce checkout fields map to enable auto-filling of checkout form fields. All the data the user has already typed into the form will be automatically inserted into the checkout form fields.
Next, push the “Update” button after you have adjusted the fields.
In this case, we also added the “Send Email” Post Submit Action.
Finally, publish/save the form.
Add the Form to a Page
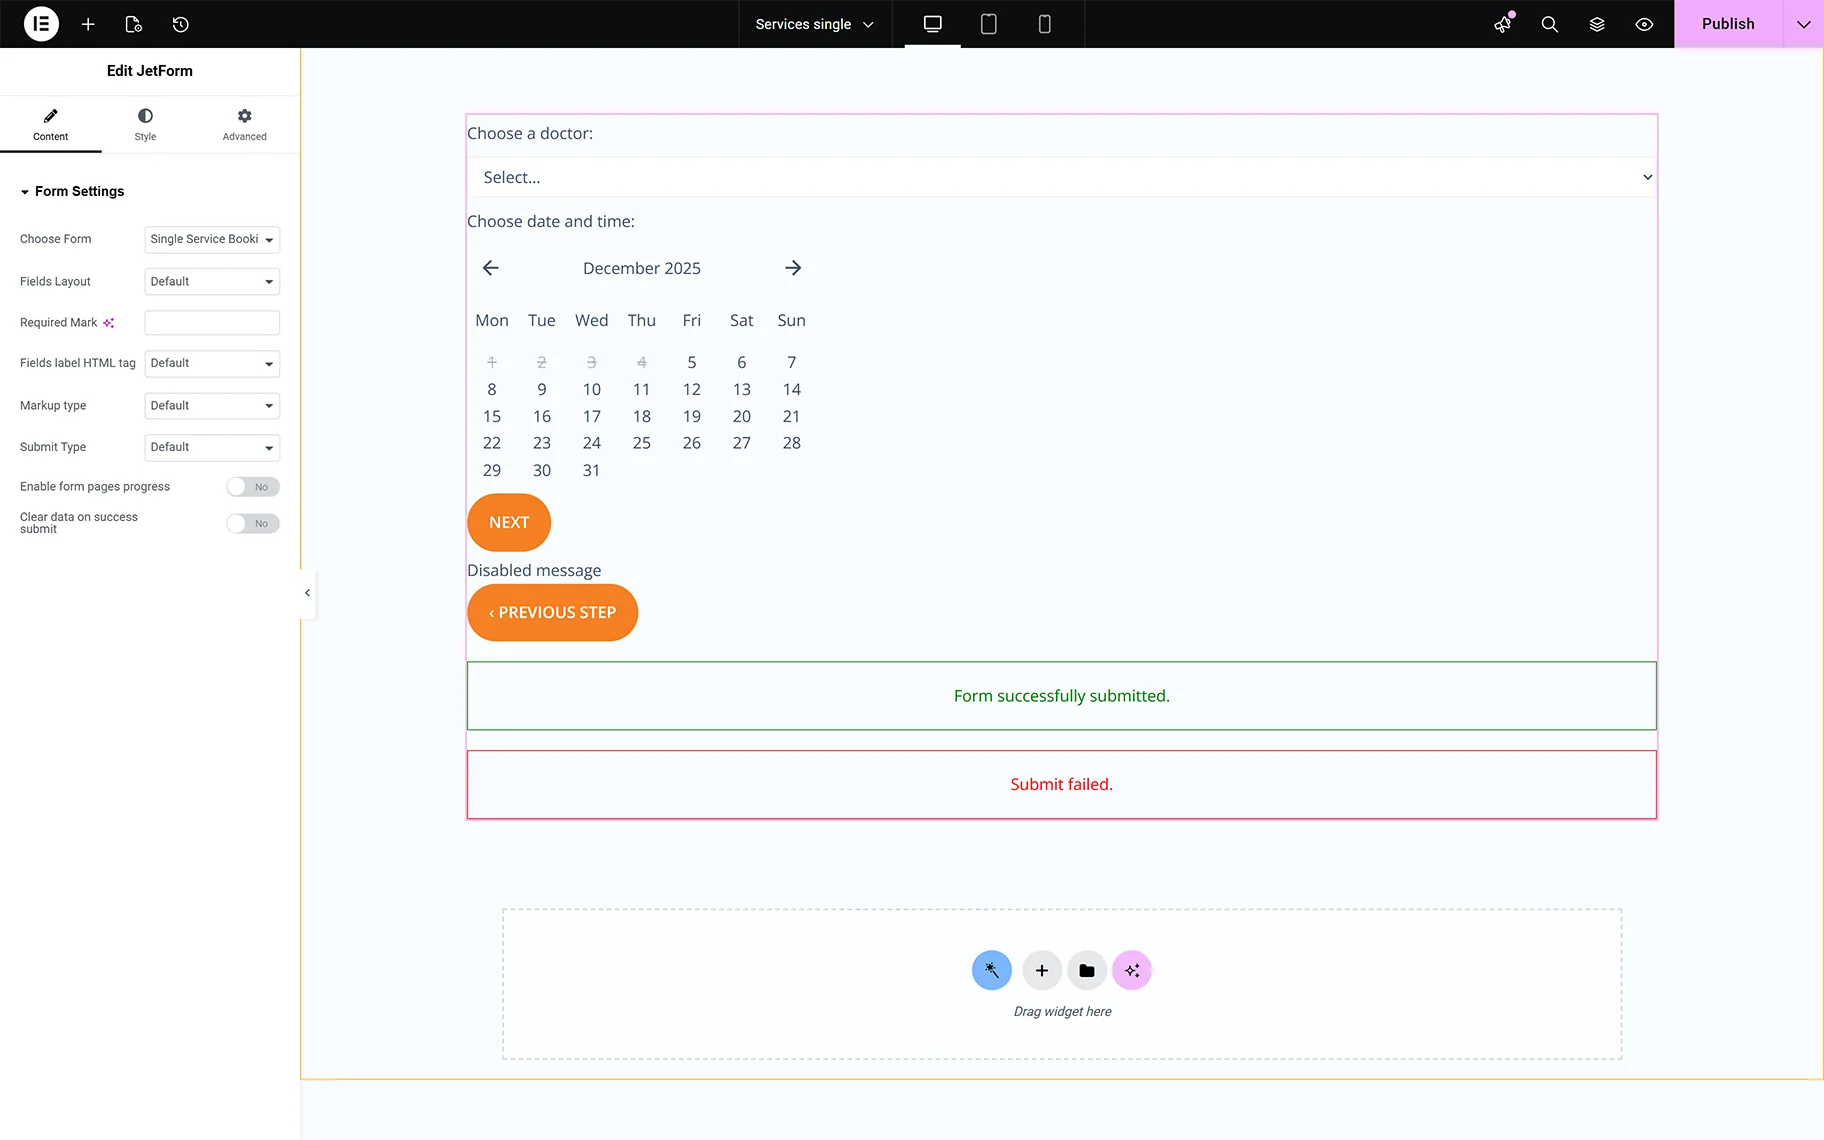
Open the single template, customize it as needed, and add the JetForm widget/block/element, depending on the editor you use. Also, the How to Display a Form on the Front End tutorial provides additional explanations.
Save the template and check the progress.
Test the Flow
View the CPT post you want and fill out the form.
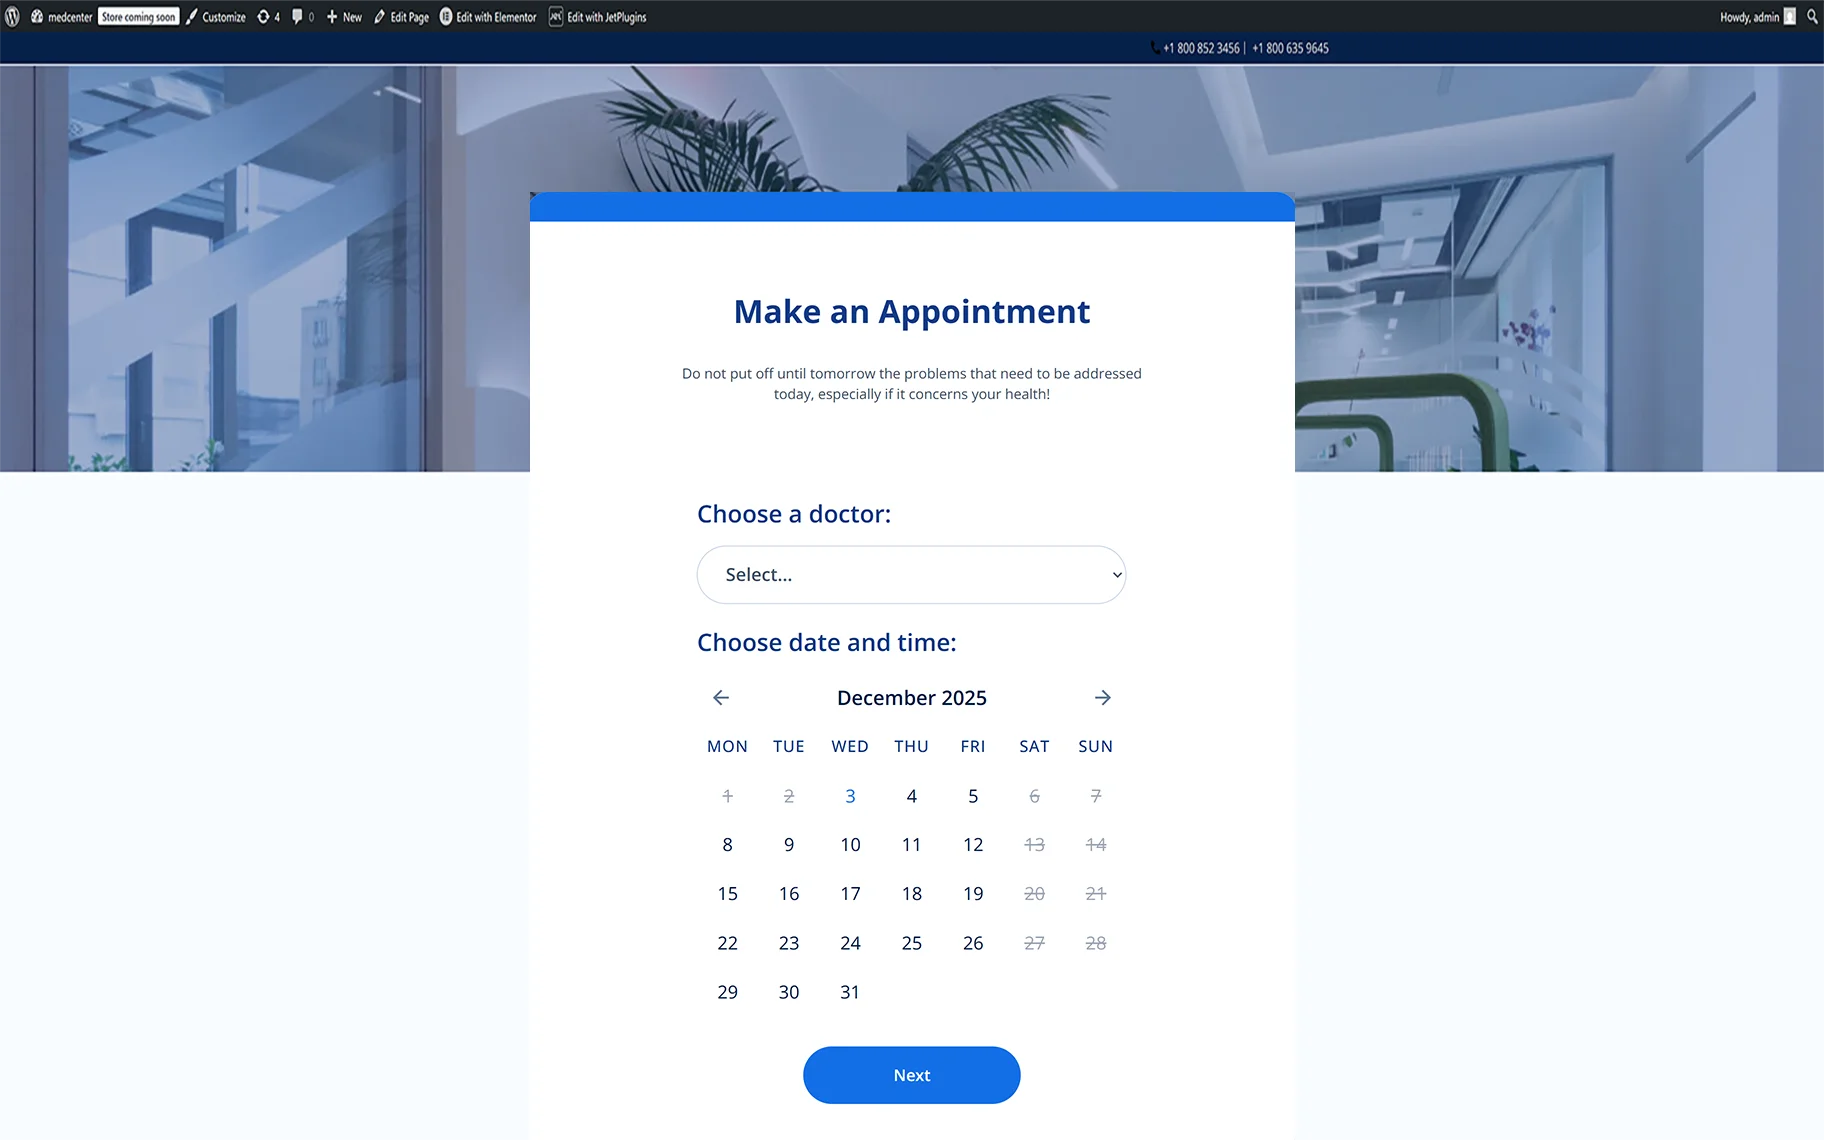
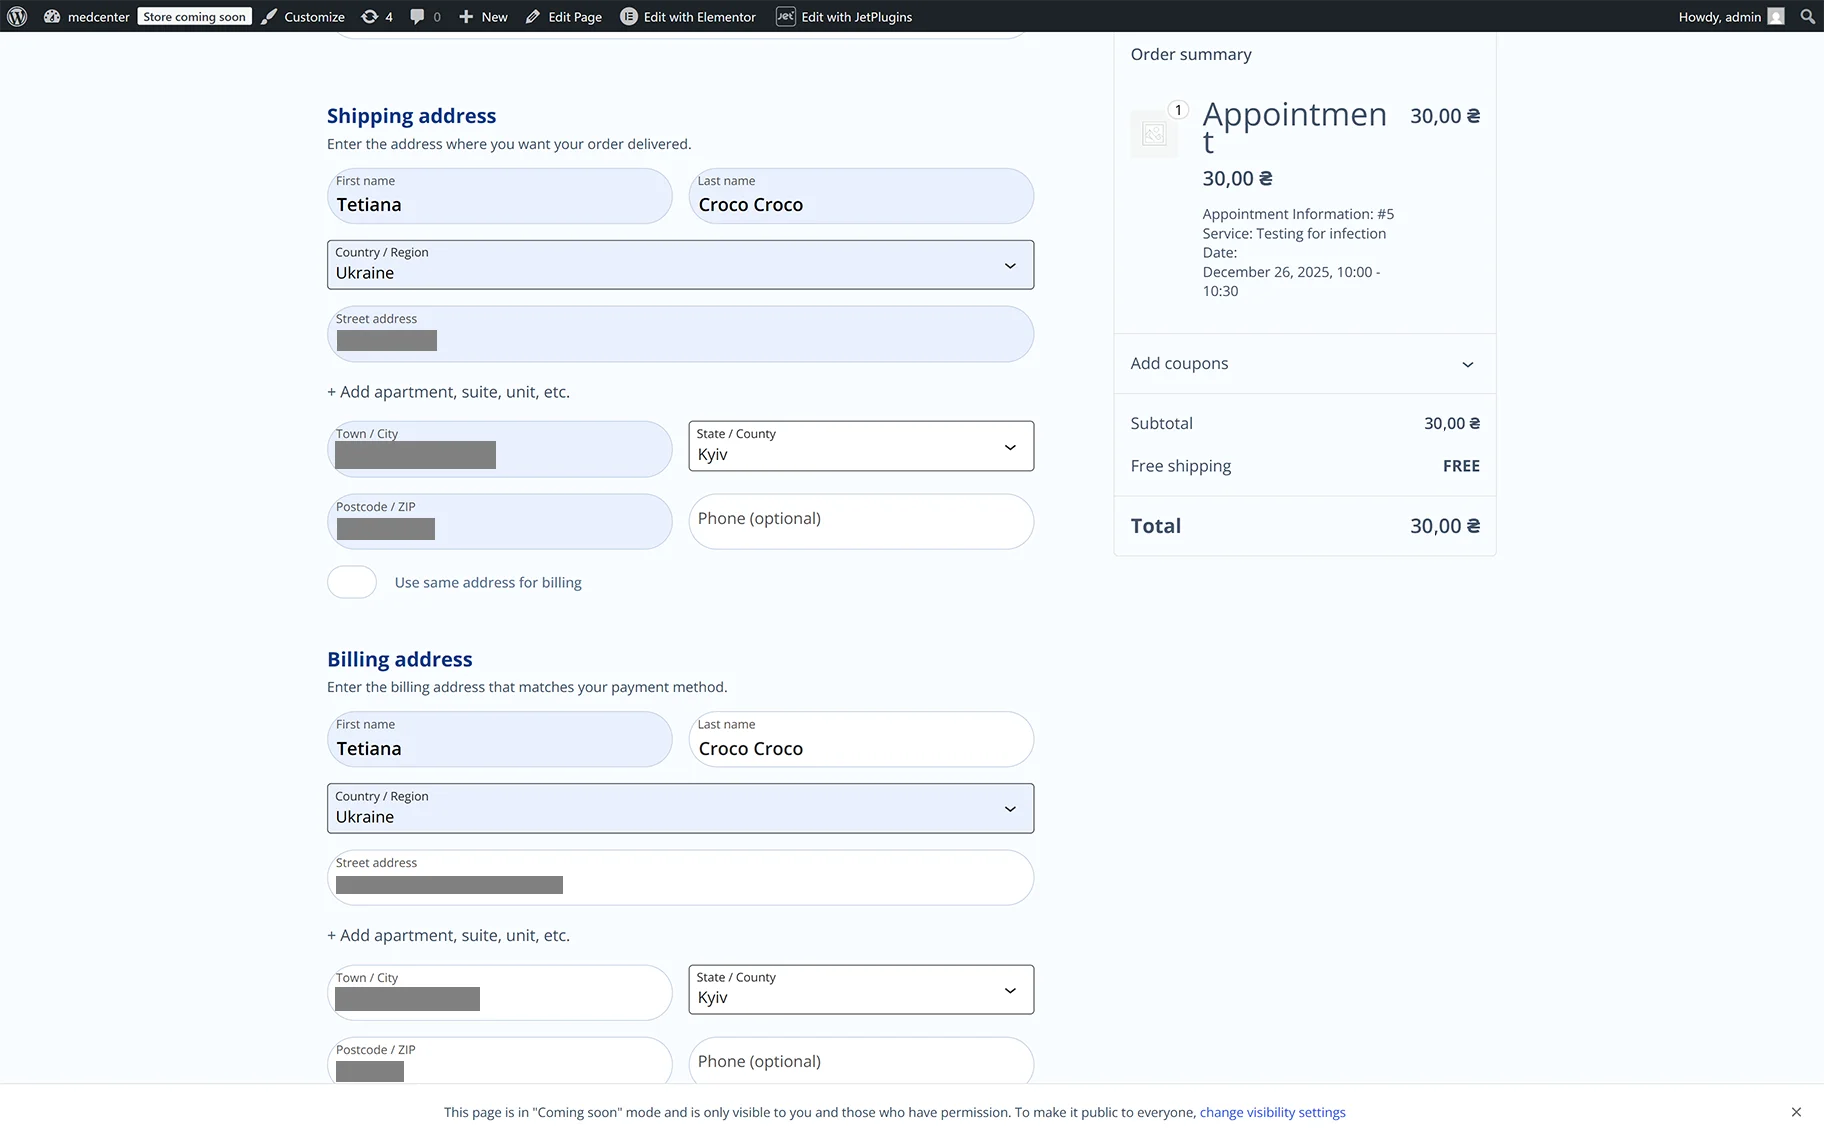
After successful submission, users will be automatically redirected to the WooCommerce Checkout page.
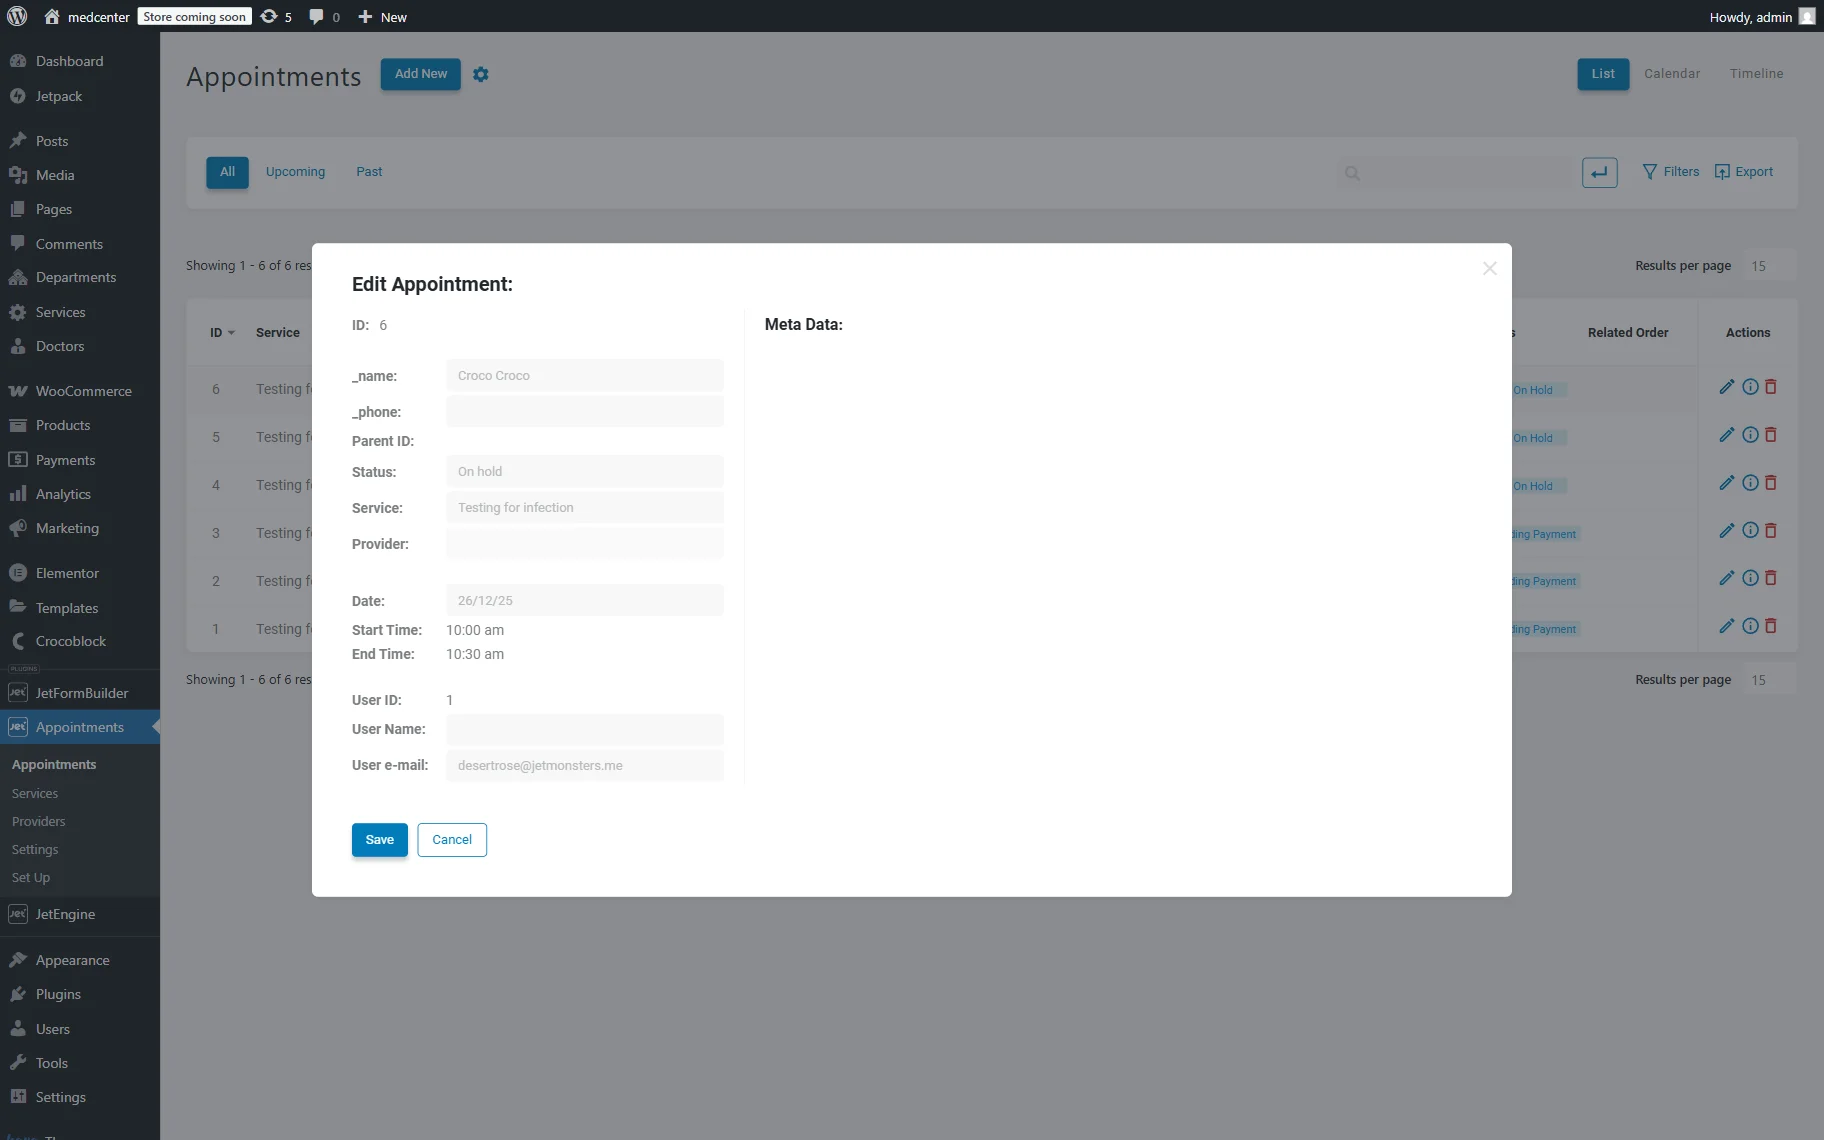
After placing the order, the corresponding data will be added to the WordPress Dashboard > Appointments tab. To view the details of the required appointment, click the “pencil” icon next to the corresponding order.
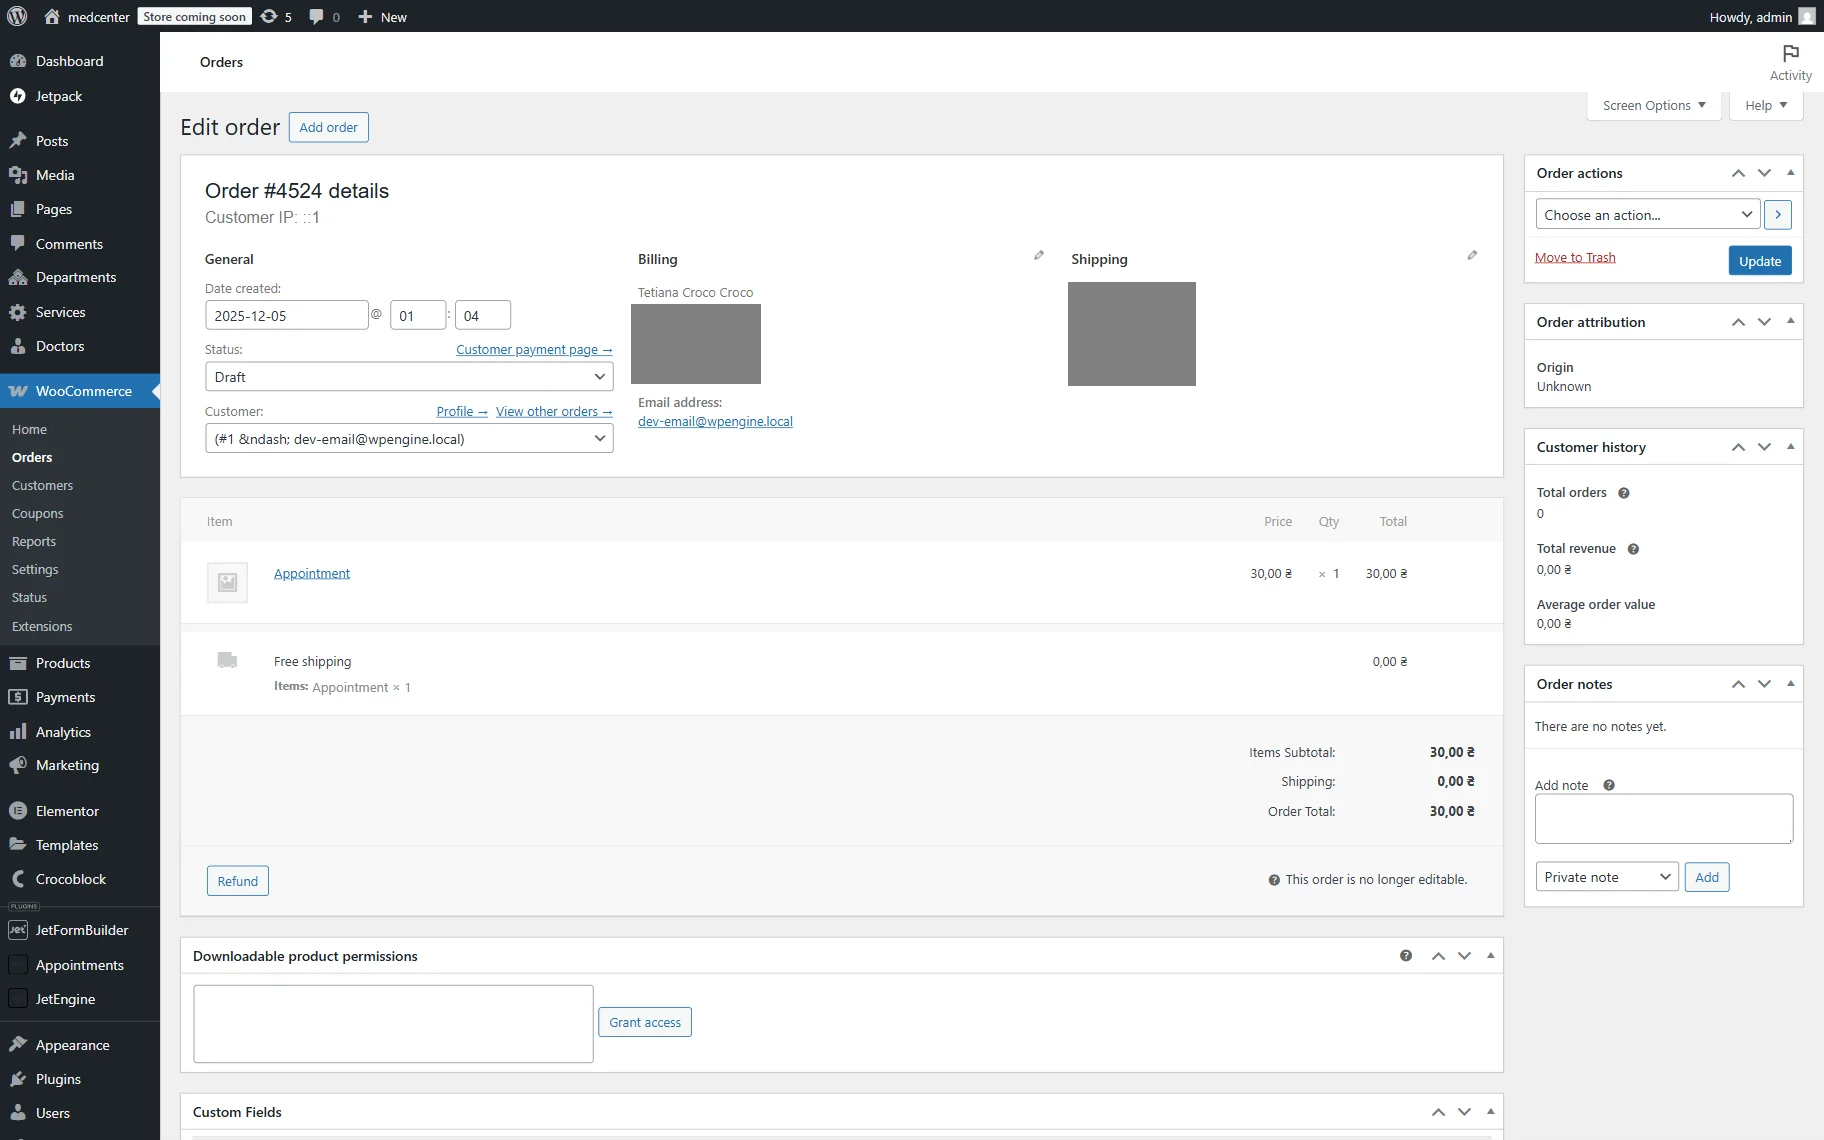
In addition, all WooCommerce orders are collected in the WordPress Dashboard > WooCommerce > Orders tab.
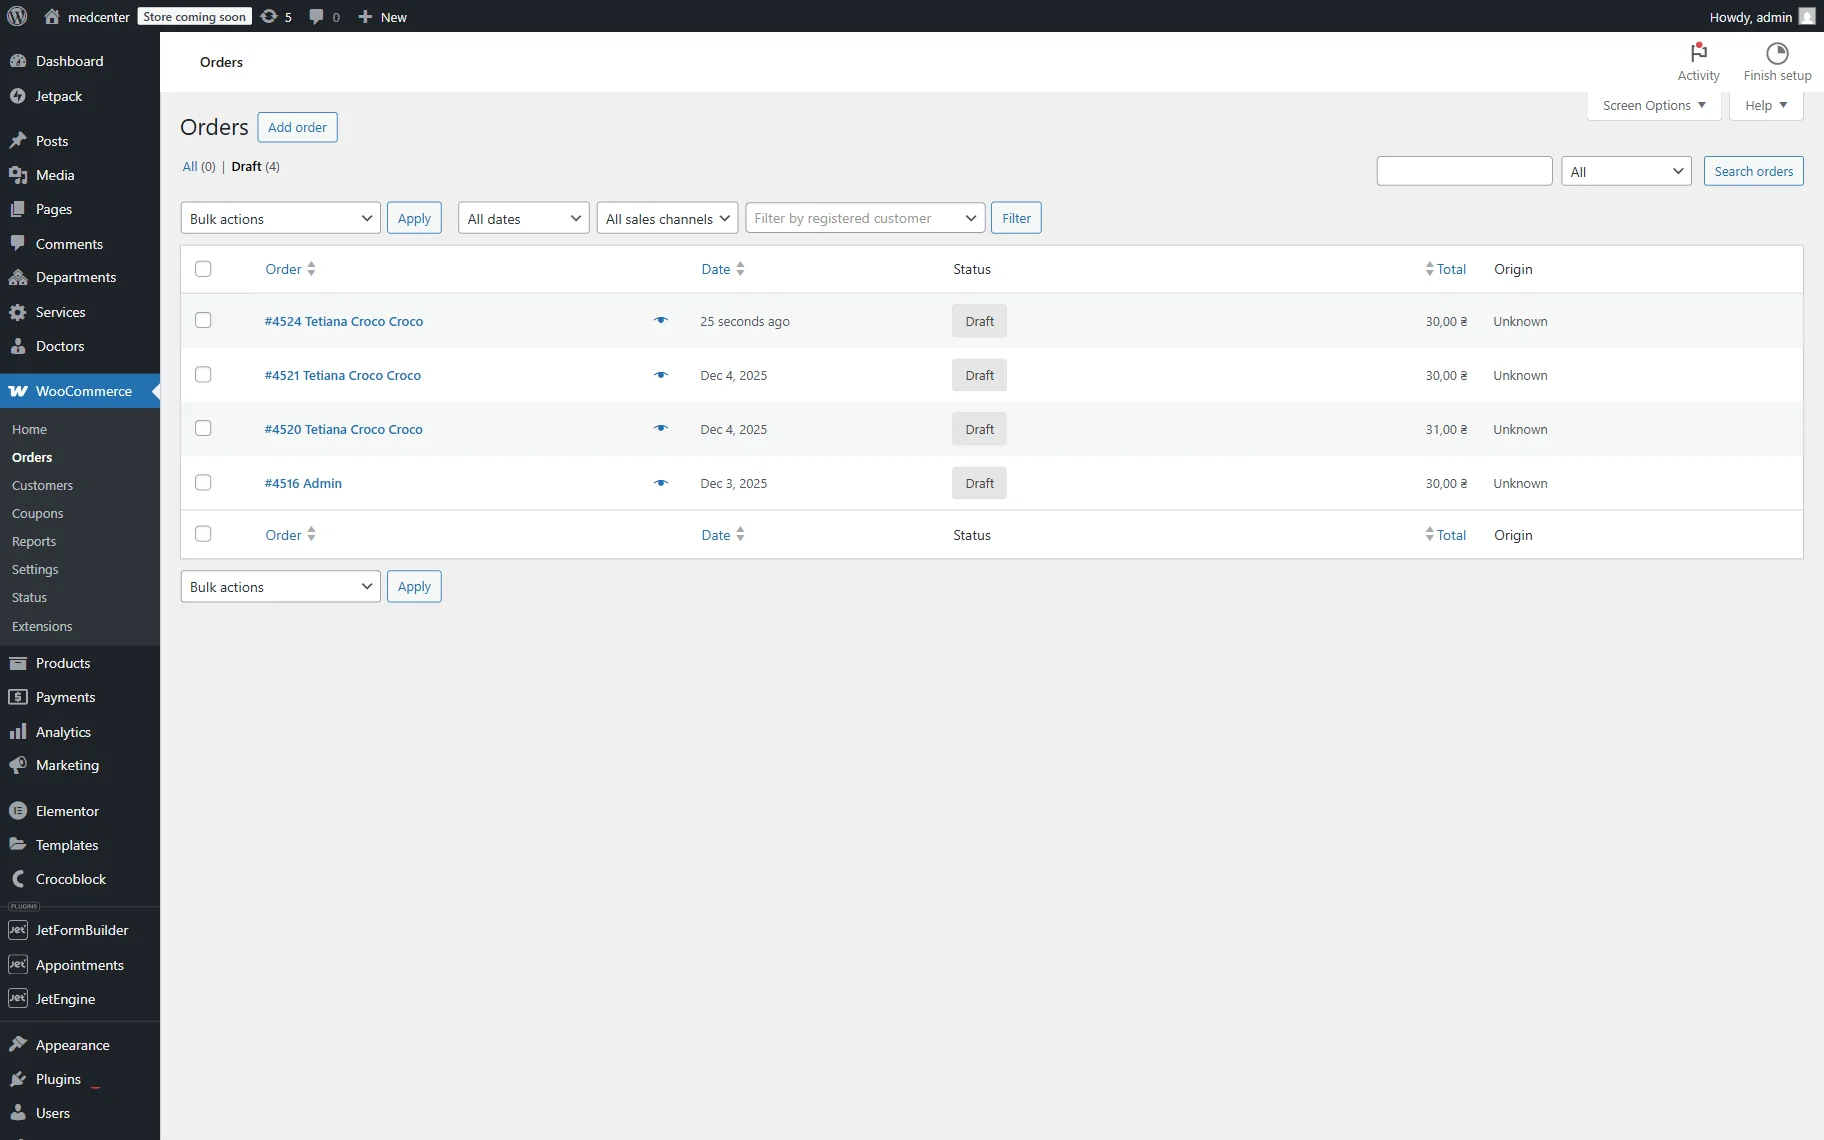
In turn, any order can be unrolled and modified by clicking its name.
That’s it. Now you know how to enable the WooCommerce integration for the JetAppointments plugin for WordPress to connect forms with the default WooCommerce pages (e.g., orders, payments, checkouts).