How to Send SMS 24 Hours Before Appointment
This tutorial explains how to set up the Webhook in the Make platform and a Workflow of the JetAppointment plugin to send an SMS reminder 24 hours before the appointment.
Before you start, check the tutorial requirements:
- JetAppointment plugin installed and activated
- JetFormBuilder plugin installed and activated
Sending an SMS is a way to remind clients about an upcoming appointment. Let us see how you can add SMS notifications with the JetAppointment plugin and a Webhook.
Create Database Column for Phone Number Field
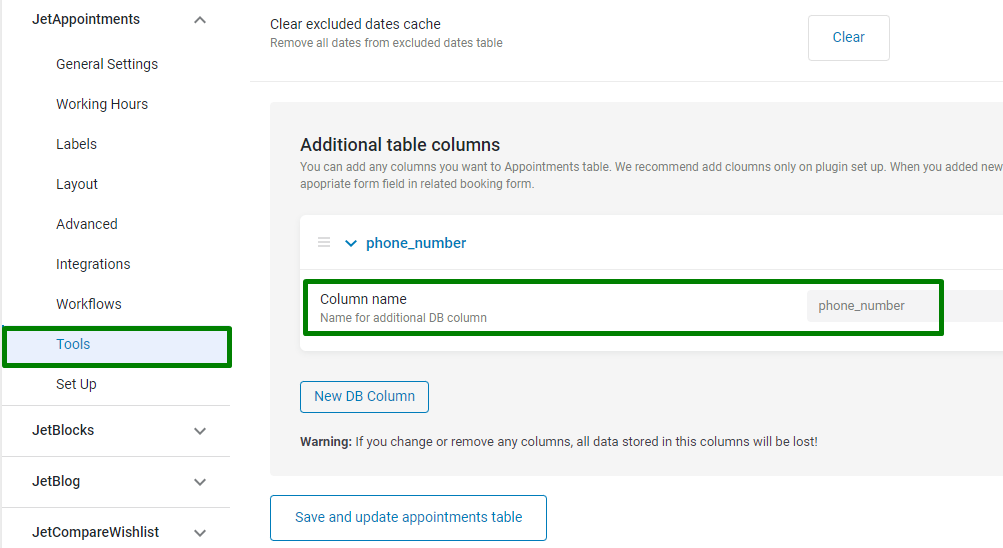
Create an additional database column in the JetAppointment settings to store the user’s phone number.
Go to WordPress Dashboard > Crocoblock > JetPlugins Settings > JetAppointments > Tools.
Add a new DB column by hitting the corresponding button. Complete the Column name field, and click “Save and update appointments table.”
Add Field for Phone Number in Appointment Form
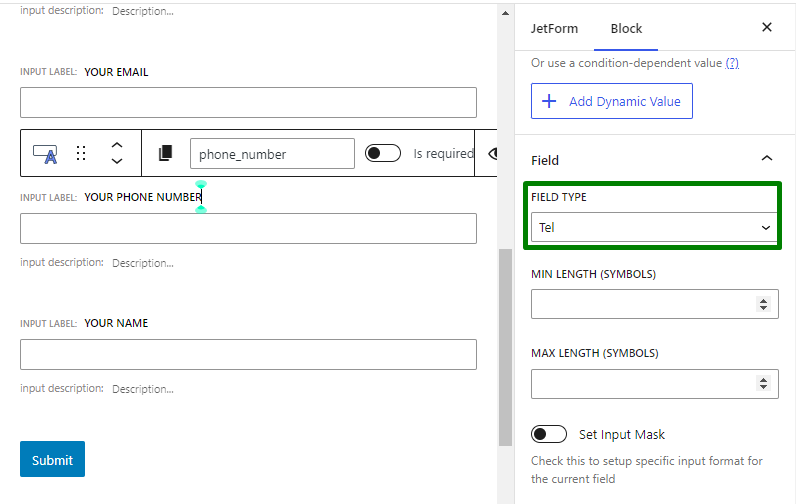
Next, turn to the booking form in JetFormBuilder, and add a field where a phone number can be entered.
Add a Text Field block to the form. Insert the Field Name, and set the Field Type to “Tel.”
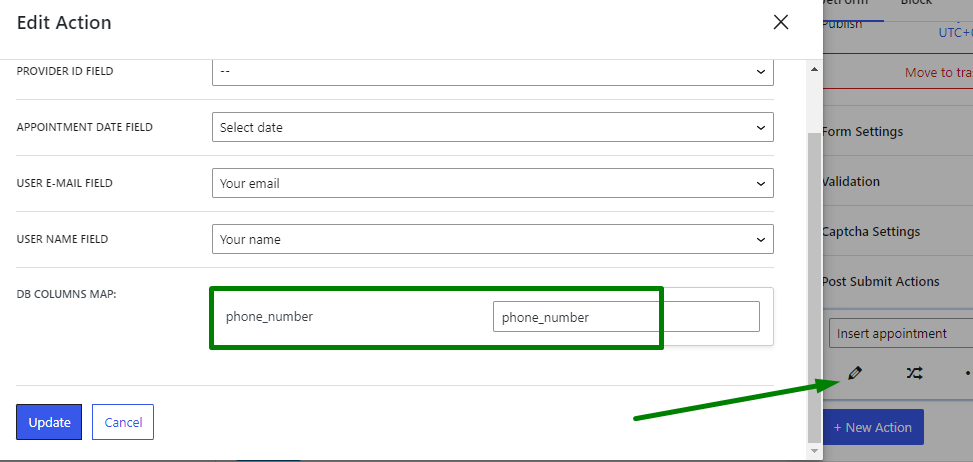
After adding a field, map it to insert its value into the database column, which has been created in the previous step.
For this, proceed to the JetForm settings and scroll down to the Post Submit Actions.
Pick the “Insert appointment” action in the selector, and click the pencil icon next to it to call the action settings. Then, add the form field name in the DB Columns Map field. Hit the “Update” button, and also save the form.
Create Account on Twilio
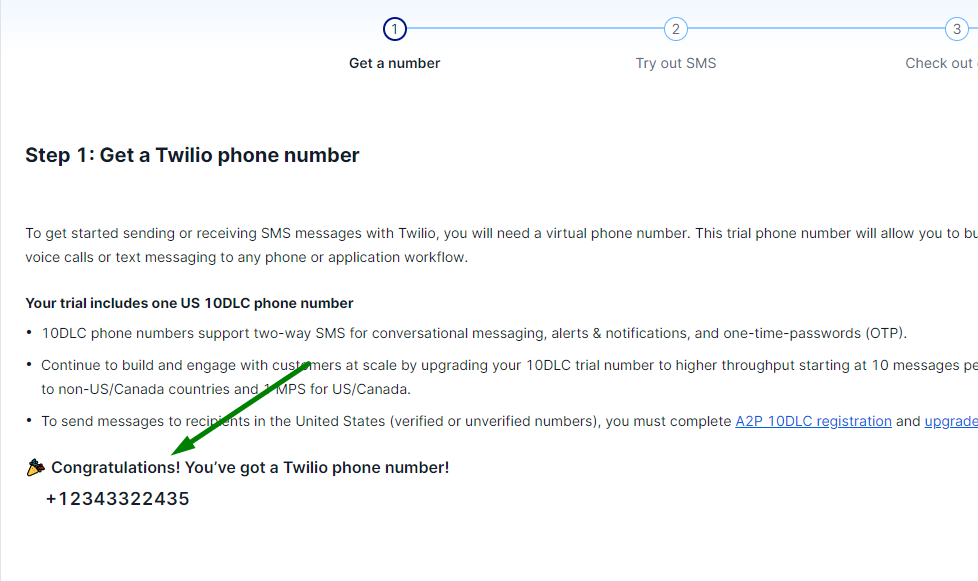
Now create an account in Twilio for further integration.
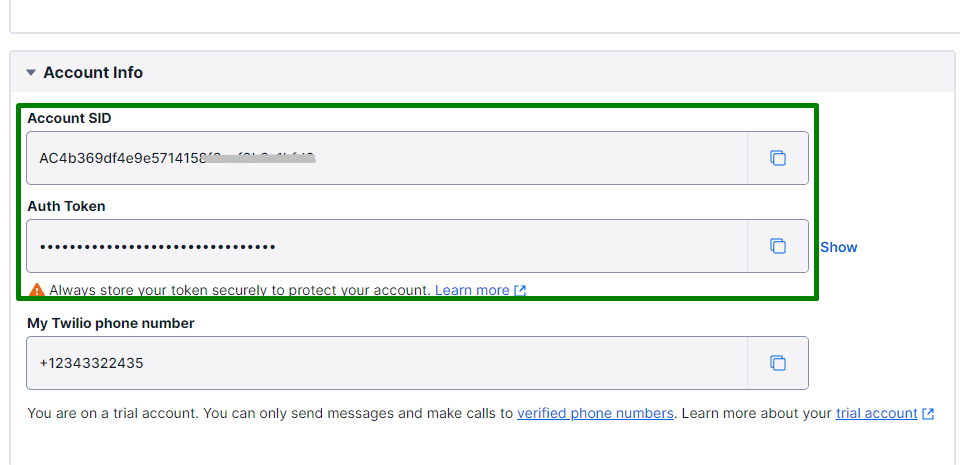
After registration, you can add a phone number from which an SMS will be sent by clicking the “Get phone number” button.
Below this part, you can also see the Account Info tab, in which Account SID and Auth Token are stored, which will be needed for creating integration with Make.
Create Webhook with Twilio Integration in Make
At this point, we can create a Webhook in Make.
Go to the Make website for registration or sign in.
After registering or signing in, you can go to the Scenarios tab to create a new scenario.
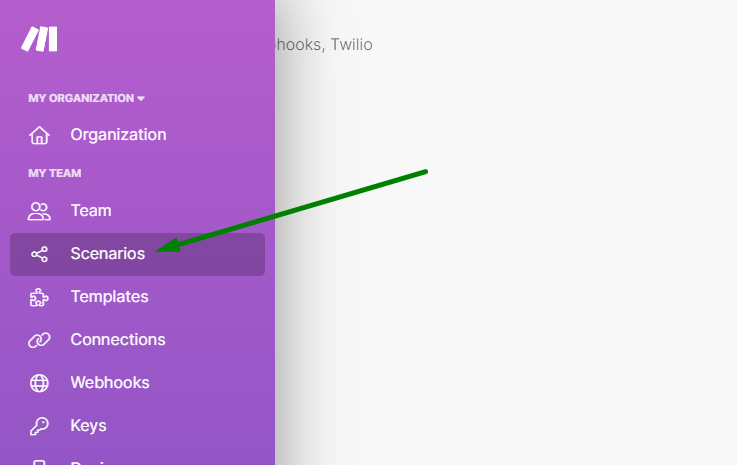
Click on the plus icon to call a menu of tools, and select the “Webhooks” option.

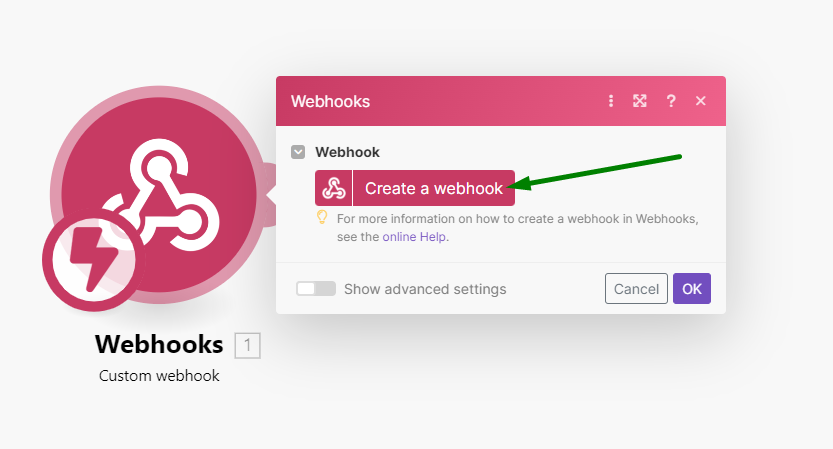
Select the “Custom webhook” trigger.

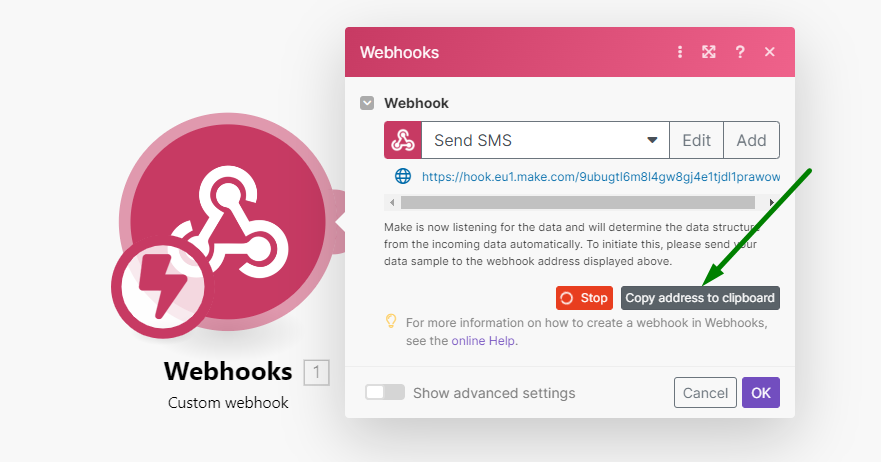
Now press “Create a webhook” and add a name to it.
Then you should see that a webhook has been generated and can now be copied to the clipboard.
Add webhook address to JetAppointment workflow
Now, add the copied webhook to the Appointment Workflow. We will start the action immediately after submitting the form to check whether the SMS has been delivered successfully.
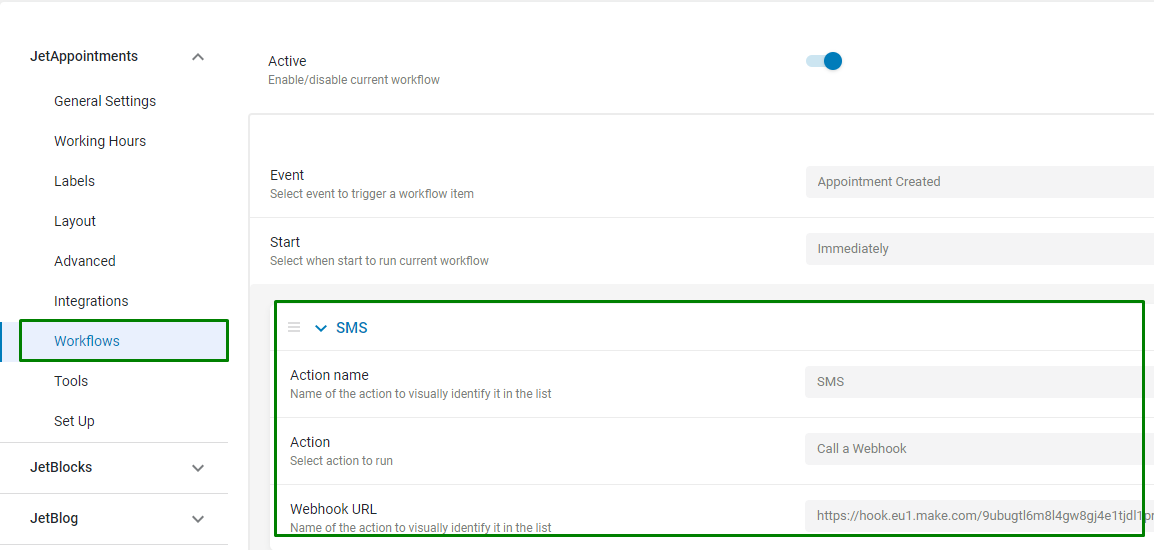
To do so, head to WordPress Dashboard > JetAppointments > Settings, and open the Workflows tab.
Set the “Appointment Created” as Event and “Immediately” as Start.
Press the “New Action” button. Complete the Action name in the newly appeared settings and select “Call a Webhook” Action. Then paste a copied link to the Webhook URL field.
Then submit the form on the front end to add the appointment fields into the webhook.
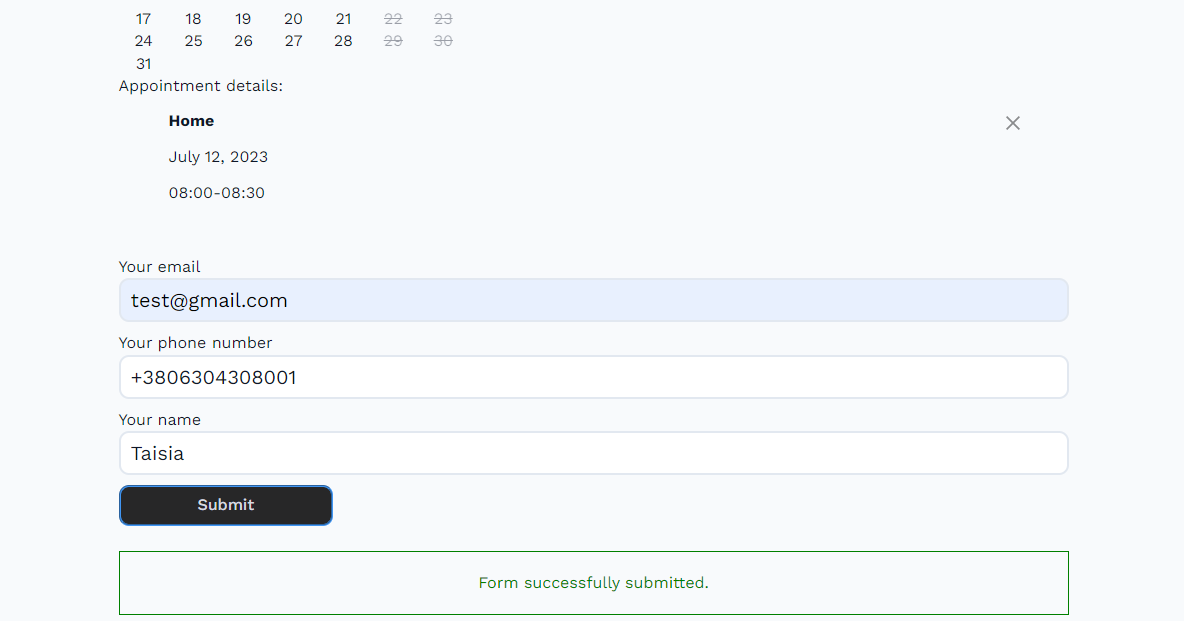
After submitting the form, you should see a green message indicating the data from the appointment has been parsed.

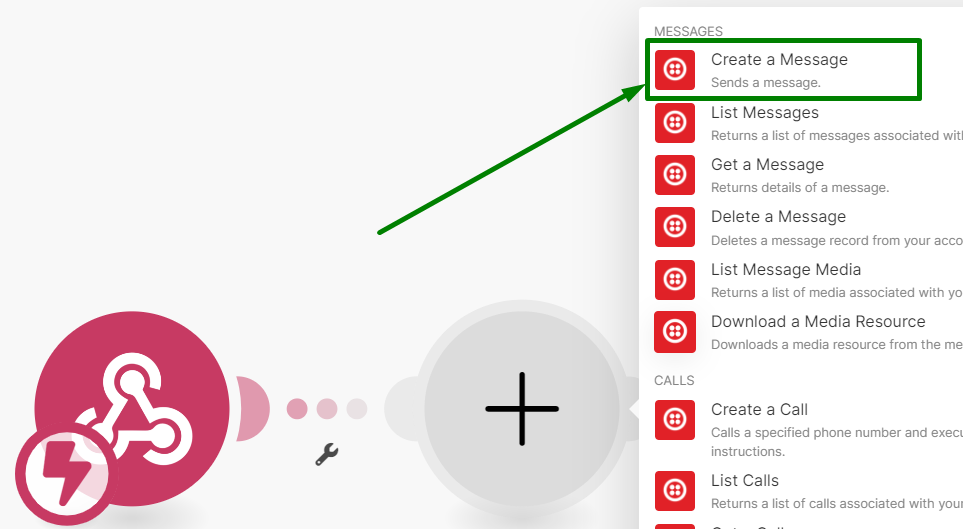
After parsing the fields, let’s add another Twilio module.

Choose the “Create a Message” option.
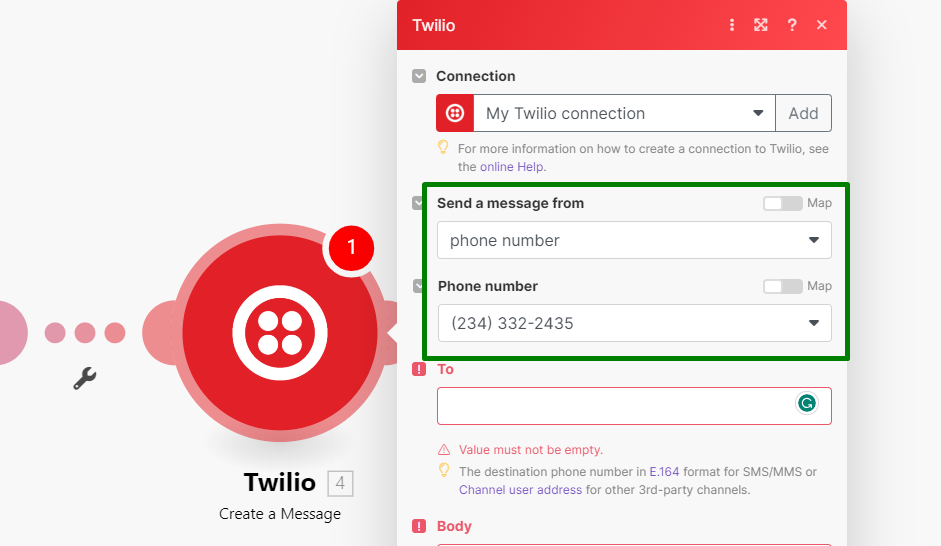
In the option settings, you can customize the Send a message from field.
Here, select the previously generated phone number in Twilio.
Add form fields into Twilio
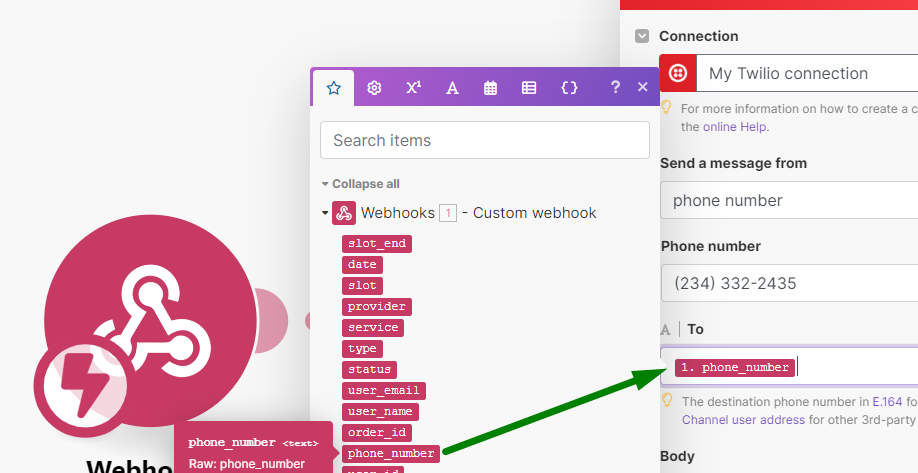
The To field determines to which phone number an SMS is sent.
Add a ‘phone_number’ field so an SMS is sent to the phone number entered by a user.
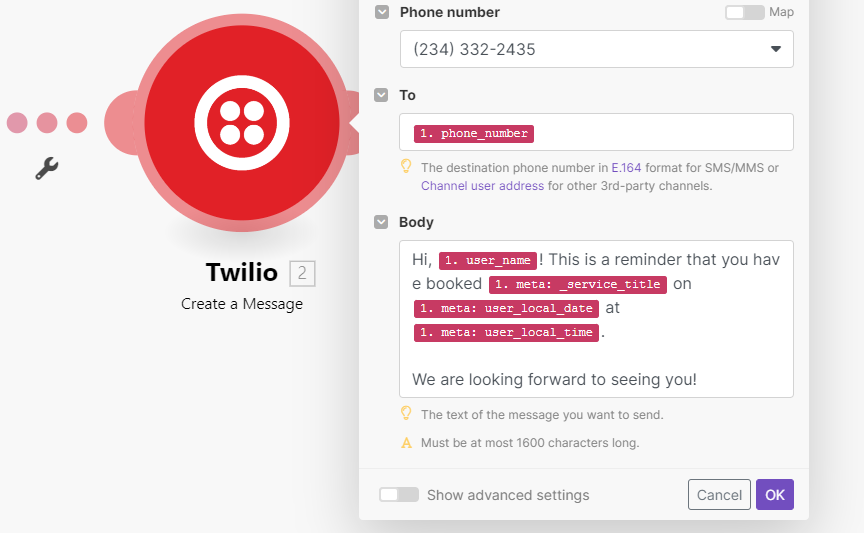
In the same way, we want the body of the SMS to contain the appointment details data.
We use the fields parsed earlier when the form was submitted — ‘user_name,’ ‘_service_title,’ ‘user_local_date,’ and ‘user_local_time.’ You can also add other available fields if needed.
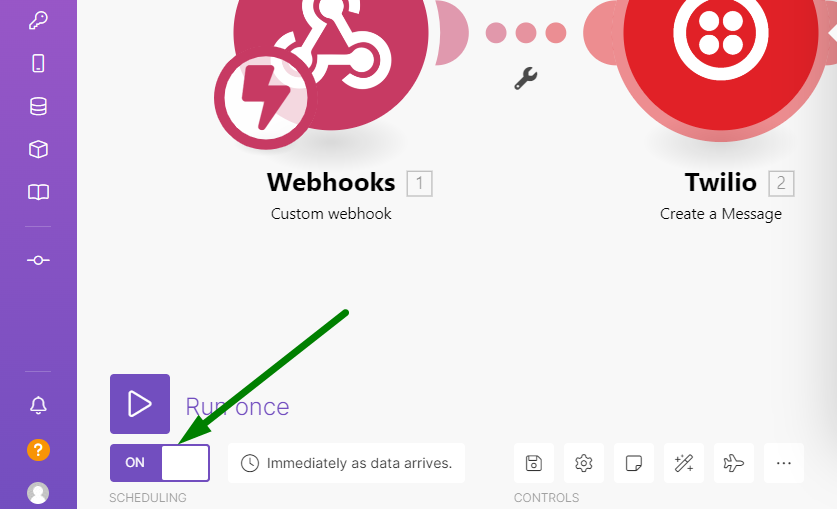
Once the body message is completed, enable the scenario schedule by activating the Scheduling toggle. Press the “Schedule setting” icon and select the desired option; more information about the available variants can be found in the Scheduling a scenario article.
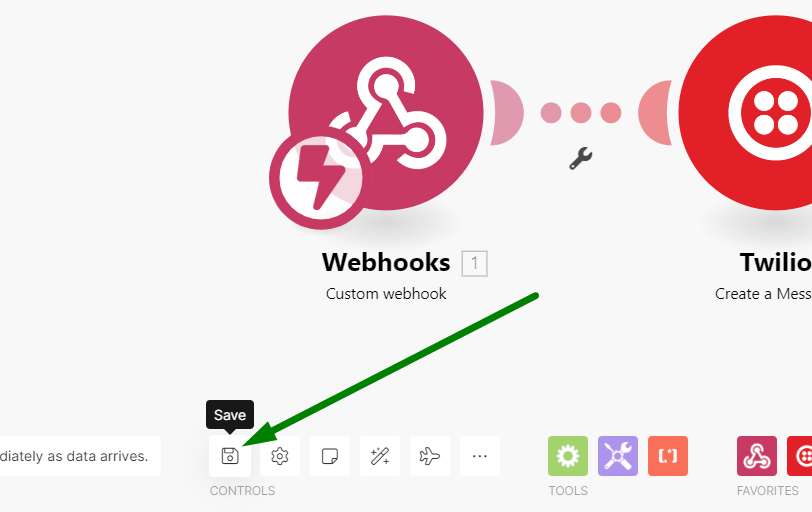
After activation, you can save the scenario by pressing a corresponding icon.
Check results
The Webhook settings are completed, and now we can check whether an SMS is delivered after the form is submitted.
Submit the form on the front end once again.
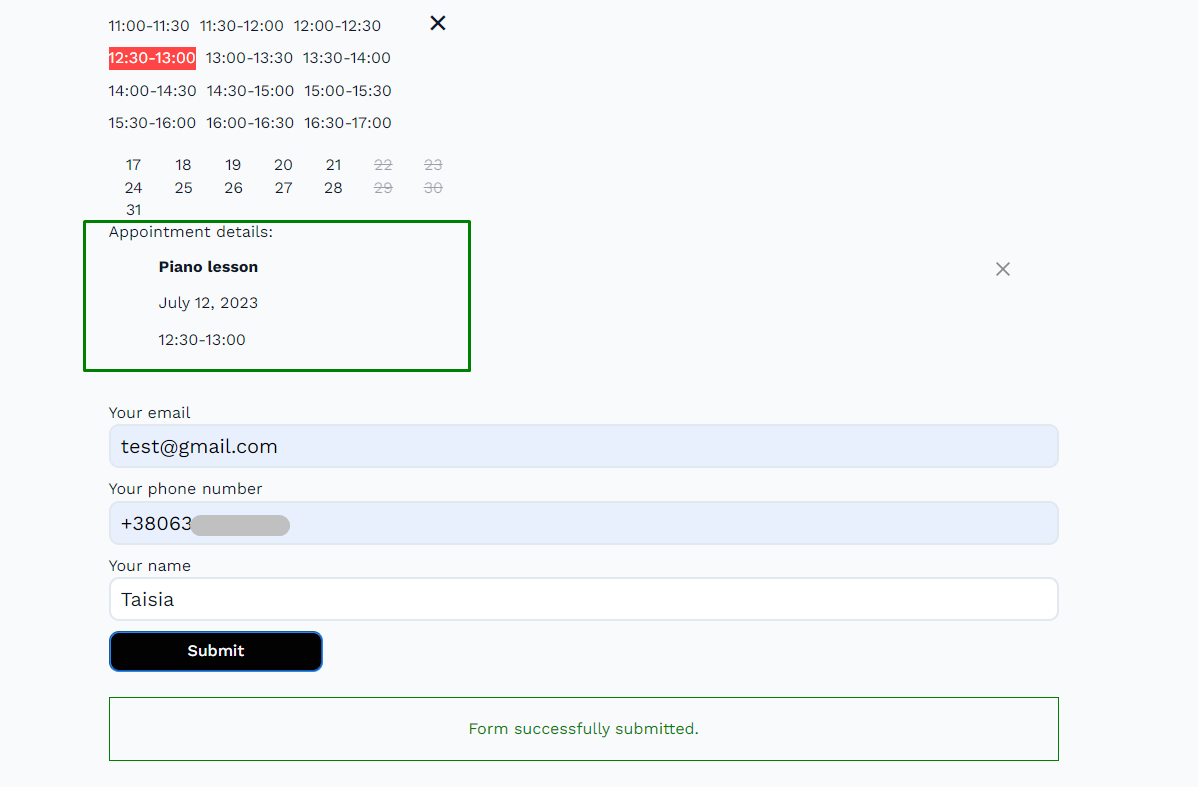
An SMS is delivered to the phone number entered in the form with the correct Appointment details.

The last thing is to set the SMS action of Appointment Workflow to be executed 24 hours before the appointment.
Go back to WordPress Dashboard > JetAppointment > Settings > Workflows and set the action to start one day before the appointment. To do so, pick “Scheduled before appointment” Start and complete the Days before field with the “1” value.

If you submit the form again, you will receive a reminder a day before the appointment.
Now you know more about integrating sending an SMS to a user who booked an appointment on your WordPress website.