How to Add a Registration Form with Captcha
The tutorial explains how to add a Registration form to the site header using the JetBlocks plugin and verify users with the Captcha 4WP plugin.
Before you start, check the tutorial requirements:
- Elementor (Free version)
- JetThemeCore plugin installed and activated with a header template built. If you have not done it yet, follow the tutorial
- JetBlocks plugin installed and activated
The Registration Form widget is one of JetBlocks widgets. It is used for signing up customers for subscriptions, services and so on.
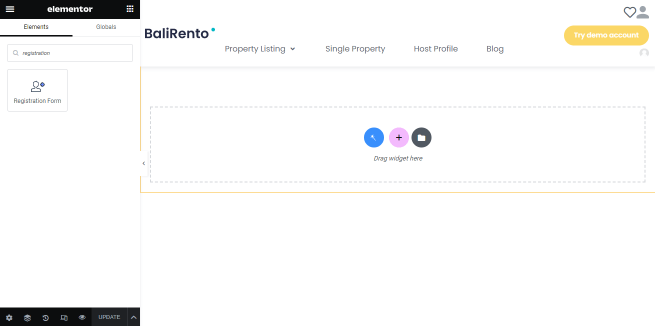
Adding the Registration Form Widget
Open a header template in the Elementor editor and drag and drop the Registration form widget to a header template.
Settings of the Registration Form
Input data to the fields in the Content block in the settings panel. You may inscribe your text or keep the default one.
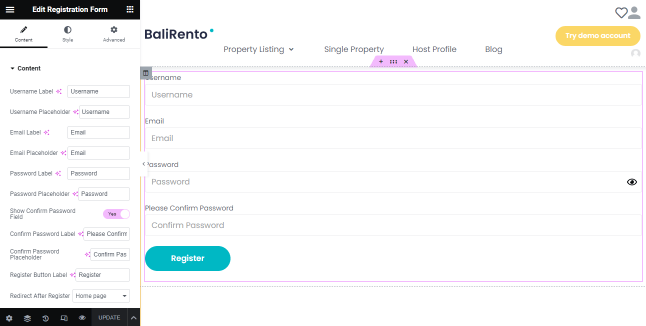
You can style the fields, labels, errors, and the “Submit” button in the Style settings tab. Here it is available to set the stylization options to customize the content: play around with the fonts, background color, size, alignment, etc.
Here you can set the stylization options to customize the content: play around with the font, background color, size, alignment, etc.Click the “Update” button to save changes.
Adding the Captcha 4WP plugin
Download the Captcha 4WP plugin to verify the users.
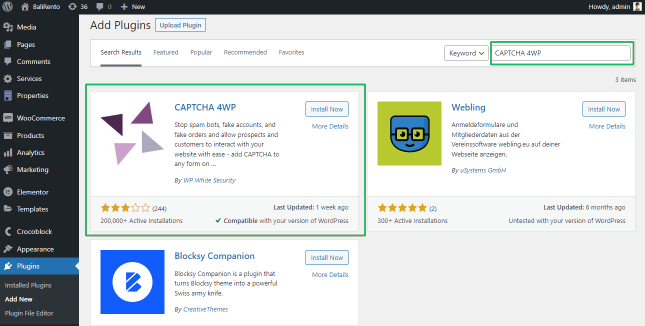
Press the “Install Now” button. Then you will be redirected to the set up pages. Press the appropriate buttons to set up the plugin.
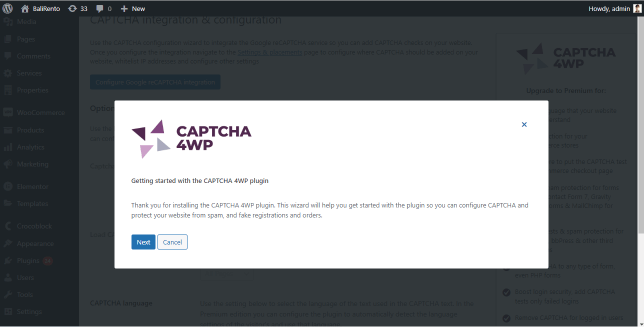
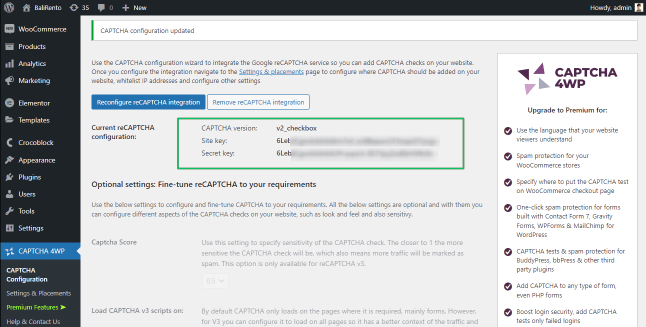
Select the capture version and get the site and secret keys from Google.
Fill in the Site key and Secret key fields and press the “Next” button.
After configuration update, scroll the page and press the “Save changes” button.
Navigate to CAPTCHA 4WP > Settings & Placement tab and tick the WP pages to place the captcha.
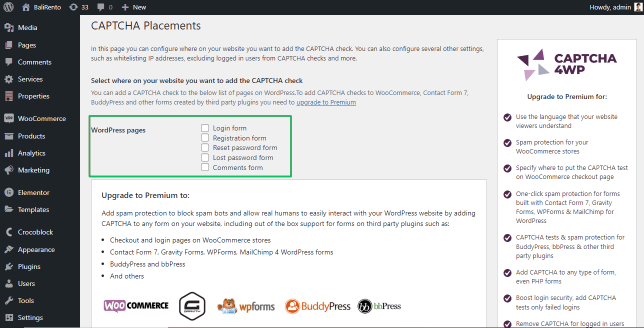
Scroll down the page and press the “Save changes” button.
That’s all about downloading the plugin. Now your header includes the registration form with the captcha.