
How to Add Navigation Menu Widget into the Header Template
This tutorial explains what steps you have to take in order to add a simple menu to the header template with the help of the Navigation Menu widget.
The Navigation Menu widget allows you to display links to pages and design it in a preferable way. Also, this widget makes it easy to create a menu and place it in the website’s header and footer built with Elementor.
Nav Menus are very important; that’s why they are usually placed close to a header or in it.
This tutorial will teach you how to add a menu with the Nav Menu widget using the JetBlocks plugin.
Adding a Navigation Menu Widget
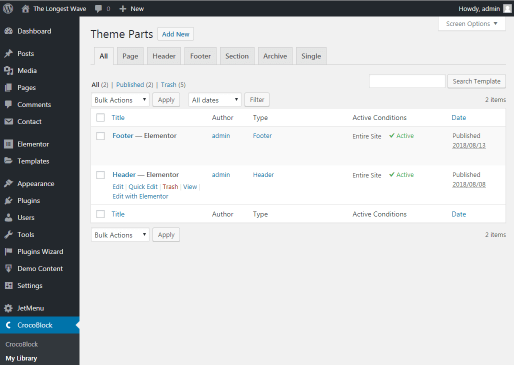
Log in to your WordPress Dashboard.
Navigate to CrocoBlock > My Library. Here click the Edit with Elementor button to proceed with editing the needed template where you want to place a nav menu.
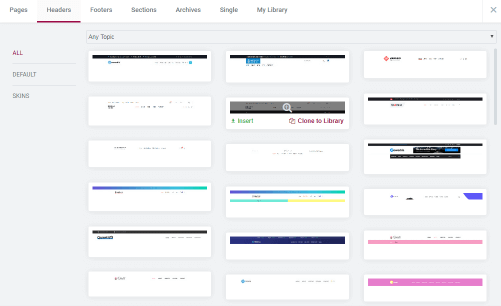
 After you are redirected to Elementor, you can change your header template by navigating to the “Magic Button” library.
Here, click the Headers tab, choose the header you like and click Insert.
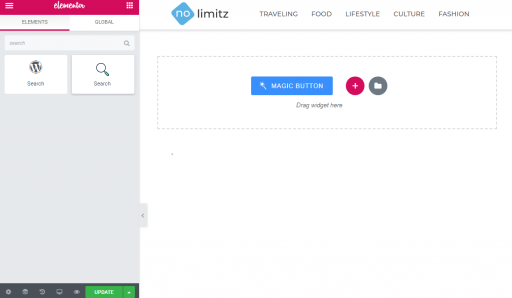
Afterward, find the Nav Menu widget in the elements panel on the left, and add it to the page.
Settings
After that, you will see a Nav Menu in your Header section. On the left, you will see different options which can help you change the Nav Menu widget according to your needs and preferences.
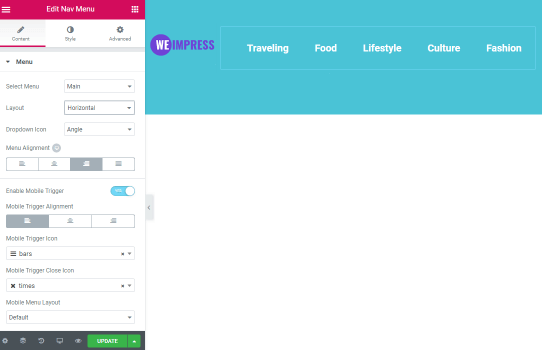
Don’t forget to click the “Publish” button to save the changes. Also, you can see how your Nav Menu looks like if you click the “Preview” button.
Now your navigation menu is ready. Now you know how to enrich a header with a navigation menu using the JetBlocks plugin.