How to Create a Sticky Header
This tutorial will show you how to create and adjust style settings in Elementor to create a sticky header with the JetBlocks plugin for WordPress.
The header is one of the integral parts of any site. Here, the core information about the company is displayed, including the logo, contact details, call-to-action buttons, and a site menu, which helps visitors navigate the website properly.
Find it at the top of a page. With the help of the JetBlocks plugin, you can make it sticky, and the header will remain visible as you scroll down the page.
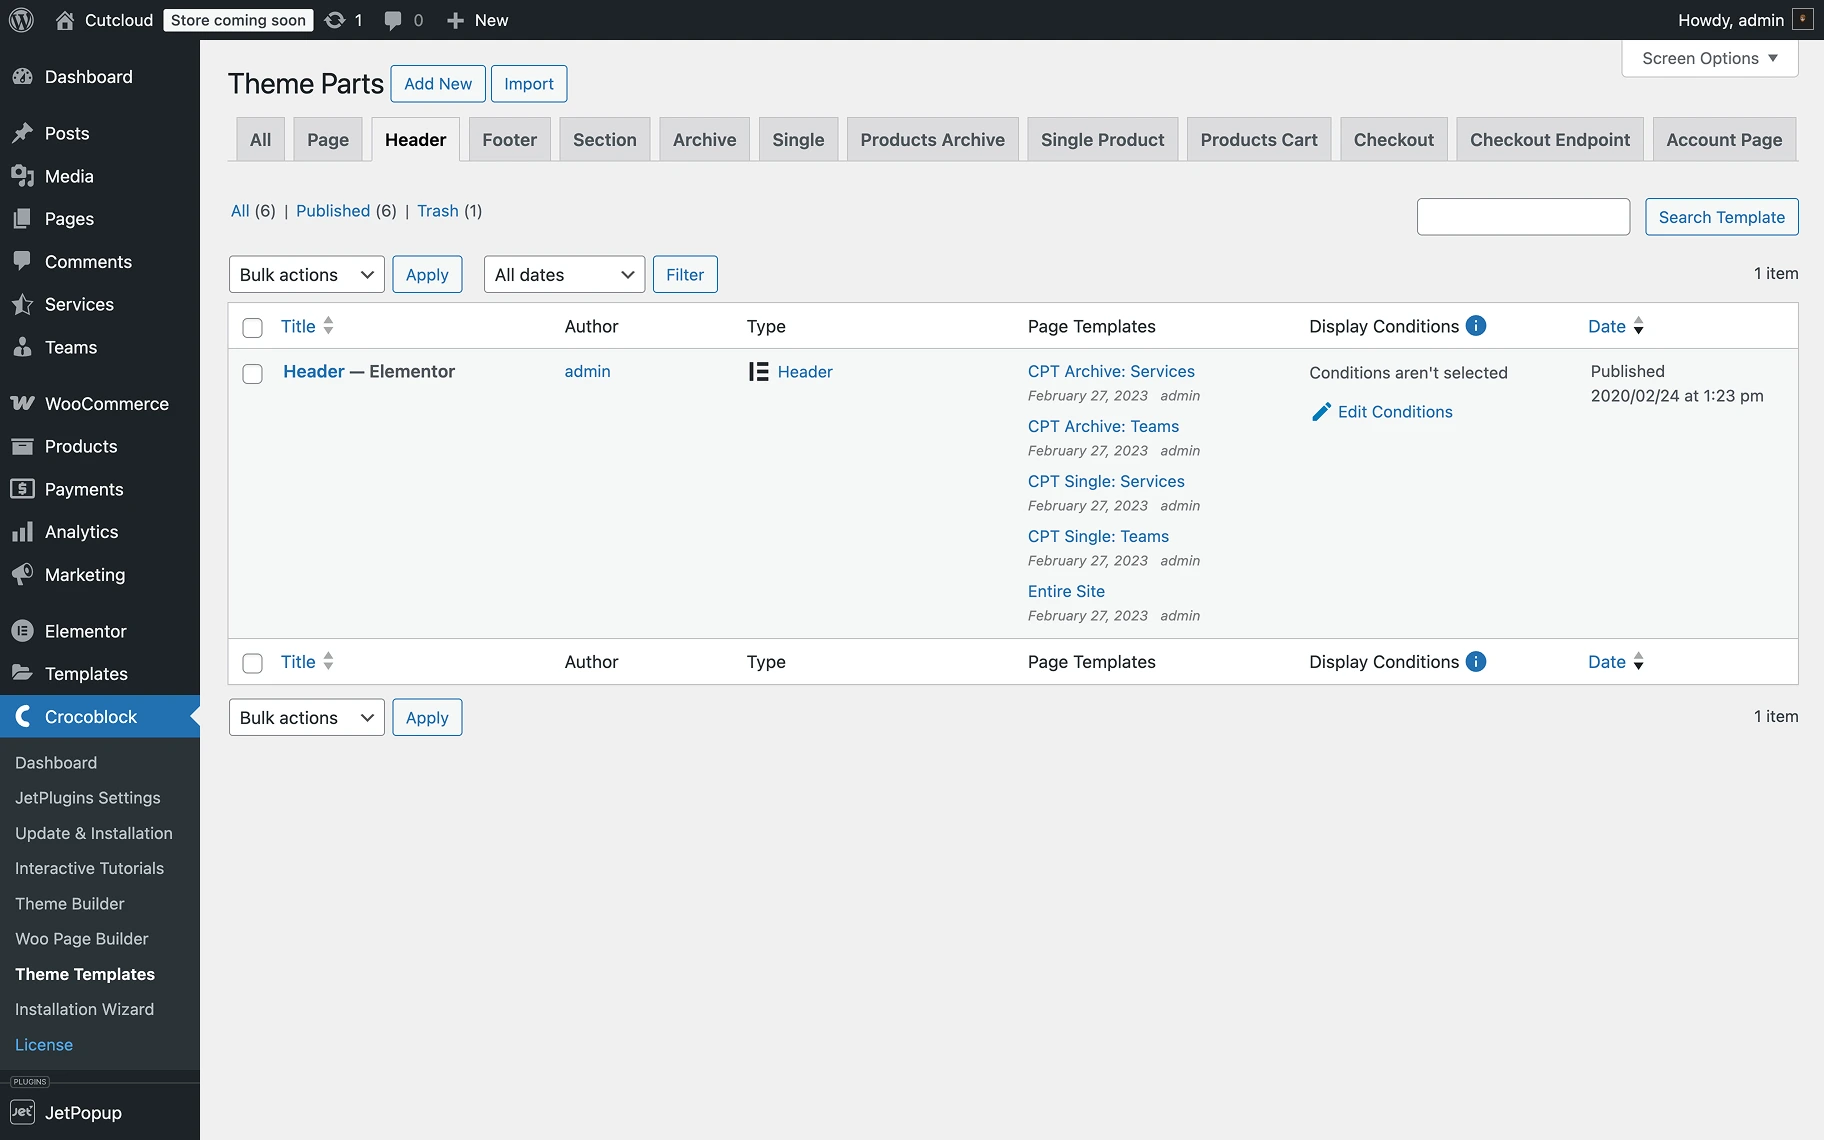
First, go to WordPress Dashboard > Crocoblock > Theme Templates > Header and open the necessary header in the Elementor page builder.
After the new window is opened, click on the section to open the Edit Section panel. Go to the Advanced tab, find the Jet Sticky section, and then enable the Sticky Section toggle. Check the JetSticky fields settings:
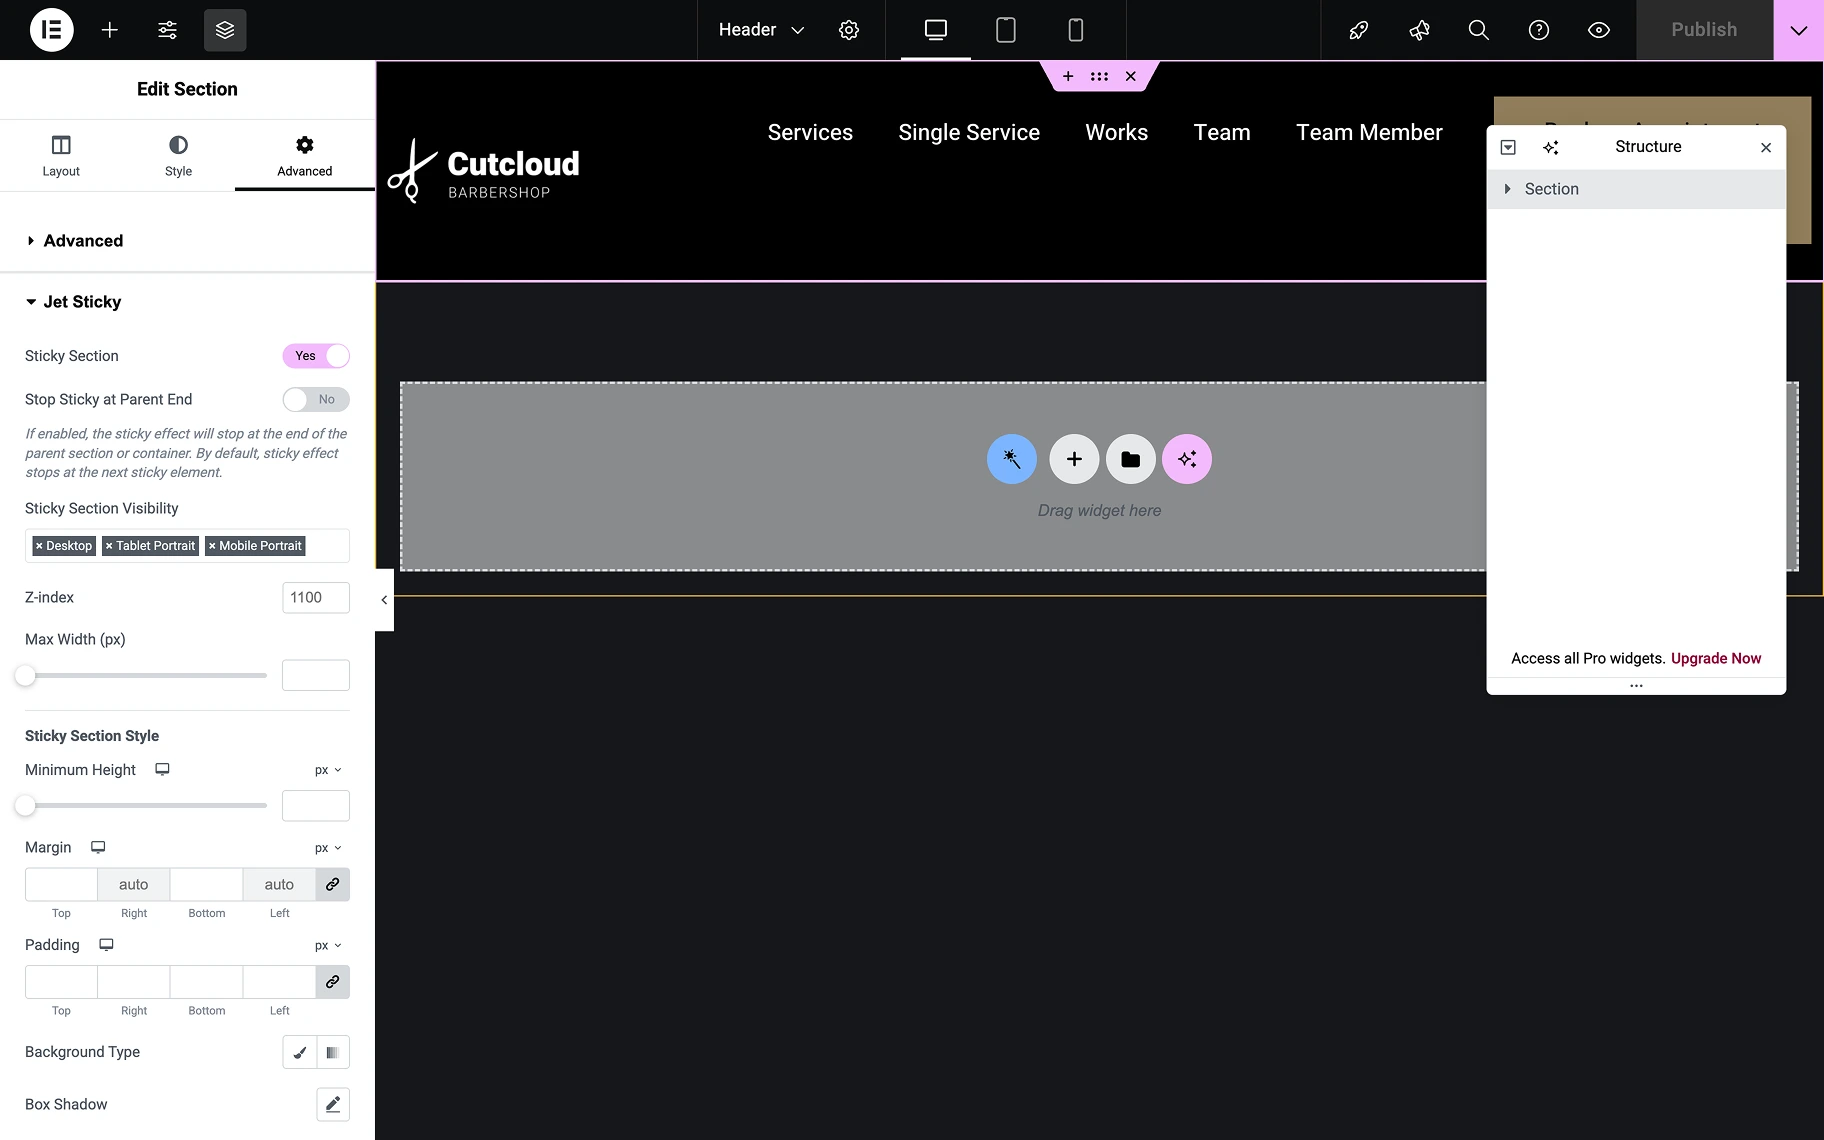
- Sticky Section — a toggle that keeps elements fixed at the top of the viewport during scrolling, maintaining visibility regardless of page position (deactivated by default);
- Stop Sticky at Parent End — a toggle that limits the sticky behavior to remain within its parent container boundaries (deactivated by default). When enabled, the sticky effect will stop at the end of the parent section or container. By default, the sticky effect stops at the next sticky element;
- Sticky Section Visibility — a feature that controls the responsive display of the sticky elements across different device types (available options: “Desktop,” “Tablet Portrait,” and “Mobile Portrait”);
- Z-index — a field that determines the stacking order of overlapping elements. This value defines what content will overlay the other. The higher the value, the more the layer is prioritized;
- Max Width (px) — a feature that constrains the horizontal dimensions of your section, allowing you to control the width of the section in pixels.
Style up the header with the help of the features in the Sticky Section Style section. The following options are available:
- Minimum Height — a feature that sets the vertical space the sticky section will occupy;
- Margin — a feature that controls the external spacing around the sticky section;
- Padding — a feature that defines the internal spacing within the sticky section;
- Background Type — a feature that determines how the sticky section background is rendered (two options are available: “Classic” and “Gradient”);
- Box Shadow — a feature that adds a shadow through a set of customizable options (Color, Horizontal, Vertical, Blur, Spread, and Position);
- Transition Duration — a feature that controls how quickly the sticky section animates when changing states.
That’s all one needs to know to create a sticky header with the JetBlocks plugin for WordPress.