How to Display a Website Logo in the Header
Find out how to add a website logo with the help of the JetBlocks plugin. Enrich the header with a Site Logo widget for introducing your brand.
The website logo is an important part of your company’s brand. It describes the face of your company and makes a great impact on the public as well. Present your company’s logo in the header using the JetBlocks Site Logo widget.
Let’s know how to add a website logo in the header built with Elementor.
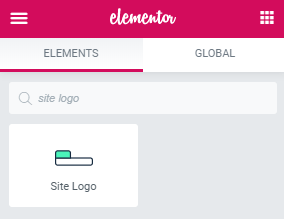
Go to Elementor editor and add the Site Logo widget to a certain section in a drag and drop way.
Now you can see the widget’s settings leftward.There are 3 tabs: Content, Style and Advanced, where you are able to set varied adjustments.
In the Content tab there are 2 sections, such as Content and Settings. In the Content section you should select an appropriate logo type (Text, Image or Both Text and Image).
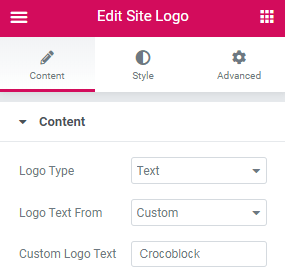
- If you choose the Text logo type, it is possible to use a site name or paste a custom one.
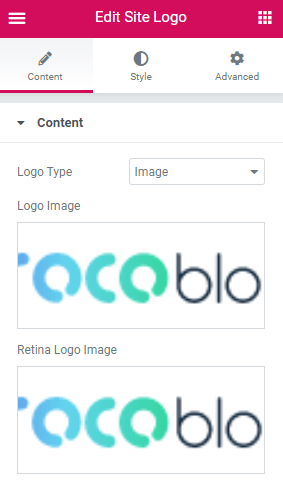
- In case you select the Image logo type, you need to add a logo image and a retina logo image.
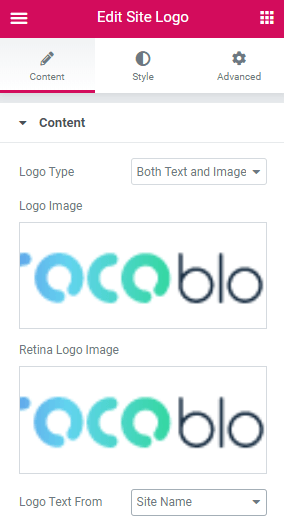
- The one more option, Both Text and Image logo type, allows to display a logo image and a logo text.
The Settings section includes such options, where you can enable linking a logo, removing a link on the front page. Also, you need to determine the order of a logo image and a logo text in case you chose the Both Text and Image logo type.
In the Style tab you can specify your logo alignment on different devices. Moreover, in the Text section you have an opportunity to pick color and apply typography settings to the text.
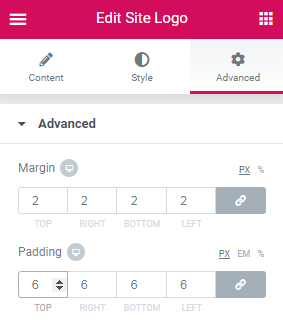
The Advanced tab presents different settings, where you can adjust margin, padding, background, etc. of the Site Logo widget.
When everything is done, click the Update button at the bottom and view the result on the frontend.

That’s all you have to do to add a website logo in the header built with Elementor.