How to Set Columns and Rows in the Smart Posts List Widget
Read about setting the columns and rows numbers in the Smart Posts List widget.
Before you start, check the tutorial requirements:
- Elementor (Free version);
- JetBlog plugin installed and activated.
The Smart Posts List widget for Elementor creates stylish lists of posts, pages, and CPTs.This tutorial details the Smart Posts List widget settings and explains how to arrange the posts in a list with a custom number of columns and rows for different devices.
Adding the Smart Posts List Widget to Pages
Open the page, find the Smart Posts List widget, and drag-and-drop it.
Add the content to display.
The tutorial overviews the Smart Posts List Widget and explains how to add content, get posts from categories, or exclude posts by IDs.
Specify the Columns and Rows Numbers in the Smart Posts List Widget
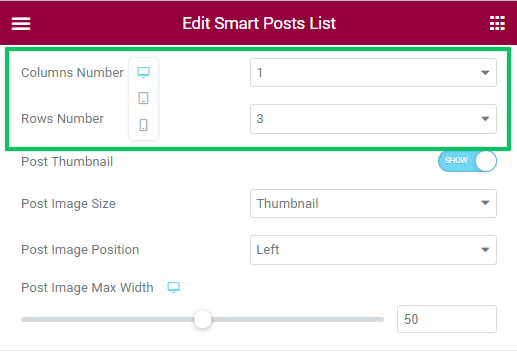
Navigate to Content > General tab of this widget. Scroll the setting tab and navigate to the Column Number drop-down menu and the Rows Number drop-down menu. Select the number of columns (ranges from one to eight) and rows (ranges from one to six).
This widget allows marking the first posts as featured; therefore, if the Mark First Post as Featured toggle is enabled, the first post will be on the top/left of other posts, and the columns and rows number settings refer to other displayed posts.
Set the Column Numbers for Different Devices
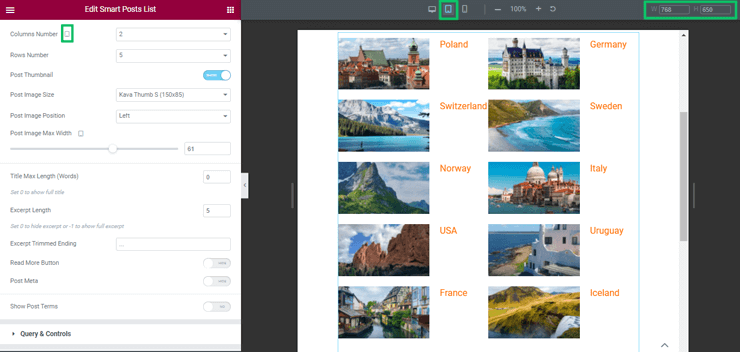
The Smart Posts List widget allows setting the different column numbers for desktops, tablets, and mobiles. Click the device icon near the Columns Number menu and choose the device.
Select the different column numbers for different devices (including the width and height options).
That’s all about setting columns and rows numbers in the Smart Posts List widget.