How to Manage Timepicker for Check-In/Check-Out in JetBooking
Learn how to manage timepicker settings for JetBooking’s Check-in/Check-out on your WordPress website.
Before you start, check the tutorial requirements:
- Elementor (Free version), Block editor (Gutenberg), or Bricks
- JetBooking plugin installed and activated
From this guide, you will learn how to activate and use the timepicker with the Check-in/Check-out fields for WordPress bookings with the help of the JetBooking plugin.
Adjust Timepicker Settings
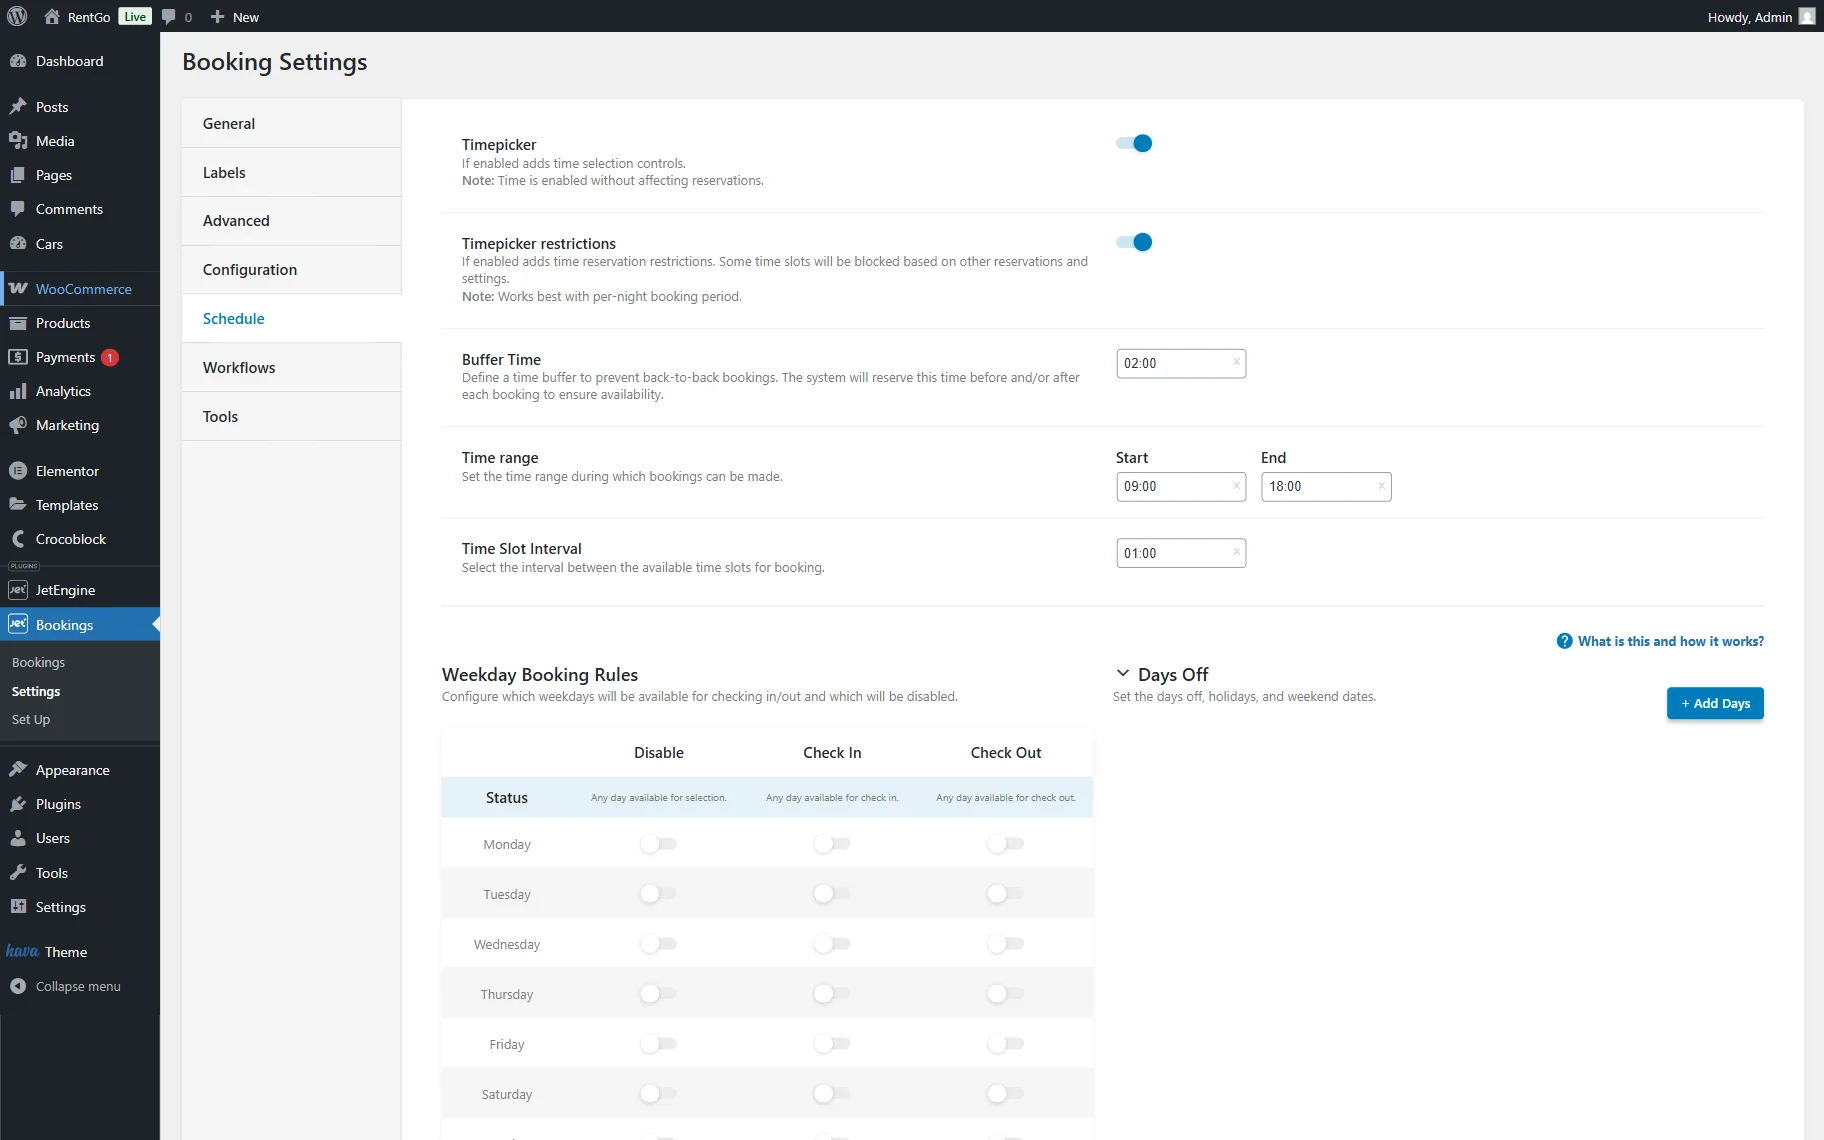
Head to WordPress Dashboard > Bookings > Settings and open the Schedule tab.
Here, activate the Timepicker toggle. Once done, you will see the further settings available for customization.
After the Timepicker is activated, you can activate the Timepicker restrictions toggle to set the Buffer Time to reserve some time between the bookings and limit the back-to-back bookings. By default, the 2-hour Buffer Time is set.
Next, you can also change the Time range available for selection and the Time Slot Interval. The last is set to 1 hour by default, which means slots like “9:00,” “10:00,” and “11:00” will be available.
Once the settings are adjusted, no more action is required; changes will be saved automatically.
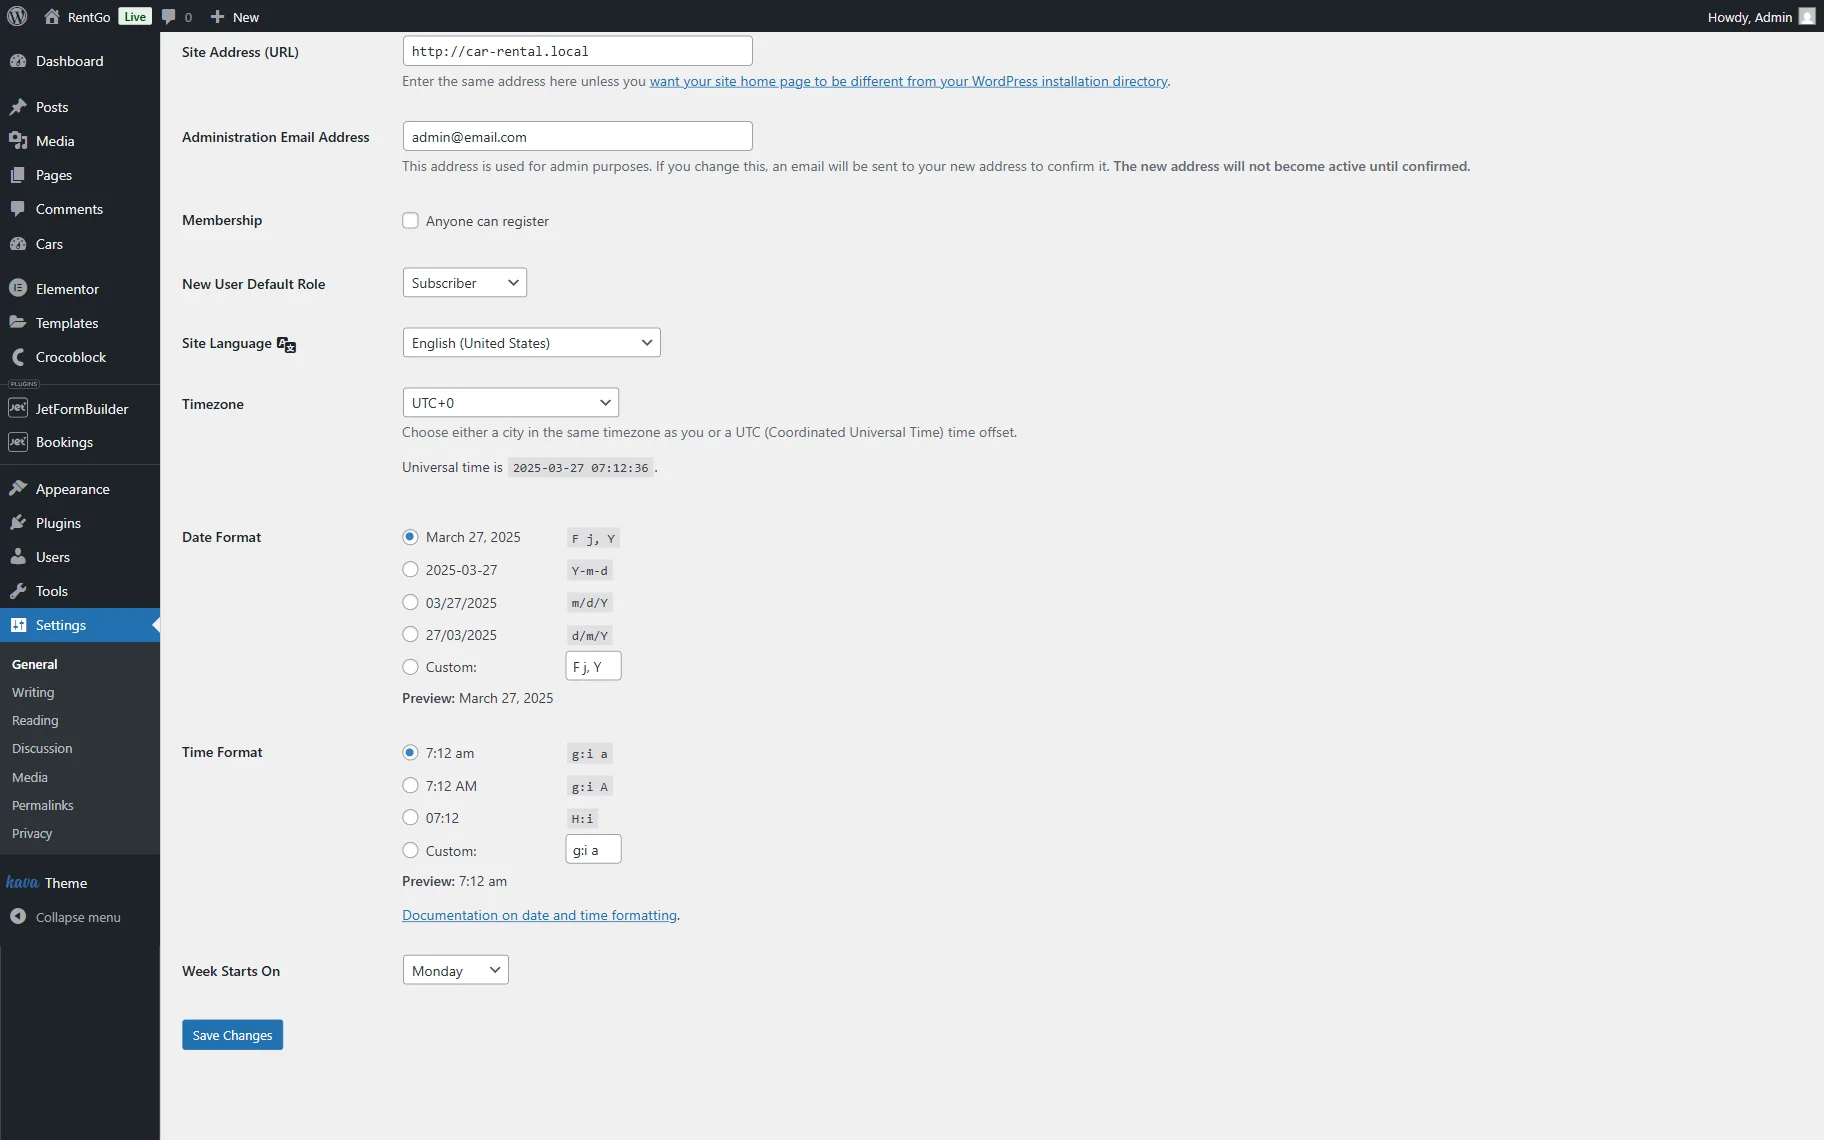
The time format in the picker depends on the one selected in the global WordPress settings. So, if desired, one can also change the Time Format by proceeding to the WordPress Dashboard > Settings > General directory.
Create a Booking Form
Next, we want to display the Check-in/Check-out fields with the time picker next to them in the single page booking form.
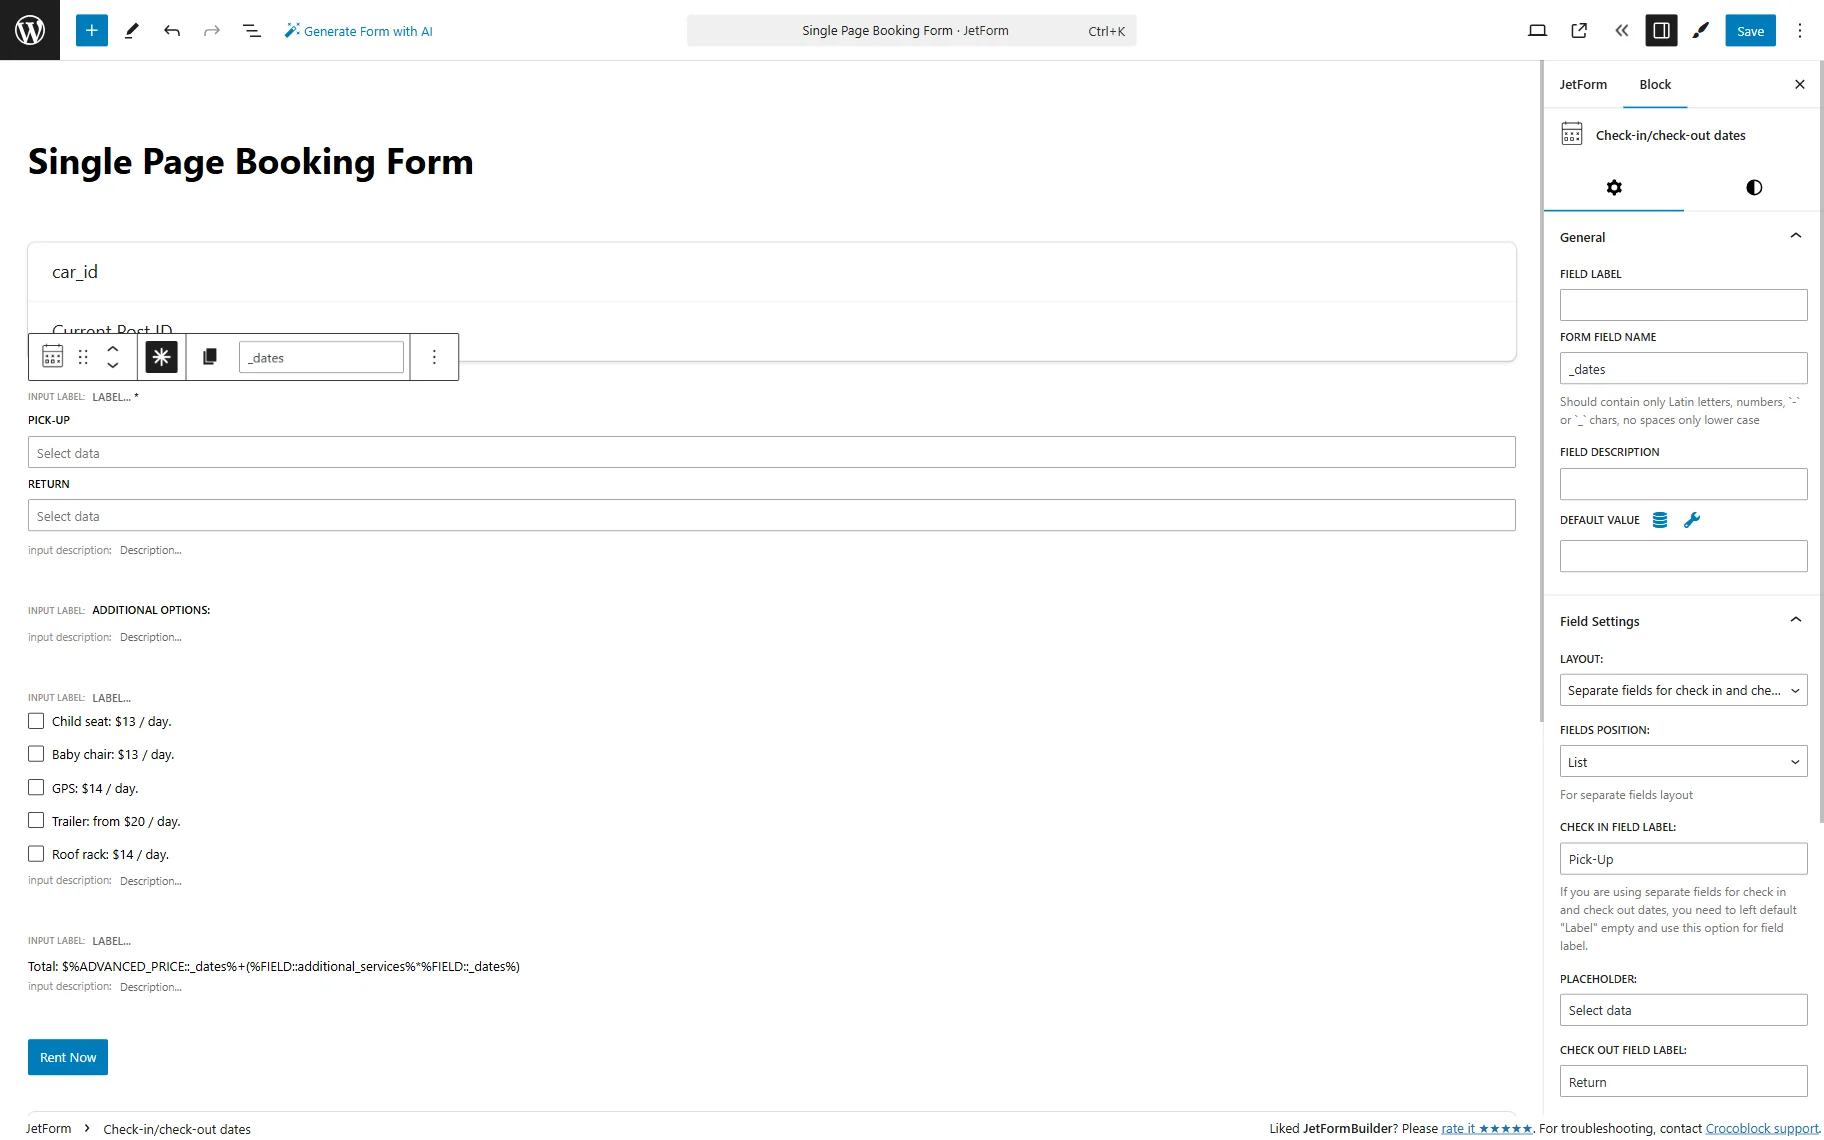
The booking form was built beforehand with the JetFormBuilder plugin in the WordPress Dashboard > JetFormBuilder > Forms directory.
So, build a booking form with the Check-in/check-out dates field included if you haven’t built it previously.
Be aware that here, the time picker dropdown will not be visible, but we will observe it on the front end later. However, you can set up the Check-in/check-out dates field with a time picker by changing the LAYOUT and FIELDS POSITION.
Once the booking form is built, press the “Save” button.
Add the Form to the Page/Template
Proceed to the page/template where you want to place the form. In our case, it’s a Single page built with JetThemeCore and Elementor.
Find and place a JetForm widget/block/element on the page. Pick a just-built form in the Choose Form list and adjust other settings.
Save the page/template.
Check the Result
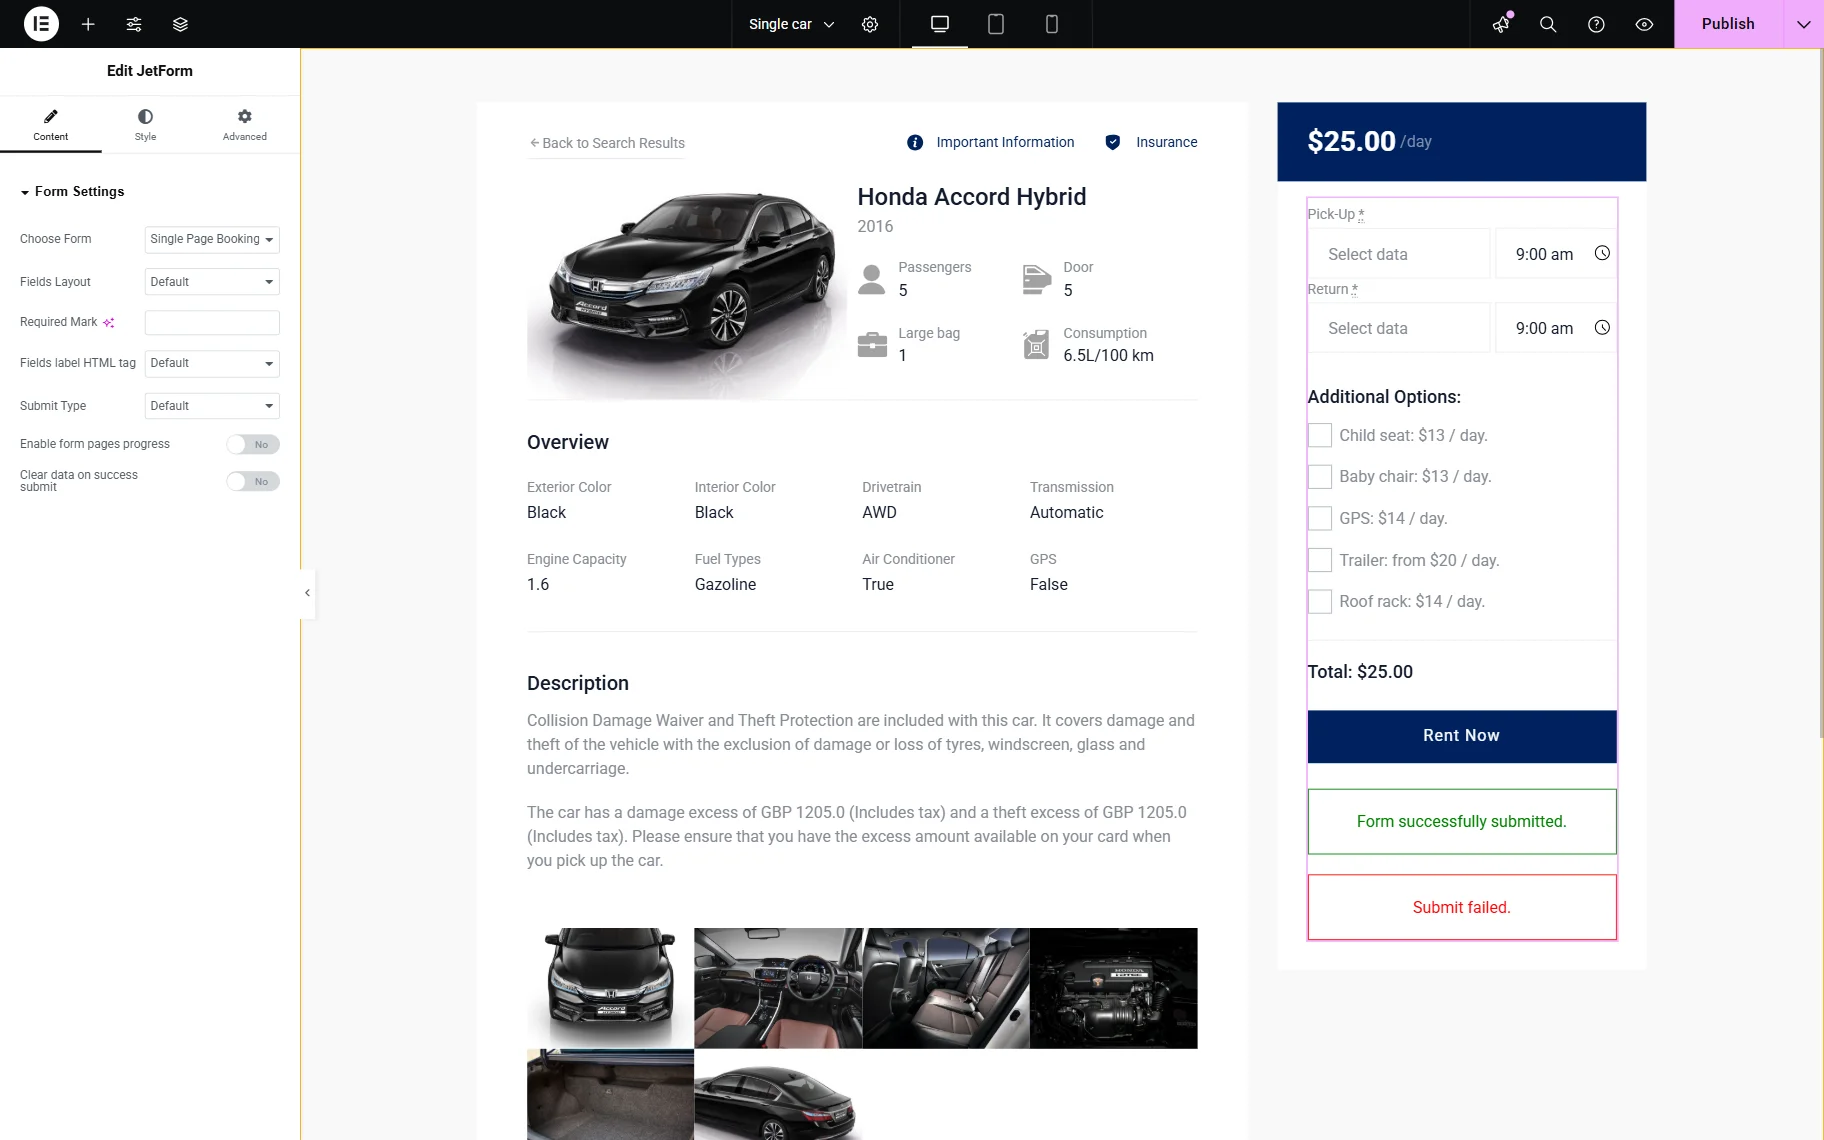
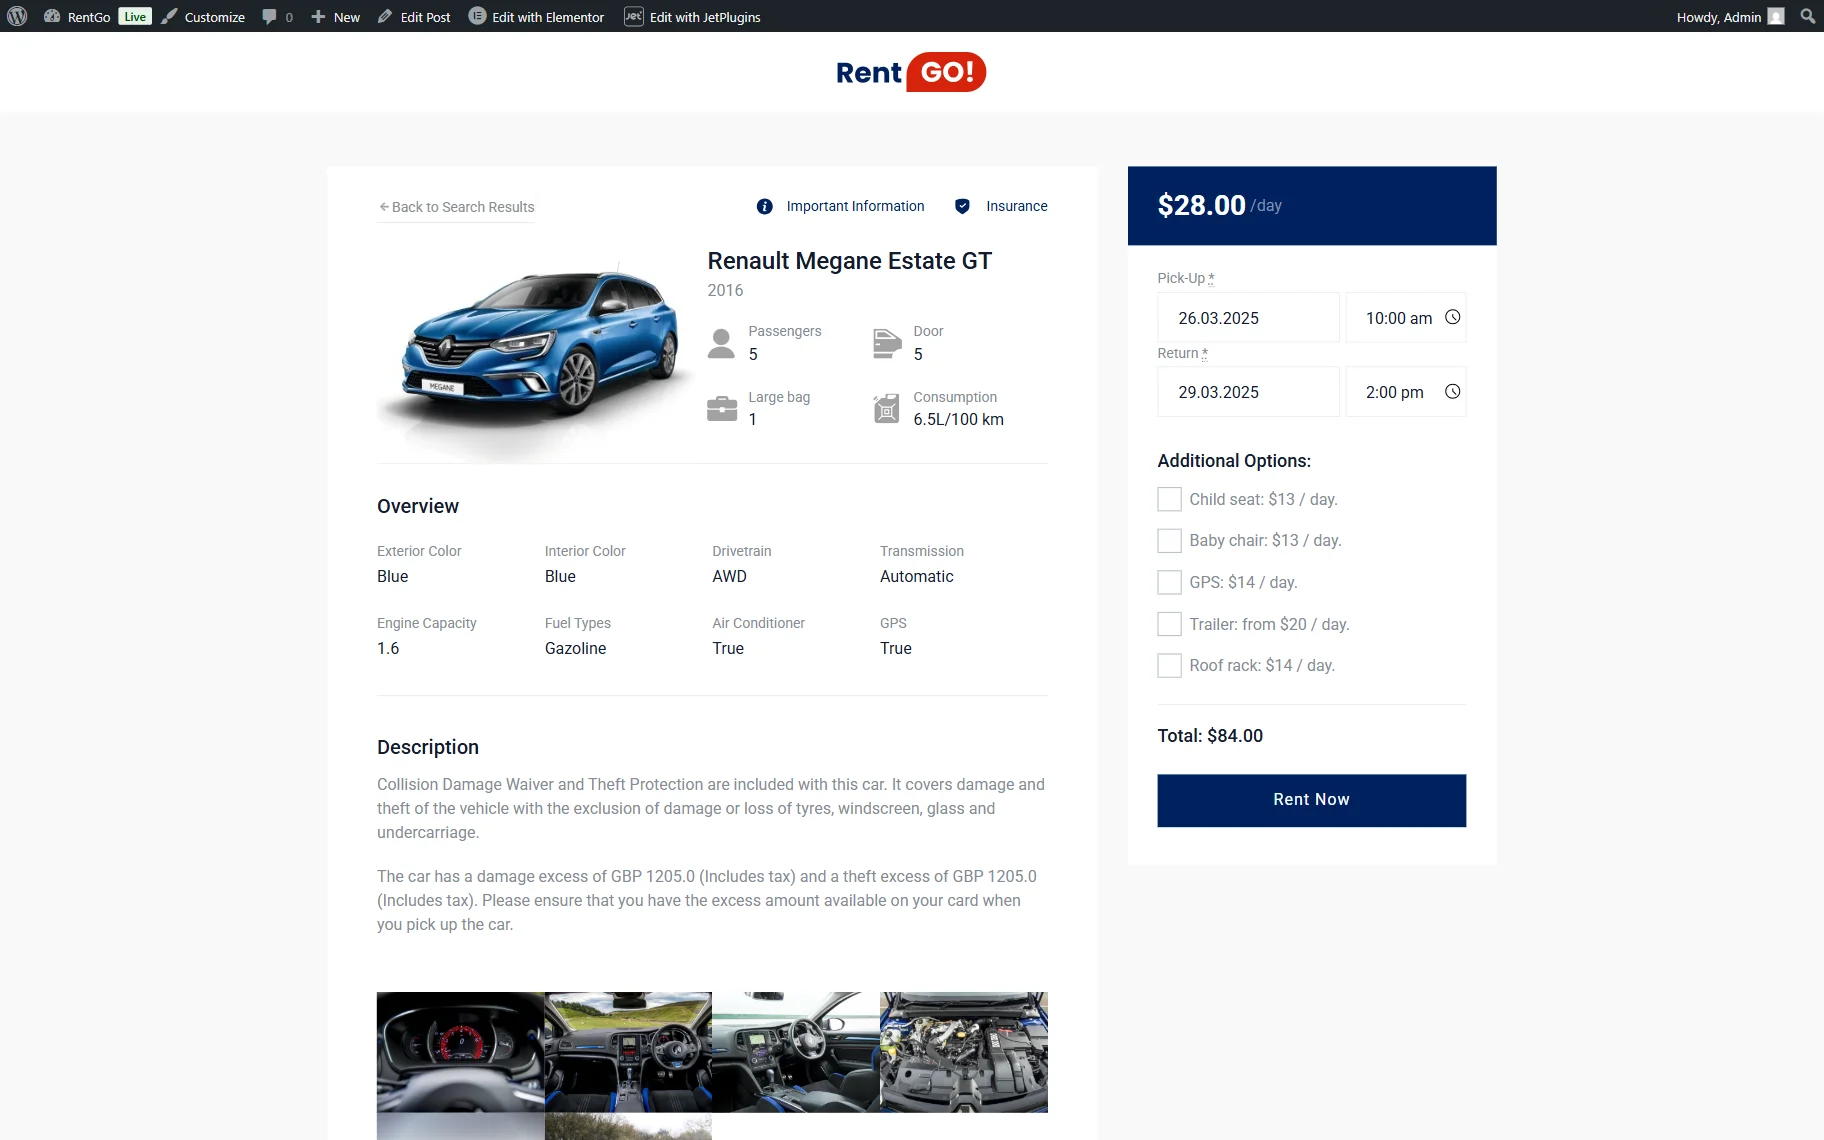
Now, we open any post on the front end to check the time picker. In our case, it’s a car single page.
On the page, you can observe the form you added and the time picker next to the check-in/check-out fields.
Next, we complete the form to book a car and press the “Rent Now” button.
We are redirected to the checkout with the billing and order details, and once it is completed, we press the “PLACE ORDER” button.

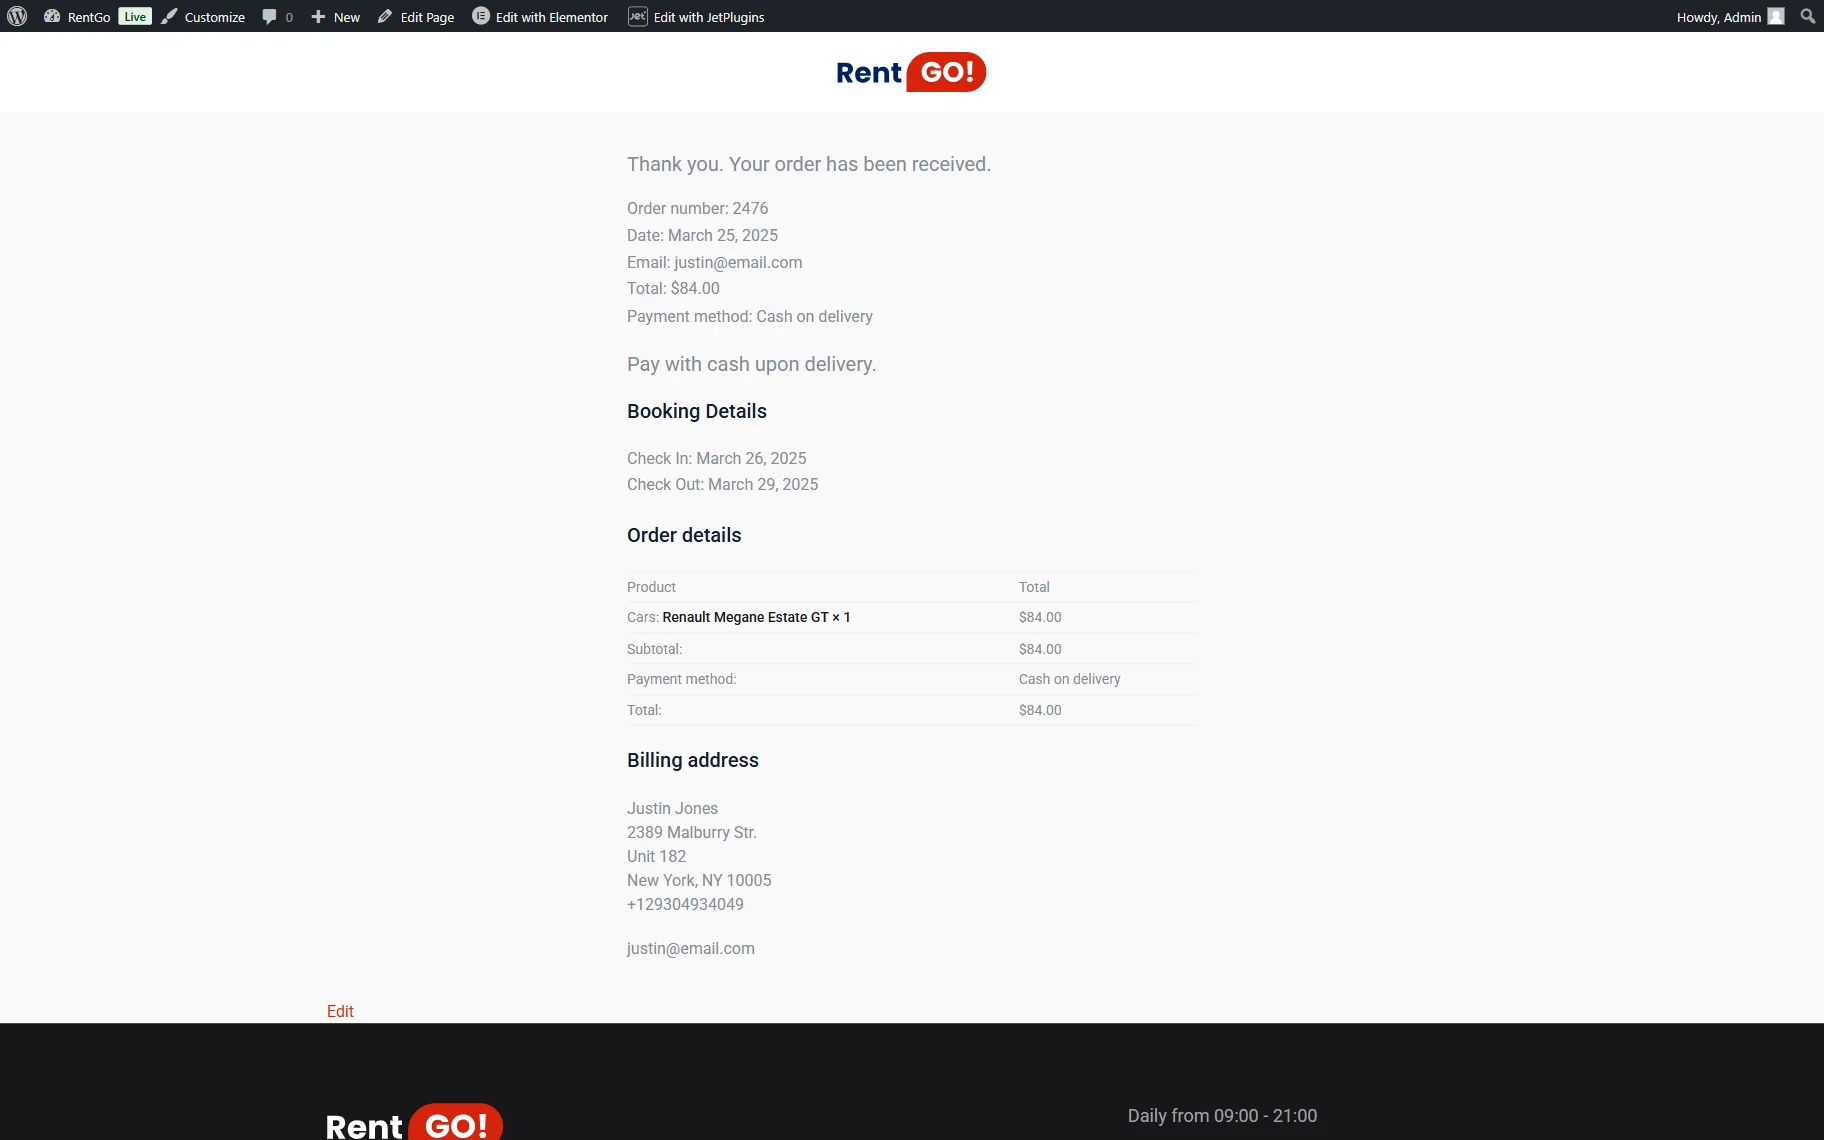
Next, the thank you page is displayed. Right here, we can observe the booking and order details.
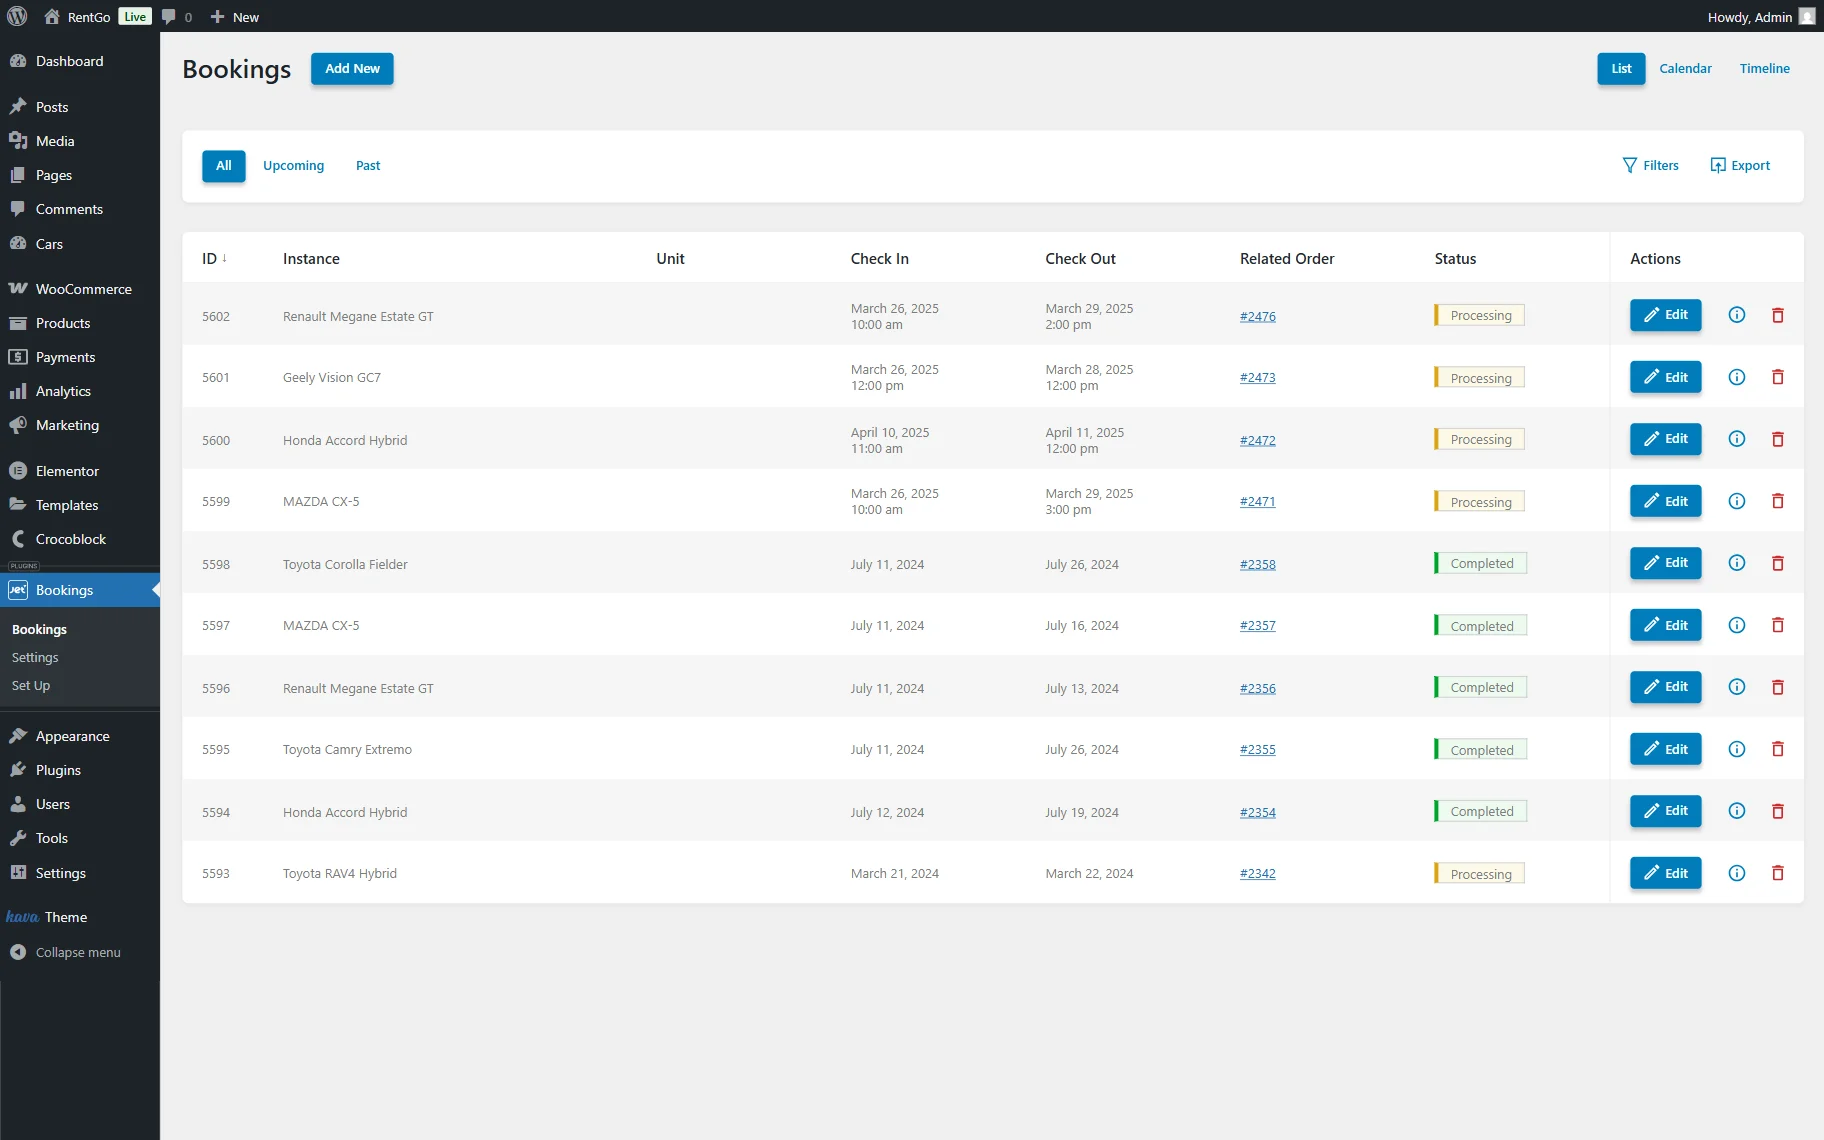
Proceed to the WordPress Dashboard > Bookings > Bookings directory to check the bookings.
Right here, the last booking is displayed. Press the “Edit” button to check the details.
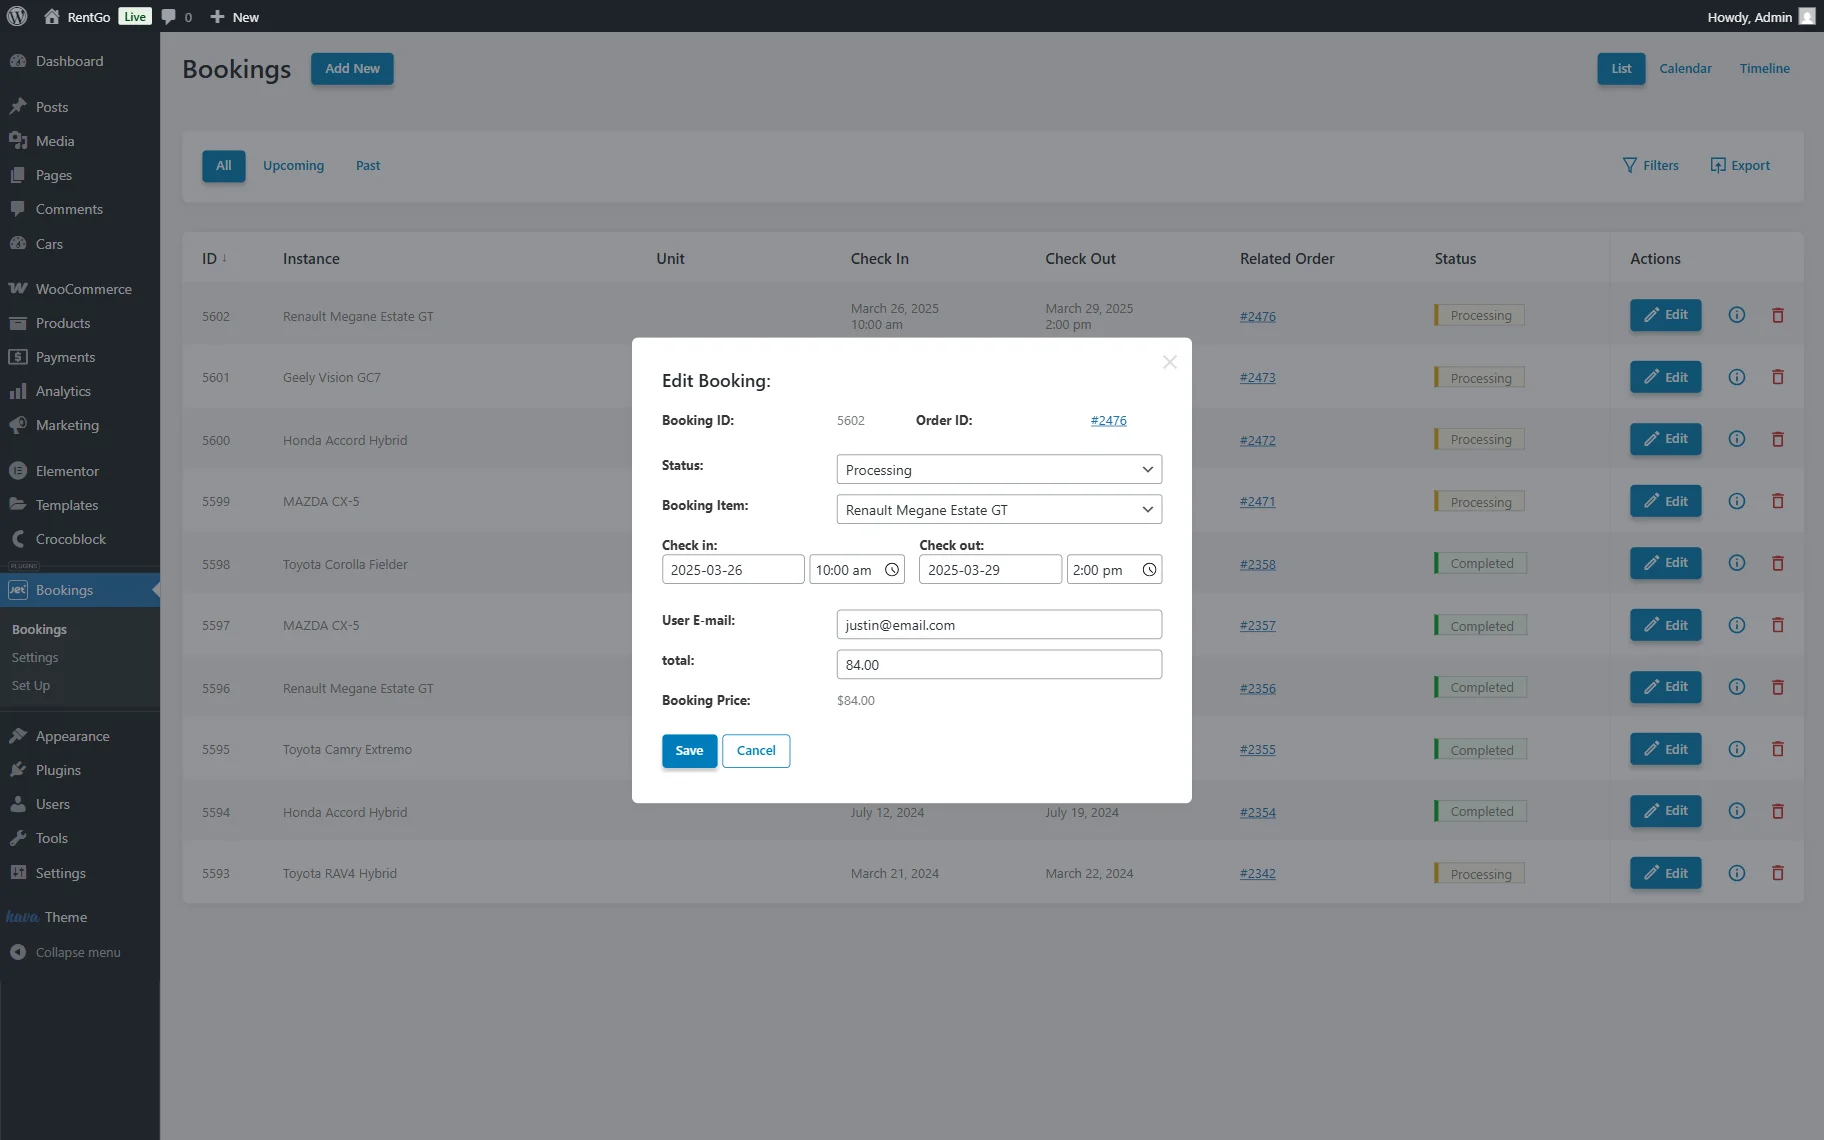
In the opened pop-up, we can observe the booking details as well as the time picked in the check-in and check-out fields. This data can be changed and saved if needed.
That’s all about managing timepicker settings for JetBooking’s Check-in/Check-out fields for WordPress websites.