Posts Widget Overview
This tutorial provides a complete overview of the JetElements Posts widget functionality.
The Posts widget from JetElements plugin is a perfect tool for creating attractive posts grid layouts and sorting them by categories, IDs, or the date of publishing. With this widget, you can also create stylish post carousels and post sliders.
This tutorial provides an overview of the settings of the Posts widget. Let’s start.
How to Add Posts Widget to the Page
Find the page to which you want to add a posts grid or slider and click the “Edit with Elementor” button. In the left sidebar find a Posts widget and drag it to the page.
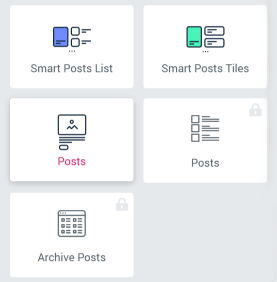
After that, you will be able to apply all the necessary settings. Let’s take a closer look at them.
General Settings Section
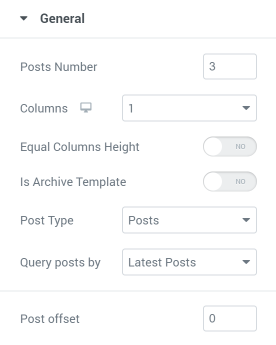
- Posts Number. Into this field, you can insert the number of posts that will be visible to the user simultaneously;
- Columns. Posts grid layout can have from 1 to 6 column and you can choose that number from a drop-down menu;
- Equal Column High. If you want all the columns to have a similar height – turn this toggle on. This will make the general look of the grid cleaner;
- Is Archive Template. Turn this toggle on, if you want this posts block to be an archive template;
- Post Type. This widget allows you to create grids or sliders of every post type you need, even the custom ones. Choose the type you need from the drop-down menu;
- Query posts by. This feature allows you to specify the posts you want to show even further. You can place to this gross od or slider not only the recent posts but also posts of some category, of some specific IDs or related to some taxonomy of keyword;
- Posts Offset. The number you will type into this field will be the number of posts that will be “skipped” from showing in the grid or slider.
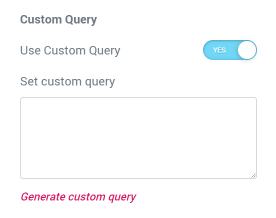
By the way, there’s an opportunity to use Custom Query. You can read more about that in this tutorial.
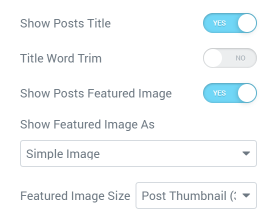
- Show Posts Title. This toggle can show or hide the post’s title;
- Title Word Trim. If you need all the titles to have the same length, you can turn on this toggle and set hoe many words there should be. The excess words will be “cut off”;
- Show Posts Featured Image. Here you can choose whether you do or don’t want to show the post’s featured image in the grid or slider. In the Show Featured Image As drop-down menu, you can choose how the image will be shown and also you can define the Featured Image Size.
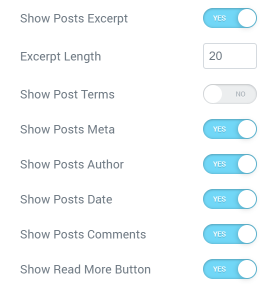
That bunch of toggles allow you to decide if the Posts Excerpt, Terms, Meta, Author, Date, Comments, and Read More Button will be shown in the block.
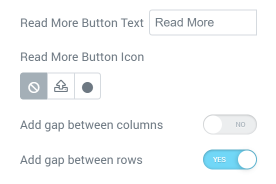
You can choose the text and icon for the Read More button, as well as set the gap between rows or columns.
Carousel Settings Section
The great thing about the Posts widget is that you can enable Carousel for it. Your posts will look more dynamic in this case.
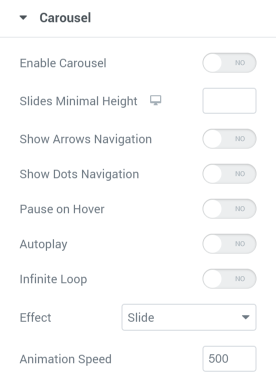
- Enable Carousel. Transforms the grid into carousel;
- Slides minimal height. Set the same height for all the slides;
- Show Arrows Navigation. The arrows will be displayed on different sides of the slider. You can choose icons for them;
- Show Dots Navigation. The dots will be displayed below the slider;
- Pause on Hover. The slider movement will stop when the user hovers a pointer over it;
- Autoplay. The slider will move automatically, without the user doing anything;
- Infinite Loop. The slider doesn’t move backwards when it reaches the last post but continues to move in the same direction starting with the first post in the line;
- Effect. There are two variants of animation effects;
- Animation Speed. The bigger is the number here – the faster the slider moves.
Custom Fields Settings Section
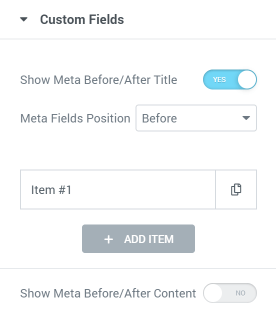
You can use Custom Fields for your posts. We have a detailed guide on using custom fields for Posts widget, so go through it for hints and insights.
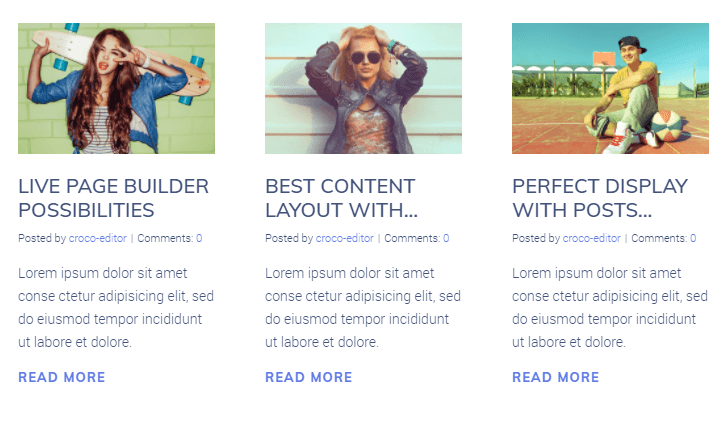
After you’ve done with all settings click the “Publish” button and enjoy the results. Here’s an example of what you can achieve. For more design ideas follow this link.
Now you know how to showcase posts on your page with the help of Posts widget and make its customization according to your needs. Congrats! Hope this tutorial was useful.