How to Show Custom Meta Fields in Posts Widget
This step-by-step tutorial will show you how to display custom meta fields created with the help of the JetEngine plugin using custom fields within the Posts widget of JetElements.
Follow the steps below to get the knowledge of using custom fields within the Posts widget from the JetElements plugin. You will be able to manage the meta boxes and posts and build the layout that suits your needs. Make sure you installed any plugin, allowing you to add meta boxes and assigning them to Post types. In our tutorial, we used the JetEngine plugin.
1 Step — Create a meta field
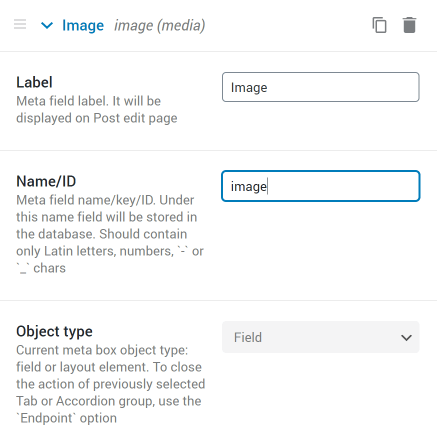
First of all, you have to create a new custom field or meta box with fields and assign it to the Posts type you want to display on the page. If you need a hint – go through our Custom Meta Field of Custom Meta Box creation tutorials.
Copy the meta field ID, you will need it a little further.
Don’t forget to fill the meta field with information. You will have to open every post and do it manually.
2 Step — Add Posts widget
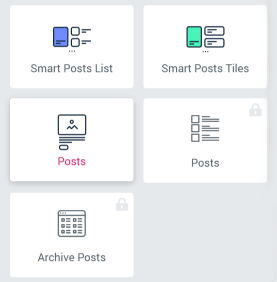
Next, find the page where you would like to place the Posts widget and open it with Elementor. Drag the Posts widget to the working area.
That’s what we see in the beginning:

In the General section of the Content left-side menu tab, you can choose what custom post type items to show in the grid. We have a detailed Posts widget settings overview, so check it out if you need some help.
3 Step — Define the Custom Field settings
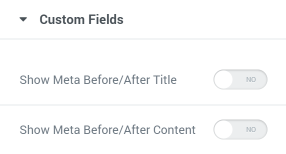
Afterward, open the Custom Fields accordion block and decide where you want the metadata to be displayed: before/after the title or the content. Enable the respective option.
In the Meta Fields Position dropdown choose “Before” or “After” the title or the content the metadata will be placed. Every custom meta field can be added to the posts grid separately, as an Item. You can add as many items as you want by clicking the “Add Item” button. Let’s go through the item’s settings.
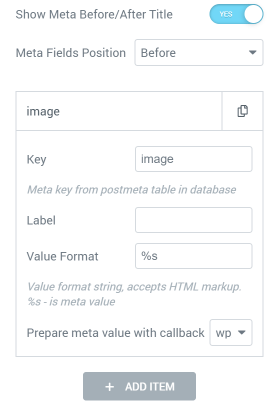
- In the Key field enter the ID of the created meta field that you copied before;
- The Label field is for the meta field’s title, it will be shown over the meta field;
- Value Format is a field that allows you to add the HTML markup to the posts grid;
- Prepare meta value with a callback defines how the information from the meta field will be displayed in a grid:
- Clean – as a clean value. The data you type into the meta field will be displayed unchanged;
- get_permalink – as a permalink;
- get_the_title – as a title;
- wp_get_attachment_url – the picture will be displayed as its URL;
- wp_get_attachment_image – the picture will be displayed as it is;
- Format date – as a date;
- Format date (localized)– as a date, localized to the language of the user’s website.
That’s all! If you need to know more about how to work with the JetElements widget, feel free to check these tutorials.