Data Store Button Widget Overview
In this tutorial, we will closely look into the features of the Data Store Button widget by JetEngine.
From this tutorial, you’ll find out everything about the Data Store Button widget functionality and how to use it.
With the help of JetEngine’s Data Store Button widget, you will be able to add and remove items from the Data Store in a few clicks.
Features Overview
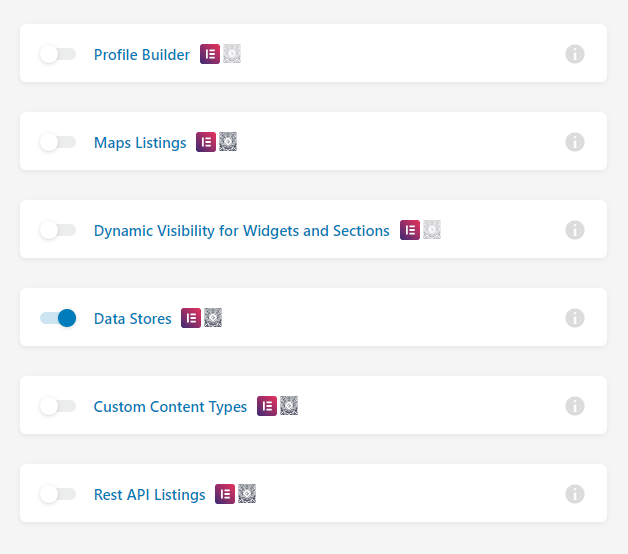
Go to the admin control panel and open JetEngine > JetEngine dashboard. Enable the Data Stores module by ticking the box and pressing the “Save” button.
After that, go to the admin dashboard and open the listing you’ve created for your Data Store. In case you need a hint on how to create a Data Store, please check this tutorial.
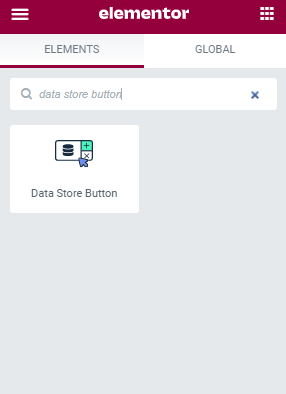
Then, add all the needed data with the help of the dynamic widgets. In the Elements tab, find the Data Store Button widget and add it to the page.
Now let’s have a closer look at all the features.
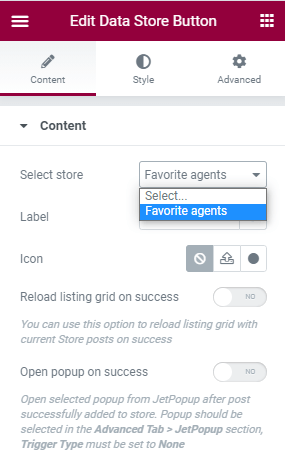
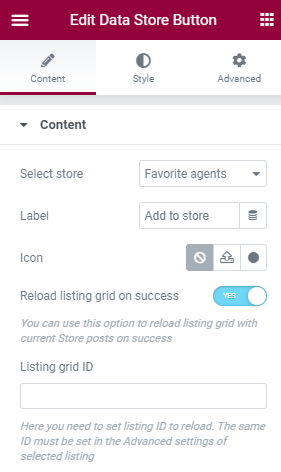
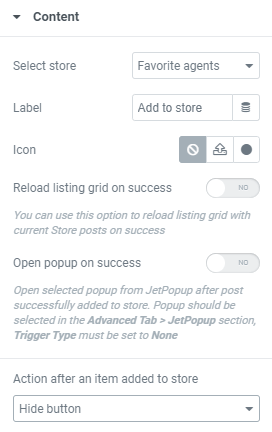
Select Store
Here you can choose the store you’ve created before in the Data Store module. In our case, it will be “favorite agents.”
Label
In this bar, you can name your button. This is how users will see it on the front end.
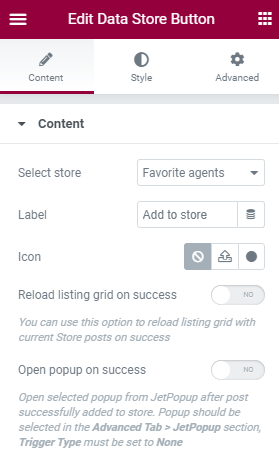
Icon
You can choose an icon for your button from the Library or upload a custom SVG icon. There’s also an opportunity to leave it without an icon. It’s up to you.
Reload Listing Grid on Success
Enable this option to reload the listing grid with current Store posts on success.
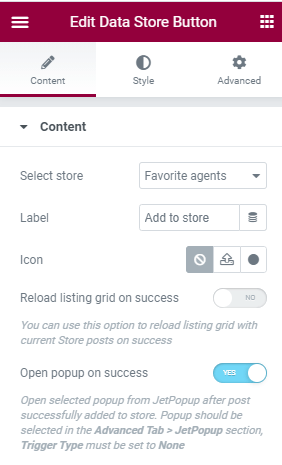
Open Popup on Success
With this option, you can choose the pop-up from JetPopup after the Post is successfully added to the store. The pop-up should be selected in the Advanced Tab > JetPopup section, and Trigger Type must be set to “None.”
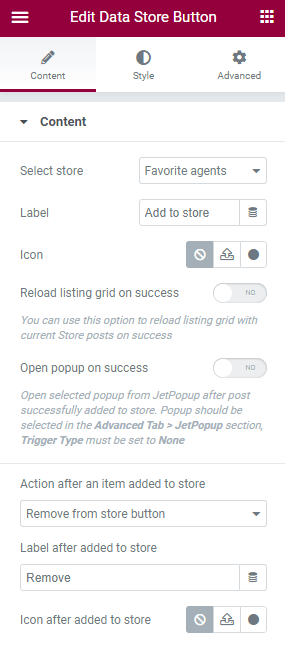
Action After an Item Added to the Store
This option allows you to choose an action to execute after adding an item to your store. Let’s check all three actions.
- Remove from the store button. If you choose this action, then such a button will appear, and you’ll be able to remove the product you’ve already added. You can add a Label to it, for example, “Remove.” Also, there’s an opportunity to add an icon. This is a handy option because the Dynamic Link widget implies adding one widget for the “Add to store” button and one for the “Remove.” Now it’s available within one widget.
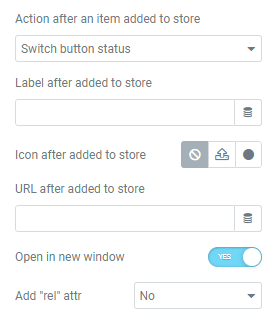
- Switch button status. This option allows you to switch the status of the button, add a label and icon to it. What is more, you can add the URL where you will be redirected after adding an item to the store. There’s also an option to open the link in a new window and add certain attributes.
- Hide button. After you’ve enabled this option, the button won’t be visible on the front end once you add a product to the store.
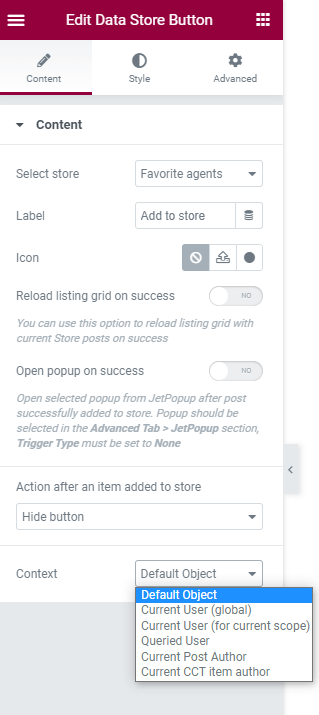
Context
It defines what ID to assign to the stored item based on the selected context:
- Default Object. Current page or listing item;
- Current User (global). User for whom the page was created;
- Current User (for current scope). User, who is currently proceeding, not the logged-in user;
- Queried User. Currently logged-in user or the user mentioned in the URL (the user ID is in the URL);
- Current Post Author. User who is the author of the currently opened post;
- Default WordPress Object (for current page). Current global object for the current page is defined by WordPress. For instance, on a single page/single post, it will always be the current post, even if you go to the listing added to this page;
- Current CCT item author. User who is the author of the currently opened CCT item.
After you’re done with the features, open the Style tab and customize the widget’s look using the available options.
Now you know how to add and customize the Data Store Button widget from the JetEngine plugin easily.