How to Add Glossary to Form (Legacy) Fields
From this tutorial, you will learn how to add Glossary items to the fields of the JetEngine form.
Go to WordPress Dashboard > JetEngine > Forms and open/add a form.
Once the editor is opened, press the “Add Field” button and the editing button with a pencil-shaped icon on it.
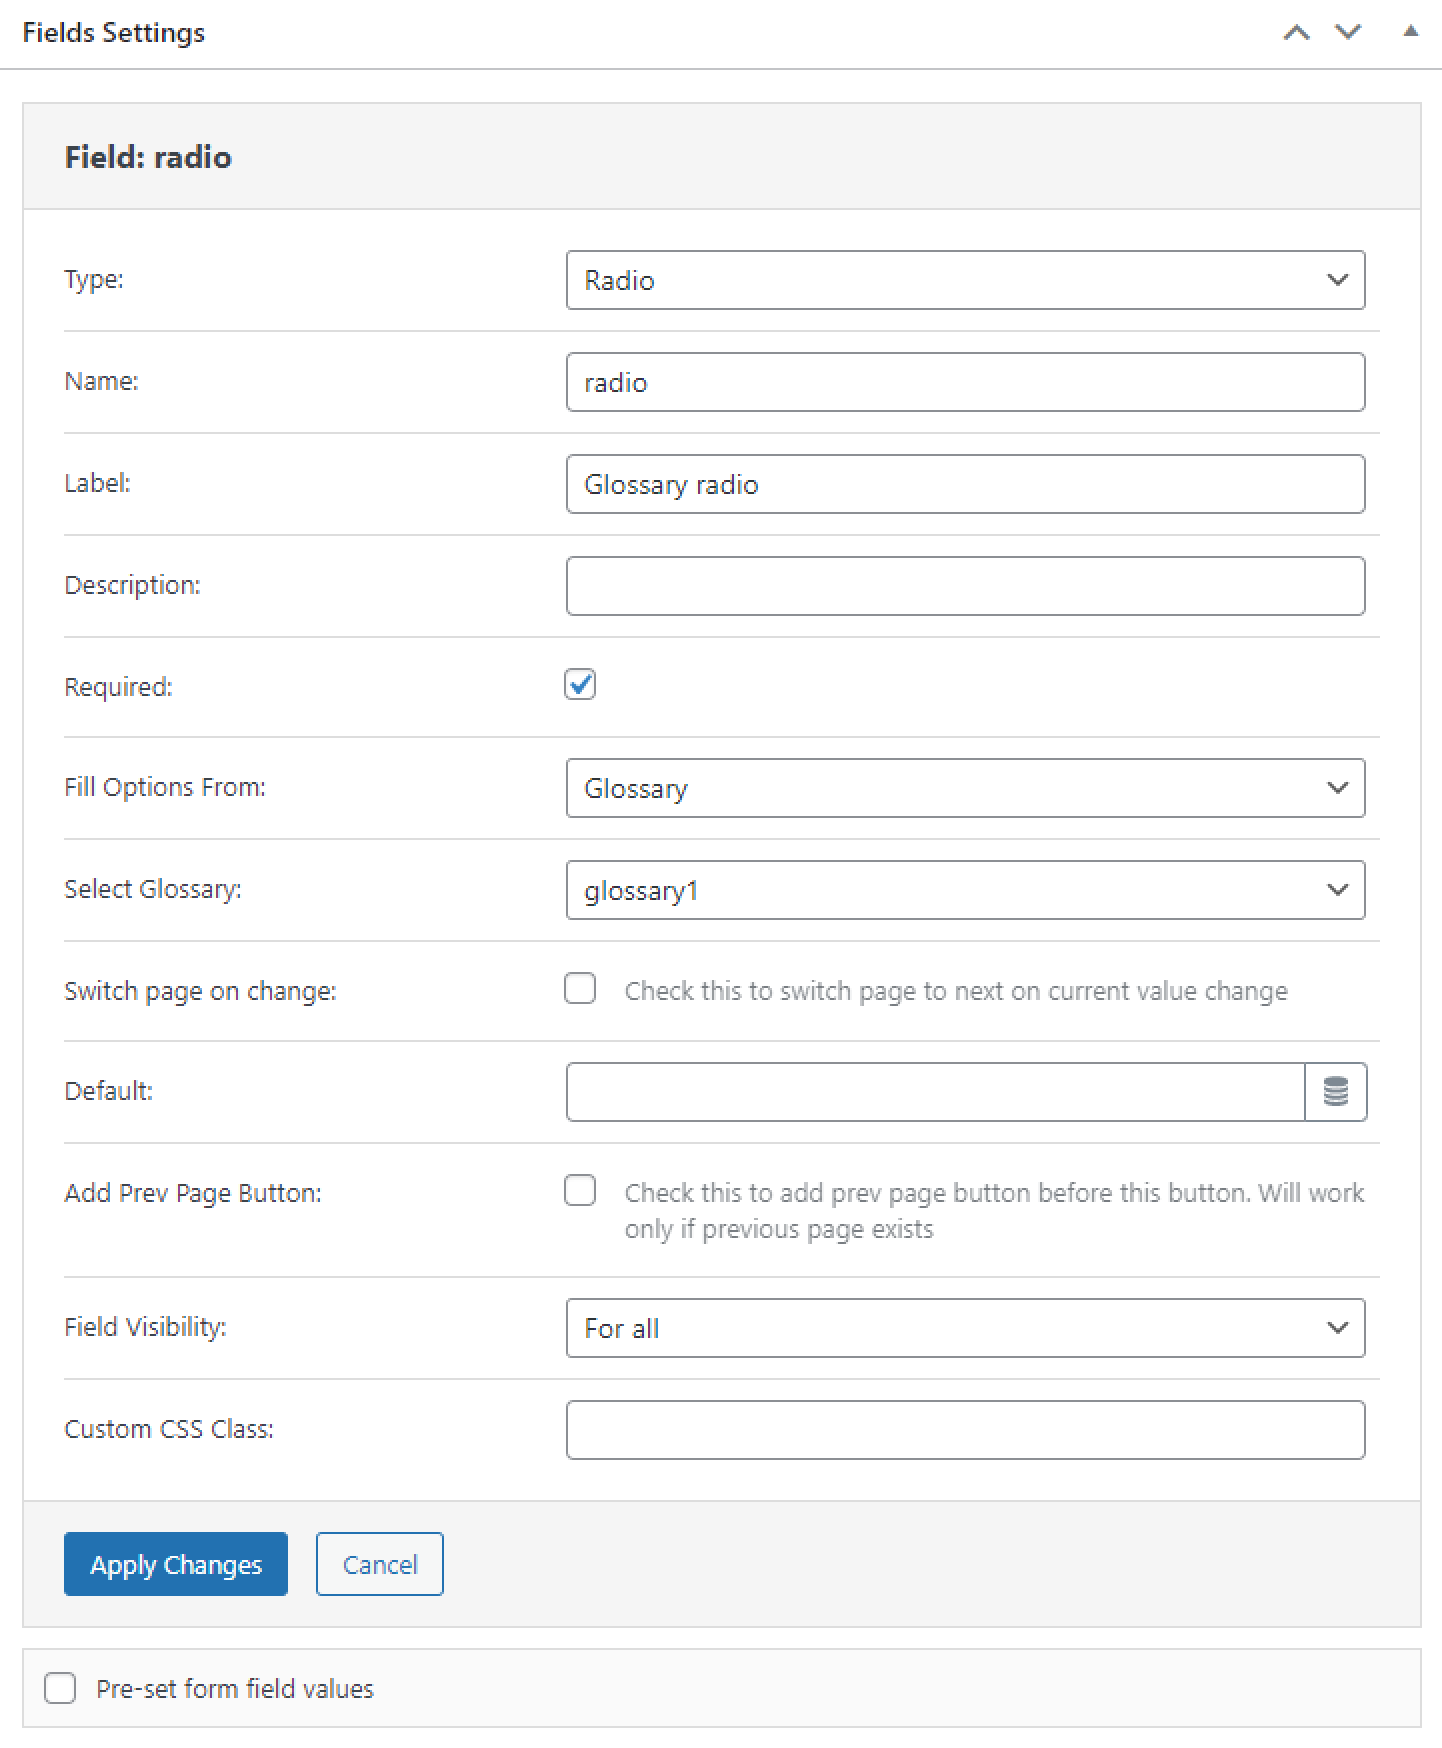
Select one of the options in the Type field, give a Name to the filter, and complete the further fields.
In the Fill Options From field, mind choosing a “Glossary” option. Then, specify the item in the Select Glossary field.
Complete the following adjustments of the field, and don’t forget to push the “Apply Changes” button.
Make further customization to the form if needed and push the “Publish/Update” button.
Head to the page where you want to place the form. To do so, go to WordPress Dashboard > Pages and open one of the pages. The editing can be done both in Elementor and Gutenberg editors.
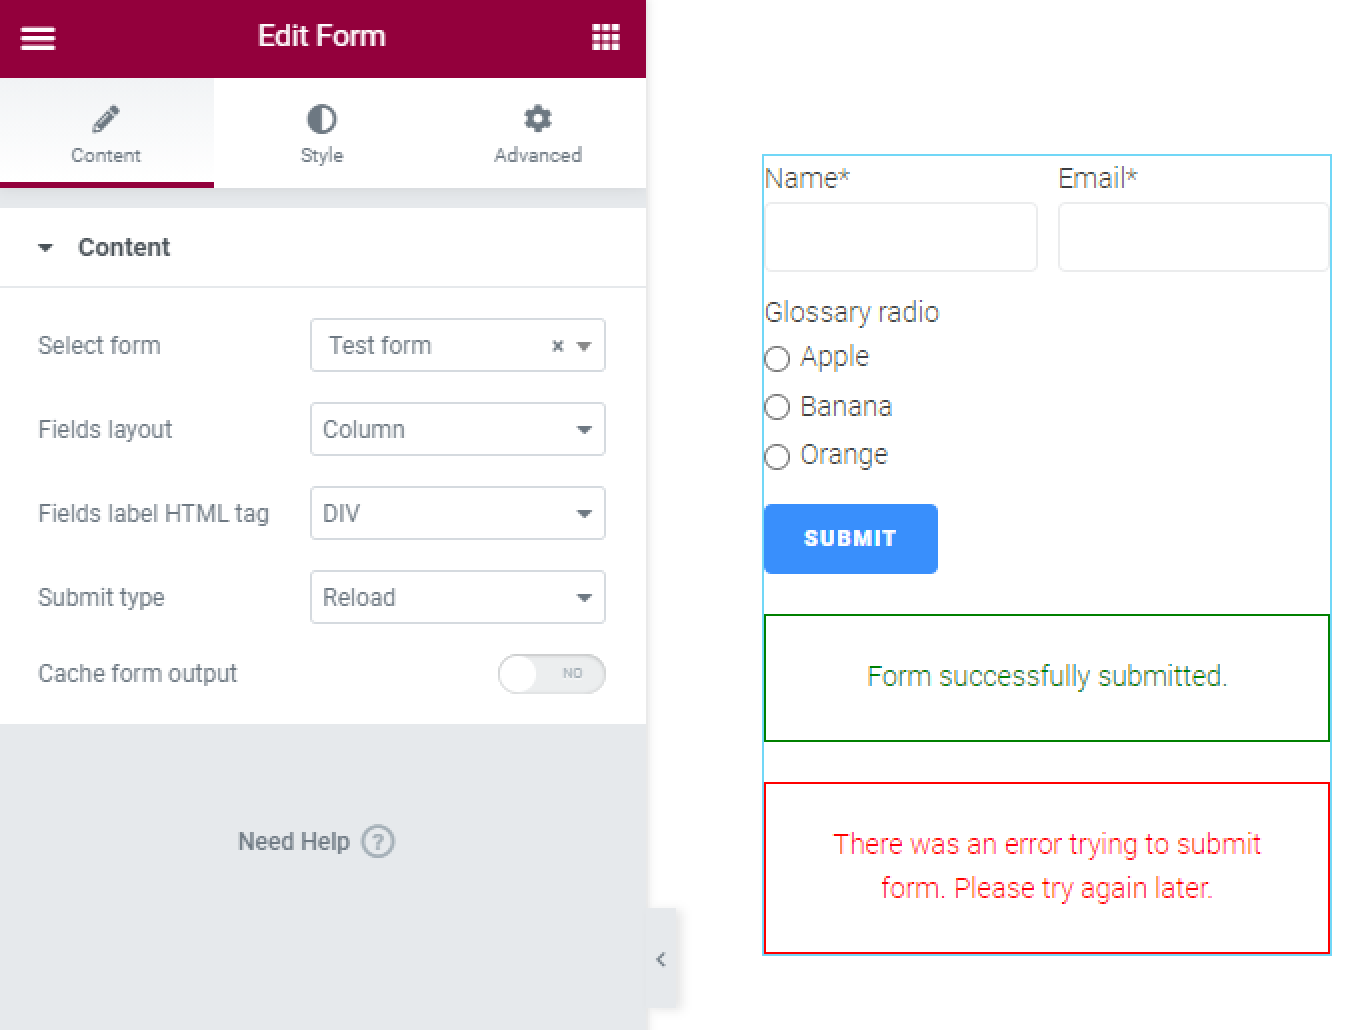
Find the Form widget or block and place it on the page.
In Elementor, it will look like that:
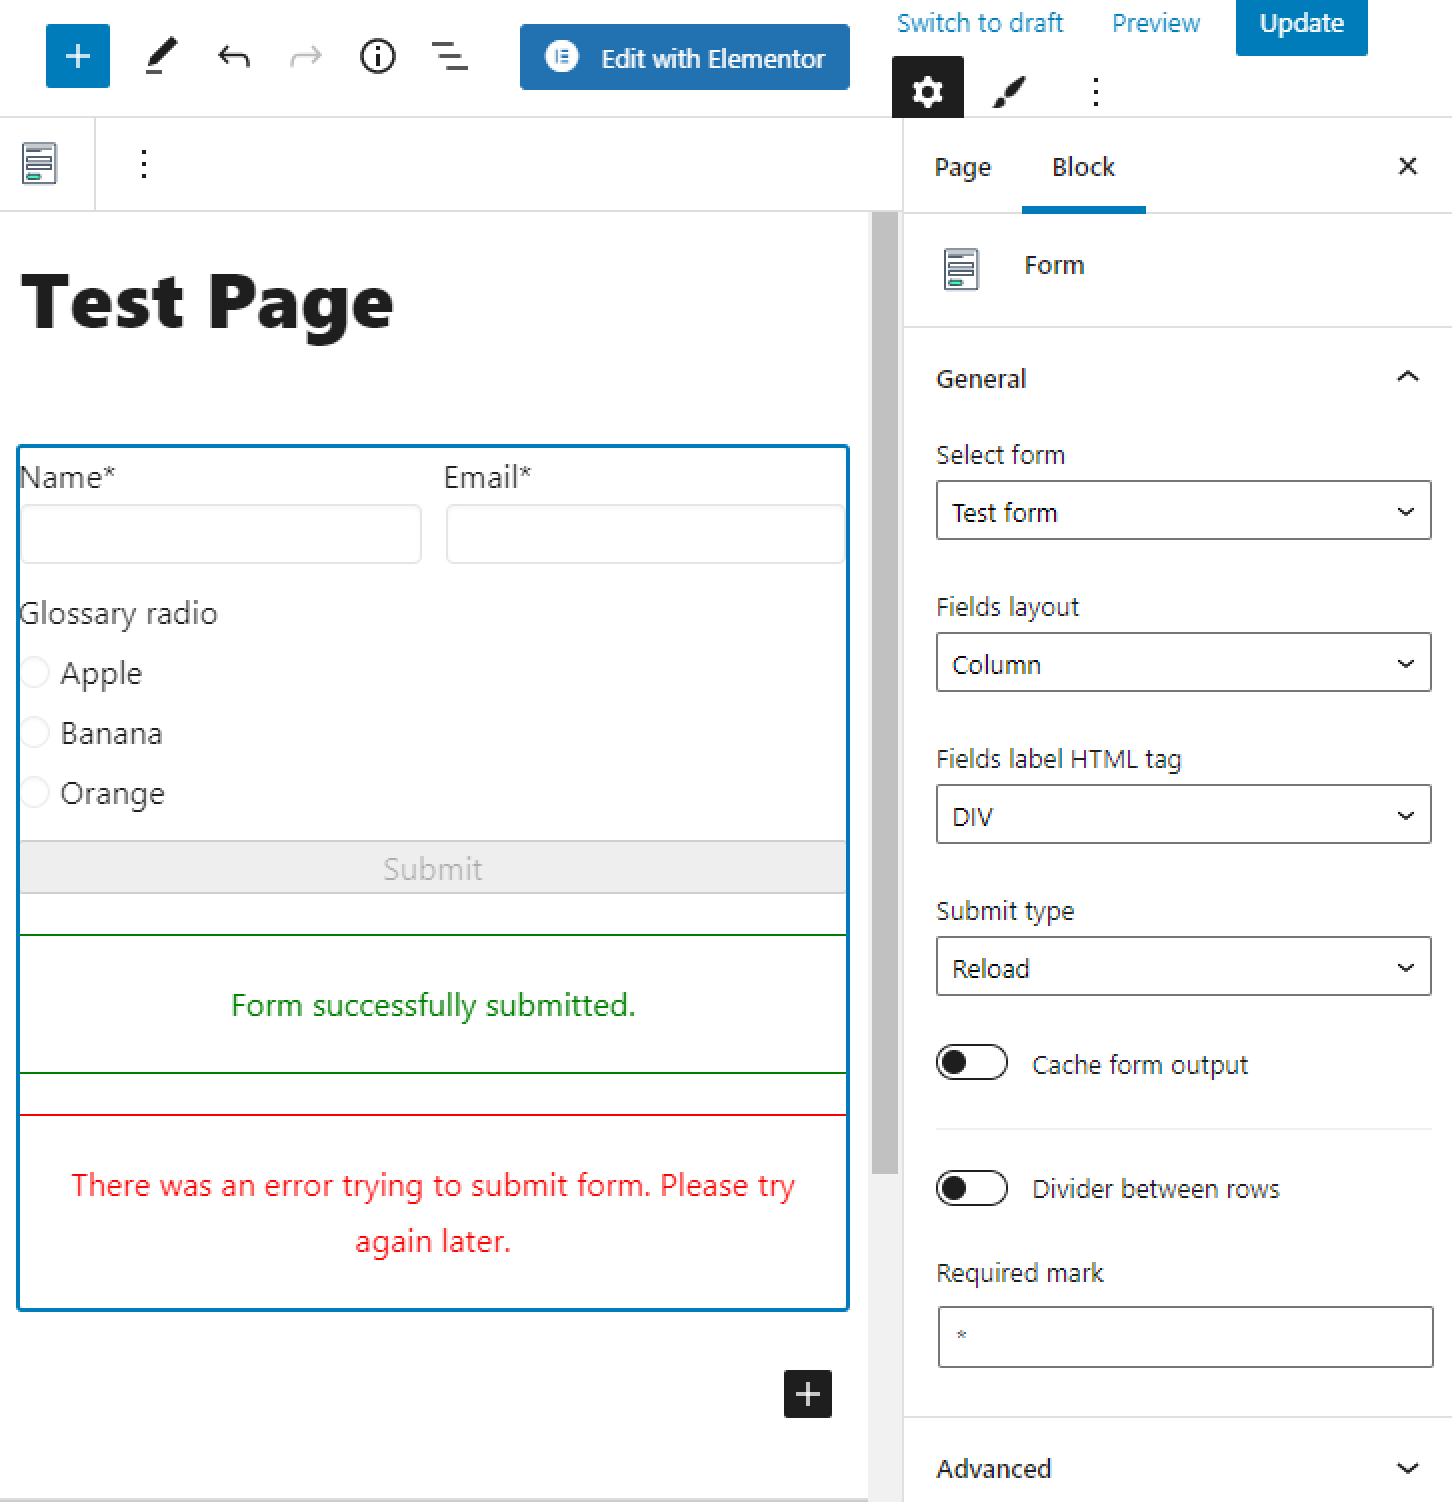
And this is what it will look like in Gutenberg Editor:
That’s it; now you know how to add Glossary values to the JetEngine form fields on your WordPress website.