How to Filter Glossary Items
From this tutorial, you will find out how to filter the Glossary items available with the JetEngine plugin’s functionality.
Create a Filter
Head to WordPress Dashboard > Smart Filters > Add New.
Complete a Filter Name and pick the desired Filter Type.
If you pick the “Checkboxes list” option, check the following settings.
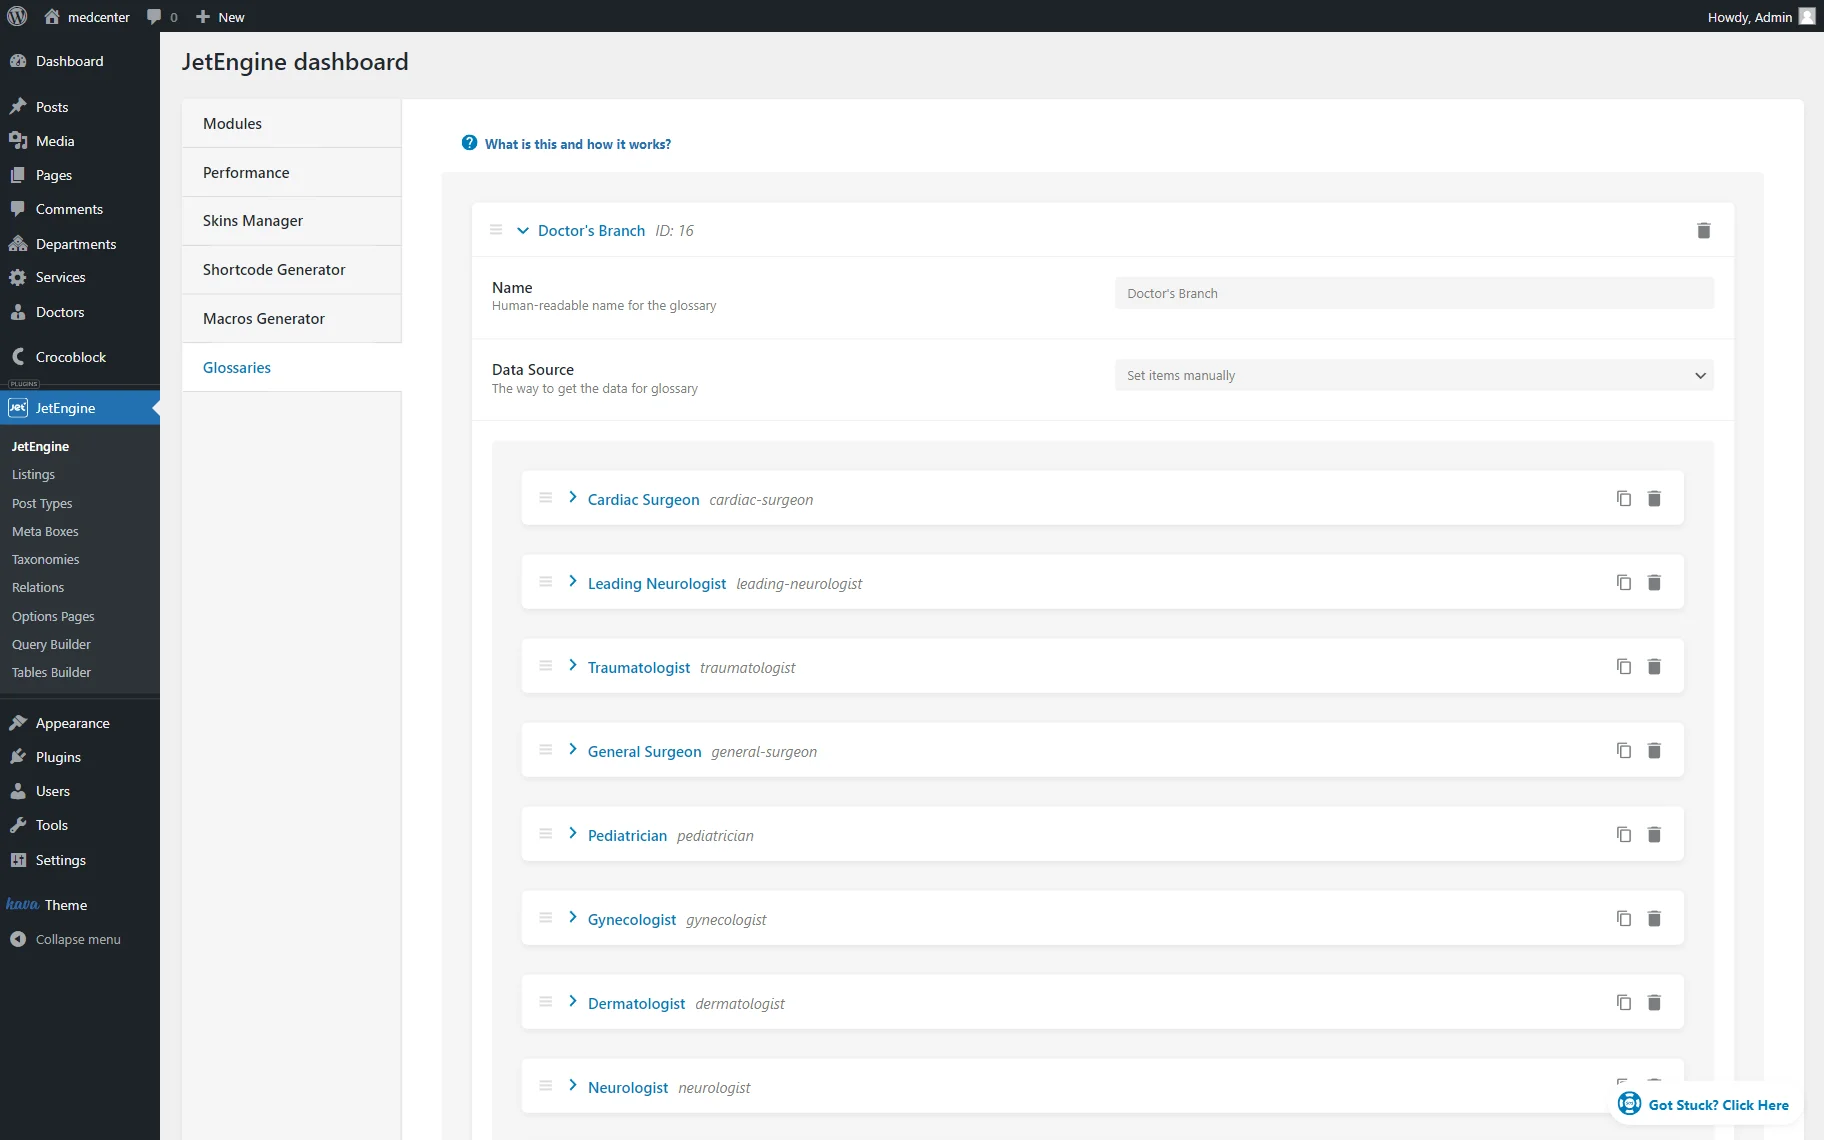
Mind picking the “JetEngine Glossary” Data Source and needed item in the Select glossary field.
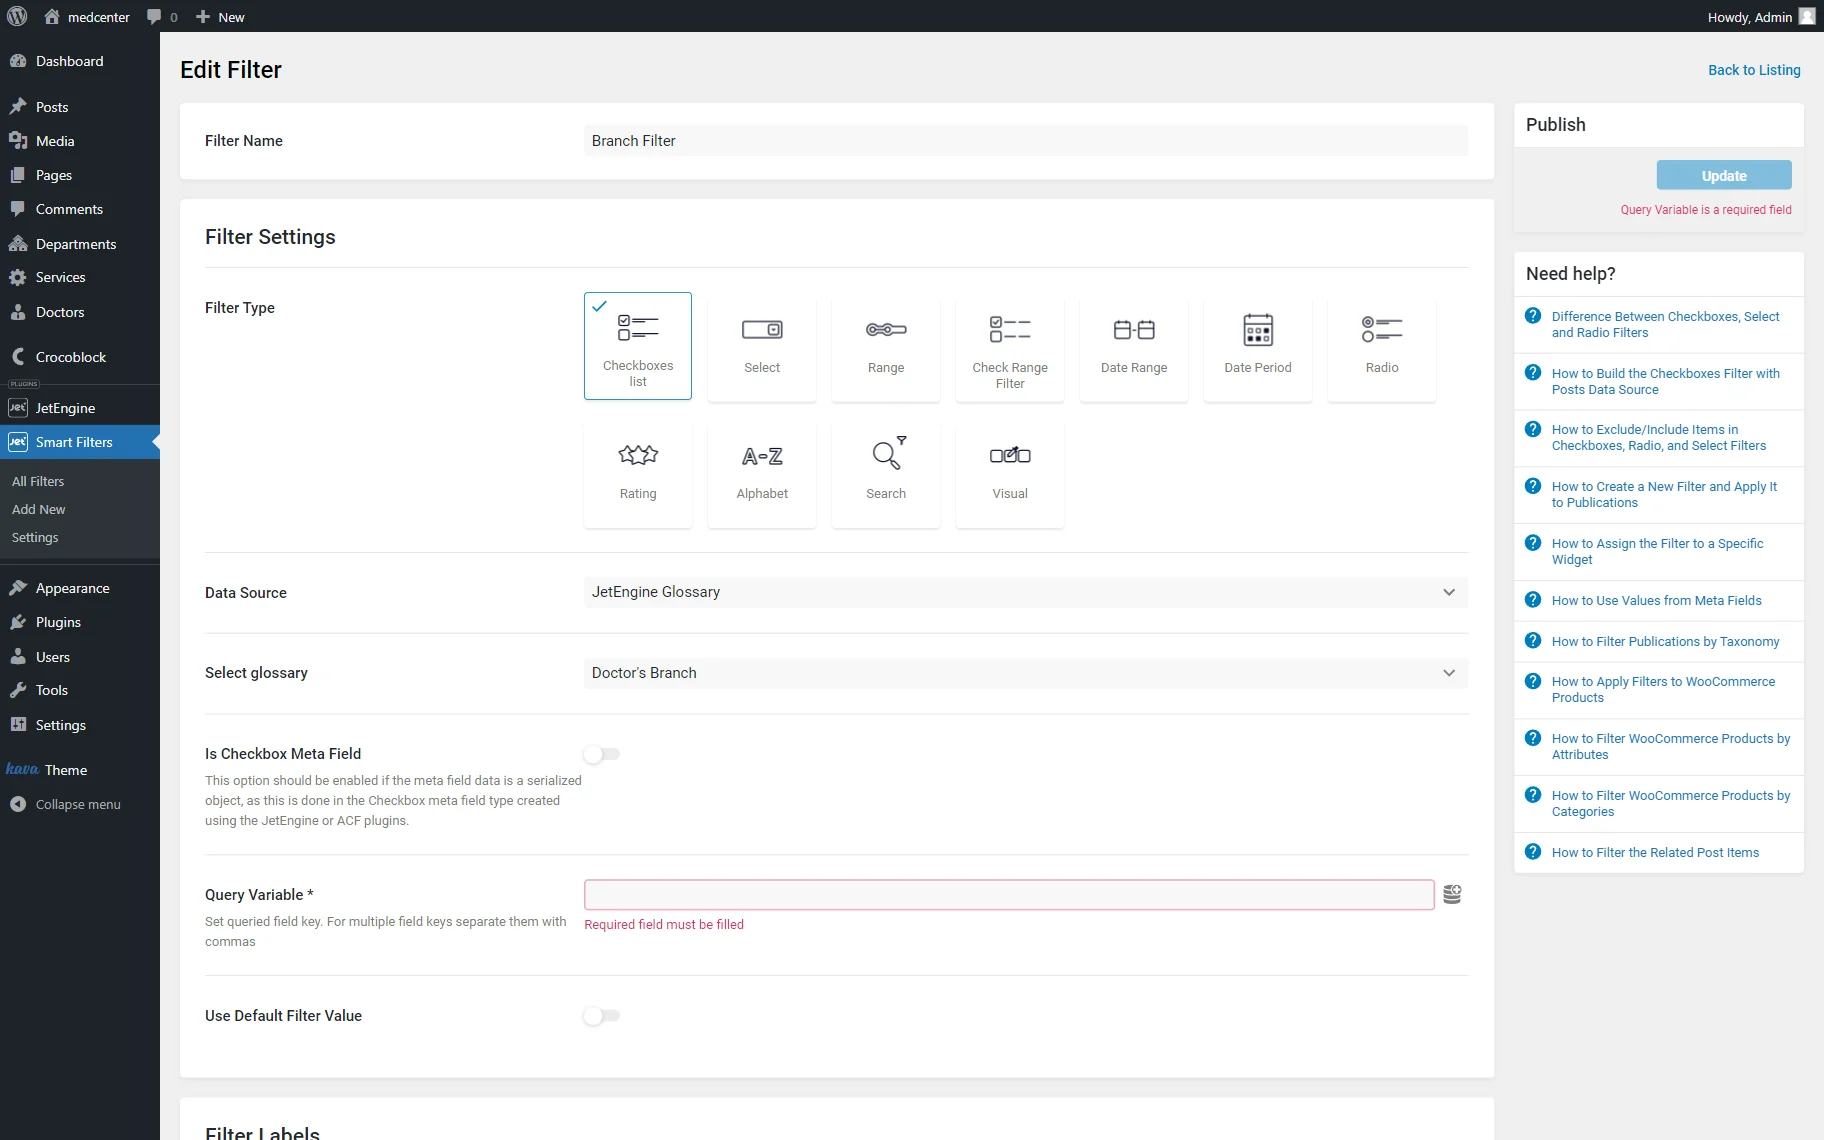
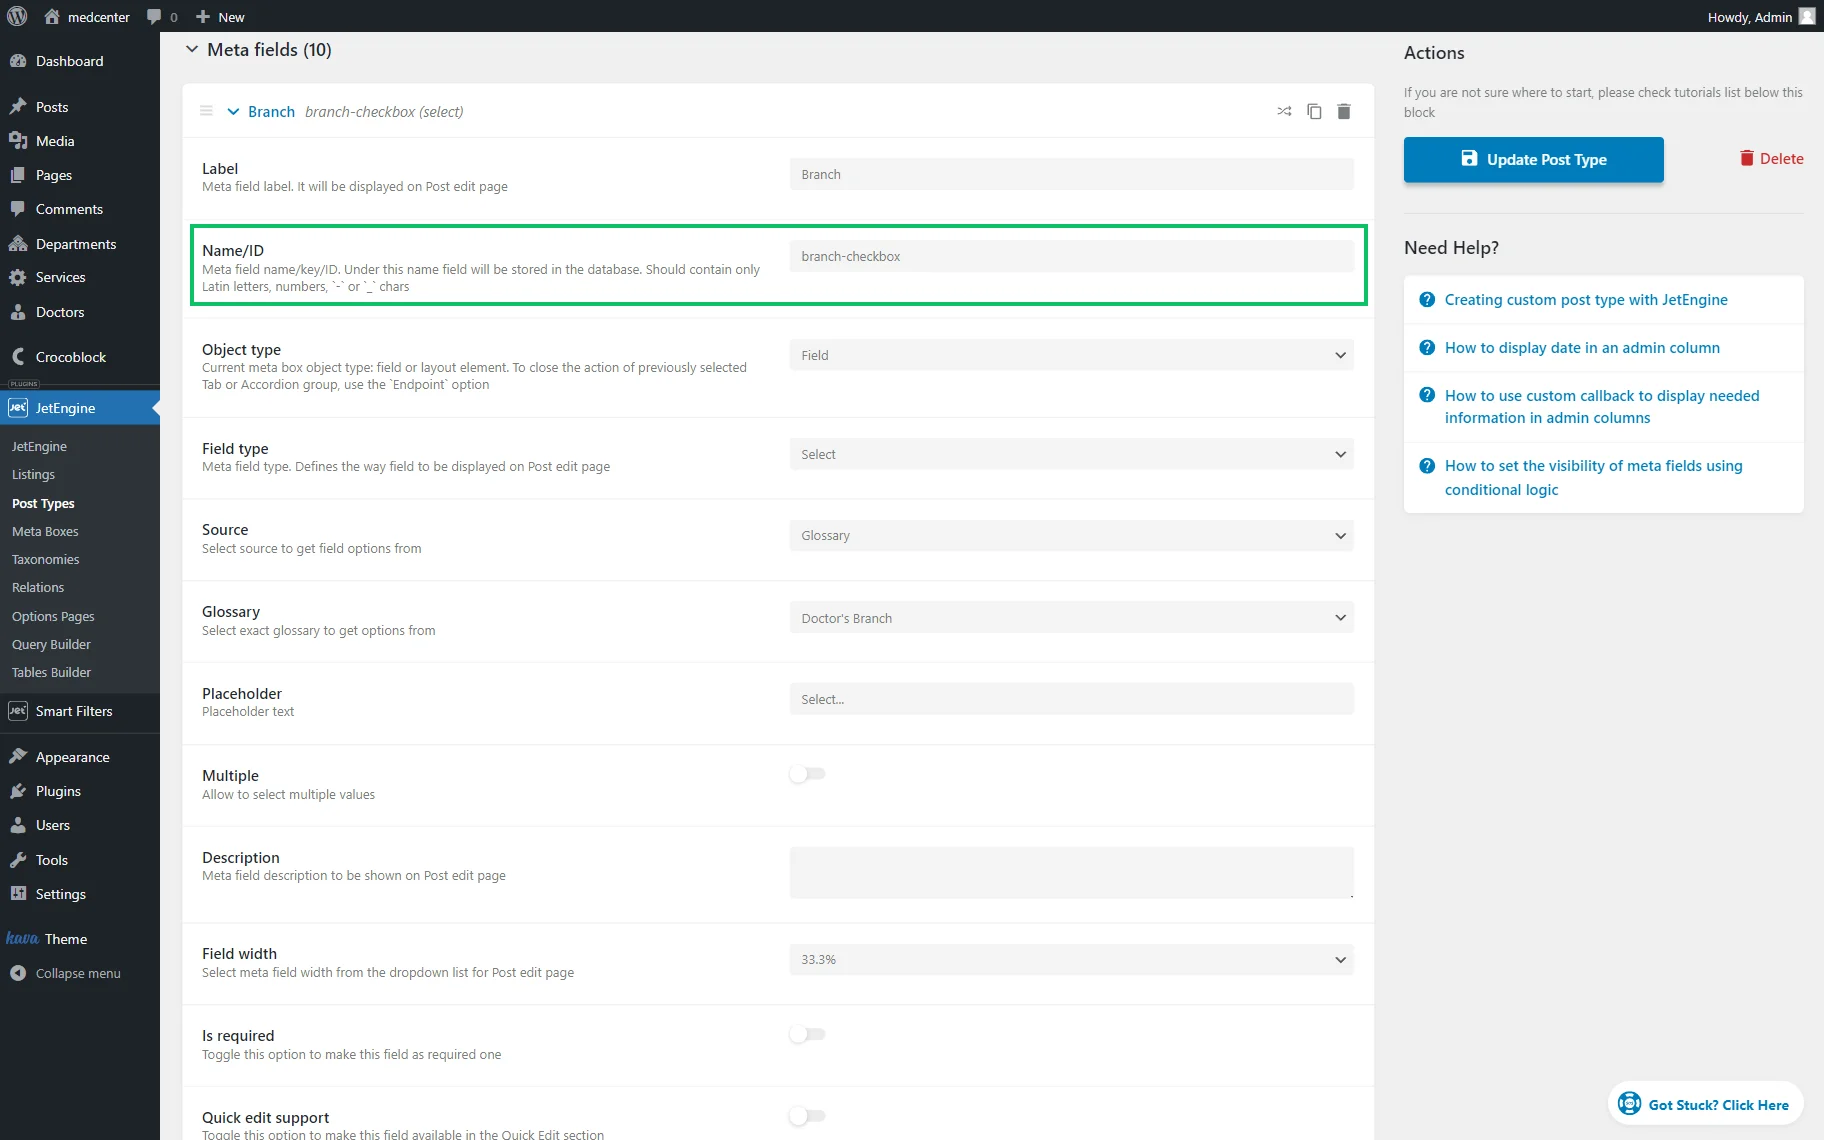
For instance, look at the presented example. In this case, we take the Name/ID from the Custom Post Type settings, the posts of which we want to filter eventually.
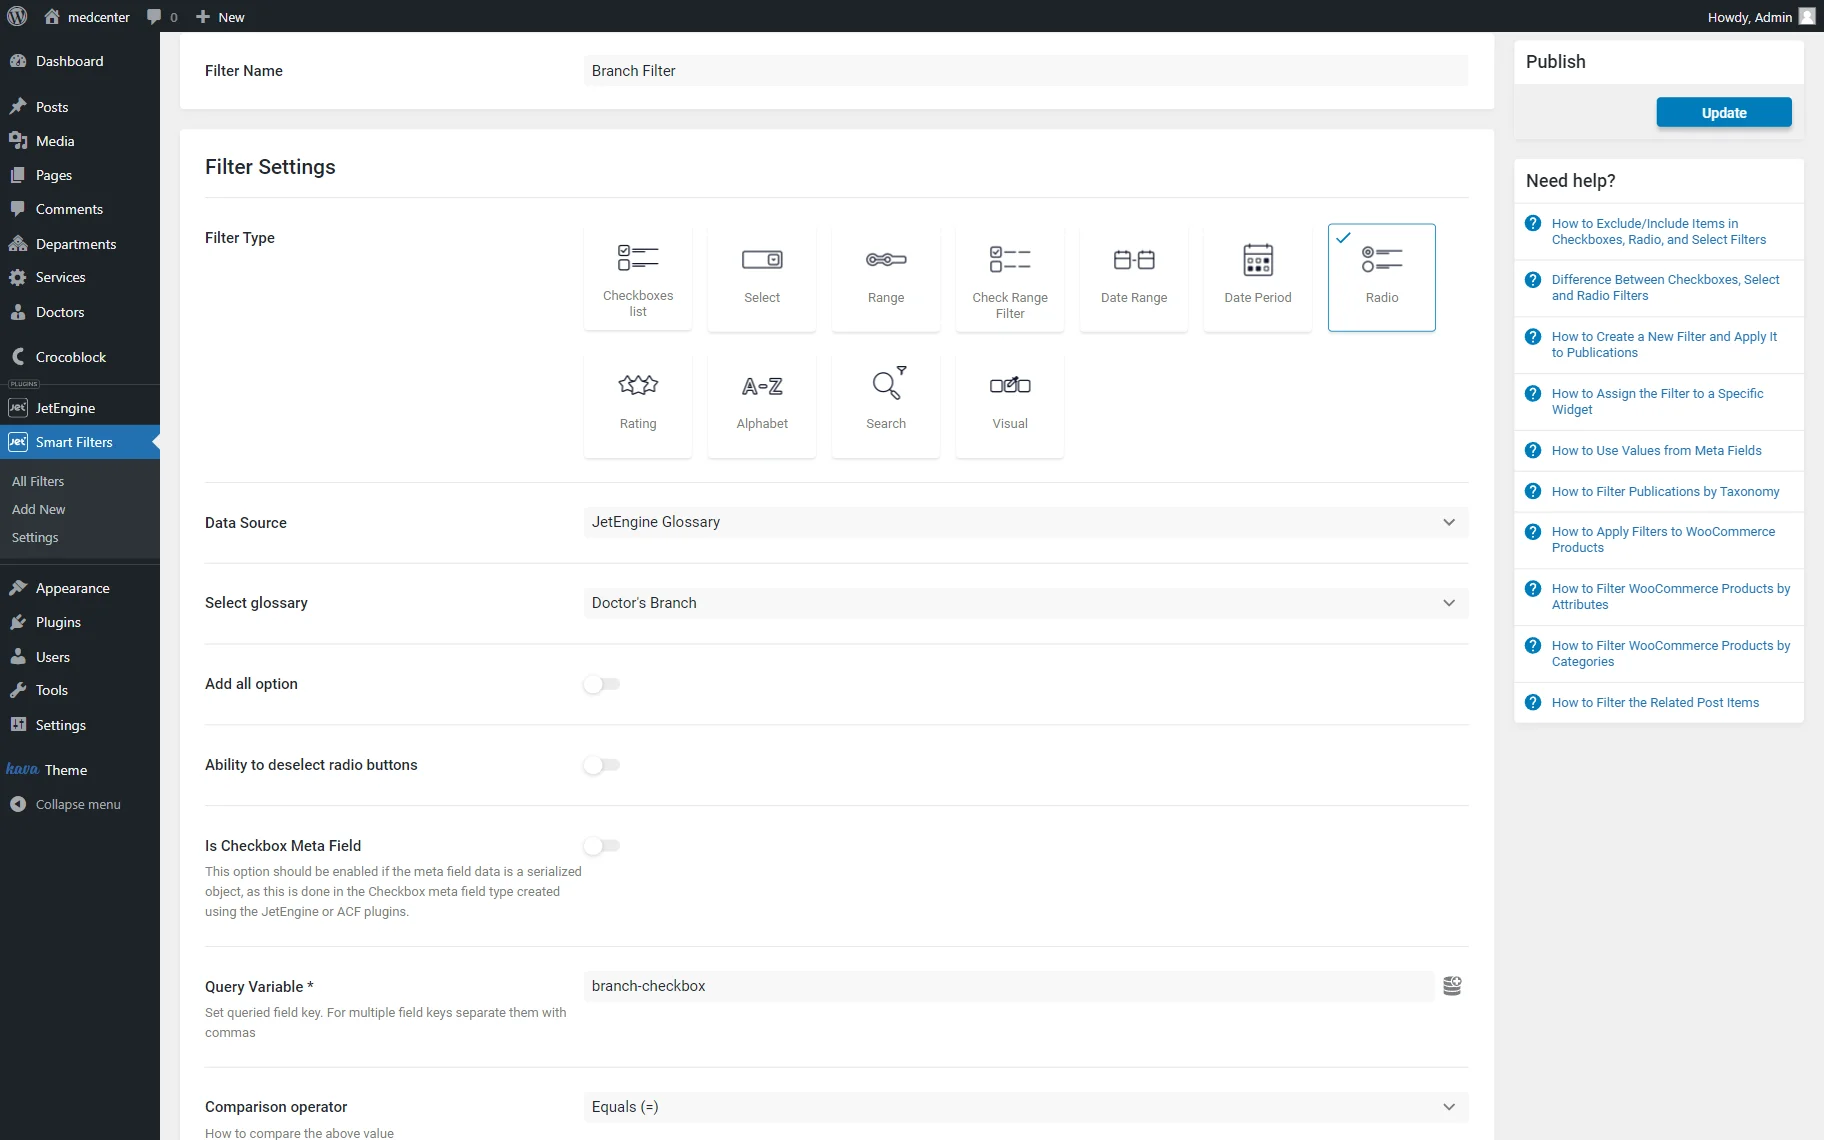
The same steps should be taken if you want to build a “Radio” filter.
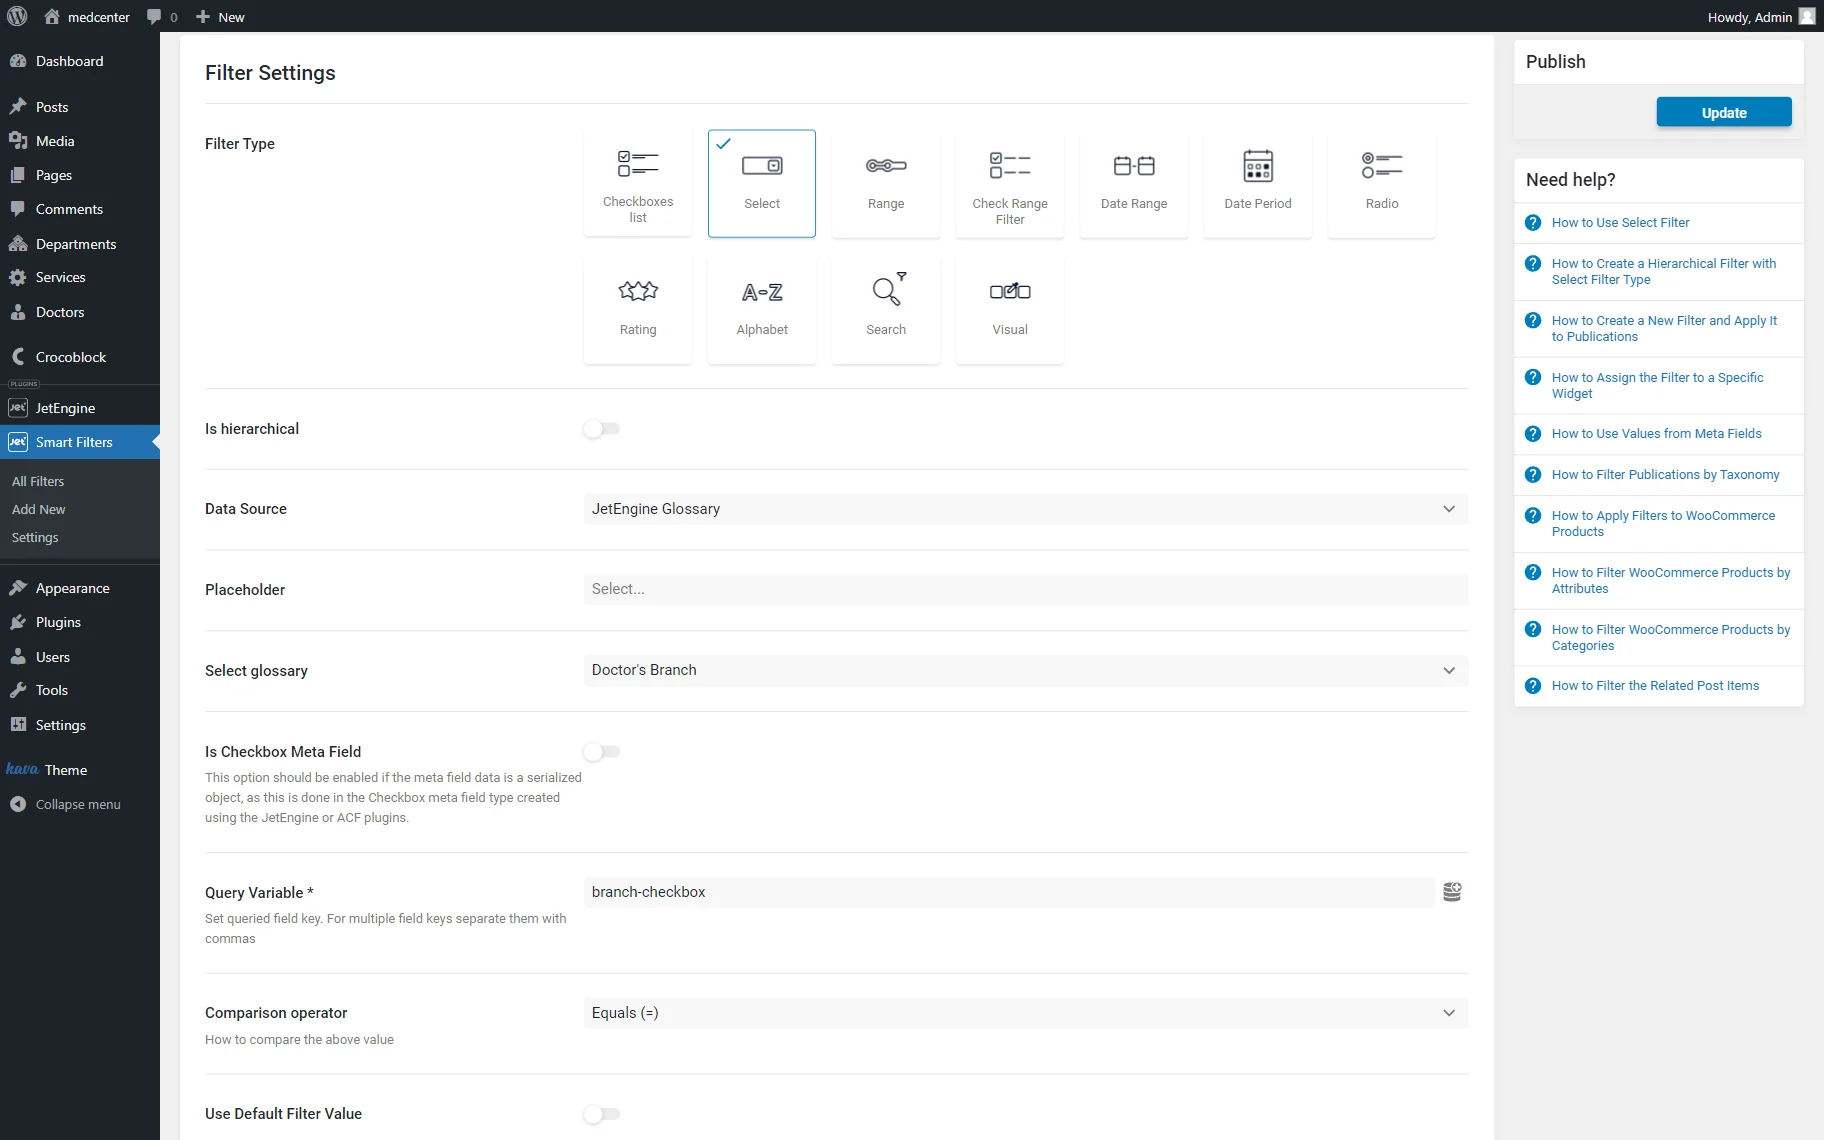
You are also free to create a “Select” Filter Type to cover the glossary options in a drop-down menu.
Now, we will take the “Checkboxes list” Filter Type as an example for the described use case.
Push the “Update” button to save the changes made to the filter.
Add Filter to the Page
Navigate to the WordPress Dashboard > Pages directory and open/add a new page to place the filter on it. Pages can be either made with Gutenberg, Elementor, or Bricks.
Now, let’s open the Elementor-edited page.
Here, find and place one of the needed widgets onto the page: Checkboxes, Radio, or Select Filter.
We pick the newly created filter in the Select filter field and define its provider in the This filter for field: as we want to work with the Listing Grid widget, it will be “JetEngine.” However, you can use any other filter provider if needed.
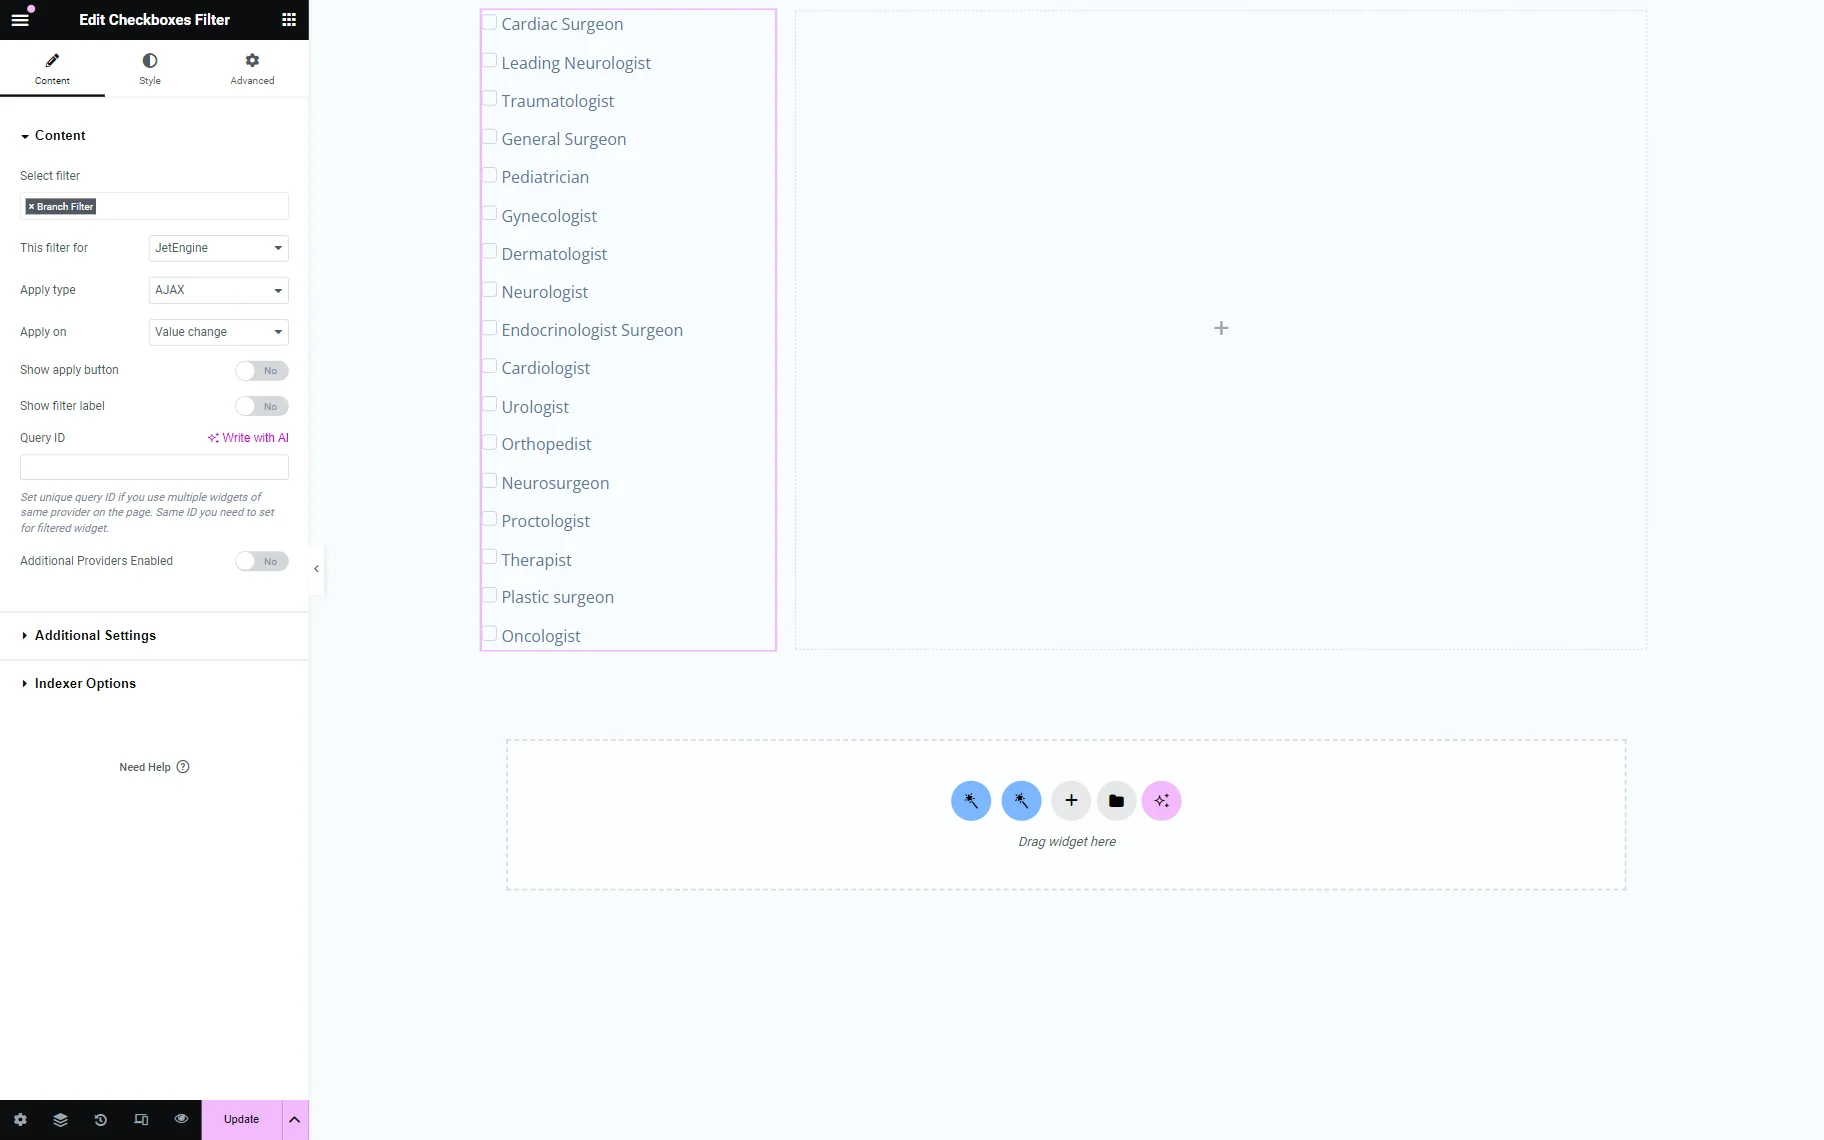
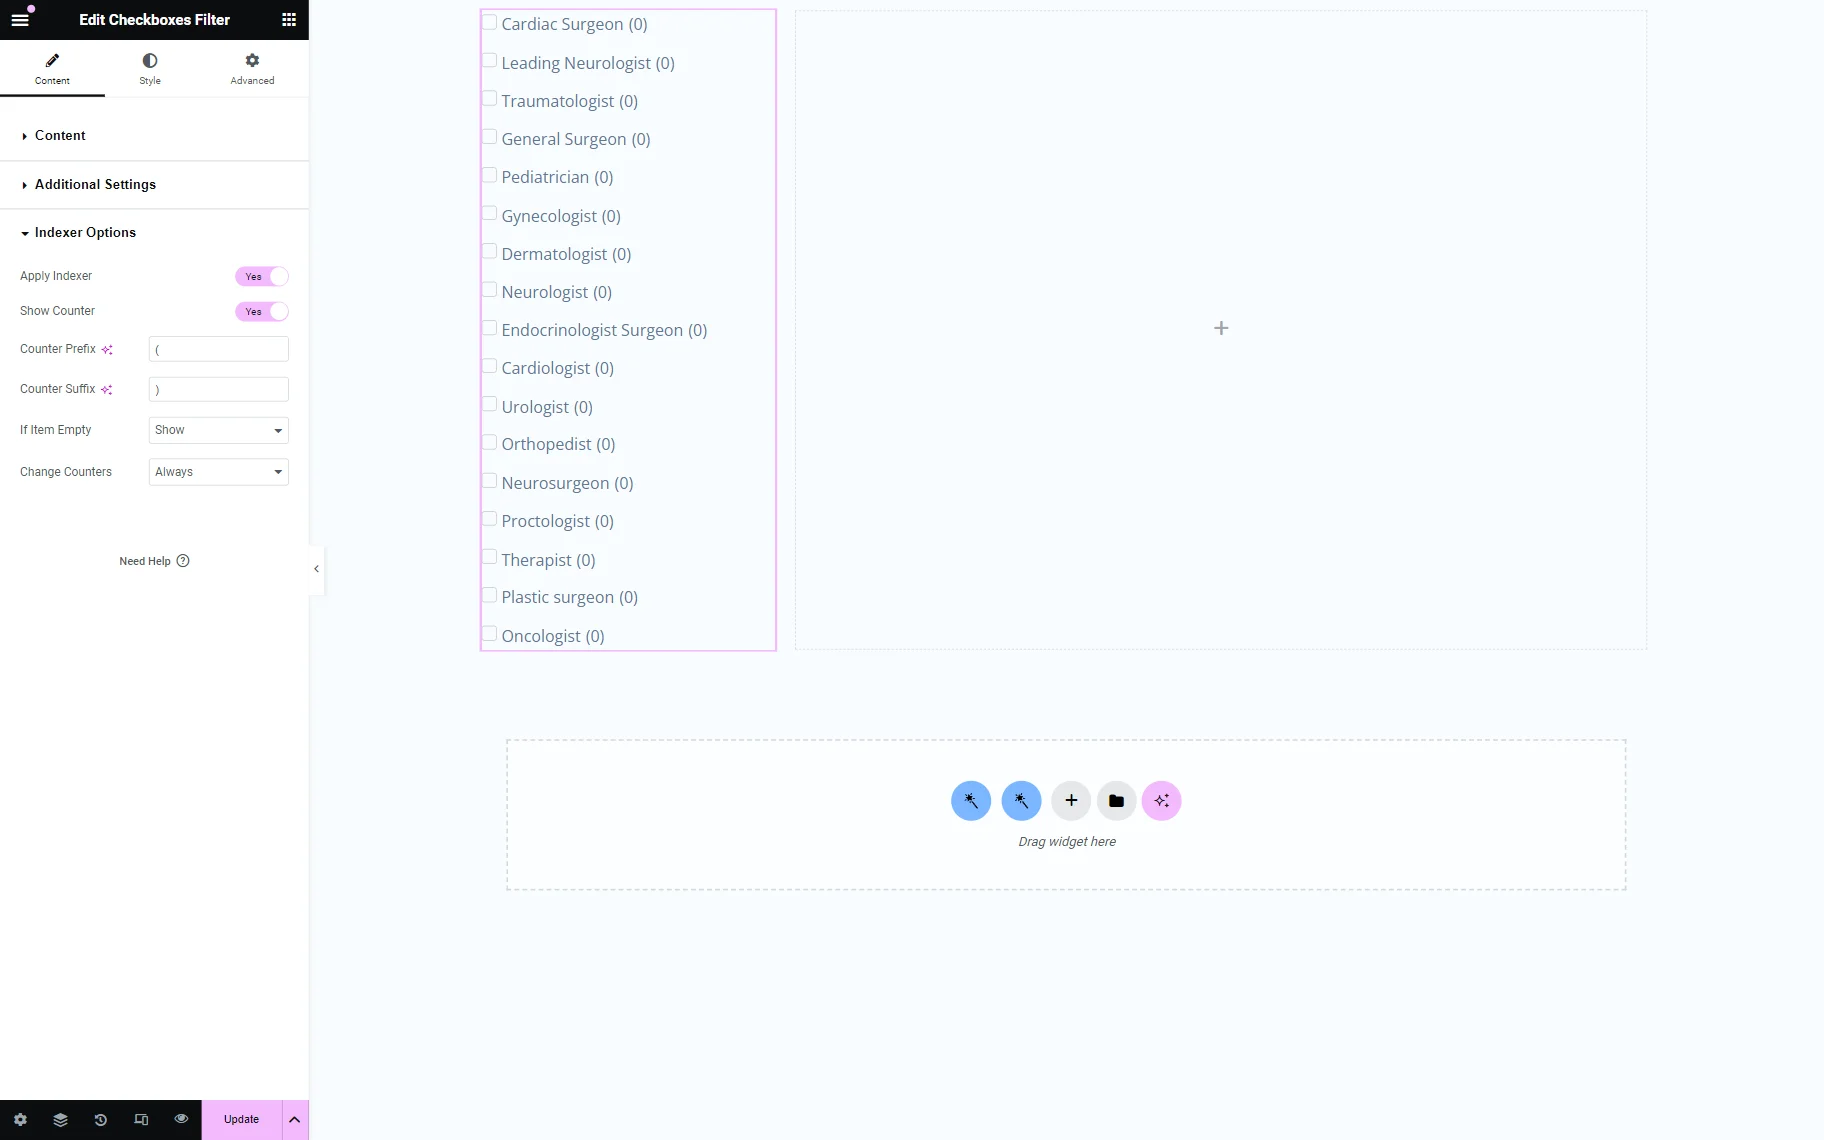
You can optionally proceed to the other customization tabs of the filter widget. For the Checkboxes Filter widget, these are Additional Settings and Indexer Options.
We want to show the number of available posts next to the filter options, so we go to the Indexer Options tab and activate the Apply Indexer toggle. Then, we activate the Show Counter toggle.
For now, in the editor, we can’t see the correct counter next to the item. However, the indexer will work properly on the front end.
Next, we add a Listing Grid widget to this page as it will serve as a provider for the filter.
Customize the page if desired and press the “Publish/Update” button.

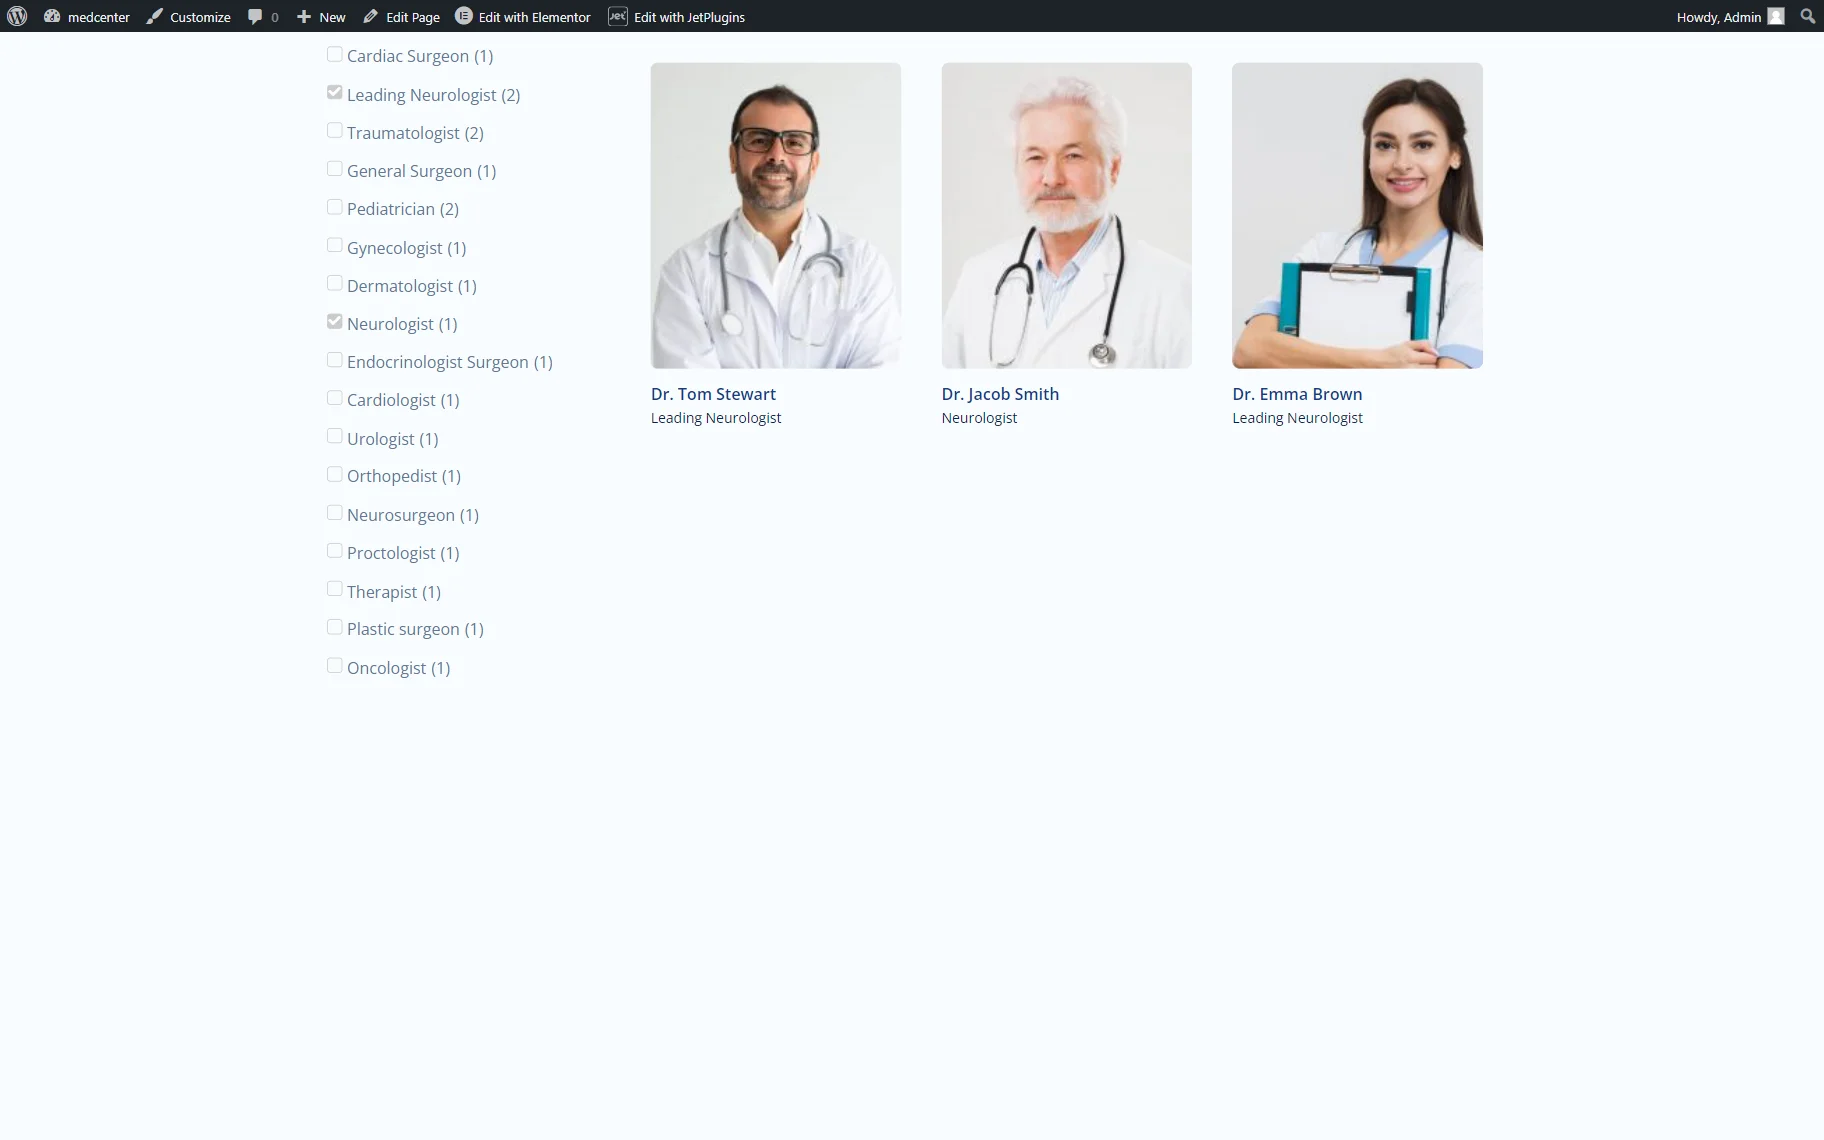
Check the result by opening the page you have just edited on the front end. The glossary items are now available for selection in the filter.
Also, if you have adjusted the indexer, you will see the counter next to the filter options.

Now, pick the desired option(s) to see if the filter works.
That’s all; now you know how to filter Glossary items with the help of the JetEngine and JetSmartFilters plugins on your WordPress website.