How to Add Payment Gateway to the Form
From this tutorial, you will learn which manipulations you have to do to add the payment gateway settings to the form editing page and set the PayPal payment system afterward.
Before you start, check the tutorial requirements:
- Elementor (Free version) or Block editor (Gutenberg)
- Paypal account created
- JetEngine plugin installed and activated
Payment systems are really convenient for users, especially if they are from another country. JetEngine has an option within its Forms functionality that allows you to add payment gateways easily. This tutorial will give you a detailed guide on what to do to enable that option and how to customize the settings of the payment system afterward.
Enable Gateway Settings
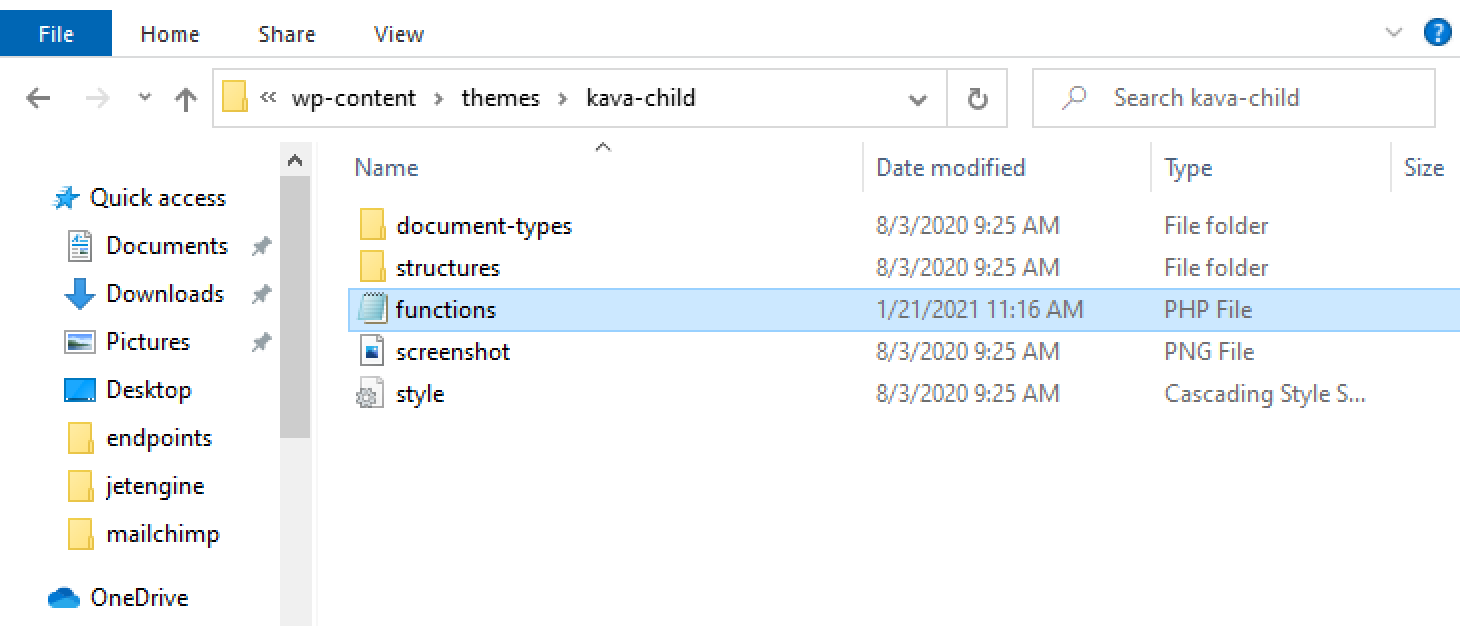
On your PC, go to the directory where you have installed WordPress and open the htdocs > wp-content > themes > your-website-child-theme folder.
Open the functions.php file with the Notepad app and add the following code:
add_filter( 'jet-engine/forms/allow-gateways', '__return_true' ); 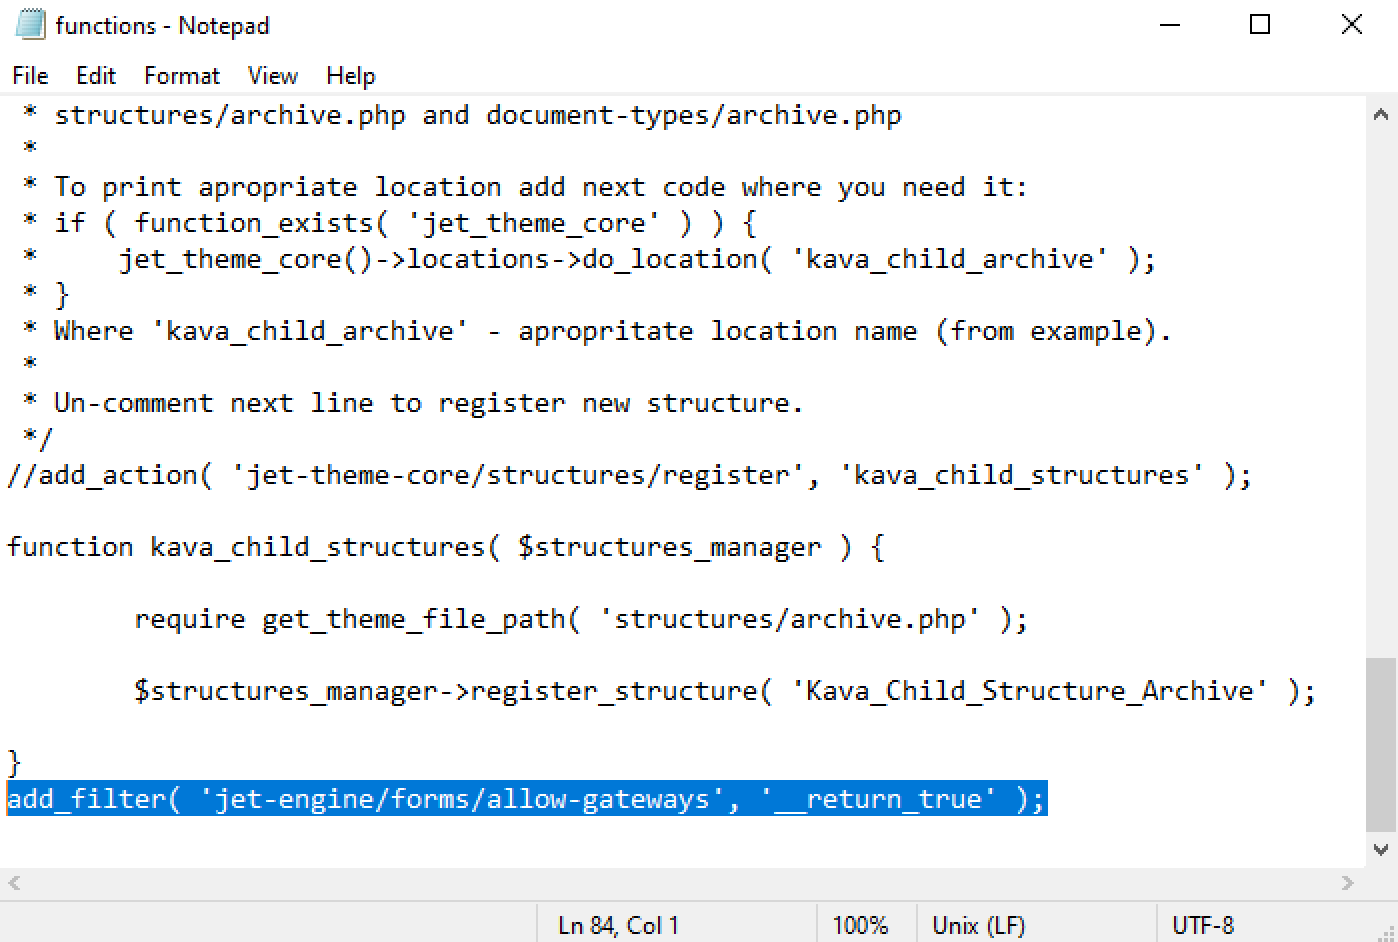
Don’t forget to save the file. After that, the Gateway Settings section will appear in all form editing and creation windows. Currently, there are only two gateways:
- a free PayPal
- paid Stripe (with the Stripe Pro Addon)
Get PayPal Client ID and Secret Key
In order to set it up correctly, you need to register your PayPal app and receive the Client ID, as well as the Secret Key for your authentication.
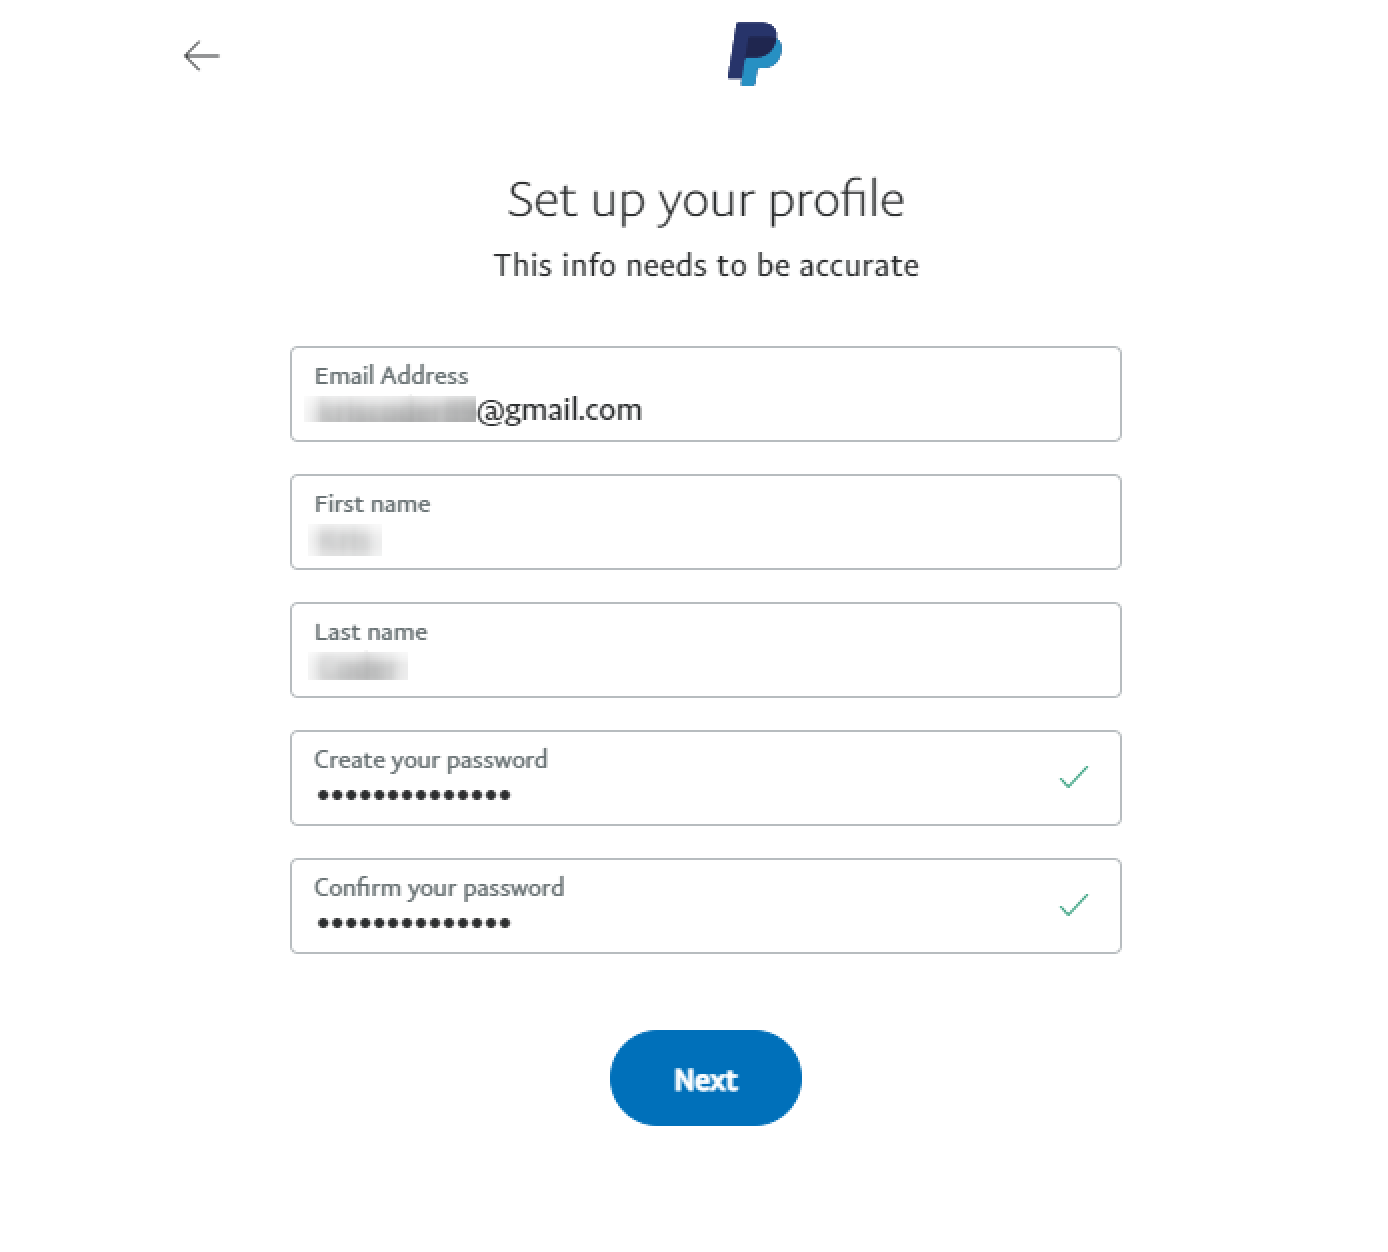
Go to the PayPal developer’s website and hit the “Log Into Dashboard” button. If you already have an account, log into it. Otherwise, create one.
According to the official PayPal Developer tutorial, you need to switch from “Sandbox” to “Live” when working with a non-test form. Proceed to PayPal Dashboard > My Apps & Credentials and select the Live mode.
add_filter( 'jet-engine/forms/gateways/paypal/sandbox-mode', '__return_true' );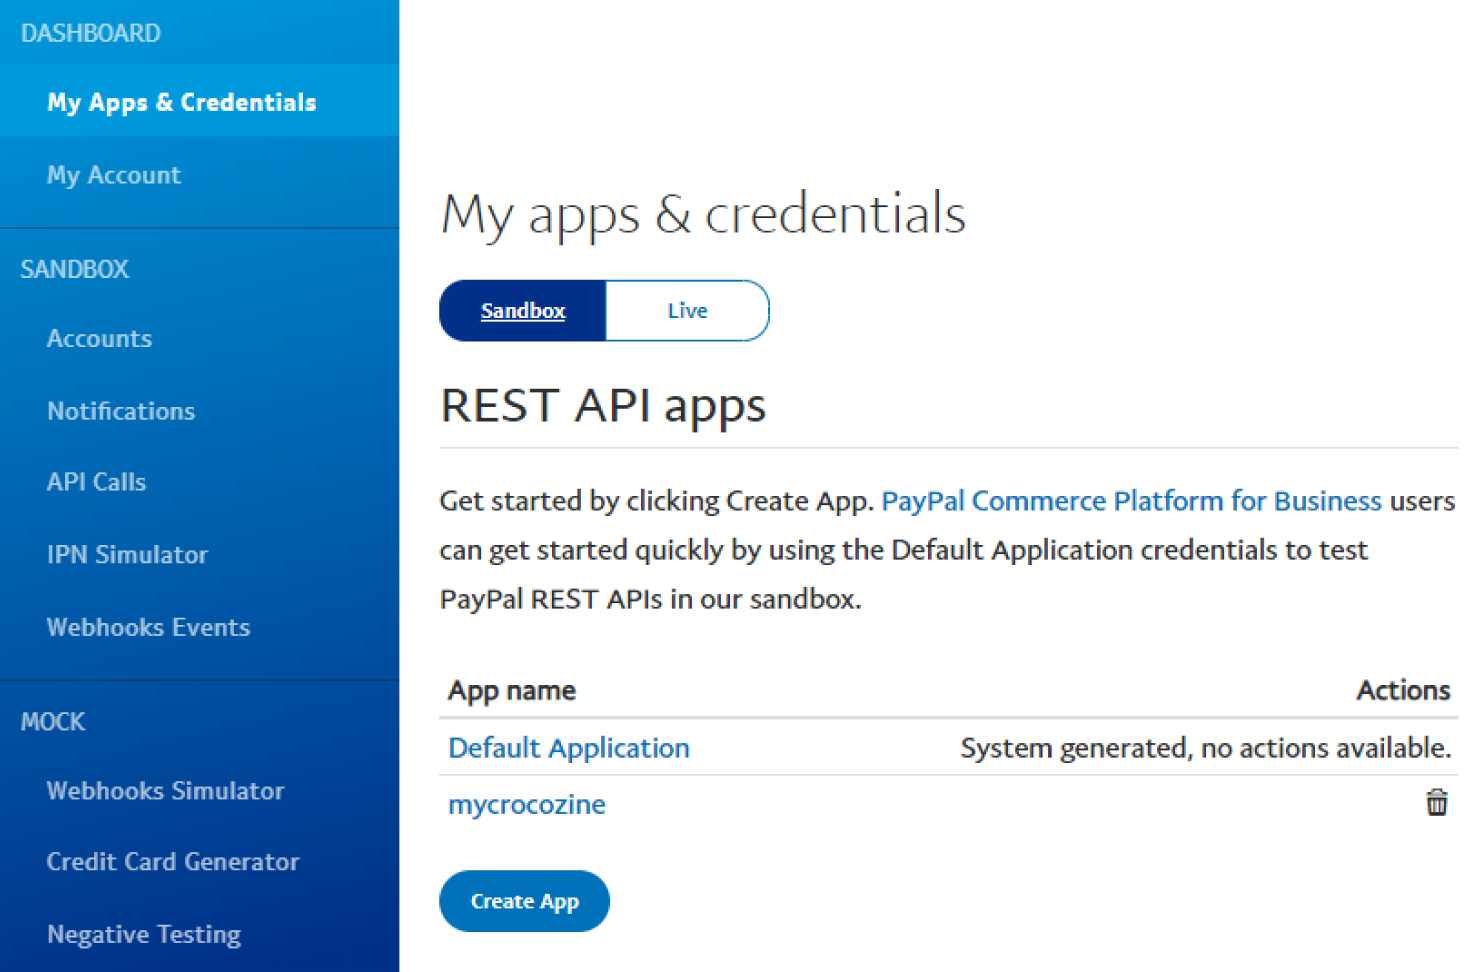
For a live form to work properly, you will have to set the appropriate API credentials (Live or Sandbox, follow these instructions) and a currency code (you can find the list of codes here).
In this tutorial, we are going to show you how to create a test account without real payments.
As soon as you are logged in, go to Sandbox > Accounts.

Hit the “Create Account” button. In the pop-up window, choose the type of account and the Country you are working in. Afterward, click the “Create” button.

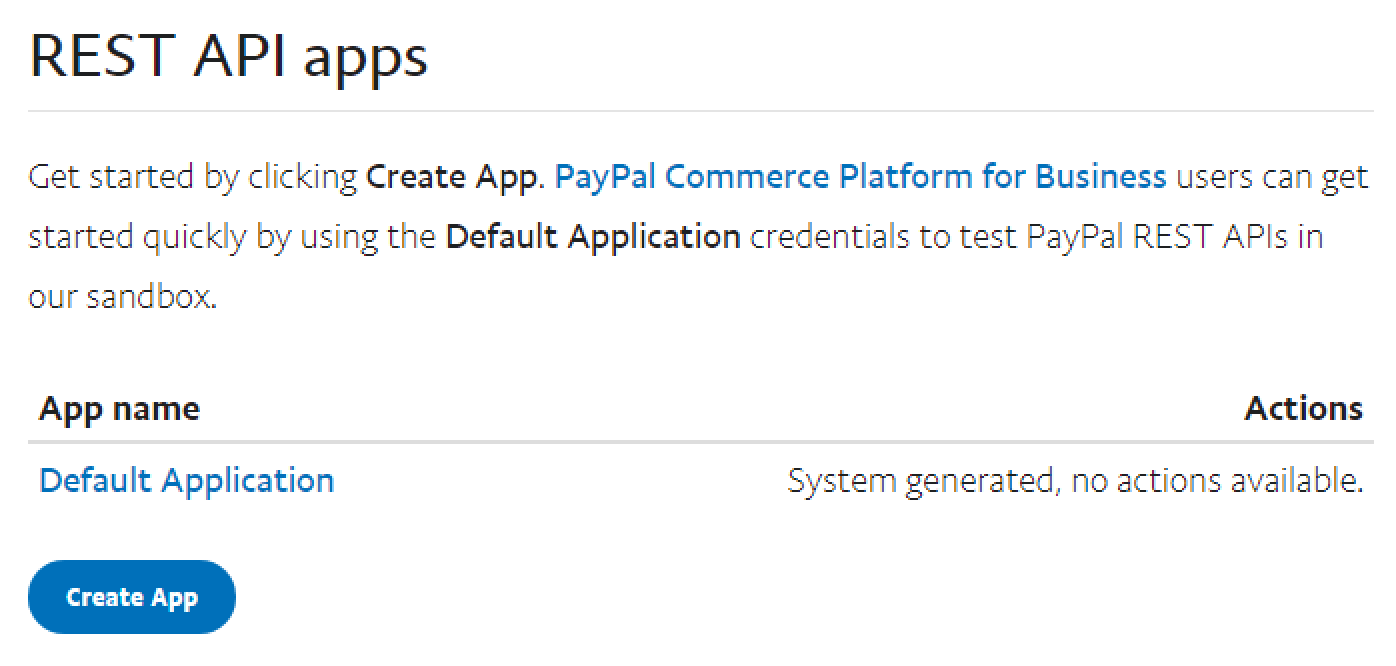
Now, go to Dashboard > My Apps & Credentials and hit the “Create App” button.
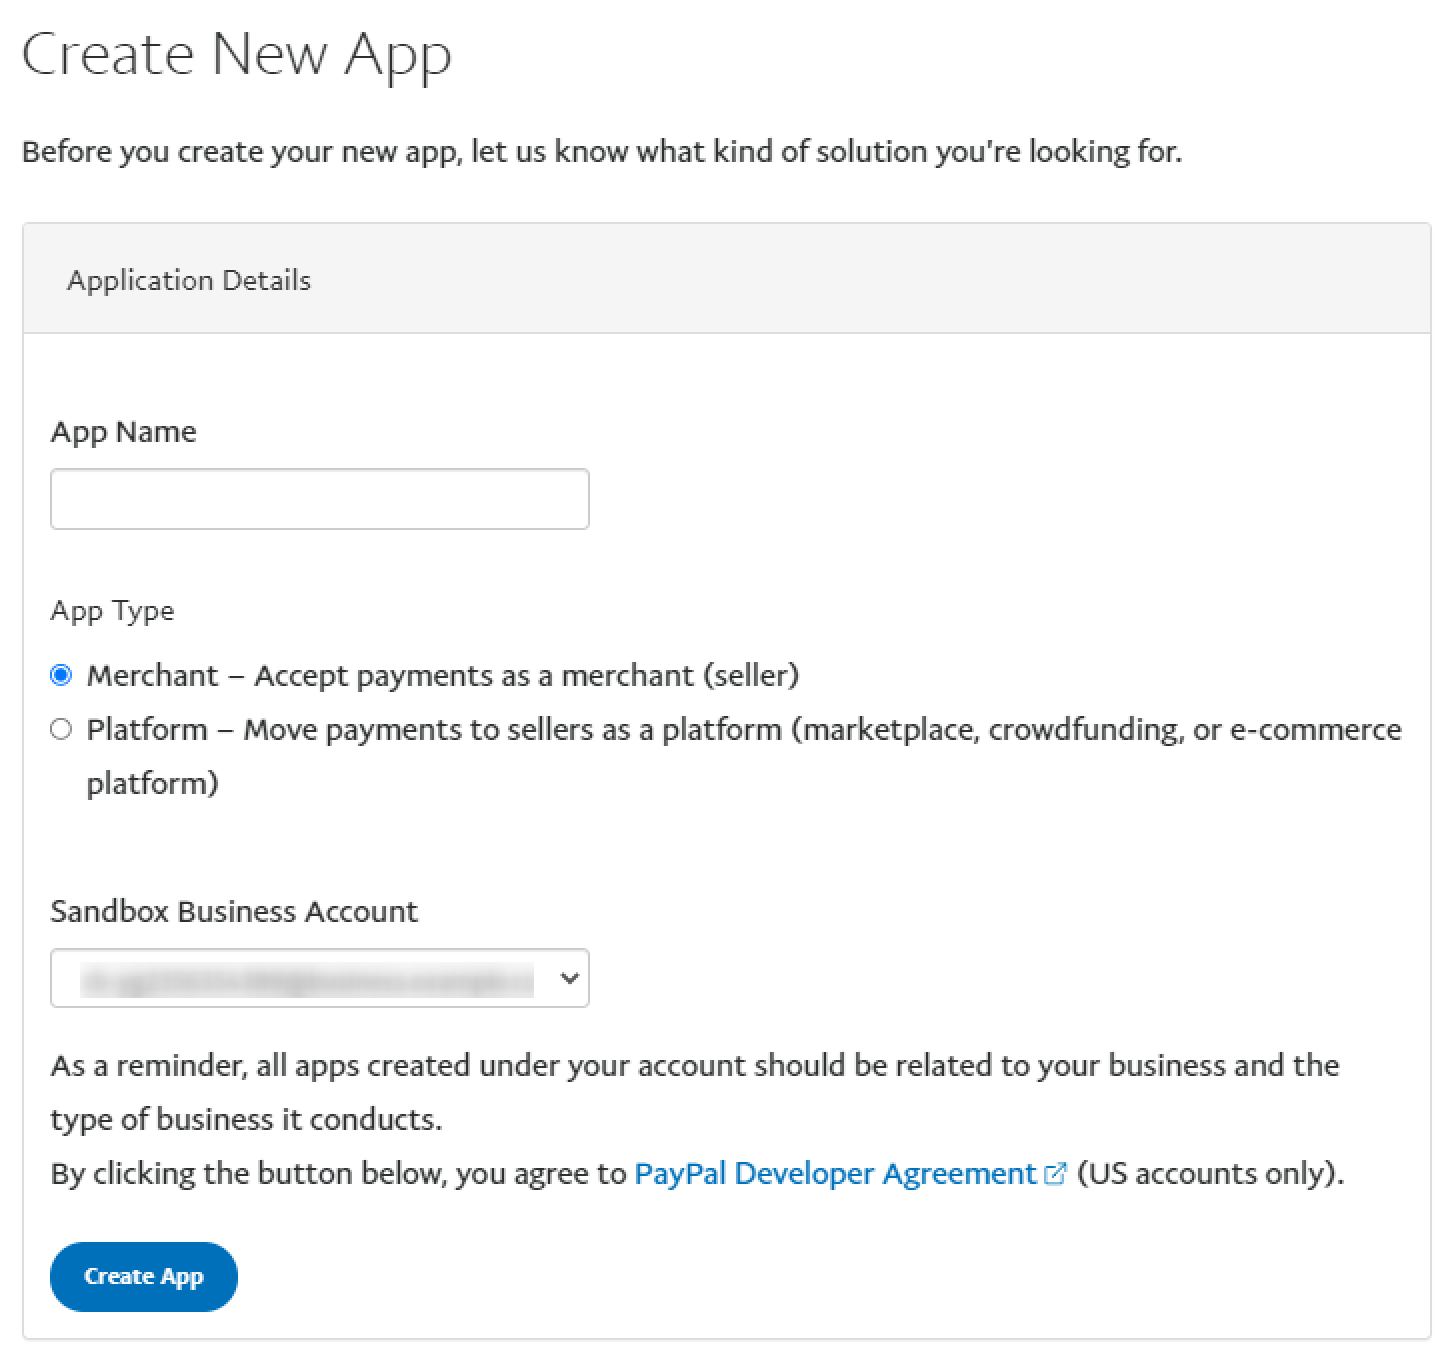
Give your new app a name and choose the business account. You can also decide between the “Merchant” and “Platform” App Types. Afterward, click the “Create App” button.
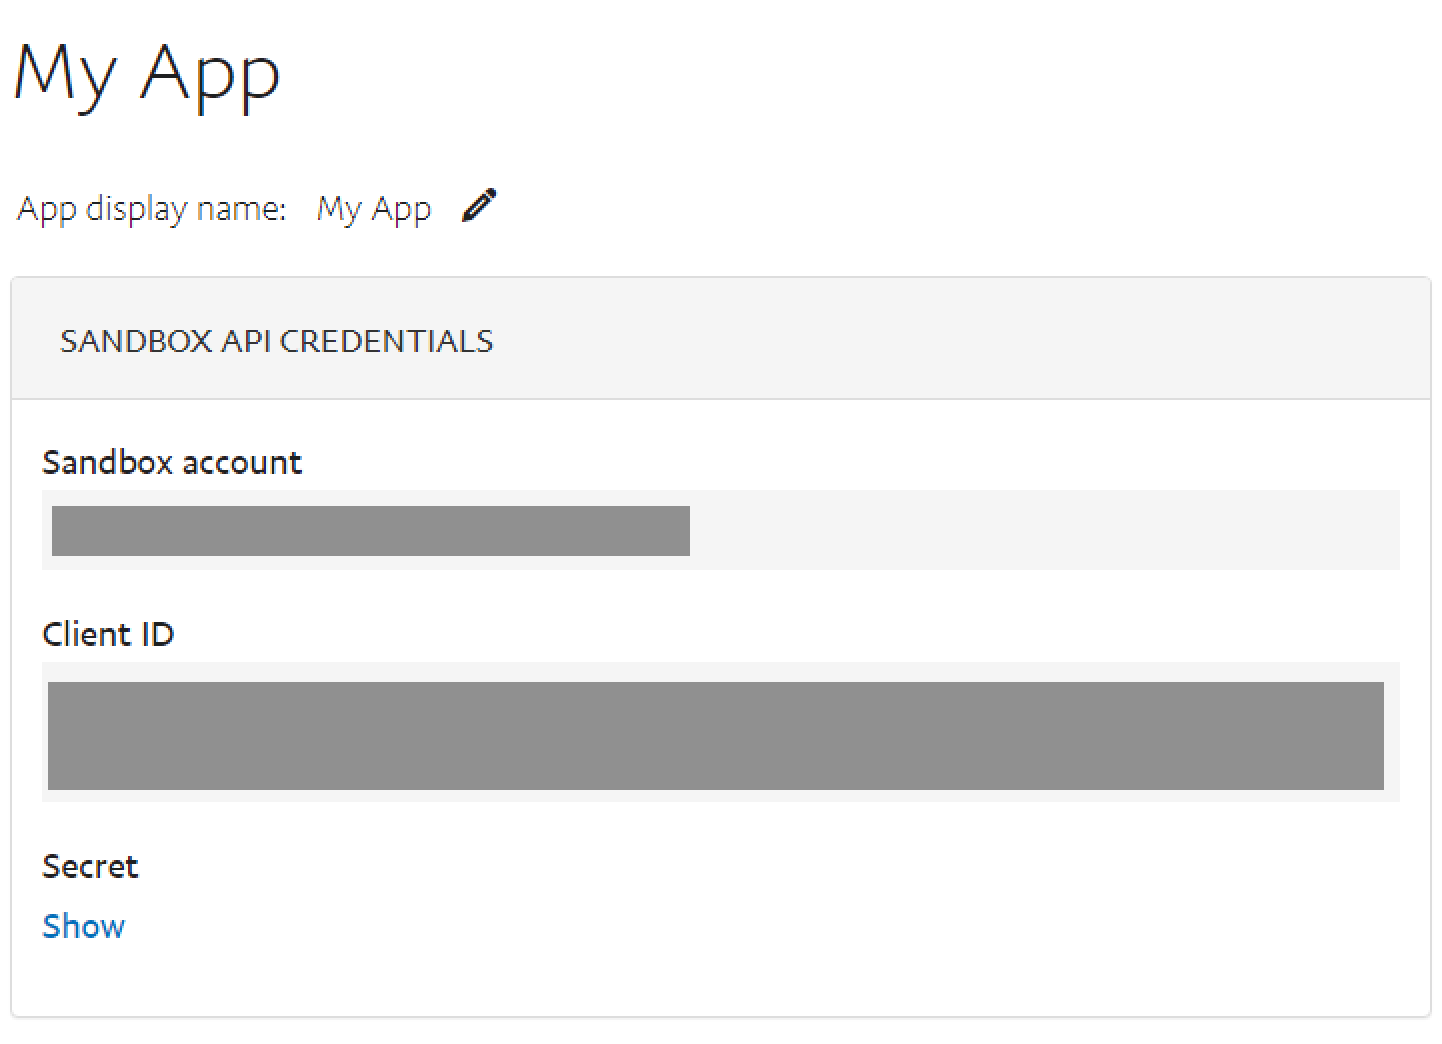
You will be redirected to the app’s page. The Client ID and Secret Key are right there – just copy them.
PayPal Gateway Settings
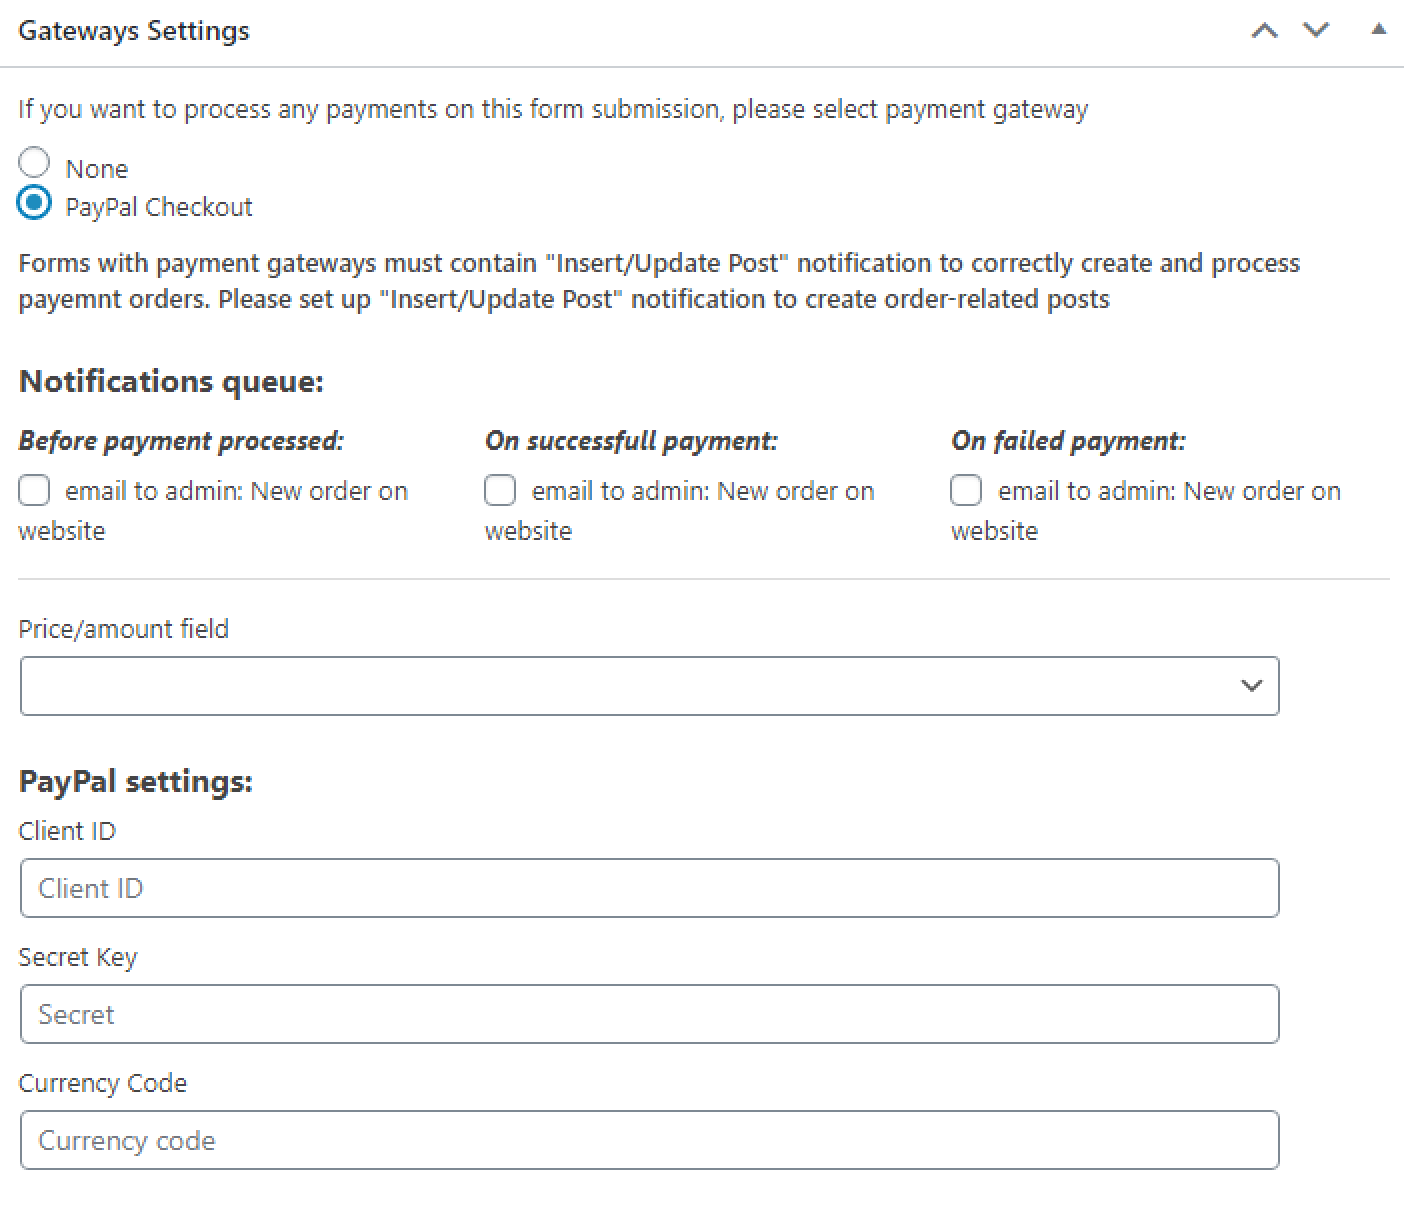
Now let’s get to grips with the features of the Gateway Settings window.
Notification queue
Here you can set when the email notifications are sent to the admin. There are three options there:
- before sending the payment to the gateway;
- if the payment went through successfully;
- if the payment didn’t go through.
Price/amount field. In this drop-down menu, you can choose the field to pull the price or number of items from.
PayPal settings
Copy the Client ID and Secret Key from the app window of your PayPal account and paste them here. You can find the Currency Code in this table and type it into the field.
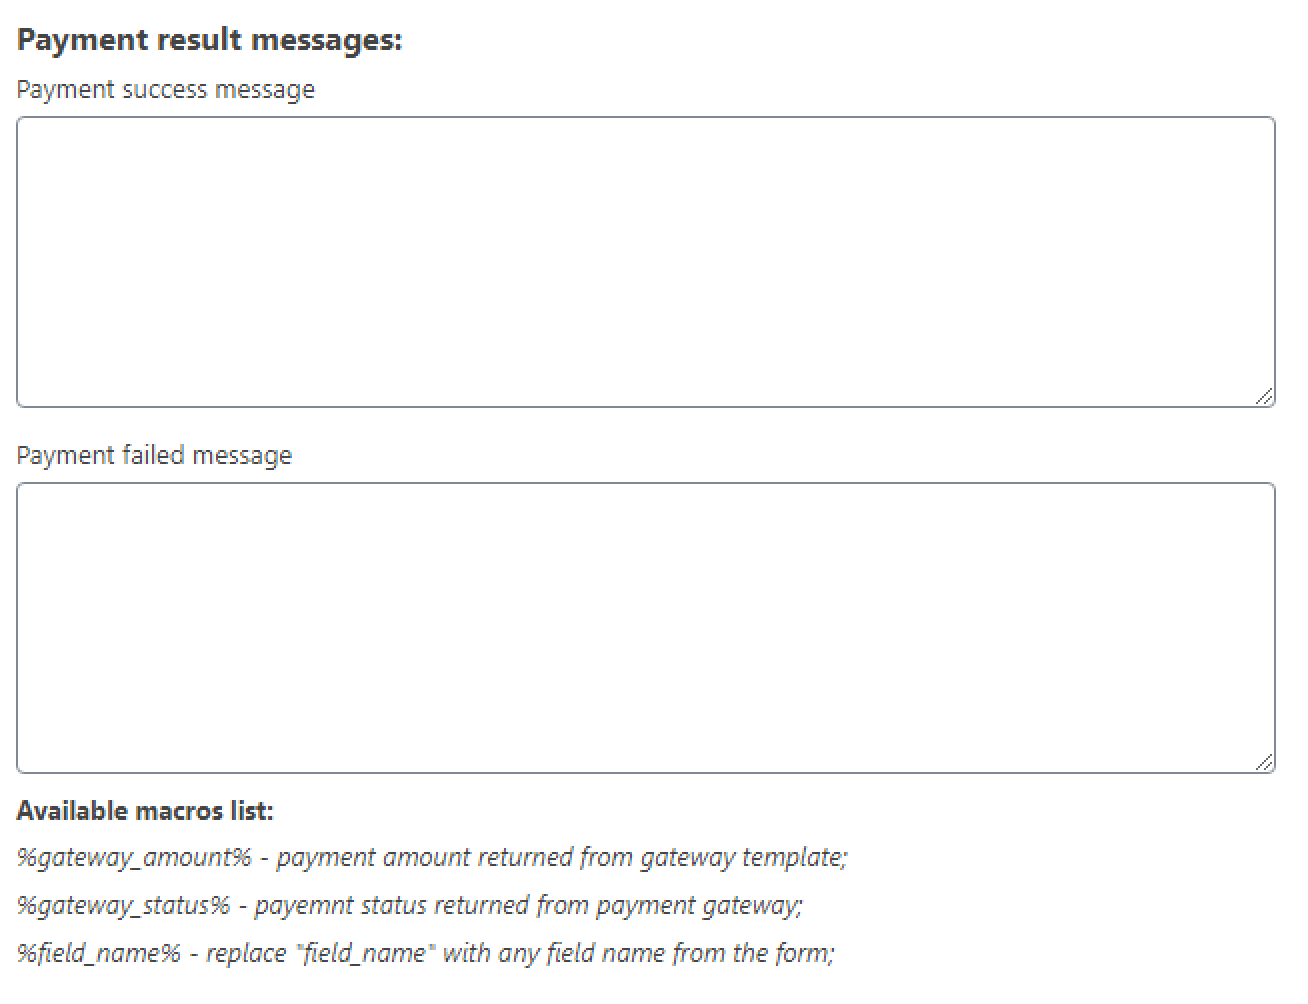
Payment result messages
The Payment success message and Payment failed message texts are the notifications that appear under the form if the payment went through or failed. There’s no default text, so you have to type it by yourself.
Additional Preparations
First of all, if you’re using the form with the Payment Gateway, you need to register a Custom Post Type for orders that will go through successfully. If you need some hints about how to create a Custom Post Type, you will find them in this tutorial.
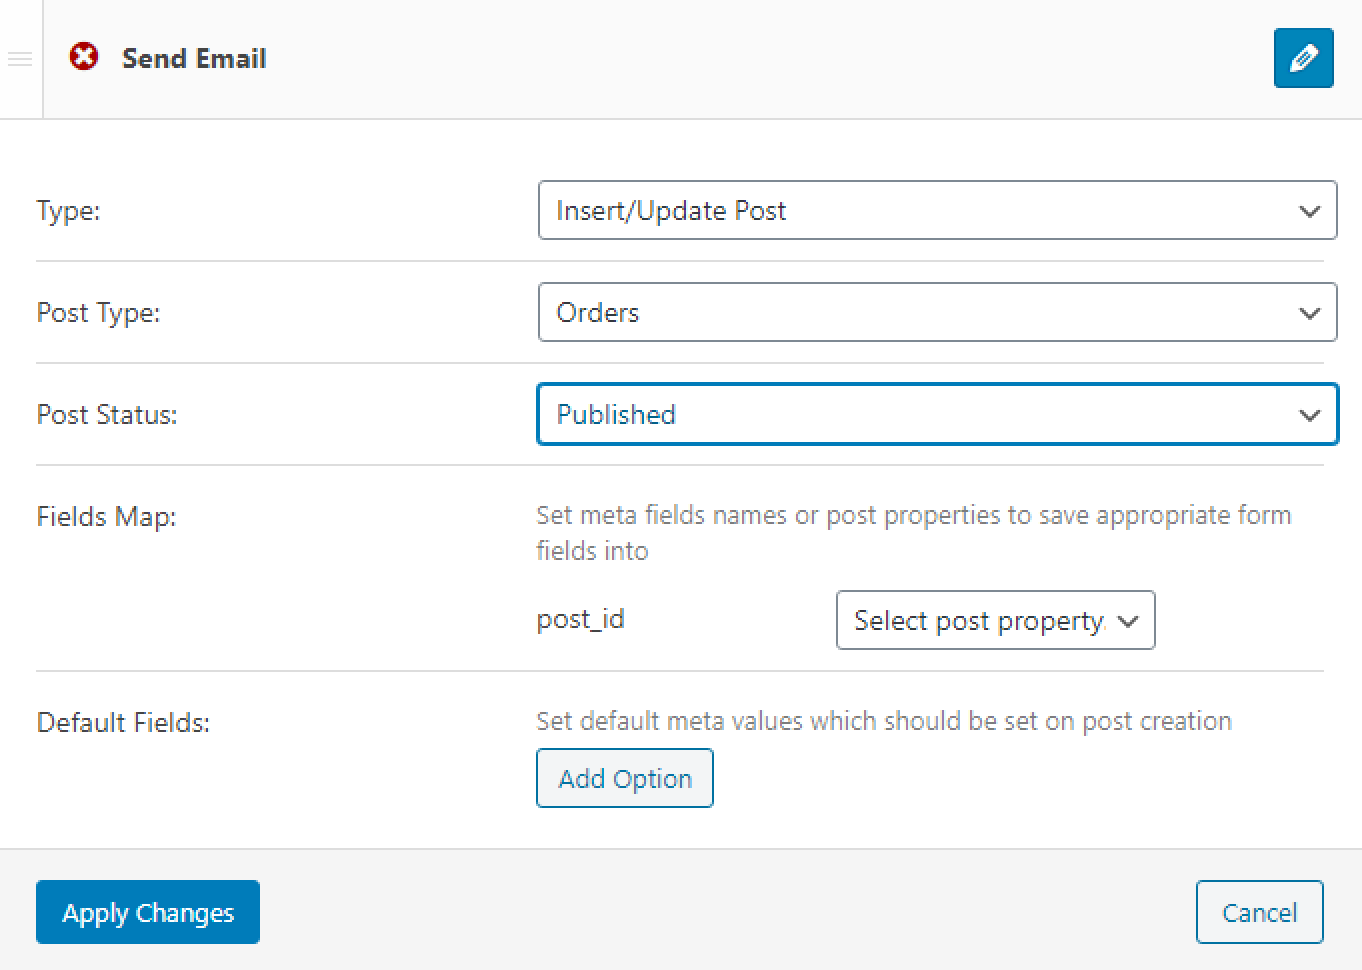
The form itself must contain the Insert/Update post notification, which will add a new post to the Orders post type. Scroll the form editing window to the Post-submit Actions/Notifications Settings section and click the “Add Notification” button. Now, press the button with the pencil-shaped icon, and choose the “Insert/Update Post” option in the Type drop-down list.
Select the Post Type and the Post Status, connect the form fields to the post’s meta fields in the Fields Map, and choose the Default Fields. Don’t forget to click the “Apply Changes” and “Update” buttons.
That is all about setting up the PayPal Payment Gateway. You now know how to give your users an opportunity to use PayPal checkout.