Related Items Editing Overview
From this tutorial, you will discover more about the related items editing functionality by JetEngine.
The JetEngine plugin allows setting different relations between WordPress posts, users, and terms and editing them without difficulty. Now let’s find out more about the related items.
Firstly, go to the posts of the parent (Parent object in the relations builder) post type.
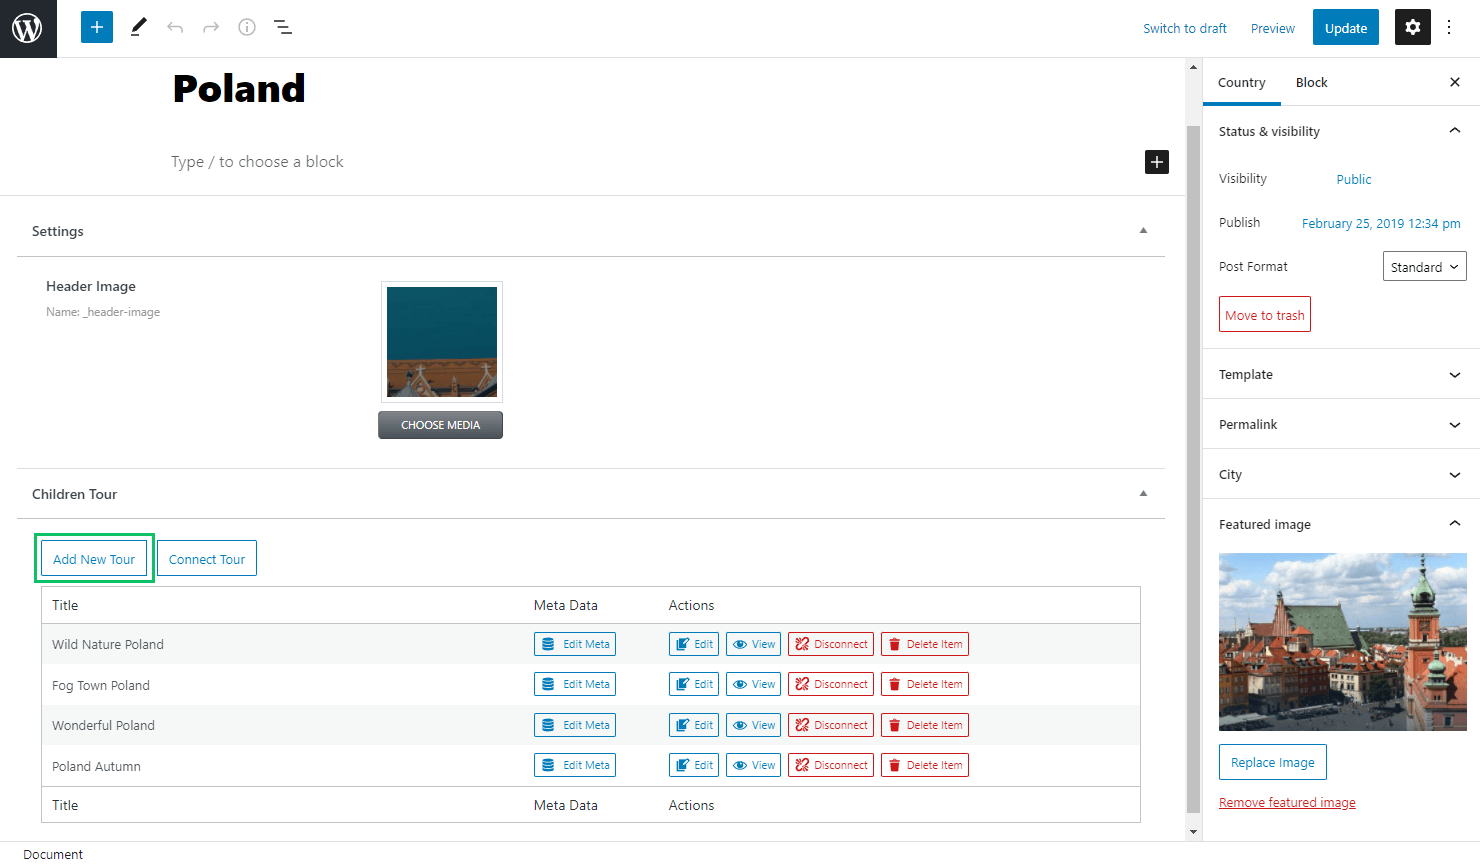
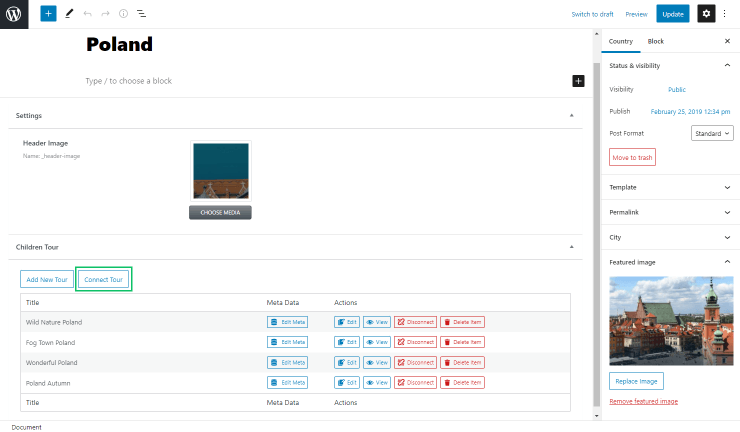
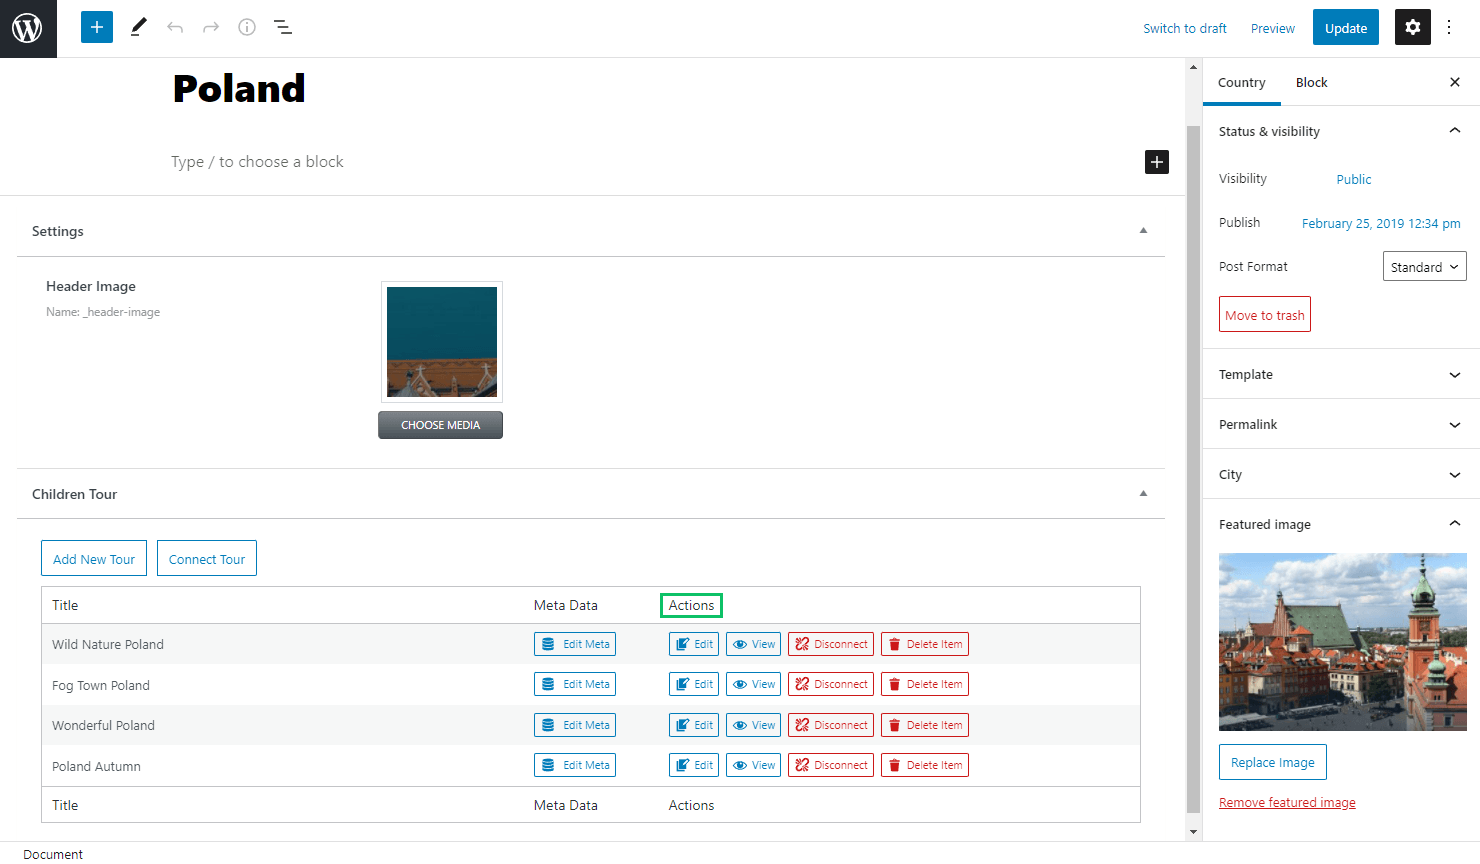
In the post editing area, scroll down to the Children … section to add and edit the children posts.
Parent Post Controls
The “Add New …” button creates a new related item.
It becomes available only to users who have special permission to add new content.
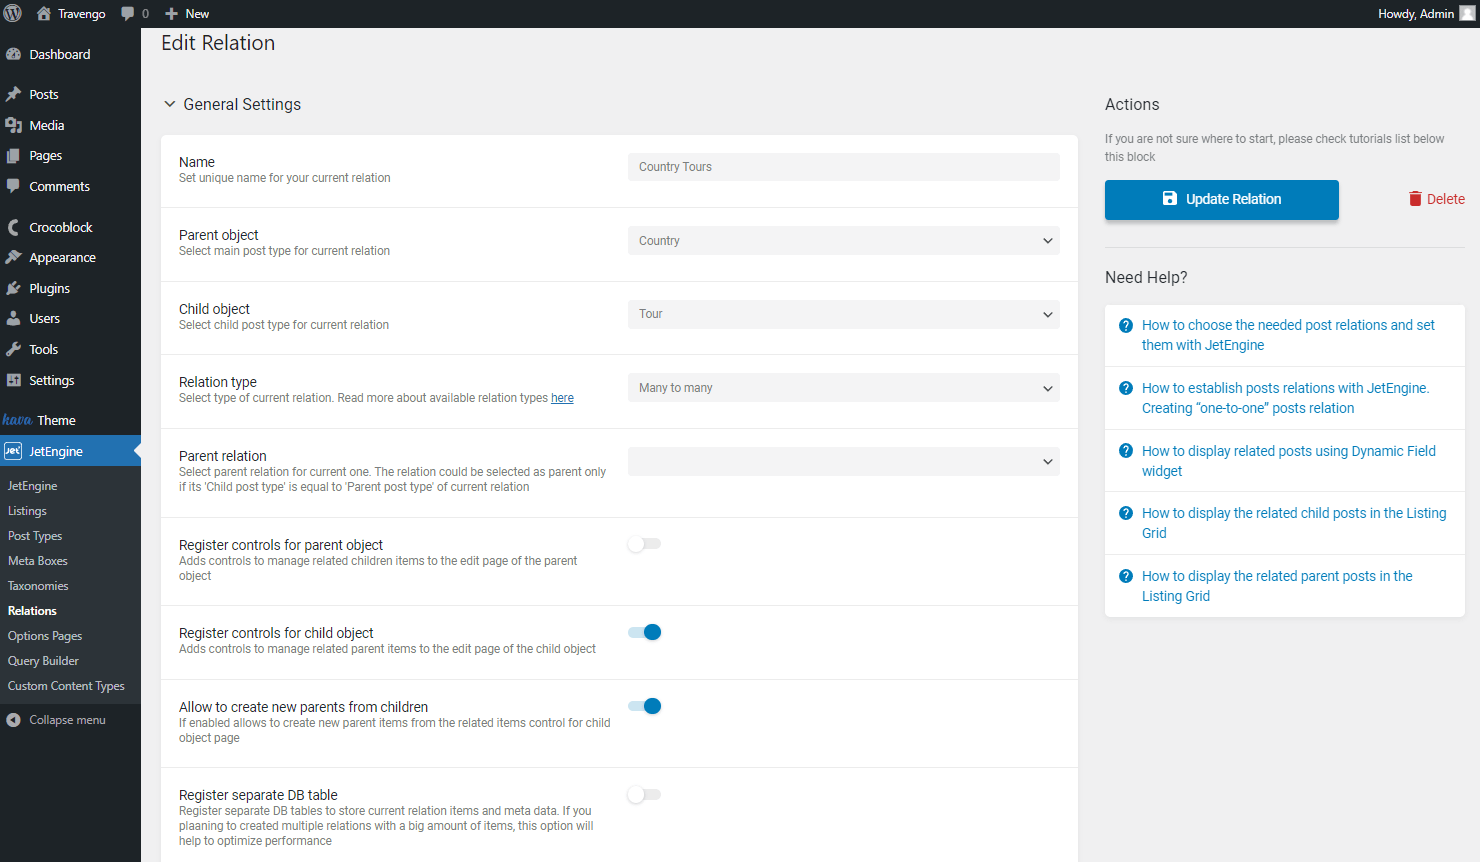
Another condition is the enabled Register controls for parent object and Allow to create new children from parent toggles in the relation editor. So, if you haven’t done it yet, you can switch this feature on by following the WP Dashboard > JetEngine > Relations pathway and opening the needed relation.
Mind to push the “Update Relation” button after making the changes.

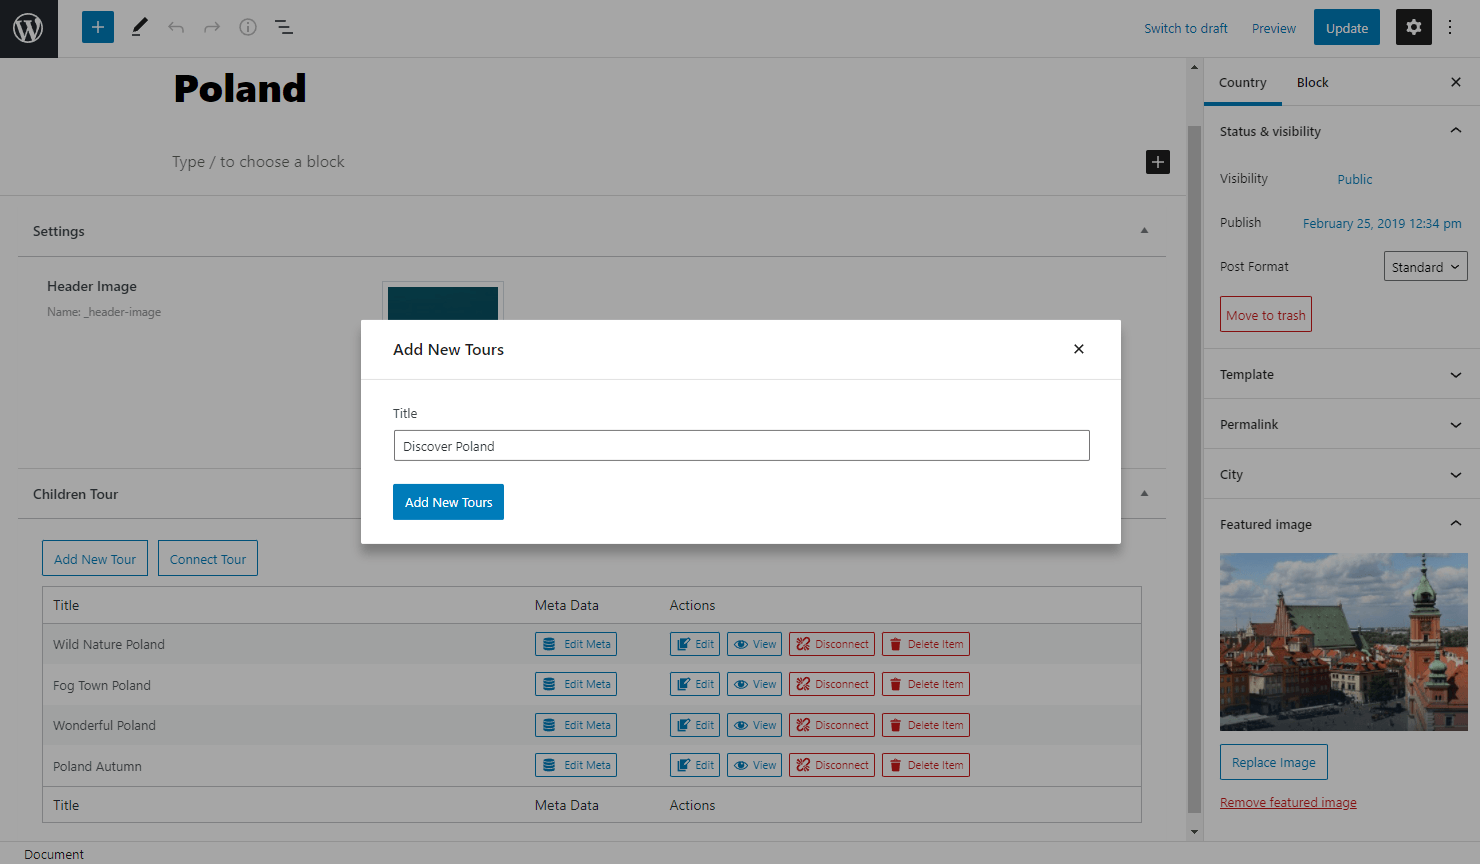
Return to the post. Once you press the “Add New…” button, the pop-up with the Title field appears. Type the desired value in the newly emerged field and save the changes by clicking the “Add New…” button.
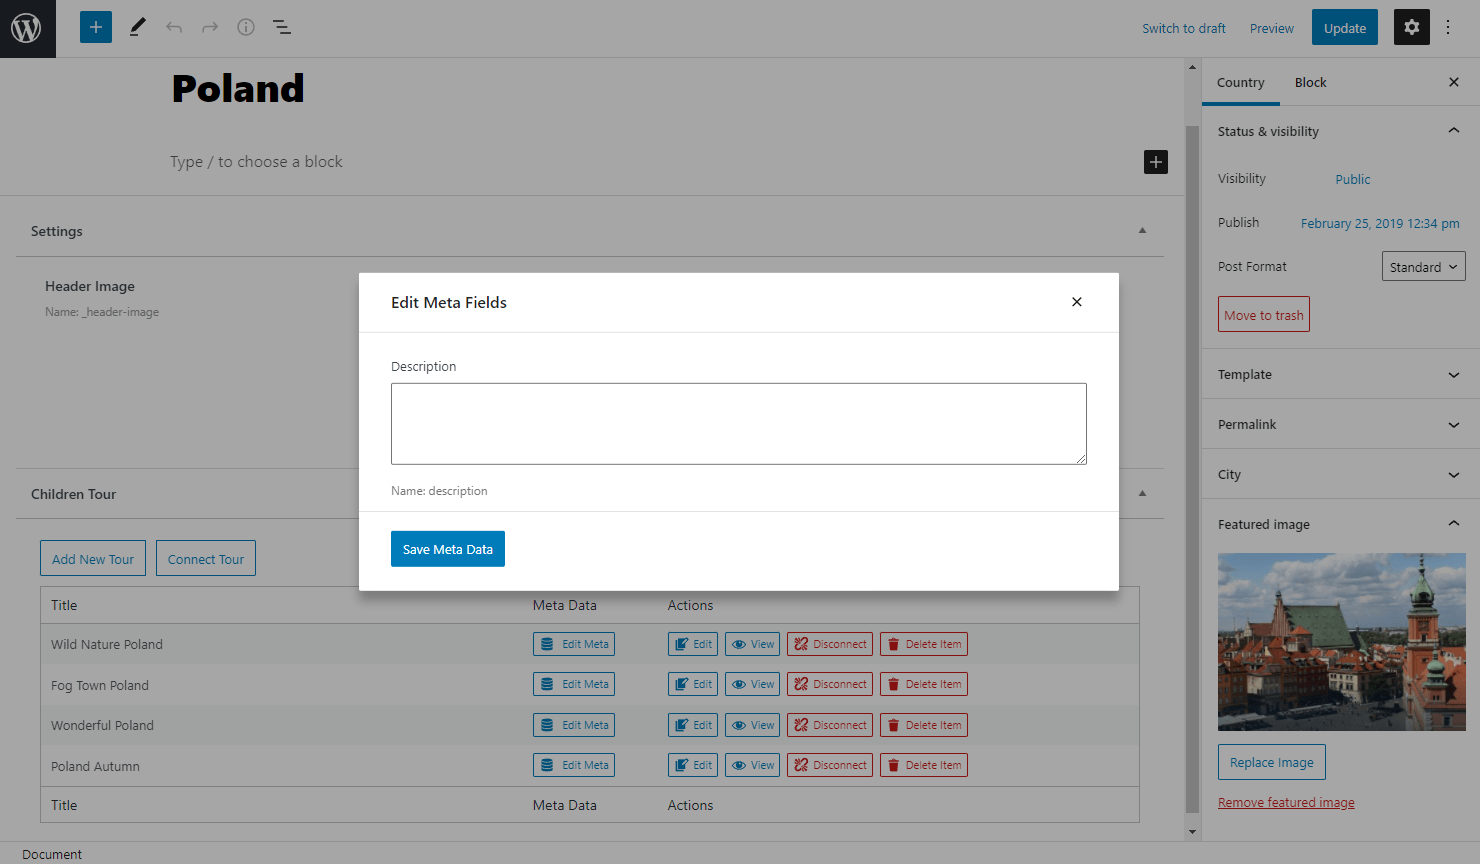
If the relation includes at least one meta field, you will see the corresponding meta field settings after clicking the button.
Fill in the field or leave it empty and push the “Save Meta Data” button.
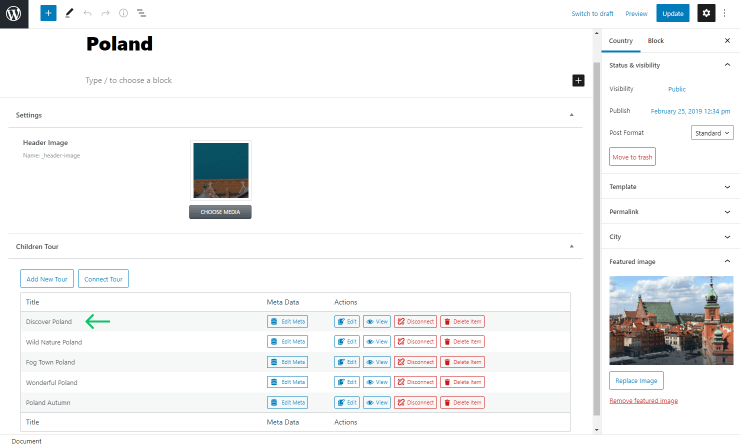
The new child post will be created and connected with the parent post. It appears in the list immediately.
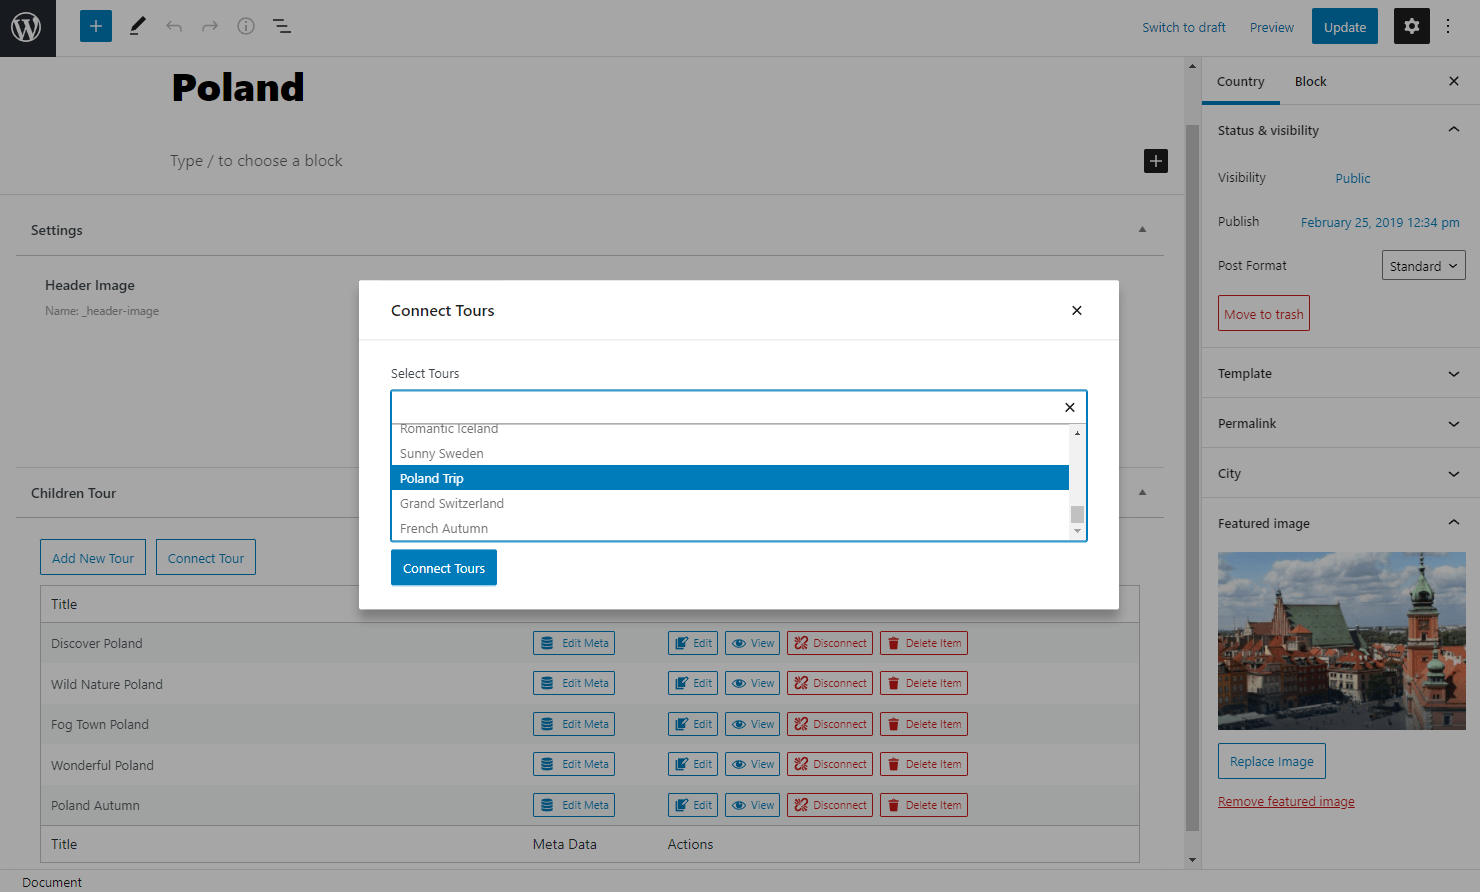
Once added, you can select the new option as the parent post by clicking the “Connect …” button.
Choose the name of the needed post in the Select field in a pop-up by pressing the “Connect …” button. Then apply the changes by pressing the “Connect” button.
Once the editing is done, update the post to save all the changes.
Now let’s discover more about the WordPress related items columns presented in the table.
Columns for Editing
Title
In this column, the name of the related posts will be displayed.
The title structure will change depending on the related object type. The standard title is used for posts and terms, the login and email are displayed when users are chosen, and if the custom relation type is selected, your input will be used as a title.

Meta Data
This column appears only if some meta fields are added to the related post object.
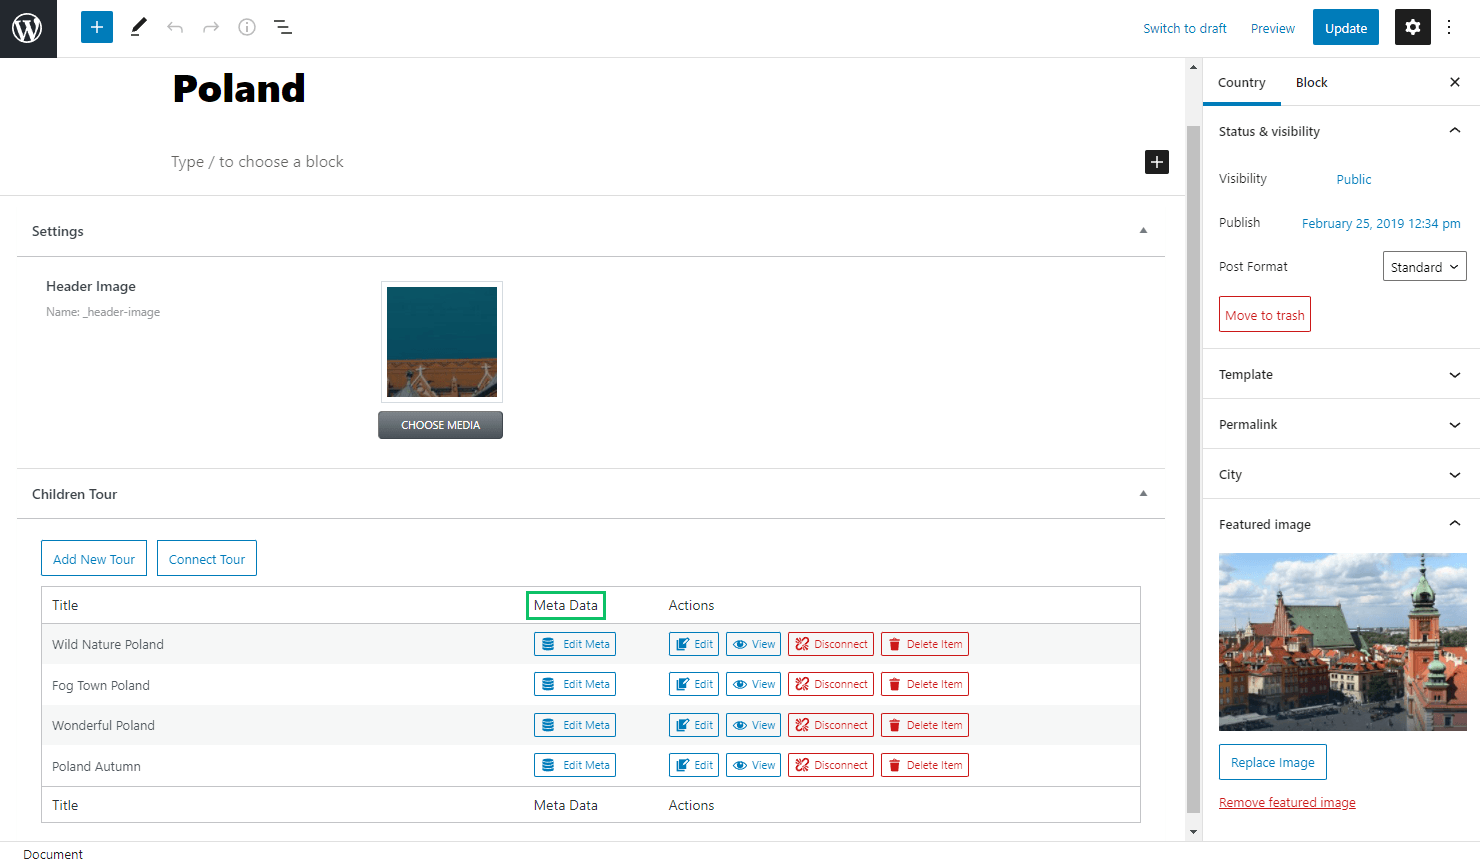
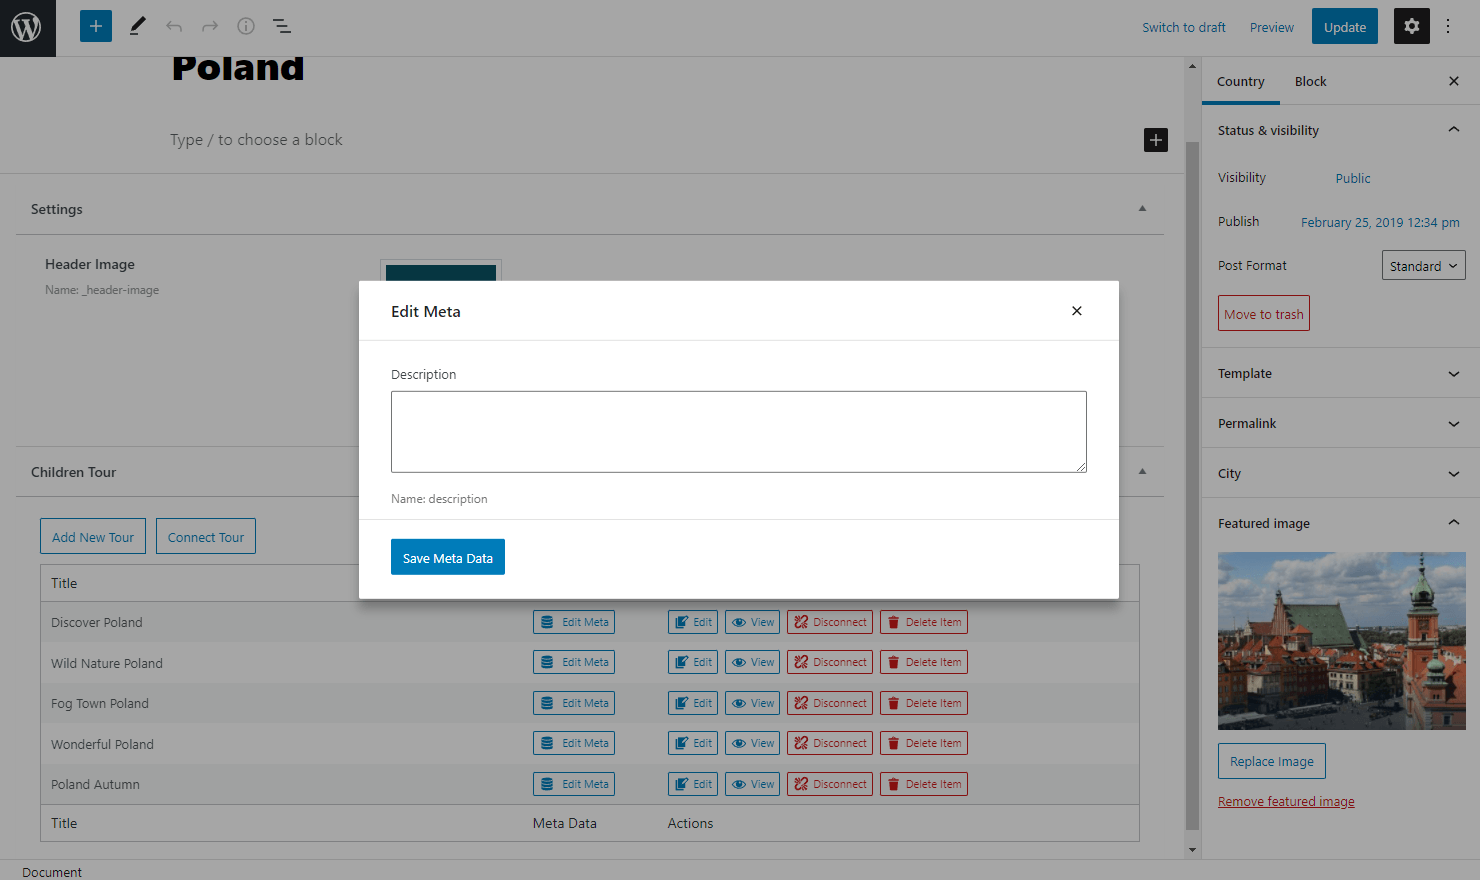
A new pop-up with the meta fields editor appears when the “Edit Meta” button is pushed.
Complete the needed fields and press the “Save Meta Data” button.
Actions
This column includes several buttons.
Edit
This button redirects to the editing page of the related item.

View
The button allows viewing the chosen item on the front end in the new tab.
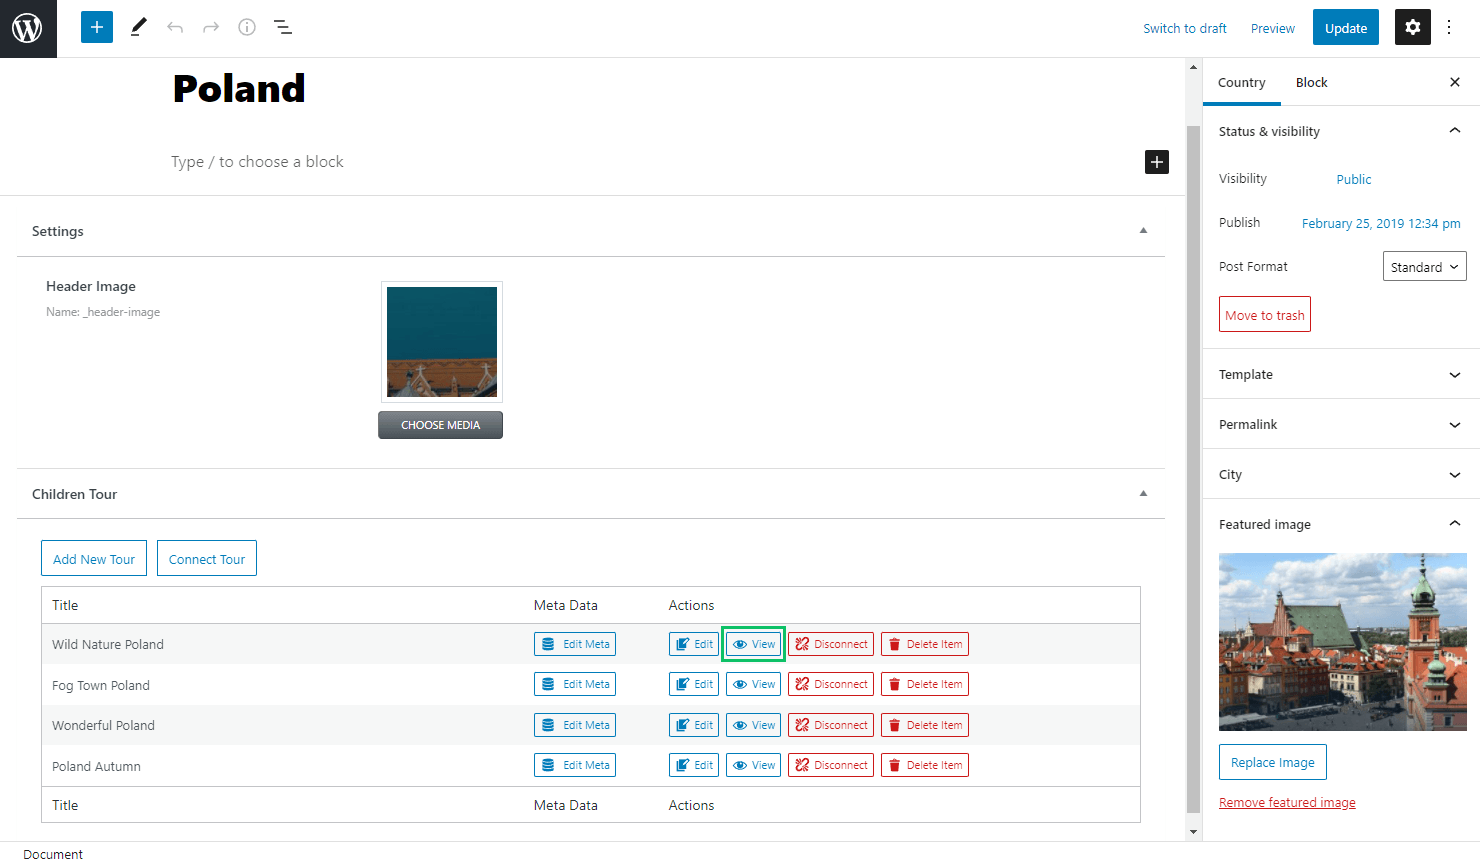
Disconnect
This button removes the item from the list of related posts.

Delete
The option becomes available only for users who have a special permit and deletes the selected item entirely when clicked.

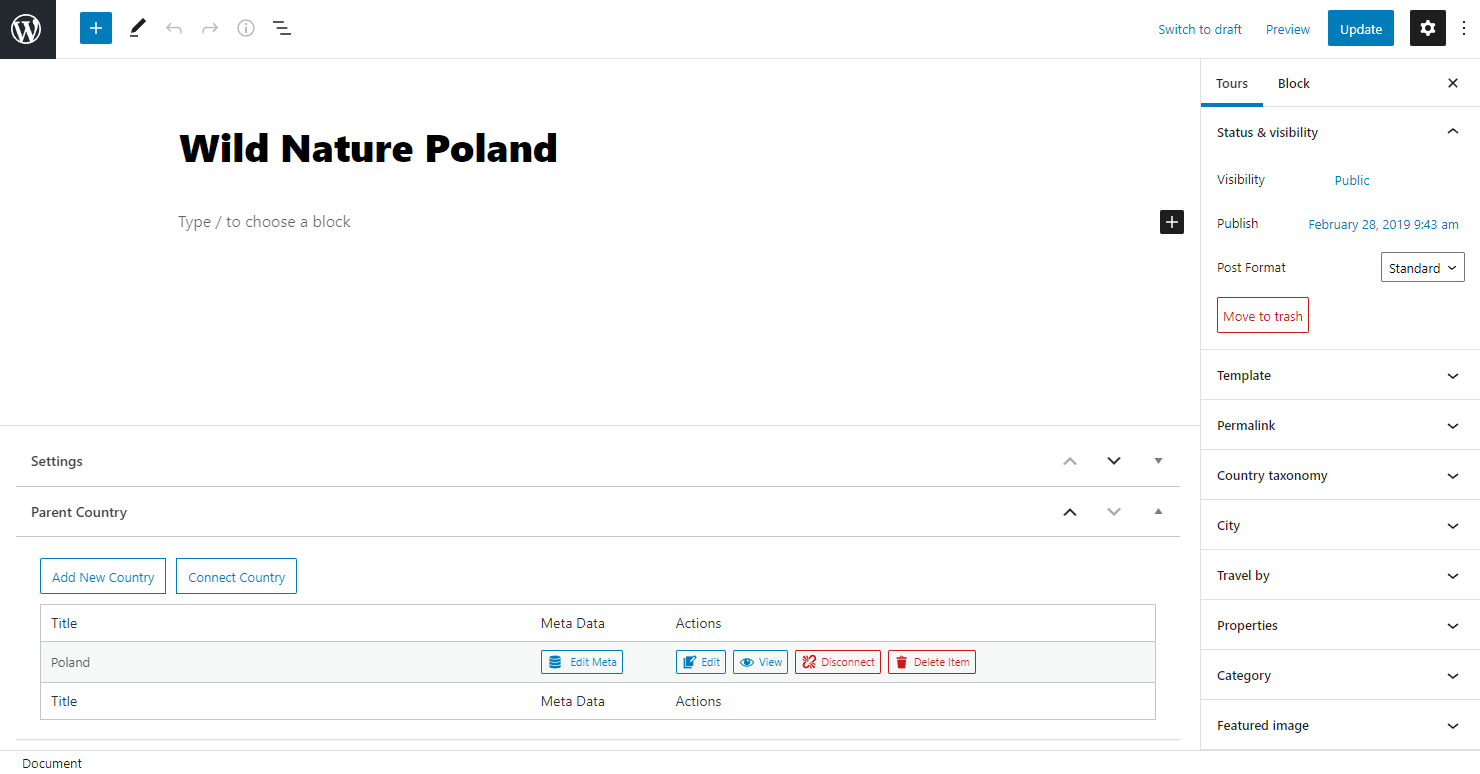
Children Post Controls
The same table is available in the child object posts. There, you can connect and add new parent items, edit, view, and delete items, too.
This is it. Now you know how to use the main functionality of the JetEngine related items editing on your WordPress website.